
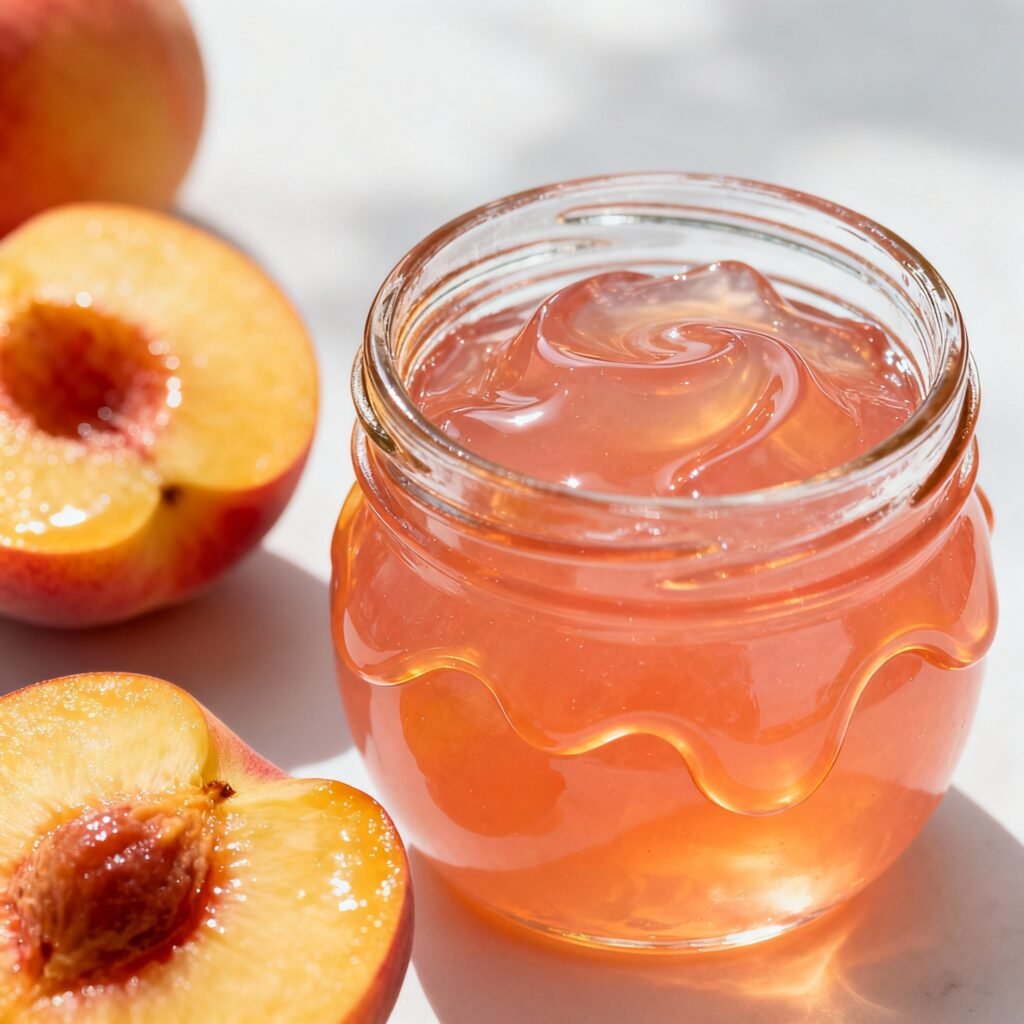
Peach Jelly Recipe Canning: Sweet Sunshine in a Jar!
Imagine the taste of ripe, juicy peaches bursting in your mouth, even in the dead of winter. This isn’t just a dream; it’s the reality you can create with this simple and delicious peach jelly recipe. Canning your own jelly allows you to capture the essence of summer and enjoy it year-round. This recipe is perfect for beginners and experienced canners alike, resulting in a beautiful, flavorful jelly that’s perfect on toast, biscuits, or even as a glaze for meats. Get ready to transform those peaches into liquid gold!
Why This Recipe Works
This peach jelly recipe is designed for success because it focuses on the key elements needed for a perfect set. We use pectin, a natural gelling agent, to ensure a firm but spreadable texture. The proper ratio of fruit juice, sugar, and pectin is crucial, and this recipe provides that balance. We also emphasize the importance of acid (lemon juice), which helps the pectin to set properly and also brightens the flavor of the peaches. Finally, the canning process ensures a shelf-stable product, allowing you to enjoy your homemade jelly for months to come.
Ingredients
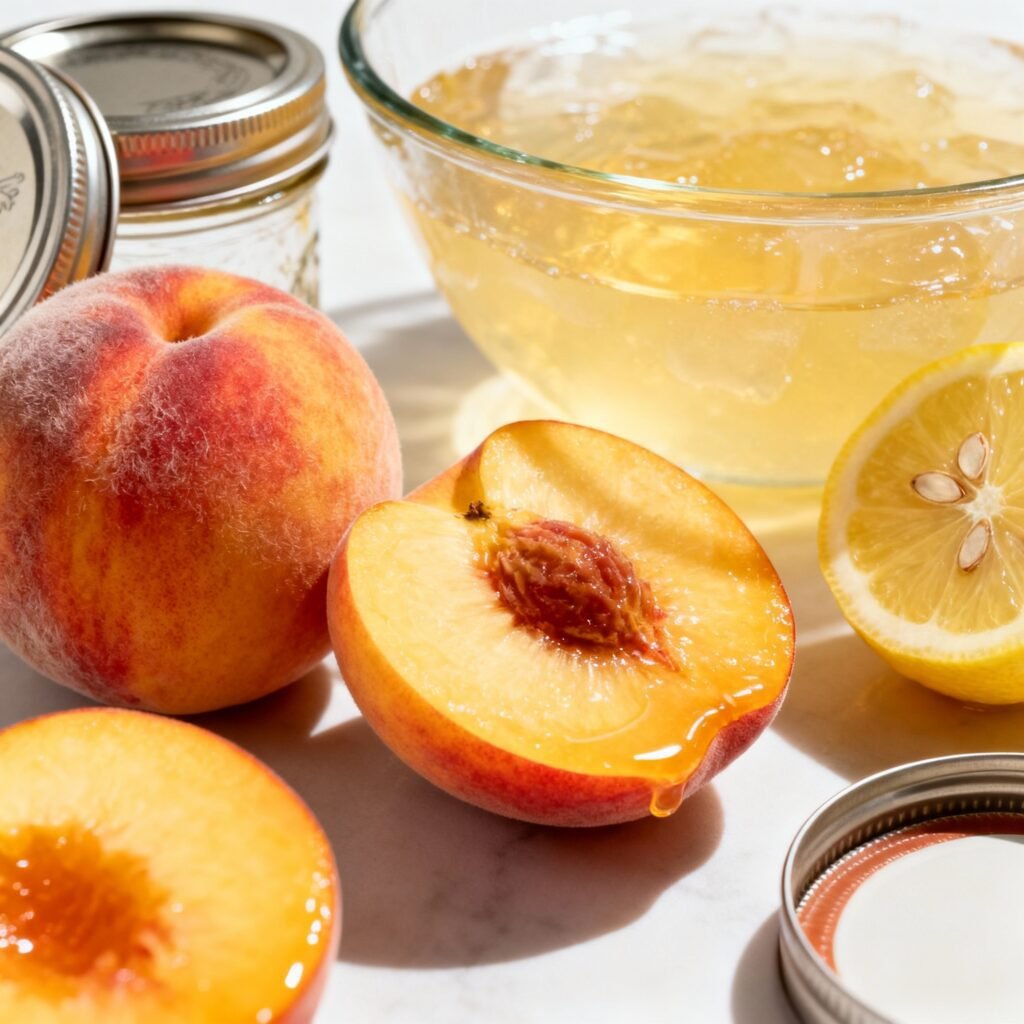
- 6 cups peach juice (from approximately 4-5 pounds of ripe peaches)
- 4 1/2 cups granulated sugar
- 1/4 cup lemon juice, bottled (essential for acidity and proper set)
- 1 box (1.75 oz) powdered pectin (Sure-Jell or similar)
Instructions
- Prepare the Peaches: Wash peaches thoroughly. Remove pits. You can peel the peaches if desired, but it’s not necessary. Roughly chop the peaches.
- Extract the Juice: Place the chopped peaches in a large saucepan with just enough water to cover the bottom (about 1/2 cup). Bring to a simmer over medium heat, stirring occasionally, until the peaches are soft and pulpy (about 20-25 minutes).
- Strain the Juice: Line a large bowl with several layers of cheesecloth. Pour the cooked peaches into the cheesecloth-lined bowl. Gather the edges of the cheesecloth and tie them together to form a bag. Hang the bag over the bowl (using a wooden spoon or colander to suspend it) and let the juice drip out for at least 4 hours, or preferably overnight. Do not squeeze the bag, as this will result in cloudy jelly.
- Prepare Canning Equipment: Wash canning jars, lids, and bands in hot, soapy water. Rinse well. Sterilize the jars by placing them in a boiling water bath canner filled with enough water to cover the jars by at least 1 inch. Bring to a boil and boil for 10 minutes. Keep the jars hot until ready to use. Place the lids in a separate saucepan and simmer (do not boil) in water to soften the sealing compound.
- Combine Ingredients: Measure exactly 6 cups of peach juice into a large, heavy-bottomed saucepan. Add the lemon juice and pectin. Stir well to combine.
- Boil the Jelly: Bring the mixture to a full rolling boil over high heat, stirring constantly. A full rolling boil is one that cannot be stirred down.
- Add Sugar: Add the sugar all at once. Stir constantly to dissolve the sugar completely.
- Boil Again: Return the mixture to a full rolling boil and boil hard for exactly 1 minute, stirring constantly.
- Test for Set: Remove the saucepan from the heat. To test for set, place a small spoonful of the jelly on a cold plate that has been in the freezer for a few minutes. Let it sit for about 30 seconds. If the jelly wrinkles when you push it with your finger, it is ready. If not, return the saucepan to the heat and boil for another 30 seconds, then test again. Repeat until the jelly reaches the desired set.
- Remove Foam: Skim off any foam from the surface of the jelly with a metal spoon.
- Fill Jars: Ladle the hot jelly into the hot, sterilized jars, leaving 1/4 inch headspace.
- Remove Air Bubbles: Run a non-metallic utensil (like a plastic knife or chopstick) around the inside of the jar to release any trapped air bubbles.
- Wipe Jar Rims: Wipe the rims of the jars with a clean, damp cloth to remove any spills.
- Place Lids and Bands: Place the lids on the jars and screw on the bands fingertip tight. Do not overtighten.
- Process in Boiling Water Bath: Carefully lower the filled jars into the boiling water bath canner. The water should cover the jars by at least 1 inch. Bring the water back to a rolling boil.
- Process for Time: Process the jars for 10 minutes for elevations up to 1,000 feet. For higher elevations, add 1 minute for each 1,000 feet of elevation.
- Cool and Check Seals: Turn off the heat and let the jars sit in the hot water for 5 minutes before removing them. Carefully remove the jars from the canner and place them on a towel-lined surface to cool completely. Let the jars sit undisturbed for 12-24 hours.
- Check Seals: After the jars have cooled, check the seals. The lids should be concave and not flex when pressed. If a jar did not seal, refrigerate it immediately and use the jelly within a few weeks, or reprocess it with a new lid.
Tips for Success
- Use Ripe Peaches: The flavor of your jelly will only be as good as the peaches you use. Choose ripe, fragrant peaches for the best flavor.
- Don’t Squeeze the Juice: Resist the urge to squeeze the cheesecloth bag when extracting the juice. Squeezing will result in cloudy jelly.
- Measure Accurately: Accurate measurements are crucial for a successful set. Use liquid measuring cups for liquids and dry measuring cups for sugar.
- Use Bottled Lemon Juice: Bottled lemon juice has a consistent acidity level, which is important for proper pectin activation. Fresh lemon juice can vary in acidity.
- Watch the Boil: A full rolling boil is essential for proper pectin activation and a good set.
- Test for Set: Don’t skip the set test! It’s the best way to ensure your jelly will be the right consistency.
- Headspace is Key: Leaving the correct headspace (1/4 inch) allows for proper expansion during processing and helps ensure a good seal.
- Adjust Processing Time for Altitude: Increase the processing time for higher elevations to ensure proper sterilization.
Storage Instructions
Properly canned and sealed peach jelly can be stored in a cool, dark place for up to 18 months. Once opened, refrigerate the jelly and use it within a few weeks.
FAQ
- Can I use frozen peaches? Yes, you can use frozen peaches. Thaw them completely before using and drain off any excess liquid.
- Can I use a different type of pectin? Yes, but you may need to adjust the amount of sugar. Follow the instructions on the pectin package.
- My jelly didn’t set. What can I do? You can try reprocessing the jelly. Combine all the jelly in a large saucepan, add 1/4 cup of lemon juice and 2 tablespoons of powdered pectin mixed with 1/4 cup of sugar. Bring to a full rolling boil for 1 minute, stirring constantly. Test for set again and reprocess.
- Why is my jelly cloudy? Cloudy jelly is usually caused by squeezing the cheesecloth bag when extracting the juice.
- Can I add other fruits to the jelly? While this recipe is specifically for peach jelly, you can experiment with adding small amounts of other fruits, such as raspberries or strawberries, to complement the peach flavor. Be sure to adjust the sugar and lemon juice accordingly.
Conclusion
With this easy-to-follow peach jelly recipe and canning guide, you can enjoy the sweet taste of summer all year long. Imagine the delight of spreading homemade peach jelly on warm toast on a chilly morning, or gifting a jar of sunshine to a friend. Canning your own jelly is a rewarding experience that allows you to create delicious and shelf-stable treats. So gather your peaches, follow these steps, and get ready to savor the sweet taste of homemade peach jelly!