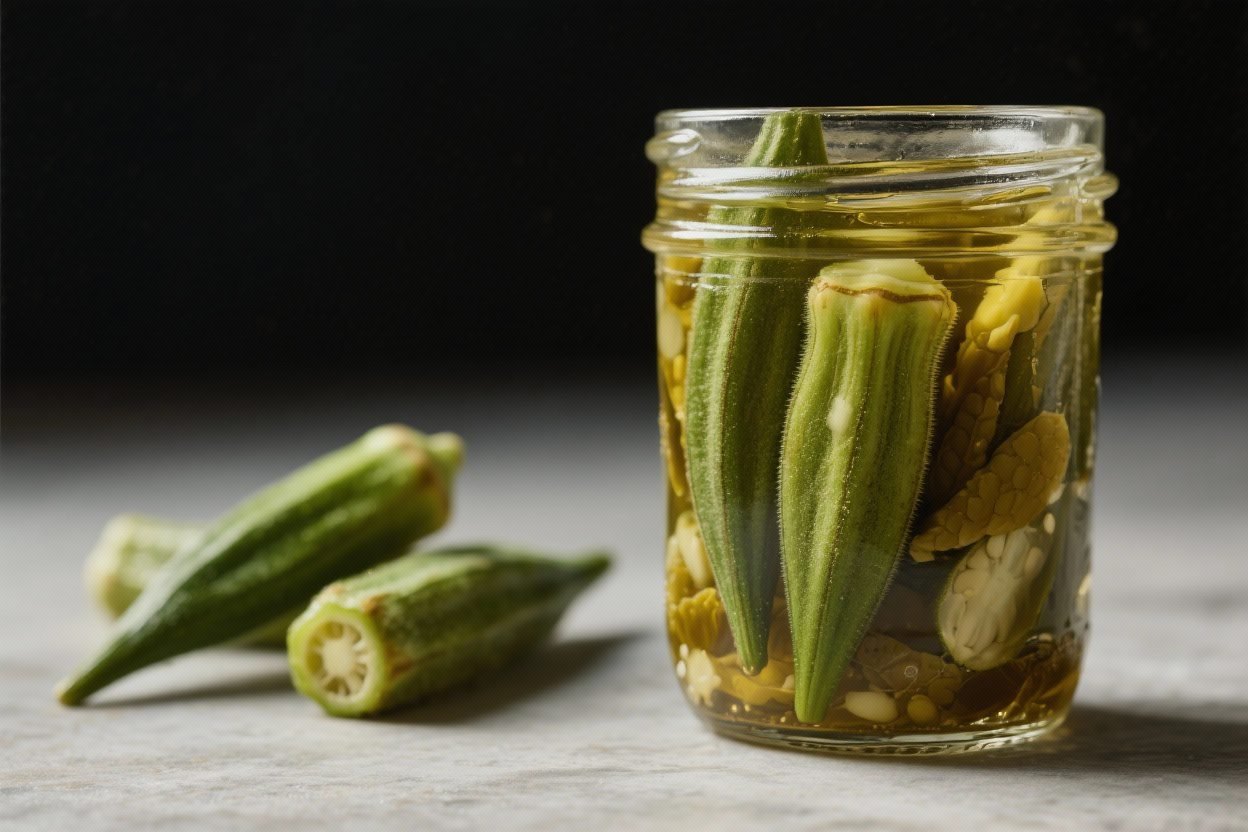
Pickled Okra Recipe Canning: Crunchy, Tangy Perfection!
Pickled okra is a Southern staple, a delightful combination of crisp texture, tangy brine, and a hint of spice. This recipe takes the classic pickled okra and makes it shelf-stable through the canning process, allowing you to enjoy this delicious treat year-round. Whether you’re a seasoned canner or a curious beginner, this guide will walk you through each step, ensuring a safe and flavorful outcome. Get ready to transform those fresh okra pods into a pantry treasure!
Why This Recipe Works
This recipe is designed for both flavor and safety. Here’s why it works so well:
- Vinegar-to-Water Ratio: The precise ratio of vinegar to water ensures proper acidity, which is crucial for safe canning and prevents the growth of harmful bacteria like botulism.
- Salt: Salt acts as a preservative and enhances the flavor of the okra. Canning salt (also known as pickling salt) is preferred because it doesn’t contain iodine or anti-caking agents, which can darken the pickles.
- Spices: The combination of spices like garlic, dill, and red pepper flakes creates a complex and balanced flavor profile that complements the okra perfectly. Feel free to adjust the spices to your personal preference.
- Hot Water Bath Canning: This method is a safe and effective way to preserve high-acid foods like pickled okra. The heat kills microorganisms and creates a vacuum seal, preventing spoilage.
- Detailed Instructions: The step-by-step instructions are clear and concise, making it easy to follow along, even for beginners. We’ve included tips and troubleshooting advice to ensure your success.
Ingredients
- 2 pounds fresh okra pods, 2-4 inches long, washed and trimmed
- 5 cups white vinegar (5% acidity)
- 5 cups water
- 1/2 cup canning salt
- 10 cloves garlic, peeled
- 10 sprigs fresh dill
- 2 teaspoons red pepper flakes (or more, to taste)
- Optional: 1 teaspoon mustard seeds per jar
- Optional: 1/2 teaspoon black peppercorns per jar
Instructions
- Prepare the Jars: Wash your canning jars, lids, and bands in hot, soapy water. Rinse thoroughly. Sterilize the jars by boiling them in a large pot of water for 10 minutes. Keep the jars hot until ready to use. You can also sterilize them in a dishwasher with a sterilization cycle. Place the lids and bands in a separate saucepan and simmer (do not boil) until ready to use.
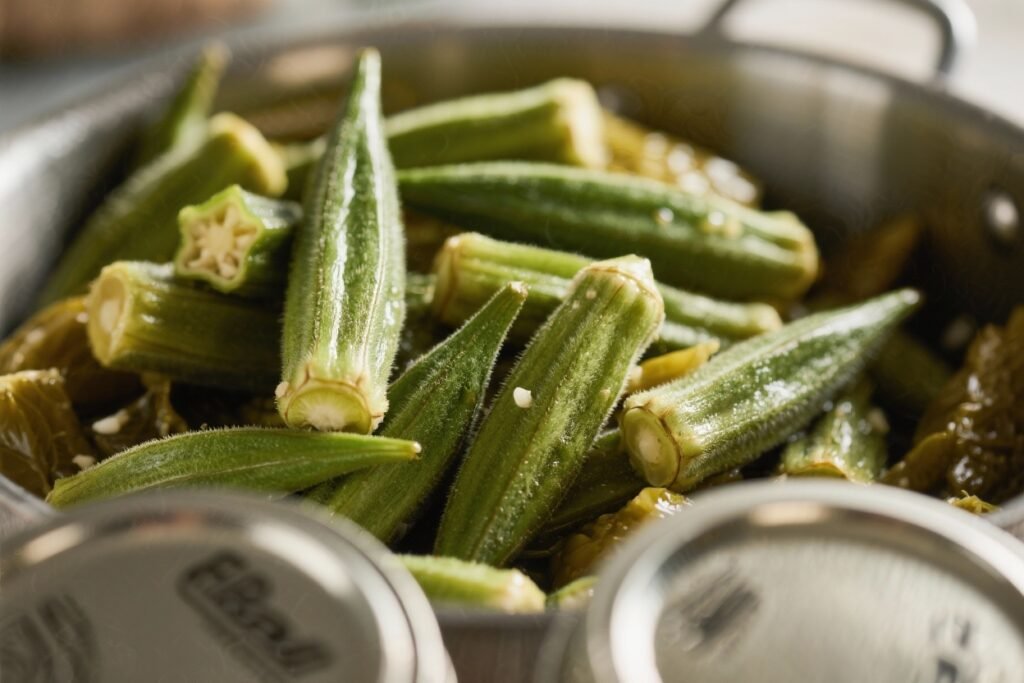
- Prepare the Okra: Wash the okra pods thoroughly and trim the stems, leaving about 1/4 inch attached. This helps prevent the okra from becoming mushy.
- Prepare the Brine: In a large stainless steel or enamel pot, combine the vinegar, water, and canning salt. Bring to a boil over medium-high heat, stirring until the salt is dissolved.
- Pack the Jars: To each sterilized jar, add 1 clove of garlic, 1 sprig of dill, and 1/4 teaspoon of red pepper flakes (or more, to taste). If using, add mustard seeds and black peppercorns.
- Fill the Jars: Pack the okra pods tightly into the jars, leaving 1/2 inch of headspace (the space between the top of the okra and the rim of the jar).
- Pour the Brine: Carefully pour the hot brine over the okra in each jar, maintaining the 1/2 inch headspace. Use a non-metallic utensil (like a plastic knife or bubble popper) to remove any air bubbles trapped in the jars.
- Wipe the Rims: Wipe the rims of the jars with a clean, damp cloth to remove any spills or residue. This ensures a good seal.
- Place the Lids and Bands: Center the lids on the jars and screw on the bands until they are fingertip tight (not too tight, not too loose).
- Process in a Hot Water Bath: Place the jars in a canning pot fitted with a rack. Add enough hot water to cover the jars by at least 1 inch. Bring the water to a rolling boil.
- Process Time: Process pint jars for 10 minutes and quart jars for 15 minutes. Adjust processing time for altitude:
- 1,001 – 3,000 feet: Add 5 minutes.
- 3,001 – 6,000 feet: Add 10 minutes.
- 6,001 – 8,000 feet: Add 15 minutes.
- Above 8,000 feet: Add 20 minutes.
- Remove the Jars: Turn off the heat and remove the lid from the canning pot. Let the jars sit in the hot water for 5 minutes before carefully removing them with a jar lifter. Place the jars on a towel-lined surface to cool completely. Avoid placing them directly on a cold countertop, as this can cause them to break.
- Check the Seals: As the jars cool, you should hear a “pop” sound, indicating that the lids have sealed. After 12-24 hours, check the seals by pressing down on the center of the lid. If the lid doesn’t flex or move, it’s properly sealed. If the lid flexes, the jar didn’t seal and should be refrigerated and consumed within a few weeks or reprocessed with a new lid.
Tips for Success
- Use Fresh Okra: The freshest okra will result in the crispiest pickles. Avoid using okra that is bruised or discolored.
- Trim the Okra Properly: Leaving too much of the stem on the okra can make it mushy.
- Don’t Overpack the Jars: Overpacking can prevent the brine from circulating properly and may lead to spoilage.
- Use Canning Salt: Canning salt is pure salt without additives that can affect the color and clarity of the brine.
- Maintain Headspace: Proper headspace is crucial for creating a vacuum seal.
- Follow Processing Times Carefully: Under-processing can lead to spoilage, while over-processing can make the okra mushy.
- Altitude Adjustments: Remember to adjust processing times based on your altitude.
Storage Instructions
Store sealed jars of pickled okra in a cool, dark, and dry place. Properly canned pickled okra can last for up to 1 year. Once opened, refrigerate the jar and consume within a few weeks.

FAQ
Q: My pickled okra is mushy. What did I do wrong?
A: Mushy pickled okra can be caused by several factors, including using overripe okra, over-processing, or leaving too much of the stem on the okra.
Q: Can I use a different type of vinegar?
A: While you can experiment with different vinegars, it’s important to use a vinegar with at least 5% acidity to ensure safe canning. Apple cider vinegar can be used, but it may slightly alter the flavor and color of the pickles.
Q: My jars didn’t seal. What should I do?
A: If a jar doesn’t seal, you can either reprocess it with a new lid and band, or refrigerate it and consume the pickled okra within a few weeks.
Q: Can I add other vegetables to the pickles?
A: Yes, you can add other vegetables like peppers, onions, or carrots. However, be sure to adjust the processing time accordingly, as different vegetables may require different processing times.
Q: How long should I wait before eating the pickled okra?
A: It’s best to wait at least 2 weeks before eating the pickled okra to allow the flavors to meld and develop fully.
Conclusion
Canning your own pickled okra is a rewarding experience that allows you to enjoy this Southern delicacy all year long. With this recipe and guide, you’ll be well-equipped to create jars of crunchy, tangy perfection that will impress your friends and family. So gather your okra, prepare your jars, and get ready to embark on a pickling adventure! Happy canning!