Pizza Dough Recipe Easy: 5 Ingredients, 1 Bowl, Zero Stress — Your Crust Upgrade Starts Now
👩🍳 The Home Chef's Essential Kitchen
Consistently cooking incredible, healthy meals at home is so much easier when you aren't fighting with cheap tools. These are the 5 absolute powerhouse kitchen essentials that professional chefs and serious home cooks rely on every single day to get perfect results.
🍳 Lodge 10.25" Cast Iron Skillet
The single greatest value in all of cookware. It retains heat infinitely better than cheap non-stick pans, allowing you to get a restaurant-quality crust on steaks or perfect crispy edges on cornbread. With proper care, this $20 pan will literally outlive you.
🔪 Victorinox Fibrox Pro 8" Chef's Knife
A dull knife makes cooking a frustrating chore. This specific blade is the undisputed champion of the culinary world—it holds a terrifyingly sharp edge, features a comfortable non-slip grip, and performs identical to German knives that cost quadruple the price.
🌡️ ThermoPro Instant Read Thermometer
Never serve dry chicken or undercooked pork again. An instant-read thermometer is the secret difference between amateur cooks who 'guess' when protein is done, and professionals who know exactly when to pull meat off the heat for maximum juiciness.
🍲 Lodge Enameled Cast Iron Dutch Oven
The ultimate workhorse for soups, stews, braised short ribs, and baking crusty artisanal bread. The enameled interior provides incredible heat distribution for slow-cooking while eliminating the intense seasoning maintenance required by bare cast iron.
🥄 Bpa-Free Silicone Utensil Set
Throw away those melting plastic spatulas and bacteria-harboring wooden spoons. This pure silicone set is heat-resistant up to 600°F, won't scratch your expensive pans, and features seamless designs that make cleaning out thick sauces and batters effortless.
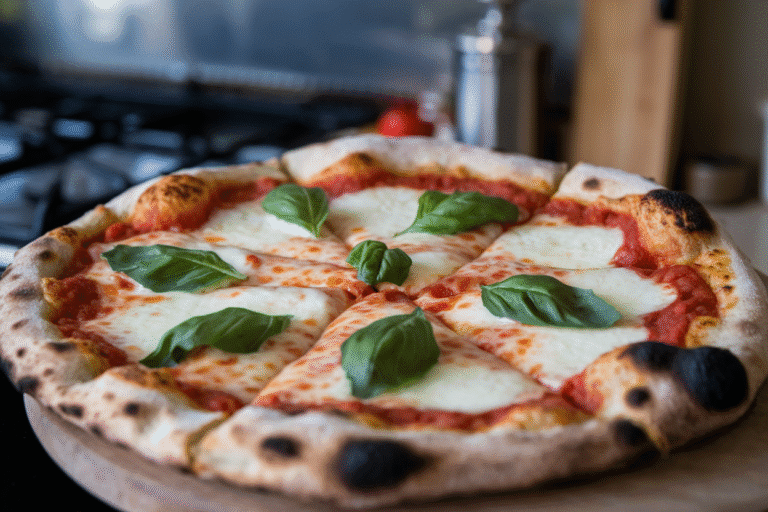
Forget takeout. You’re 60 minutes away from a chewy, golden pizza crust that crushes anything in a cardboard box. No fancy mixer, no chef ego, just a bowl, your hands, and a little patience.
If you’ve ever thought dough was intimidating, this flips the script. The trick isn’t technique—it’s timing and confidence. Ready to make a pizza base that actually tastes like something?
Let’s build a crust you’ll brag about.
What Makes This Recipe Awesome
- Minimal ingredients, maximum payoff: Five pantry staples transform into a legit pizzeria-style crust.
- Fast rise option or slow-rise flavor: Use warm water for speed or cold ferment for deep flavor. You choose the vibe.
- Super forgiving: Slightly too wet? Add flour.
Too dry? Add water. It’s dough, not rocket science.
- Crispy outside, chewy inside: The hydration level hits that sweet spot for structure and char.
- Works for any style: Thin, thick, Detroit-ish, calzones, garlic knots—same base, endless outcomes.
Shopping List – Ingredients
- 3 1/4 cups (400g) bread flour (or all-purpose if that’s what you’ve got)
- 1 1/4 cups (300ml) warm water (about 105–110°F; warm like a hot shower, not boiling)
- 2 teaspoons (7g) instant yeast (active dry works too—see notes below)
- 1 1/2 teaspoons (9g) fine sea salt
- 1 tablespoon (12g) sugar or honey
- 1 tablespoon (15ml) olive oil (plus extra for the bowl and crust)
- Optional: semolina or cornmeal for dusting your peel or sheet pan
Step-by-Step Instructions
- Proof (if using active dry yeast): In a bowl, combine warm water, sugar/honey, and active dry yeast.
Wait 5–10 minutes until foamy. If using instant yeast, skip proofing and mix it directly with the flour.
- Mix the dry team: In a large bowl, whisk flour and salt. If using instant yeast, add it here.
- Combine: Pour the water mixture into the flour.
Add olive oil. Stir with a spoon until shaggy and there’s no dry flour. It should look rough—good.
- Knead: Turn onto a lightly floured surface.
Knead 6–8 minutes until smooth and elastic. If it’s sticking like crazy, sprinkle a teaspoon of flour at a time. If it’s stiff, wet your hands and keep kneading.
- First rise: Lightly oil a bowl.
Add dough, turn to coat, and cover. Let rise in a warm spot until doubled, about 45–60 minutes. For better flavor, refrigerate 12–48 hours after a 15-minute bench rest.
Slow equals wow.
- Preheat like you mean it: Place a pizza stone or inverted sheet pan in the oven and preheat to 500–550°F (260–290°C) for at least 30 minutes. Heat equals oven spring equals blistery crust.
- Divide and rest: Turn the dough out. For two 12-inch pizzas, divide into two balls.
Cover and let rest 15–20 minutes to relax the gluten. This makes stretching easy and drama-free.
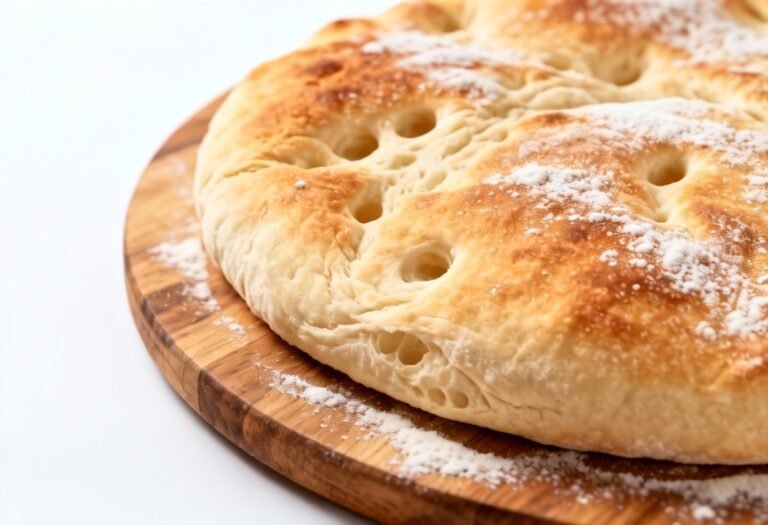
- Shape: Dust your surface with flour or semolina. Press dough from center outward, leaving a thicker edge.
Pick up and let gravity help stretch. Avoid rolling pins—they squish the air you worked for.
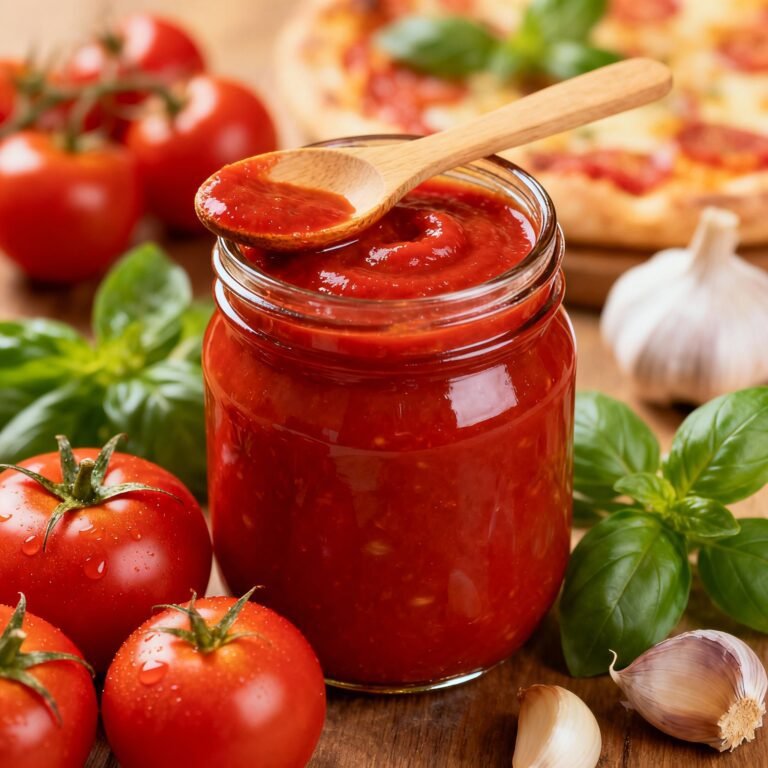
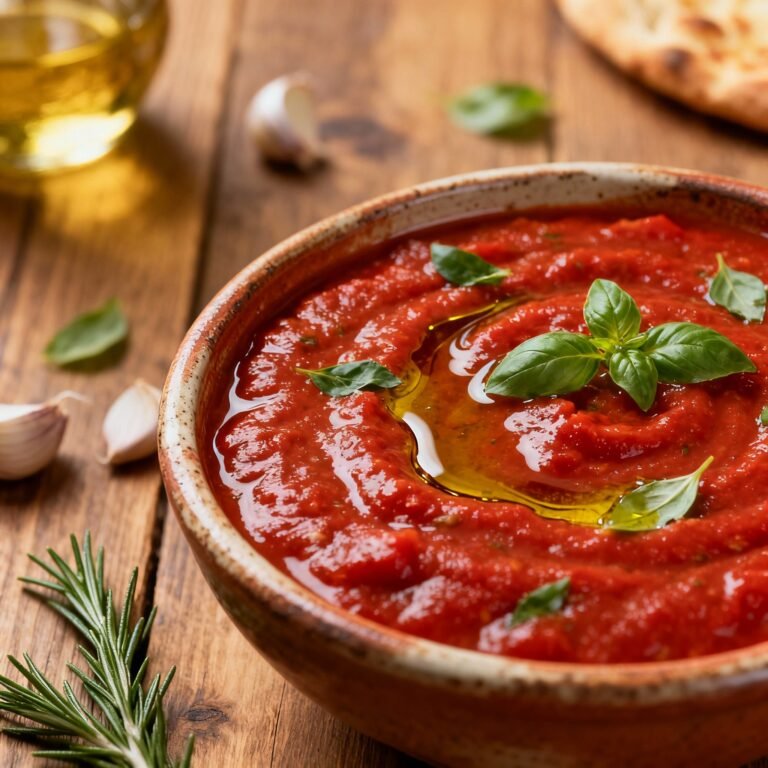
- Top smart: Transfer to a peel or parchment on a sheet pan. Add a thin layer of sauce, a reasonable amount of cheese, and toppings.
Less is more unless you enjoy soggy sadness.
- Bake: Slide onto the hot stone or pan. Bake 8–12 minutes until the crust is deeply golden and the cheese bubbles with a few browned spots.
- Finish: Brush the crust with a little olive oil, sprinkle with flaky salt or chili flakes, and let rest 2 minutes before slicing. Yes, the rest matters.
How to Store
- Short-term (fridge): Lightly oil dough balls, place in airtight containers, and refrigerate up to 48 hours.
Let sit at room temp 45–60 minutes before shaping.
- Long-term (freezer): After the first rise, portion into balls, oil, bag, and freeze up to 3 months. Thaw overnight in the fridge, then bring to room temp.
- Leftover baked pizza: Wrap slices and refrigerate up to 3 days. Reheat on a hot skillet with a lid or in a 425°F oven for 6–8 minutes for crisp magic.
Benefits of This Recipe
- Budget-friendly: Pennies per slice compared to delivery.
Your wallet will send a thank-you note.
- Customizable: Hydration, flour type, rise time—tweak to your style and schedule.
- High success rate: Clear steps, forgiving dough, and you get feedback you can feel—soft, bouncy, alive.
- Better flavor, better texture: Chewy crumb, crispy bottom, light edge—exactly what you want from pizza night.
Don’t Make These Errors
- Using cold water with yeast: You’ll stall the rise and blame the recipe. Warm water wakes yeast up.
- Too much flour: Dust lightly. Over-flouring makes tough, dry crust.
Sticky is normal; glue is not.
- Skipping the rest: If you fight tight dough, it fights back. Rest 15–20 minutes and it becomes cooperative. Who knew?
- Overloading toppings: Heavy toppings trap steam.
Aim for balance, not a gravity experiment.
- Underheating the oven: High heat creates oven spring and char. Lukewarm oven equals bread with sauce, IMO.
Alternatives
- Flour swap: All-purpose works fine. For extra chew, use bread flour.
For a rustic vibe, replace 15–20% with whole wheat and add 1–2 teaspoons extra water.
- Yeast options: Instant yeast mixes straight into flour. Active dry needs proofing. If using sourdough starter, sub 150g active starter, reduce flour by 100g and water by 100ml, extend rise times.
- No-knead method: Mix ingredients until shaggy, cover, and rest 8–12 hours at room temp.
Fold once or twice, then proceed to shape. Flavor: big. Effort: tiny.
- Gluten-free route: Use a 1:1 gluten-free flour blend with xanthan gum plus 1 extra tablespoon olive oil.
Expect a softer, press-in crust. Still great.
- Pan pizza variation: Oil a cast-iron skillet or pan, press dough in, let rise 45 minutes, top, and bake at 500°F until crispy edges form—around 14–18 minutes.
FAQ
Can I make the dough ahead?
Yes. After mixing, let it rest 15 minutes, then refrigerate 12–48 hours for deeper flavor.
Bring to room temperature before shaping for the best stretch.
What if my dough isn’t rising?
Check yeast freshness and water temperature. Place the bowl somewhere warm (near an oven preheating or in a microwave with a cup of hot water). If nothing happens after 90 minutes, your yeast is likely inactive—start fresh.
Why is my crust dense?
Too much flour, not enough rise time, or an oven that isn’t hot enough.
Keep the dough slightly tacky, let it double, and preheat your baking surface thoroughly.
Do I need a pizza stone?
No, but it helps. An inverted, preheated sheet pan or a cast-iron skillet delivers solid results. The key is a ripping-hot surface.
How do I get leopard spotting on the crust?
Higher heat, well-hydrated dough, and a long ferment.
Brushing the edge with a touch of olive oil can encourage color, but the real MVP is heat.
Is sugar necessary?
It’s optional but recommended. It feeds yeast and promotes browning. If you skip it, your crust may be paler, but still tasty.
Can I freeze shaped dough?
Freeze dough balls after the first rise instead.
Shaped dough is harder to store and can stick or tear. Thaw balls overnight, then shape.
Wrapping Up
This pizza dough recipe easy enough for a weeknight delivers weekend-quality results. You get a crisp-chewy crust, clean ingredients, and control over flavor and texture.
Start simple, then play with longer ferments, pan styles, or different flours. FYI: the second time you make it, it’ll be even better—because you’ll know how the dough should feel. Now preheat that oven and claim pizza night like a pro.