Pizza Dough Recipe Sourdough: The Ultimate Guide to Crispy, Tangy Perfection
Craving that authentic, chewy-yet-crispy pizza crust, bursting with tangy sourdough flavor? Look no further! This sourdough pizza dough recipe is your ticket to pizza night nirvana. We’re not just throwing ingredients together; we’re unlocking the secrets to creating a pizza dough that rivals your favorite pizzeria. Forget bland, lifeless crusts – prepare for a pizza experience that will have everyone begging for seconds. This recipe focuses on a balance of flavor, texture, and manageability, making it approachable for both seasoned sourdough bakers and adventurous beginners. Get ready to transform your kitchen into a pizza-making haven!
Why This Recipe Works
This sourdough pizza dough recipe isn’t just another collection of instructions. It’s a carefully crafted formula designed for consistent results. Here’s why it shines:
- Sourdough Magic: The natural levain (sourdough starter) contributes a complex, tangy flavor profile that commercial yeast simply can’t match. The slow fermentation process also develops gluten, resulting in a more digestible and flavorful crust.
- Hydration Balance: The recipe utilizes a specific hydration level (the ratio of water to flour) to achieve the perfect balance between a chewy interior and a crispy exterior. Too much water, and you’ll have a sticky mess; too little, and the crust will be tough.
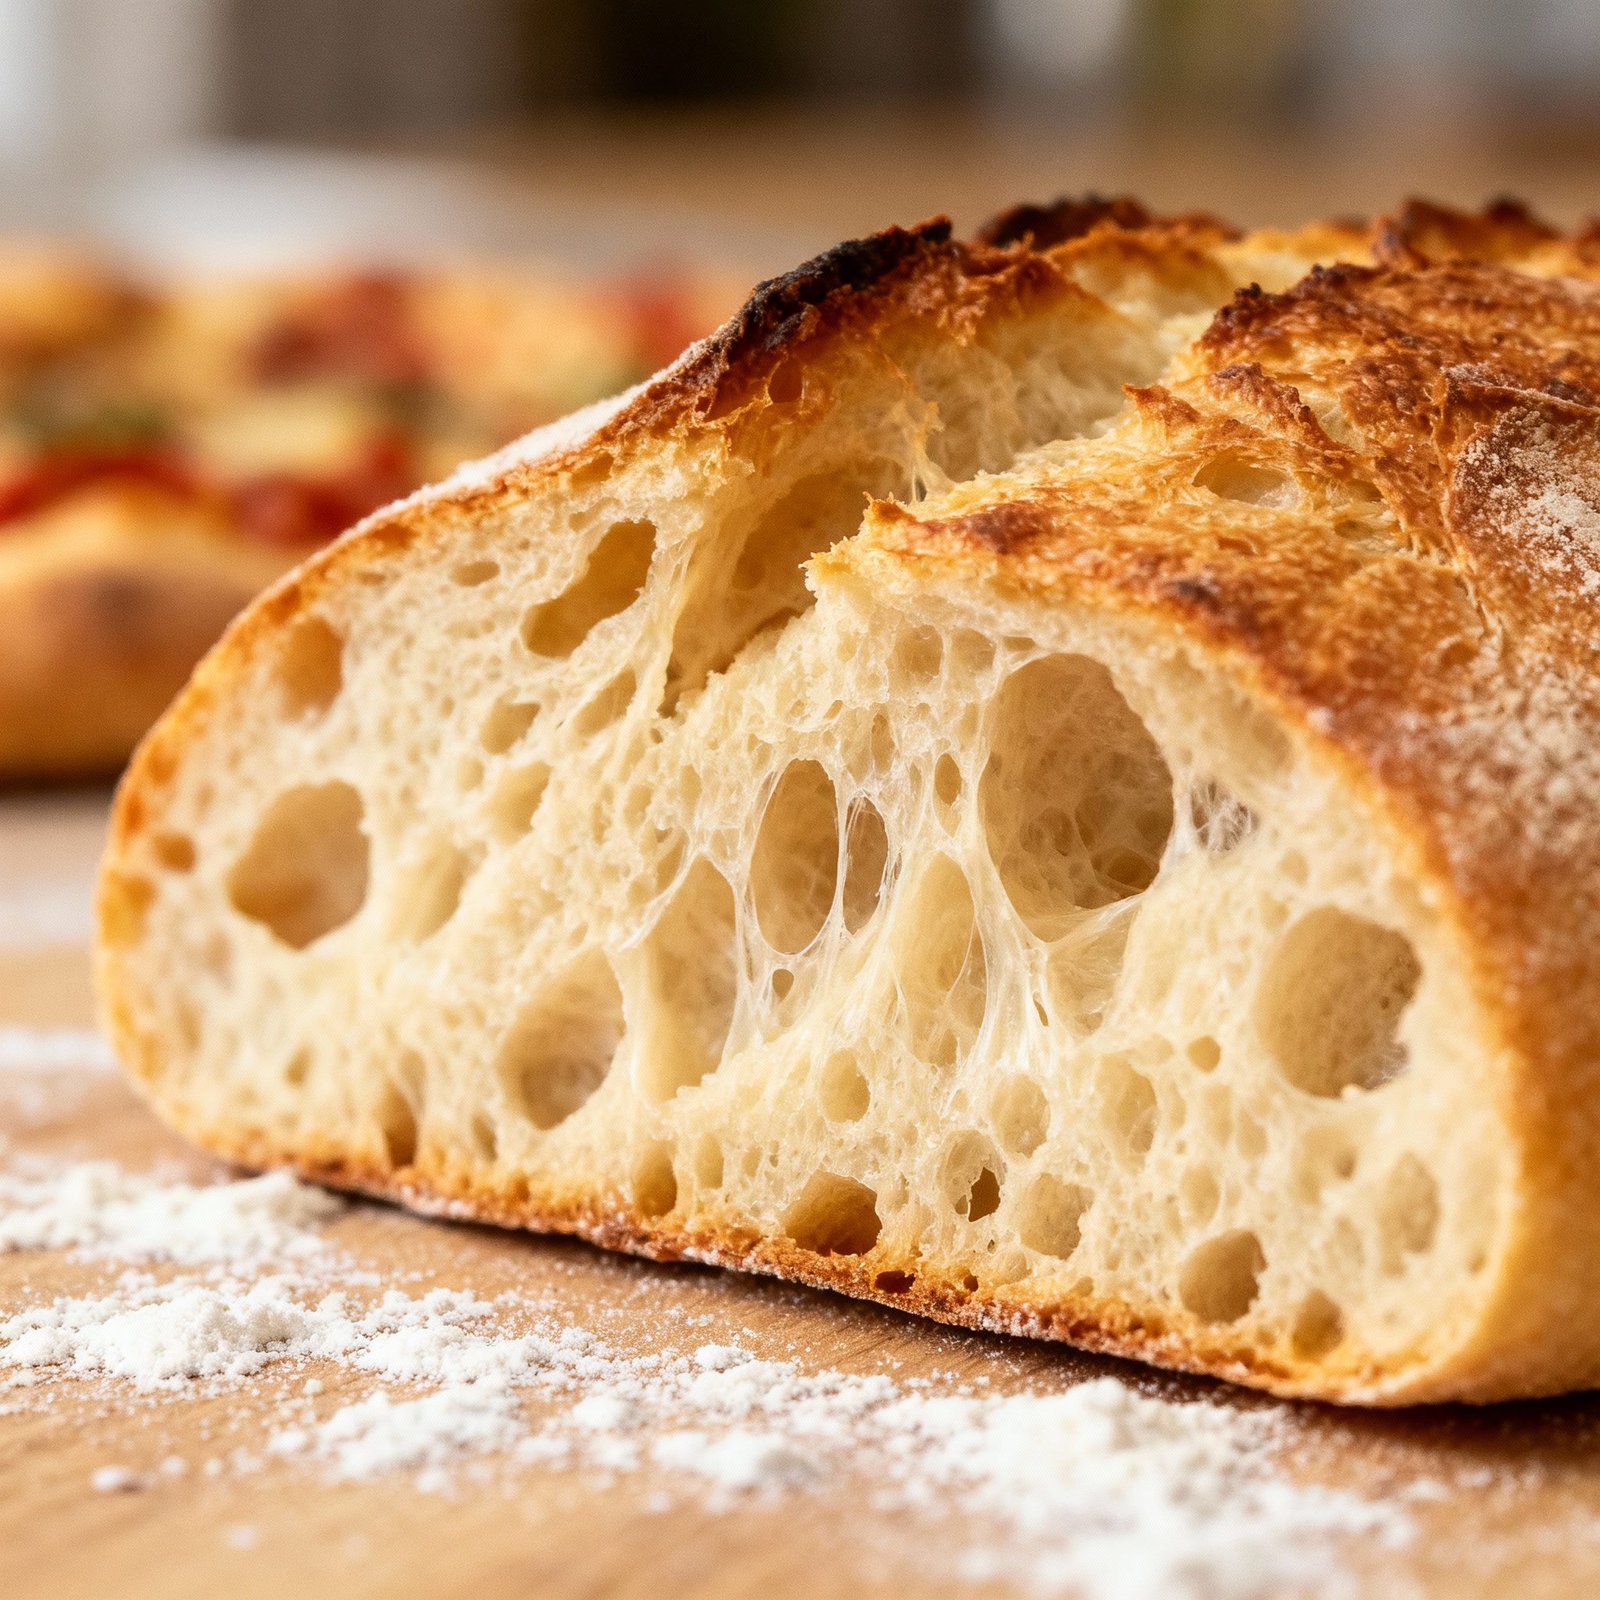
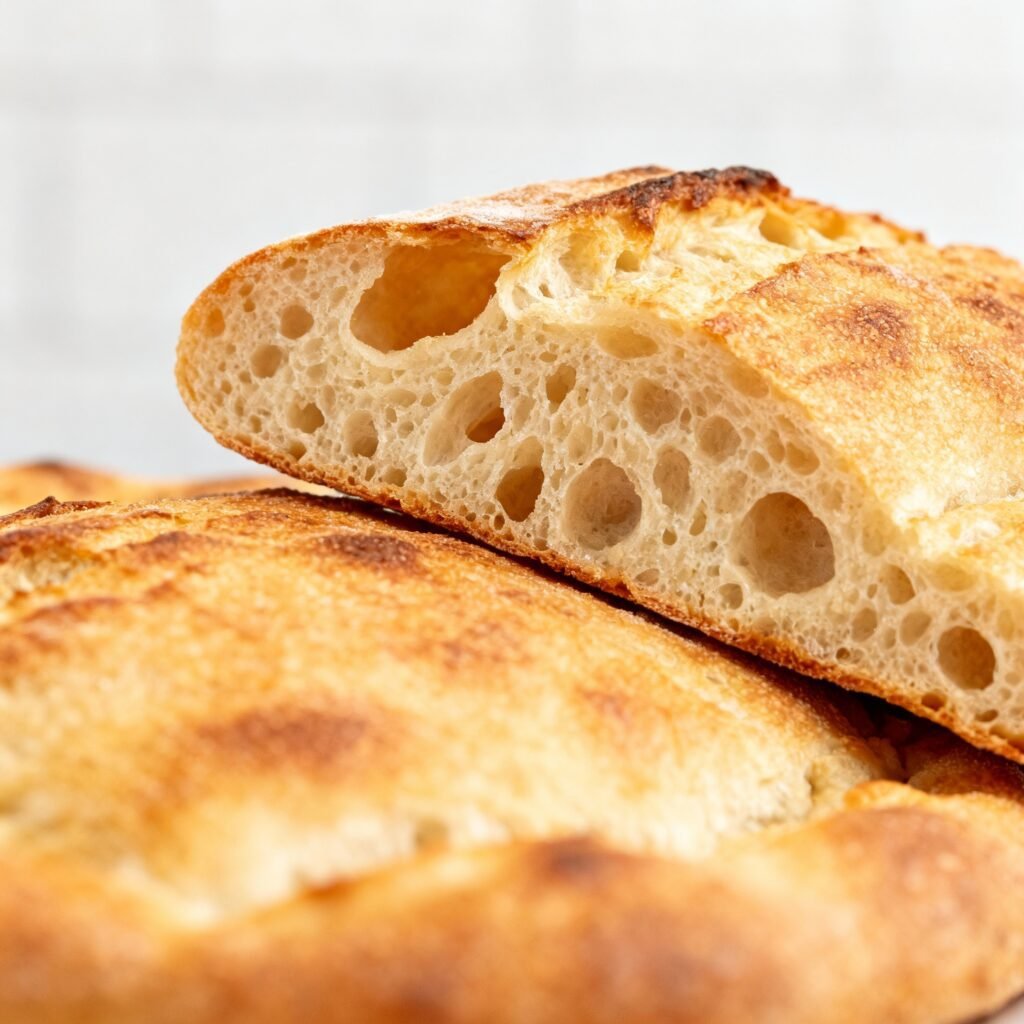
- Cold Fermentation: A long, cold fermentation in the refrigerator is key. This slows down the yeast activity, allowing for the development of more complex flavors and a more easily manageable dough. It also strengthens the gluten structure, leading to a better rise and a more open crumb.
- Proper Kneading: Kneading develops the gluten, creating a strong and elastic dough that can hold its shape and rise beautifully. We’ll guide you through the proper technique for achieving optimal gluten development.
- Oven Temperature: High heat is crucial for achieving that perfectly charred, pizzeria-style crust. We’ll discuss oven setup and baking techniques to maximize your oven’s potential.
Ingredients
- Sourdough Starter (Levain): 100g, active and bubbly. Your starter should be fed 4-8 hours before using and have at least doubled in size. A 100% hydration starter (equal parts flour and water) is ideal.
- Bread Flour: 400g. Bread flour has a higher protein content than all-purpose flour, which is essential for developing strong gluten and a chewy crust.
- Water: 270g, lukewarm (around 80-85°F/27-29°C). The temperature of the water affects the yeast activity.
- Salt: 10g. Salt controls the yeast activity and enhances the flavor of the dough.
- Olive Oil: 2 tablespoons (optional, but recommended). Olive oil adds richness and flavor to the dough and helps create a crispy crust.
- Semolina Flour (for dusting): A small amount for dusting your work surface and pizza peel. Semolina flour prevents the dough from sticking.
Instructions
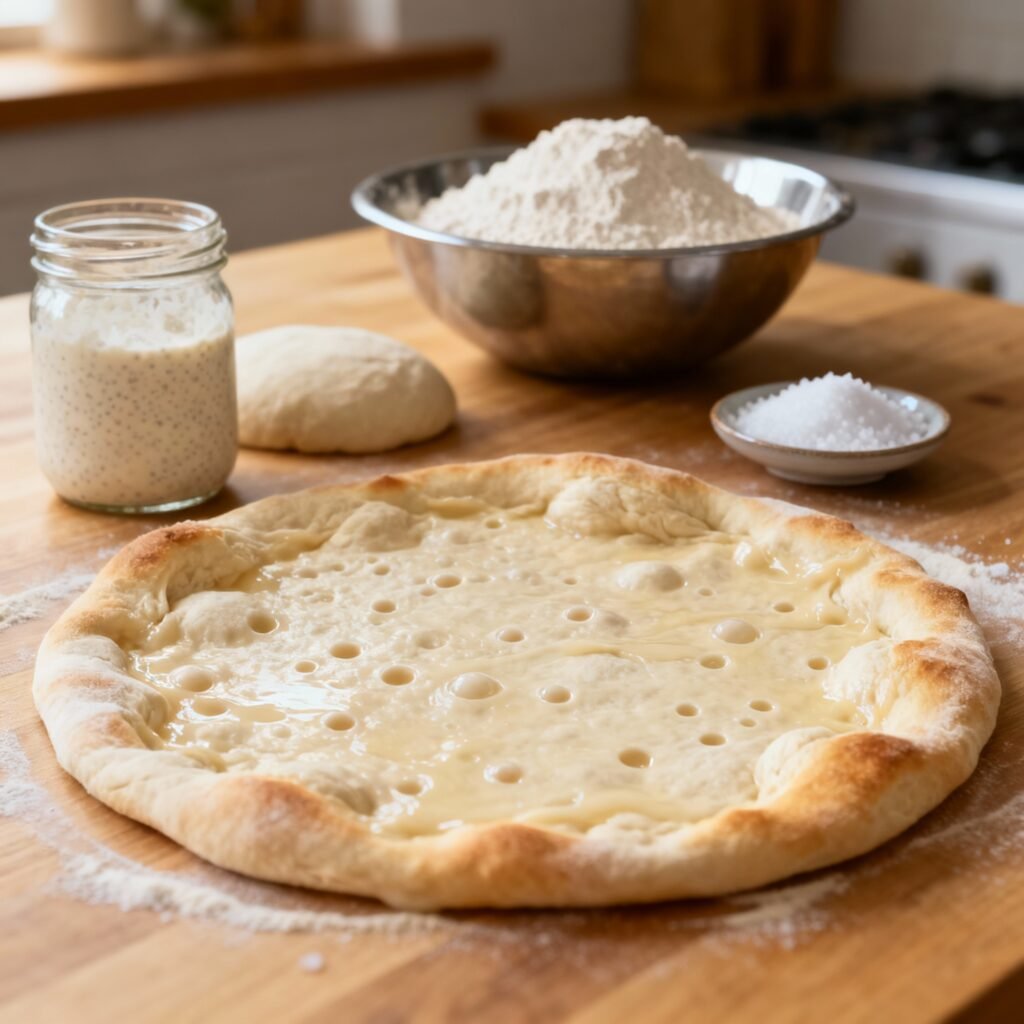
- Prepare the Levain (if needed): If your starter isn’t already active and bubbly, feed it 4-8 hours before starting the dough. Discard all but 50g of your starter, then feed it 50g bread flour and 50g lukewarm water. Let it rise in a warm place until doubled in size.
- Autolyse (Optional but Recommended): In a large bowl, combine the bread flour and water. Mix until just combined, forming a shaggy dough. Cover and let rest for 30-60 minutes. This allows the flour to fully hydrate, resulting in a more extensible dough.
- Add the Levain: Add the active sourdough starter to the flour and water mixture (or directly to the flour if you skipped the autolyse). Mix well until the starter is fully incorporated.
- Add Salt and Olive Oil: Add the salt and olive oil to the dough. Mix until everything is well combined.
- Knead the Dough: Turn the dough out onto a lightly floured surface. Knead for 8-10 minutes, until the dough is smooth, elastic, and slightly tacky. You can also use a stand mixer with a dough hook on low speed for 6-8 minutes. The dough should pass the windowpane test – you should be able to stretch a small piece of dough thin enough to see light through it without tearing.
- Bulk Fermentation (First Rise): Place the dough in a lightly oiled bowl, turning to coat. Cover the bowl with plastic wrap or a damp towel. Let the dough rise at room temperature for 2-3 hours, or until it has increased in size by about 50%. Perform a few stretch and folds during the first hour to develop strength. To do this, gently stretch one side of the dough up and fold it over the center. Rotate the bowl 90 degrees and repeat. Do this 4-5 times.
- Cold Fermentation (Second Rise): After the bulk fermentation, gently deflate the dough and divide it into 2-3 equal portions, depending on the size of pizzas you want to make. Shape each portion into a ball. Place each ball in a lightly oiled container (or a ziplock bag) and refrigerate for at least 24 hours, or up to 72 hours. The longer the cold fermentation, the more flavorful the dough will be.
- Preheat the Oven: At least one hour before baking, preheat your oven to its highest temperature (500-550°F/260-290°C) with a pizza stone or baking steel on the middle rack. The stone/steel needs ample time to heat up properly.
- Shape the Pizza Dough: Remove one dough ball from the refrigerator and let it rest at room temperature for about 30-60 minutes to relax the gluten. On a lightly floured surface (or better yet, a surface dusted with semolina flour), gently stretch and shape the dough into your desired pizza shape. Avoid using a rolling pin, as this will deflate the dough.
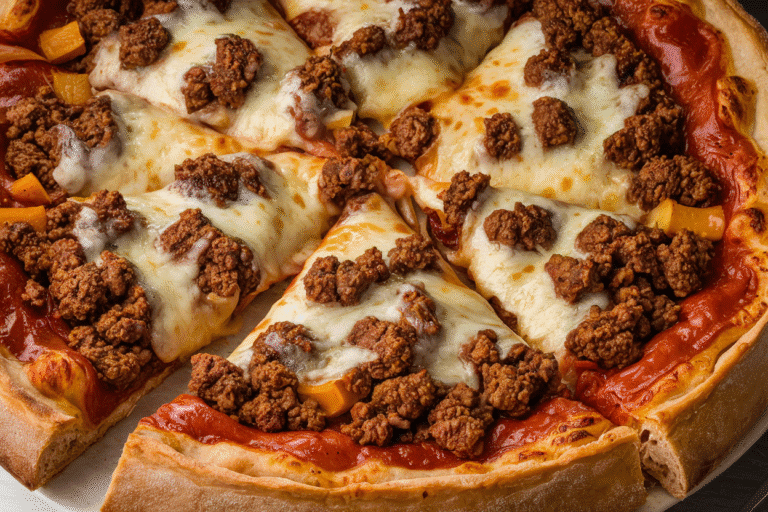
- Add Toppings: Transfer the shaped dough to a pizza peel dusted with semolina flour. Quickly add your favorite toppings. Don’t overload the pizza, as this can make it difficult to bake properly.
- Bake the Pizza: Carefully slide the pizza onto the preheated pizza stone or baking steel. Bake for 8-12 minutes, or until the crust is golden brown and the cheese is melted and bubbly.
- Cool and Enjoy: Remove the pizza from the oven and let it cool for a few minutes before slicing and serving.
Tips for Success
- Use a Kitchen Scale: Measuring ingredients by weight is more accurate than measuring by volume, especially for flour.
- Don’t Overwork the Dough: Over-kneading can result in a tough crust. Knead until the dough is smooth and elastic, but not overly stiff.
- Be Patient with the Fermentation: Sourdough baking takes time. Don’t rush the fermentation process. The longer the dough ferments, the more flavorful it will be.
- Adjust Water as Needed: The amount of water needed may vary depending on the humidity and the type of flour you are using. Add more water, a tablespoon at a time, if the dough seems too dry.
- Use High-Quality Ingredients: The quality of your ingredients will directly impact the flavor of your pizza. Use good-quality bread flour, olive oil, and toppings.
- Get Your Stone HOT: A properly preheated pizza stone or baking steel is essential for achieving a crispy crust.
- Experiment with Toppings: Don’t be afraid to get creative with your toppings! Try different combinations of cheeses, vegetables, and meats.
Storage Instructions
Unbaked Dough: Unbaked pizza dough can be stored in the refrigerator for up to 3 days. After 3 days, the dough may become too sour. You can also freeze the dough for up to 2 months. To freeze, wrap each dough ball tightly in plastic wrap and then place it in a freezer-safe bag. Thaw the dough in the refrigerator overnight before using.
Baked Pizza: Leftover pizza can be stored in the refrigerator for up to 3 days. Reheat in the oven or a skillet for best results. Microwaving can make the crust soggy.
FAQ
Q: My starter isn’t very active. Can I still use it?
A: It’s best to use a very active starter for this recipe. If your starter is sluggish, feed it regularly for a few days until it doubles in size within 4-8 hours after feeding.
Q: Can I use all-purpose flour instead of bread flour?
A: While you can use all-purpose flour, the crust will be less chewy and may not rise as much. Bread flour is highly recommended for the best results.
Q: My dough is too sticky. What should I do?
A: If the dough is too sticky, add a little more flour, one tablespoon at a time, while kneading. Be careful not to add too much flour, as this can make the crust tough.
Q: Can I bake the pizza on a baking sheet instead of a pizza stone?
A: Yes, you can bake the pizza on a baking sheet, but the crust won’t be as crispy. For best results, preheat the baking sheet in the oven before placing the pizza on it.
Q: My pizza is burning on the bottom but the top is not cooked. What can I do?
A: This often happens when the stone is too hot. Try lowering the rack in your oven, or reducing the oven temperature slightly for the last few minutes of baking.
Conclusion
Congratulations! You’re now equipped with the knowledge and recipe to create truly exceptional sourdough pizza at home. Remember, sourdough baking is a journey, not a destination. Don’t be discouraged if your first attempt isn’t perfect. Keep practicing, experimenting, and most importantly, enjoy the process. With a little patience and dedication, you’ll be churning out pizzeria-quality pizzas that will impress your friends and family. So, fire up that oven, gather your favorite toppings, and get ready to experience the joy of homemade sourdough pizza!