
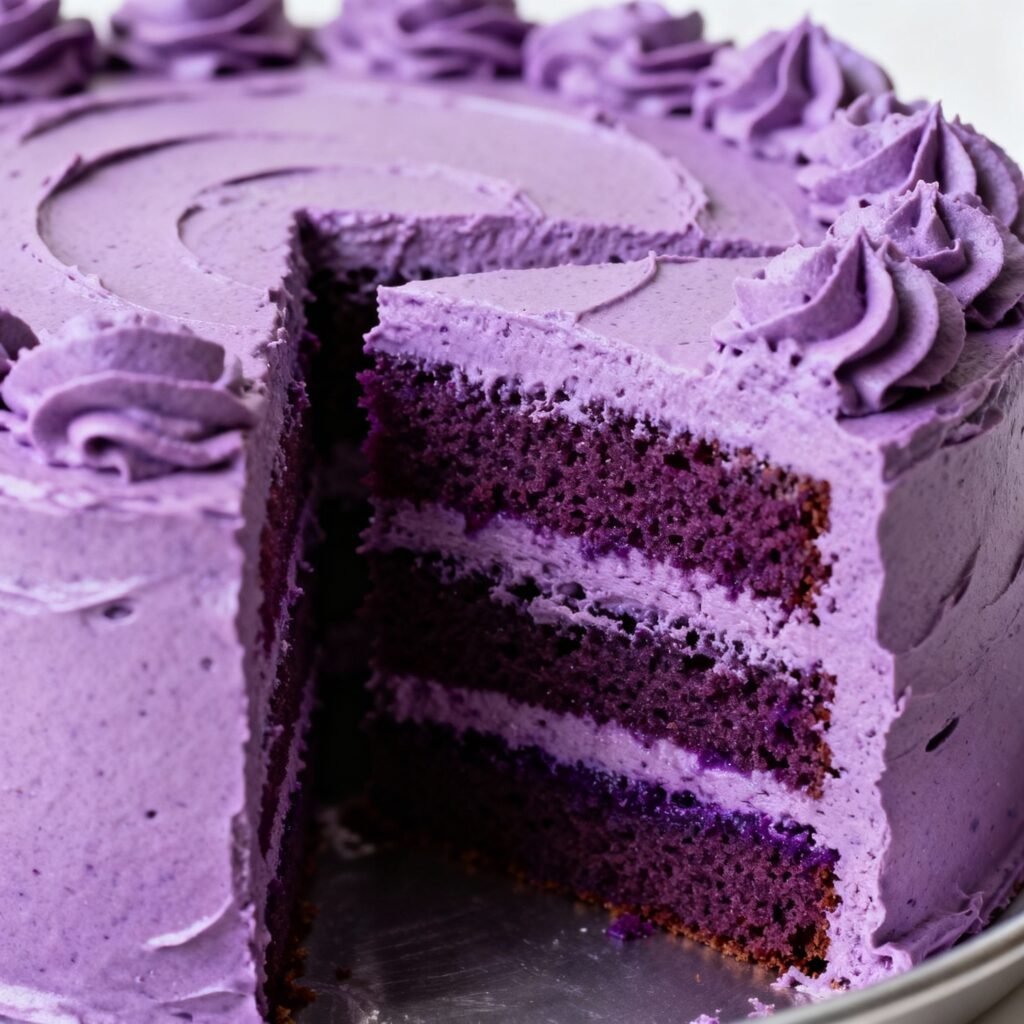
Purple Velvet Cake Recipe: A Royal Treat for Your Taste Buds!
Imagine slicing into a cake so vibrant and beautiful, it feels like a celebration in every bite. That’s precisely what this Purple Velvet Cake delivers! Taking the classic, comforting flavors of red velvet and elevating them with a stunning purple hue, this cake is guaranteed to be a showstopper at any occasion. Whether you’re celebrating a birthday, a holiday, or simply want to indulge in something extraordinary, this recipe is your guide to creating a moist, tender, and visually captivating dessert that will have everyone asking for seconds (and the recipe!). Forget boring cakes; prepare to experience a royal treat that’s as delightful to look at as it is to eat.
Why This Recipe Works
This Purple Velvet Cake recipe isn’t just about adding food coloring. It’s about understanding the science behind baking and how to achieve the perfect texture and flavor. Here’s why this recipe is a winner:
- Buttermilk: The acidity in buttermilk reacts with the baking soda, creating a light and airy crumb. It also adds a subtle tang that complements the sweetness of the cake.
- Vinegar: Just like buttermilk, vinegar helps to activate the baking soda, resulting in a beautiful rise and tender texture.
- Cocoa Powder: A small amount of unsweetened cocoa powder adds a subtle chocolatey depth to the cake, enhancing the overall flavor profile without overpowering the purple color.
- Oil: Using oil instead of butter ensures a moist and tender cake that stays fresh for longer.
- Cream Cheese Frosting: The tangy cream cheese frosting provides the perfect counterbalance to the sweetness of the cake, creating a harmonious balance of flavors.
- Gel Food Coloring: Using gel food coloring provides the most vibrant and consistent color without affecting the cake’s texture. Liquid food coloring can dilute the batter.
Ingredients
For the Cake:
- 2 ½ cups all-purpose flour
- 2 cups granulated sugar
- 1 teaspoon baking soda
- 1 teaspoon baking powder
- ½ teaspoon salt
- 2 tablespoons unsweetened cocoa powder
- 1 cup vegetable oil
- 1 cup buttermilk
- 2 large eggs
- 2 teaspoons vanilla extract
- 1 teaspoon white vinegar
- 1-2 tablespoons purple gel food coloring (depending on desired intensity)
For the Cream Cheese Frosting:
- 8 ounces cream cheese, softened
- ½ cup (1 stick) unsalted butter, softened
- 4 cups powdered sugar
- 2 teaspoons vanilla extract
- Pinch of salt
Instructions
Making the Cake:
- Preheat and Prepare: Preheat your oven to 350°F (175°C). Grease and flour two 9-inch round cake pans. You can also line the bottoms with parchment paper for easy removal.
- Combine Dry Ingredients: In a large bowl, whisk together the flour, sugar, baking soda, baking powder, salt, and cocoa powder.
- Combine Wet Ingredients: In a separate bowl, whisk together the oil, buttermilk, eggs, and vanilla extract.
- Combine Wet and Dry: Gradually add the wet ingredients to the dry ingredients, mixing on low speed until just combined. Be careful not to overmix.
- Add Vinegar and Coloring: Stir in the vinegar and purple gel food coloring until the batter is evenly colored. Start with 1 tablespoon and add more until you reach your desired shade of purple.
- Divide and Bake: Divide the batter evenly between the prepared cake pans. Bake for 25-30 minutes, or until a wooden skewer inserted into the center comes out clean.
- Cool Completely: Let the cakes cool in the pans for 10 minutes before inverting them onto a wire rack to cool completely.
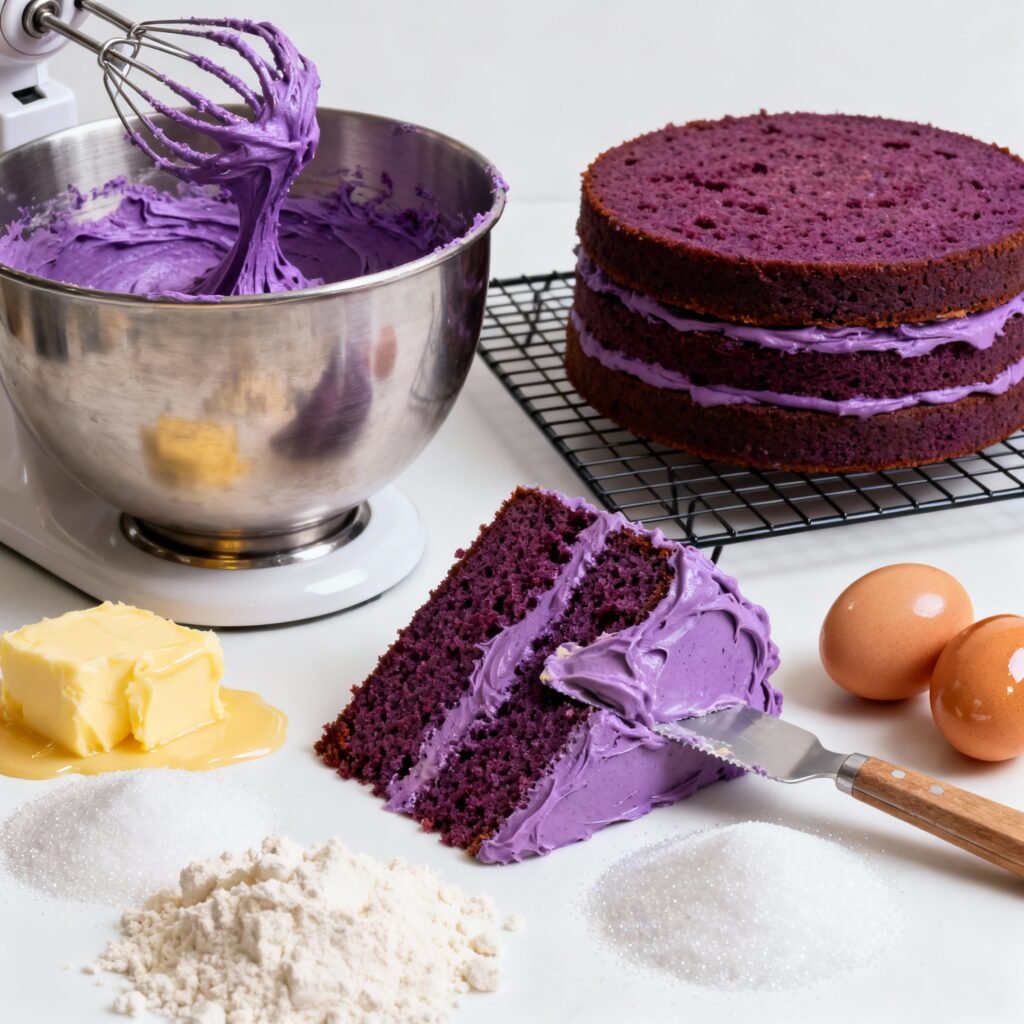
Making the Cream Cheese Frosting:
- Cream Butter and Cream Cheese: In a large bowl, beat the softened cream cheese and butter together until smooth and creamy.
- Add Powdered Sugar: Gradually add the powdered sugar, one cup at a time, beating on low speed until combined.
- Add Vanilla and Salt: Stir in the vanilla extract and salt.
- Whip Until Fluffy: Beat on medium-high speed for 2-3 minutes, or until the frosting is light and fluffy.
Assembling the Cake:
- Level the Cakes: If necessary, use a serrated knife to level the tops of the cooled cakes.
- Frost the First Layer: Place one cake layer on a serving plate or cake stand. Spread a generous layer of cream cheese frosting over the top.
- Add the Second Layer: Carefully place the second cake layer on top of the frosting.
- Frost the Entire Cake: Frost the top and sides of the cake with the remaining cream cheese frosting.
- Decorate (Optional): Decorate the cake as desired. You can use sprinkles, edible glitter, fresh berries, or even a simple swirl pattern with the frosting.
- Chill: Chill the cake in the refrigerator for at least 30 minutes before serving to allow the frosting to set.
Tips for Success
- Room Temperature Ingredients: Using room temperature ingredients, especially the butter and cream cheese for the frosting, will ensure a smooth and creamy texture.
- Don’t Overmix: Overmixing the cake batter can result in a tough cake. Mix until just combined.
- Accurate Oven Temperature: An accurate oven temperature is crucial for even baking. Use an oven thermometer to ensure your oven is properly calibrated.
- Cool Completely: Make sure the cakes are completely cool before frosting them. Otherwise, the frosting will melt.
- Gel Food Coloring: Gel food coloring provides the most vibrant and consistent color without affecting the cake’s texture. Liquid food coloring can dilute the batter.
- Taste the Frosting: After making the frosting, taste it and adjust the sweetness or tanginess to your preference.
- Crumb Coat: Applying a thin “crumb coat” of frosting before the final layer will help to trap any loose crumbs and create a smooth surface.
Storage Instructions
Store the frosted Purple Velvet Cake in an airtight container in the refrigerator for up to 3-4 days. Let the cake sit at room temperature for about 30 minutes before serving to soften the frosting slightly.
FAQ
Q: Can I use a different type of frosting?
A: Absolutely! While cream cheese frosting is the classic pairing for velvet cakes, you can also use a vanilla buttercream, a chocolate ganache, or even a simple glaze.
Q: Can I make this cake ahead of time?
A: Yes, you can bake the cake layers a day or two in advance. Wrap them tightly in plastic wrap and store them at room temperature or in the refrigerator. You can also make the frosting ahead of time and store it in the refrigerator. Let it come to room temperature and re-whip it before using.
Q: Can I freeze this cake?
A: Yes, you can freeze the frosted cake. Wrap it tightly in plastic wrap and then in aluminum foil. Freeze for up to 2-3 months. Thaw in the refrigerator overnight before serving.
Q: Can I use a different size cake pan?
A: Yes, but you may need to adjust the baking time. If using smaller pans, the baking time will be shorter. If using a larger pan, the baking time will be longer. Keep an eye on the cake and check for doneness with a wooden skewer.
Q: What if I don’t have buttermilk?
A: You can make a buttermilk substitute by adding 1 tablespoon of white vinegar or lemon juice to 1 cup of milk. Let it sit for 5 minutes before using.
Conclusion
This Purple Velvet Cake recipe is more than just a dessert; it’s an experience. The vibrant color, the moist texture, and the tangy cream cheese frosting combine to create a truly unforgettable treat. Whether you’re a seasoned baker or just starting out, this recipe is easy to follow and guaranteed to impress. So, go ahead and bake this royal delight – your taste buds (and your guests) will thank you! Enjoy!