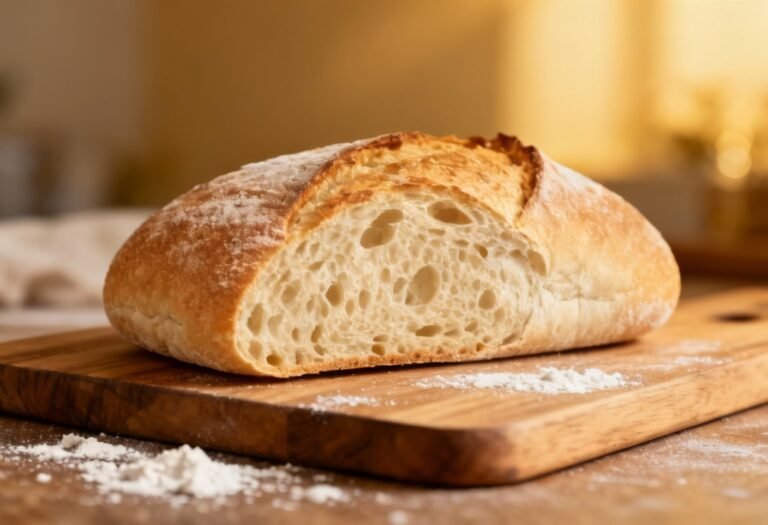
Quick Sourdough Focaccia Recipe: No-Knead Wonder!
Craving the tangy, chewy goodness of sourdough focaccia but dread the long fermentation times? This recipe is your answer! We’re cutting down the proofing time without sacrificing that signature sourdough flavor and airy texture. This quick sourdough focaccia recipe delivers a stunning, flavorful bread perfect for sandwiches, appetizers, or simply enjoying with a drizzle of olive oil. Get ready to impress your friends and family with this surprisingly simple and satisfying bake!
Why This Recipe Works
This recipe works because it leverages a few key techniques to accelerate the sourdough process without compromising on flavor and texture:
- Higher Hydration: A higher hydration dough (more water relative to flour) promotes a more open crumb structure and faster fermentation. The extra water helps the yeast work more efficiently.
- Active Sourdough Starter: Using a very active and bubbly sourdough starter is crucial. This ensures a strong and rapid rise. Make sure your starter has doubled in size after feeding before using it.
- Warm Environment: Proofing the dough in a warm environment speeds up the fermentation process. A slightly warm oven (turned off!) or a sunny spot in your kitchen can work wonders.
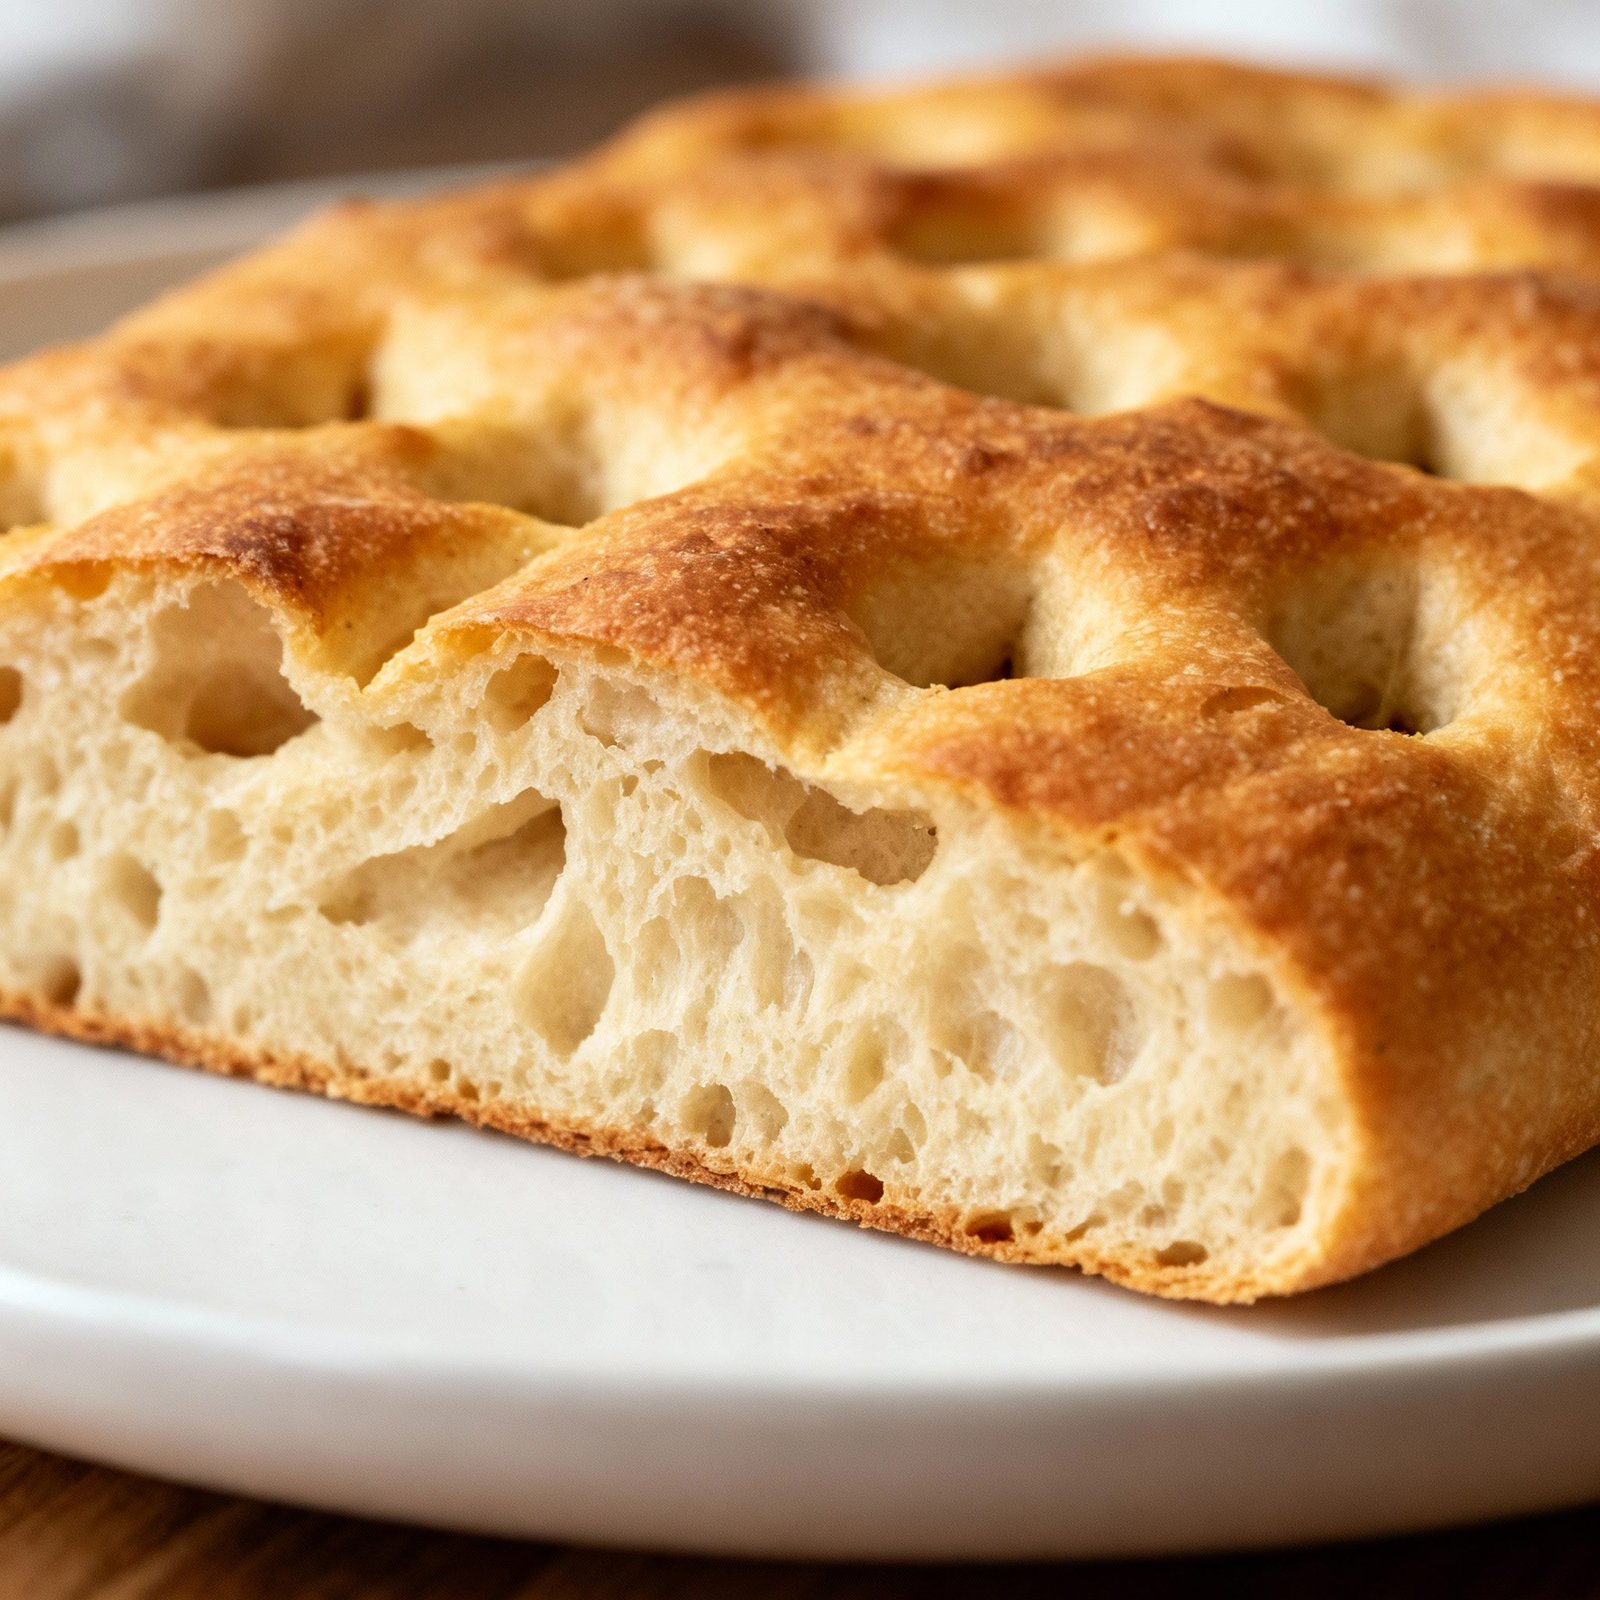
- No-Knead Method: The no-knead method simplifies the process and allows the gluten to develop gradually through time and hydration, resulting in a wonderfully chewy texture.
- Generous Olive Oil: Olive oil not only adds flavor but also contributes to a crispy crust and tender crumb. Don’t be shy with it!
Ingredients
- 300g (1 1/4 cups) active sourdough starter (100% hydration)
- 400g (3 1/3 cups) bread flour (or all-purpose flour)
- 350g (1 1/2 cups) lukewarm water
- 10g (2 teaspoons) salt
- 50ml (1/4 cup) olive oil, plus extra for greasing and drizzling
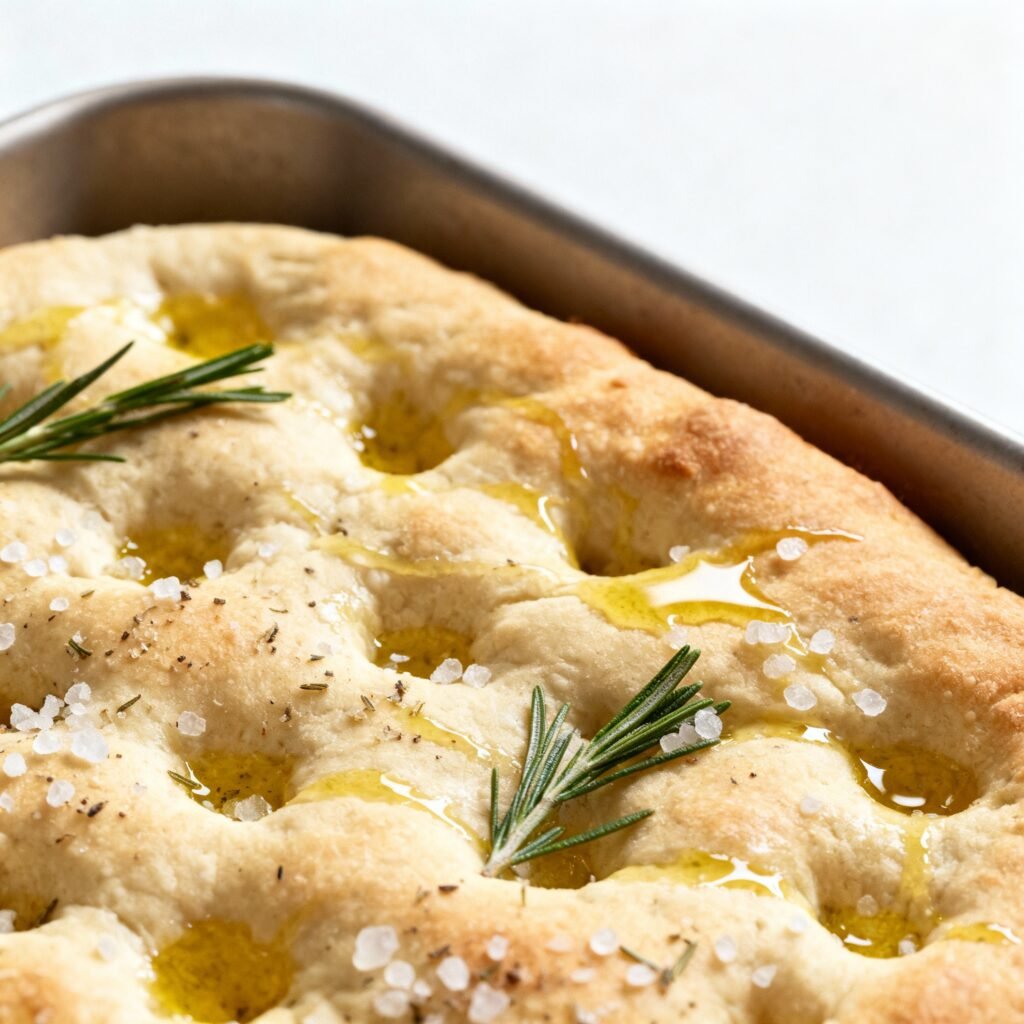
- Optional toppings: Fresh rosemary, flaky sea salt, cherry tomatoes, olives, red onion, garlic

Instructions
- Combine Ingredients: In a large bowl, combine the active sourdough starter, lukewarm water, and salt. Mix well with a wooden spoon or spatula until the starter is fully dissolved.
- Add Flour: Add the bread flour to the wet ingredients. Mix until just combined. The dough will be shaggy and sticky – that’s perfectly fine!
- First Rise (Bulk Fermentation): Cover the bowl with plastic wrap or a damp towel and let it rest for 30 minutes. This is called the autolyse, and it helps the flour fully hydrate.
- Stretch and Folds (Optional but Recommended): After 30 minutes, perform a series of stretch and folds. Gently grab a portion of the dough, stretch it upwards, and fold it over onto itself. Rotate the bowl and repeat this process 4-5 times. Cover the bowl and let it rest for another 30 minutes. Repeat the stretch and fold process 2-3 more times, with 30-minute rests in between. This strengthens the gluten and improves the dough’s structure. If you’re short on time, you can skip the stretch and folds, but they’ll significantly improve the final result.
- Second Rise (Proofing): After the final stretch and fold, cover the bowl and let the dough rise in a warm place for 2-4 hours, or until it has nearly doubled in size. The exact time will depend on the temperature of your environment and the activity of your starter. Look for bubbles on the surface and a jiggly texture.
- Prepare the Pan: Generously grease a 9×13 inch baking pan with olive oil. Make sure to get the corners and sides well-oiled.
- Transfer to Pan: Gently pour the dough into the prepared pan. It will spread out on its own, but you can help it along by gently stretching it with your fingertips.
- Final Proof: Cover the pan with plastic wrap or a damp towel and let the dough proof for another 30-60 minutes, or until it has puffed up slightly.
- Dimple and Top: Preheat your oven to 450°F (232°C). Once the dough has proofed, drizzle generously with olive oil. Use your fingertips to create deep dimples all over the surface of the dough. This is crucial for that classic focaccia texture! Sprinkle with flaky sea salt and any other desired toppings, such as fresh rosemary, cherry tomatoes, olives, red onion, or garlic.
- Bake: Bake for 20-25 minutes, or until the focaccia is golden brown and the bottom sounds hollow when tapped.
- Cool and Serve: Let the focaccia cool in the pan for a few minutes before transferring it to a wire rack to cool completely. Slice and serve warm or at room temperature.
Tips for Success
- Use a Kitchen Scale: For the most accurate results, use a kitchen scale to measure your ingredients. Baking is a science!
- Active Starter is Key: Make sure your sourdough starter is very active and bubbly before using it. A sluggish starter will result in a dense and flat focaccia.
- Don’t Overmix: Overmixing the dough can lead to a tough focaccia. Mix until just combined.
- Adjust Proofing Time: The proofing time will vary depending on the temperature of your environment. Keep an eye on the dough and adjust the time accordingly.
- Be Generous with Olive Oil: Olive oil is essential for flavor and texture. Don’t be afraid to use plenty of it!
- Experiment with Toppings: Get creative with your toppings! The possibilities are endless.
- Don’t Skip the Dimples: The dimples are what give focaccia its signature texture. Make sure to create deep dimples all over the surface of the dough.
Storage Instructions
Store leftover focaccia in an airtight container at room temperature for up to 2 days. For longer storage, wrap tightly in plastic wrap and freeze for up to 2 months. To reheat, thaw completely and warm in a preheated oven at 350°F (175°C) for 5-10 minutes, or until heated through.
FAQ
Q: Can I use all-purpose flour instead of bread flour?
A: Yes, you can use all-purpose flour, but bread flour will give you a chewier and more structured focaccia. If using all-purpose flour, you may need to adjust the hydration slightly.
Q: My dough is too sticky. What should I do?
A: Sourdough focaccia dough is naturally sticky. Resist the urge to add more flour, as this will result in a dry focaccia. Wet your hands with water or olive oil when handling the dough.
Q: My focaccia didn’t rise very much. What went wrong?
A: Several factors could contribute to this: your starter might not have been active enough, the proofing environment might have been too cold, or the dough might not have been proofed for long enough. Make sure your starter is bubbly and active, proof the dough in a warm place, and be patient!
Q: Can I make this recipe without a sourdough starter?
A: This recipe is specifically designed for sourdough. To make a similar focaccia without sourdough, you’ll need to use commercial yeast.
Conclusion
This quick sourdough focaccia recipe is a game-changer for anyone who loves the taste of sourdough but doesn’t have a lot of time. With its simple ingredients, no-knead method, and relatively short proofing time, you can enjoy a delicious and impressive focaccia in just a few hours. So, grab your starter, gather your ingredients, and get ready to bake a batch of this irresistible bread. Happy baking!