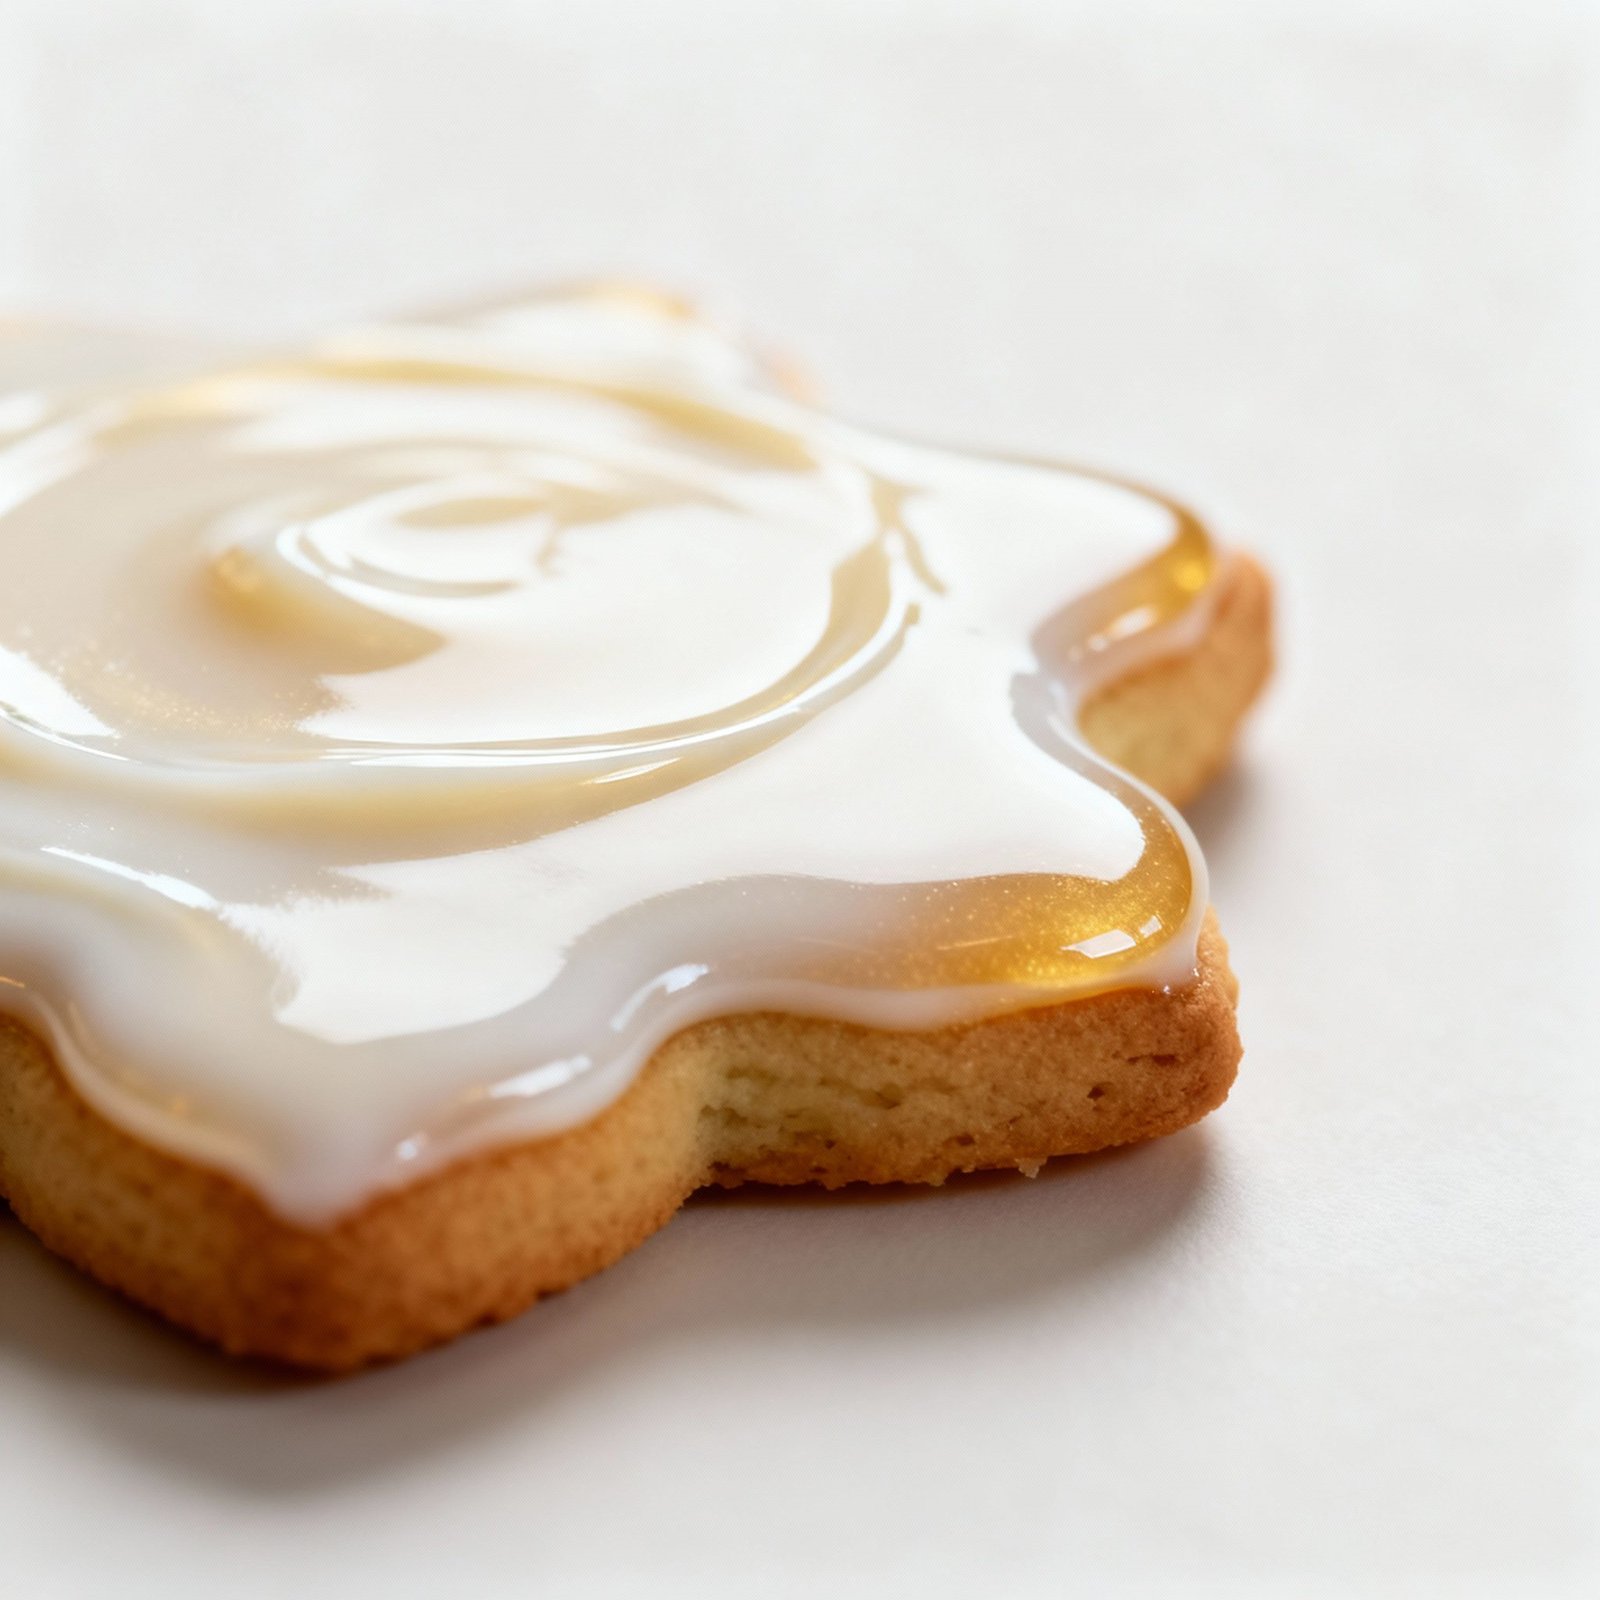
Royal Icing Recipe with Egg Whites: The Perfect Glaze Every Time!
Royal icing, the pristine, porcelain-like glaze that transforms ordinary baked goods into edible works of art. From adorning gingerbread houses with intricate details to creating delicate floral decorations on cookies, royal icing is a baker’s best friend. This recipe, using egg whites, yields a smooth, stable, and incredibly versatile icing that’s perfect for both beginners and seasoned decorators. Forget chalky, uneven results; this recipe guarantees a flawless finish every time.
Why This Recipe Works
This royal icing recipe stands out for several key reasons:
- Egg Whites: Using fresh egg whites (or pasteurized egg whites) provides the structure and stability needed for detailed decorating. The proteins in the egg whites create a strong network when whipped, resulting in an icing that holds its shape beautifully.
- Powdered Sugar: The finely ground texture of powdered sugar is crucial for a smooth, lump-free icing. Sifting the powdered sugar ensures that no hidden clumps ruin your final product.
- Lemon Juice: A touch of lemon juice not only brightens the flavor of the icing but also helps to break down the proteins in the egg whites, resulting in a smoother consistency and a slightly more pliable icing. It also acts as a natural preservative.
- Precise Ratio: The carefully balanced ratio of ingredients ensures a consistent result, allowing you to achieve the desired consistency for different decorating techniques, from outlining to flooding.
- Easy to Adjust: This recipe is easily adaptable. You can adjust the amount of water to achieve different consistencies, making it suitable for a wide range of decorating projects.
Ingredients
- 4 large egg whites (or 1/2 cup pasteurized egg whites)
- 4 cups (1 pound) powdered sugar, sifted
- 2 tablespoons lemon juice
- 2-4 tablespoons water (or more, as needed)
- Gel food coloring (optional)
Instructions
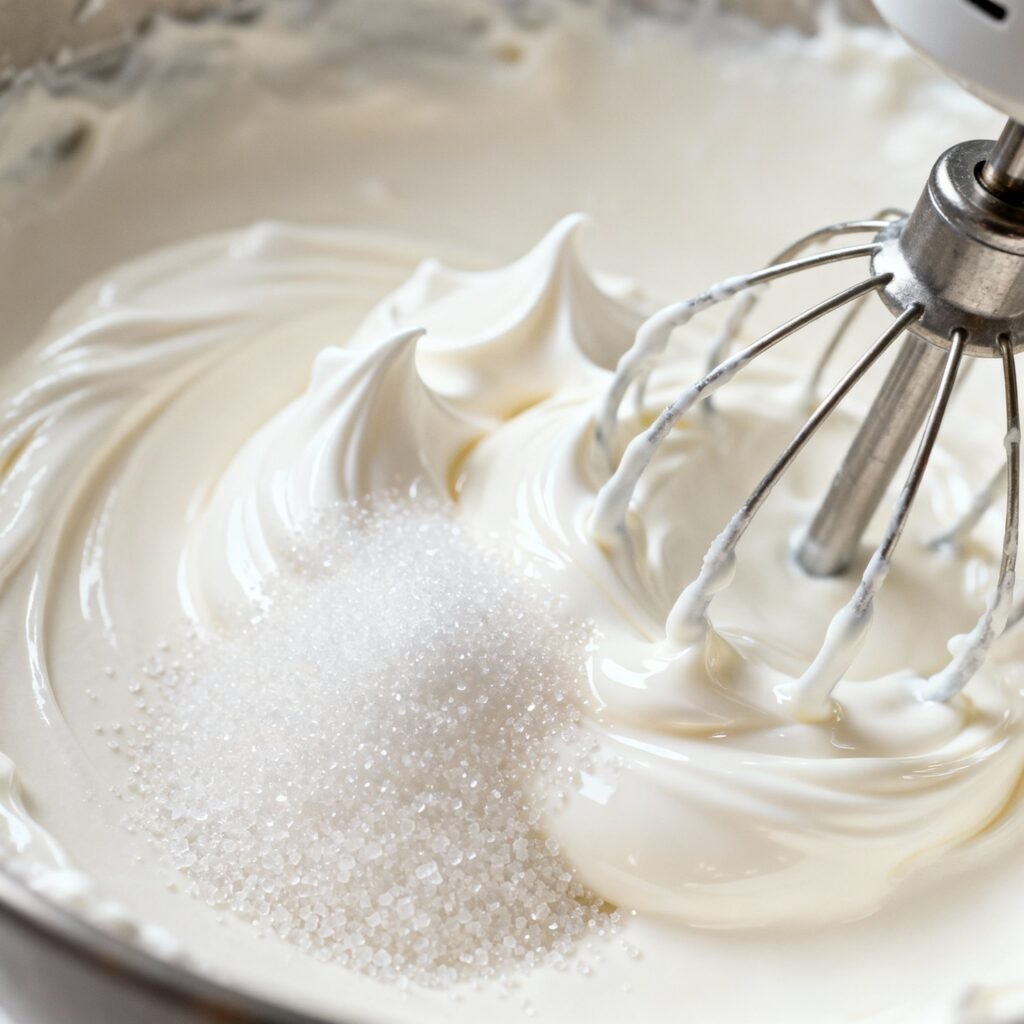
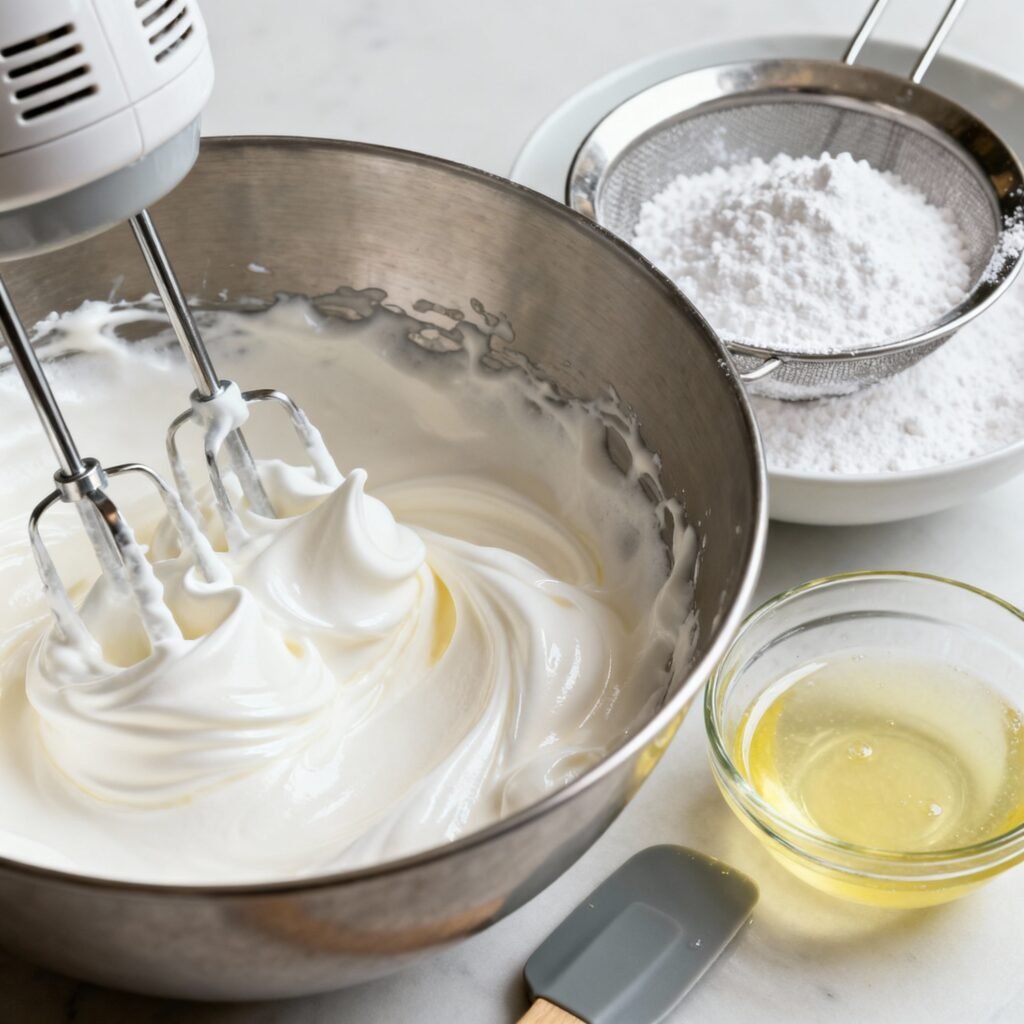
- Prepare the Egg Whites: In a clean, grease-free bowl of a stand mixer fitted with the whisk attachment (or in a large bowl if using a hand mixer), beat the egg whites until they form soft peaks. Be very careful to avoid any egg yolk getting into the egg whites, as this can prevent proper whipping.
- Add Powdered Sugar Gradually: Gradually add the sifted powdered sugar to the egg whites, one cup at a time, mixing on low speed. This prevents the sugar from flying all over your kitchen.
- Incorporate Lemon Juice: Add the lemon juice and continue mixing on low speed until fully incorporated.
- Adjust Consistency: Add the water, one tablespoon at a time, until the icing reaches your desired consistency. For outlining, you’ll want a thicker consistency that holds its shape. For flooding, you’ll want a thinner consistency that spreads easily. Test the consistency by lifting the whisk and letting the icing fall back into the bowl. The ribbon of icing should disappear back into the mixture in about 10-15 seconds for flooding and hold a peak for outlining.
- Color the Icing (Optional): If desired, divide the icing into separate bowls and add gel food coloring, one drop at a time, until you achieve your desired shade. Mix well to ensure even color distribution. Remember that the color will deepen slightly as the icing sits.
- Prevent Crusting: Transfer the icing to airtight containers or cover the bowls tightly with plastic wrap, pressing the plastic wrap directly onto the surface of the icing. This prevents the icing from crusting over while you’re working.
Tips for Success
- Use Fresh or Pasteurized Egg Whites: Fresh egg whites provide the best volume and stability. If you’re concerned about using raw egg whites, pasteurized egg whites are a safe and effective alternative.
- Sift the Powdered Sugar: Sifting is crucial! This removes any lumps and ensures a smooth, professional-looking icing.
- Grease-Free Bowl and Whisk: Make sure your mixing bowl and whisk attachment are completely clean and grease-free. Even a tiny amount of grease can prevent the egg whites from whipping properly.
- Gradual Addition of Powdered Sugar: Adding the powdered sugar gradually prevents a cloud of sugar from erupting in your kitchen and ensures that it’s fully incorporated into the egg whites.
- Adjust Water Carefully: Add water sparingly, one tablespoon at a time, until you achieve the desired consistency. It’s easier to add more water than to take it away.
- Test the Consistency: The “10-second rule” is a good guideline for flooding icing. However, you may need to adjust the consistency depending on your specific decorating project.
- Prevent Crusting: Royal icing dries quickly, so it’s essential to keep it covered when not in use. Press plastic wrap directly onto the surface of the icing to prevent a crust from forming.
- Practice Makes Perfect: Don’t be discouraged if your first attempt isn’t perfect. Royal icing decorating takes practice. Start with simple designs and gradually work your way up to more complex techniques.
- Troubleshooting:
- Icing is too thick: Add a tiny amount of water, mixing well after each addition, until you reach the desired consistency.
- Icing is too thin: Add a small amount of sifted powdered sugar, mixing well after each addition, until you reach the desired consistency.
- Icing is grainy: This usually happens if the powdered sugar wasn’t sifted properly. Unfortunately, there’s not much you can do to fix it at this point. Next time, be sure to sift your powdered sugar!
Storage Instructions
Royal icing can be stored in an airtight container at room temperature for up to 2 weeks. It’s best to store it in the refrigerator if you’re using fresh egg whites, but bring it to room temperature before using. Before using stored icing, give it a good stir to ensure it’s smooth and consistent. If it has become too thick, add a tiny amount of water to thin it out.
FAQ
Q: Can I use meringue powder instead of egg whites?
A: Yes, you can substitute meringue powder for egg whites. Follow the instructions on the meringue powder package for the correct ratio of meringue powder to water.
Q: Can I freeze royal icing?
A: Yes, royal icing can be frozen for up to 3 months. Thaw it completely in the refrigerator before using, and give it a good stir to restore its smooth consistency. You may need to add a small amount of water to thin it out after thawing.
Q: What is the difference between outlining and flooding icing?
A: Outlining icing is a thicker consistency that’s used to create a border around the edge of a cookie. Flooding icing is a thinner consistency that’s used to fill in the outlined area.
Q: How do I prevent colors from bleeding together when flooding?
A: Let the outline icing dry completely before flooding the cookie. This will create a barrier that prevents the colors from bleeding together. You can also use a toothpick or scribe tool to gently guide the icing into place and pop any air bubbles.
Q: Why is my royal icing cracking?
A: Royal icing can crack if it dries too quickly. To prevent this, try covering the decorated cookies with a damp paper towel while they dry.
Conclusion
Mastering royal icing is a rewarding journey that opens up a world of creative possibilities in the kitchen. With this reliable recipe and helpful tips, you’ll be well on your way to creating stunning and delicious treats that are sure to impress. So, gather your ingredients, unleash your inner artist, and get ready to transform your baking creations into edible masterpieces!