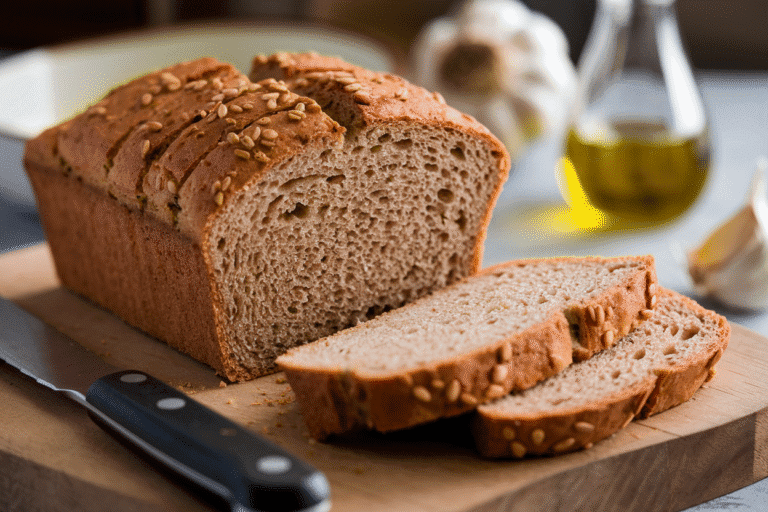
Rye Bread Recipe for Bread Machine: Effortless Flavor at Home!
Craving the distinctive, slightly tangy taste of rye bread but don’t want the hassle of traditional baking? This recipe is your answer! Imagine waking up to the aroma of freshly baked rye, with its characteristic dark crust and soft, chewy crumb. Thanks to your trusty bread machine, achieving bakery-quality rye bread at home is now easier than ever. This recipe is designed for simplicity and consistent results, delivering a delicious loaf every time. Whether you’re a seasoned bread maker or a complete beginner, this guide will walk you through each step, ensuring a successful and satisfying baking experience. Get ready to enjoy the comforting flavor of homemade rye bread with minimal effort!
Why This Recipe Works
This bread machine rye bread recipe is specifically formulated to take advantage of the strengths of your bread machine. Here’s why it works so well:
- Optimized Hydration: The water-to-flour ratio is carefully balanced to create a dough that’s moist enough for a good rise but not too sticky for the bread machine to handle.
- Yeast Activation: The recipe calls for proofing the yeast in warm water with a touch of sugar. This ensures the yeast is active and ready to leaven the dough, leading to a consistent and reliable rise.
- Rye Flour Ratio: We use a blend of rye flour and bread flour. Rye flour, while flavorful, doesn’t develop gluten as well as bread flour. Bread flour provides the necessary structure, resulting in a loaf that holds its shape beautifully.
- Bread Machine Cycle: This recipe is designed for the basic bread cycle on most bread machines. The timing and temperature are perfectly suited for developing the flavors and textures of rye bread.
- Simple Ingredients: We avoid overly complex ingredients, focusing on the core components that contribute to the authentic rye flavor. This makes the recipe accessible and easy to follow.
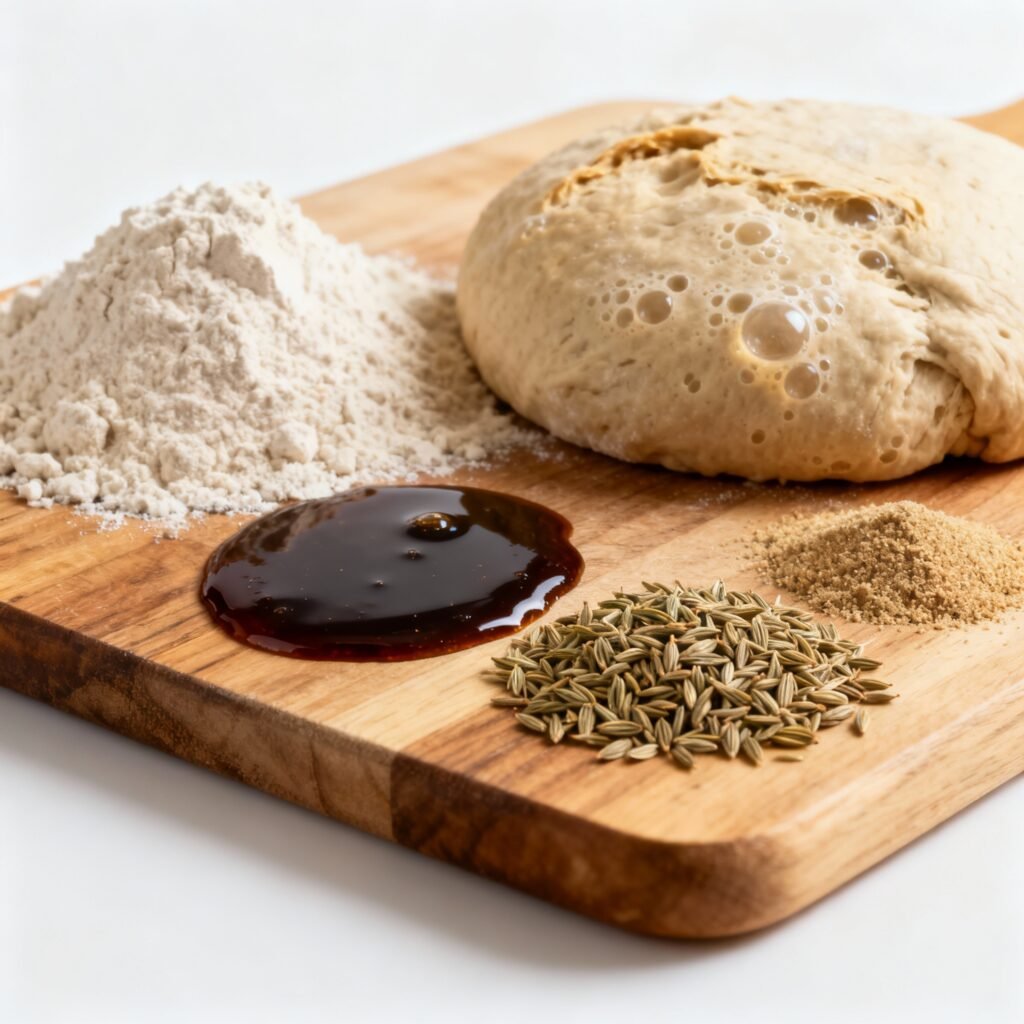
Ingredients
- 1 cup warm water (105-115°F)
- 1 teaspoon sugar
- 2 teaspoons active dry yeast
- 1 tablespoon olive oil
- 1 ½ cups bread flour
- 1 cup rye flour
- 1 ½ teaspoons salt
- 1 tablespoon caraway seeds (optional, but highly recommended)
Instructions
- Proof the Yeast: In a small bowl, combine the warm water and sugar. Sprinkle the yeast over the top and let it stand for 5-10 minutes, or until foamy. This step ensures your yeast is active and will properly leaven the bread.
- Add Wet Ingredients to Bread Machine: Pour the olive oil into the bread machine pan. Then, add the proofed yeast mixture.
- Add Dry Ingredients: Add the bread flour, rye flour, and salt to the bread machine pan. Make sure the salt is separate from the yeast. The easiest way to do this is to put the salt in one corner of the pan and the yeast mixture in the middle.
- Add Caraway Seeds (Optional): If using, add the caraway seeds to the bread machine pan.
- Select Bread Machine Settings: Place the bread machine pan into the bread machine. Select the basic bread cycle. Choose your desired crust color (light, medium, or dark). For loaf size, select the appropriate setting for your machine (usually 1.5 or 2 pound loaf).
- Start the Bread Machine: Press the start button to begin the baking process.
- Monitor the Dough (Optional): During the kneading phase, check the dough’s consistency. If it appears too dry, add a tablespoon of water at a time until it forms a smooth, elastic ball. If it’s too wet, add a tablespoon of bread flour at a time.
- Cool the Bread: Once the bread machine cycle is complete, carefully remove the bread pan from the machine. Turn the loaf out onto a wire rack and let it cool completely before slicing. This is crucial for preventing a gummy texture.
Tips for Success
- Use Fresh Yeast: Expired yeast can lead to a flat, dense loaf. Check the expiration date on your yeast package before using.
- Measure Accurately: Precise measurements are essential for successful bread baking. Use measuring cups and spoons specifically designed for baking.
- Adjust Hydration as Needed: The amount of water needed can vary depending on the humidity in your environment. Adjust the water or flour slightly as needed to achieve a smooth, elastic dough.
- Don’t Open the Lid: Resist the temptation to open the bread machine lid during the baking process. This can cause the temperature to drop and affect the rise of the bread.
- Cool Completely: Allow the bread to cool completely on a wire rack before slicing. This allows the crumb to set and prevents a gummy texture.
- Experiment with Flavors: Once you’re comfortable with the basic recipe, experiment with adding other flavors, such as fennel seeds, anise seeds, or dried onion flakes.
- Use a Kitchen Scale: For even more accurate measurements, consider using a kitchen scale to weigh your ingredients. This is especially helpful for measuring flour.
- Check Internal Temperature: If you’re unsure if the bread is fully cooked, use an instant-read thermometer to check the internal temperature. It should reach 200-210°F (93-99°C).
Storage Instructions
To keep your rye bread fresh, store it properly:
- Room Temperature: Store the cooled bread in a bread box or airtight container at room temperature for up to 3 days.
- Freezer: For longer storage, slice the bread and wrap it tightly in plastic wrap, then place it in a freezer bag. Frozen rye bread can be stored for up to 2 months. To thaw, let it sit at room temperature for a few hours or toast it directly from frozen.

FAQ
Q: Can I use instant yeast instead of active dry yeast?
A: Yes, you can. You can skip the proofing step and add the instant yeast directly to the dry ingredients. Use the same amount of instant yeast as active dry yeast.
Q: Can I use dark rye flour instead of light rye flour?
A: Yes, you can. Dark rye flour will give the bread a more intense rye flavor and a darker color. Be aware that dark rye flour may absorb more water, so you may need to adjust the hydration slightly.
Q: My bread is too dense. What went wrong?
A: Several factors can contribute to a dense loaf. Make sure your yeast is fresh and active. Accurate measurements are also crucial. Over-kneading can also lead to a dense loaf, so avoid opening the lid of the bread machine during the kneading process.
Q: Can I add a sourdough starter to this recipe?
A: Yes, you can! For a sourdough rye, reduce the commercial yeast to 1 teaspoon and add about 1 cup (227g) of active sourdough starter. You may need to adjust the hydration slightly depending on the consistency of your starter.
Q: My crust is too hard. How can I prevent this?
A: Try selecting a lighter crust setting on your bread machine. You can also remove the bread from the machine a few minutes before the end of the cycle. Another trick is to lightly brush the crust with melted butter or olive oil after baking to soften it.
Conclusion
Congratulations! You’ve successfully baked a delicious loaf of rye bread in your bread machine. This recipe is a fantastic way to enjoy the unique flavor and texture of rye bread without the complexities of traditional baking. With its simple ingredients and straightforward instructions, this recipe is perfect for both beginners and experienced bakers alike. Enjoy your homemade rye bread fresh, toasted, or as part of your favorite sandwich. The possibilities are endless! Now, go ahead and experiment with different variations and enjoy the satisfaction of creating your own delicious rye bread masterpiece.