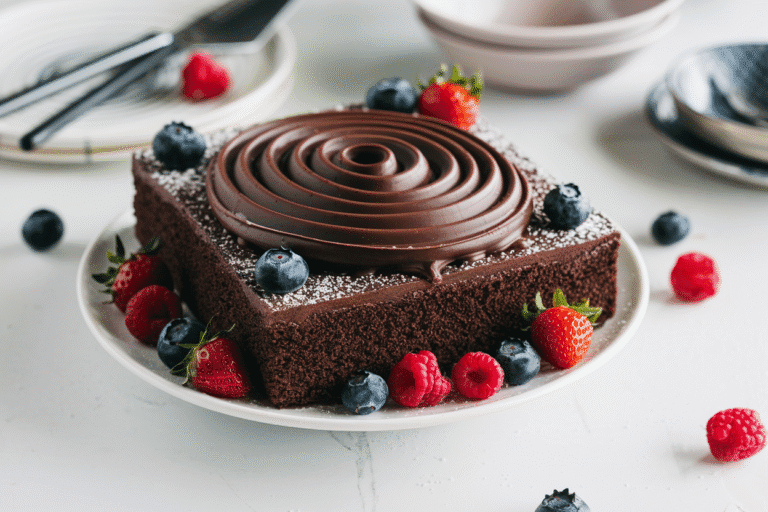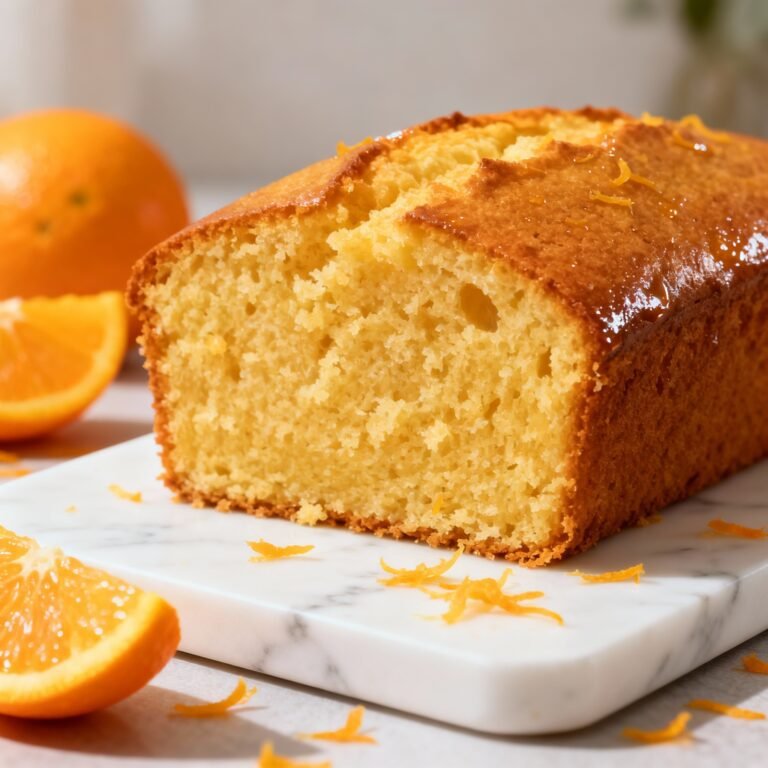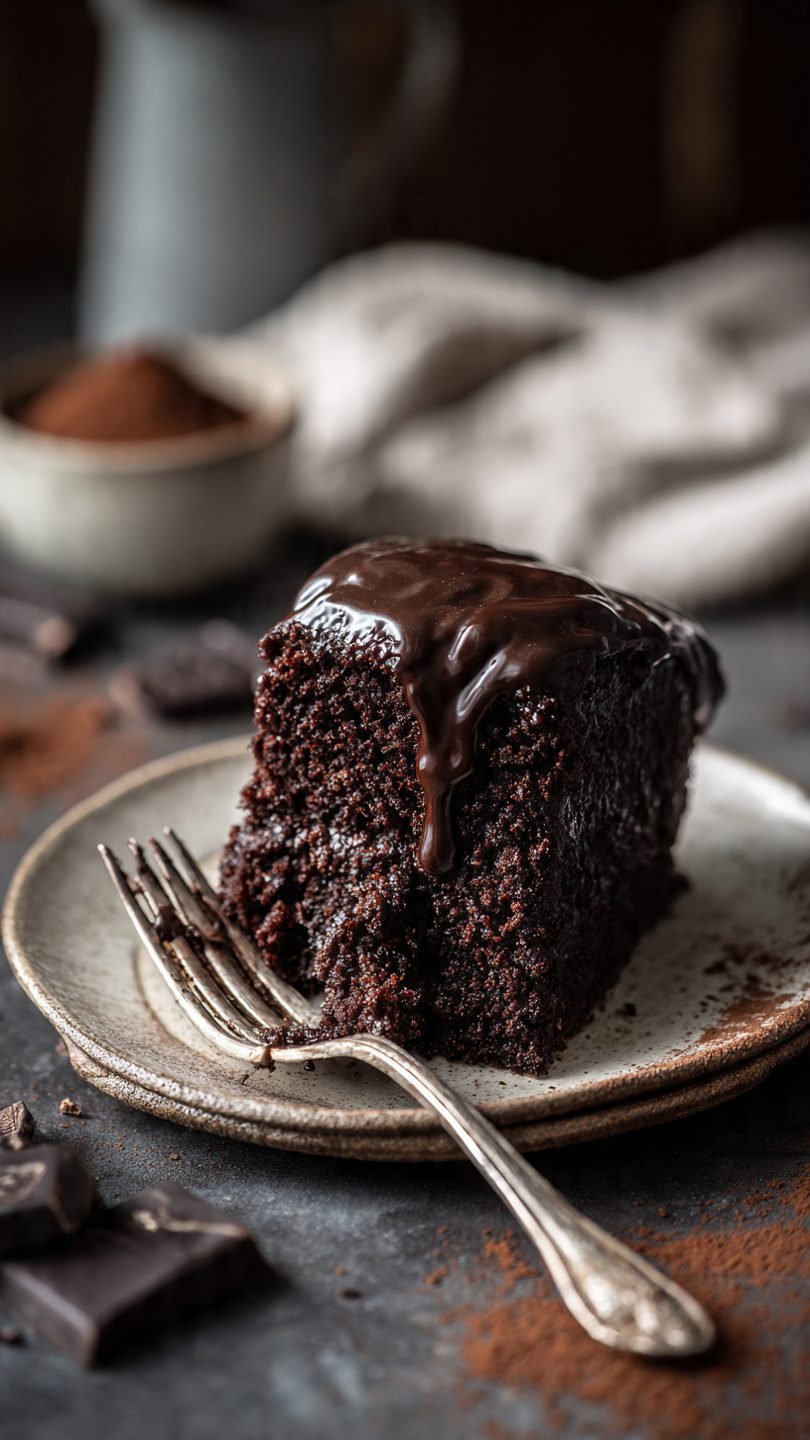
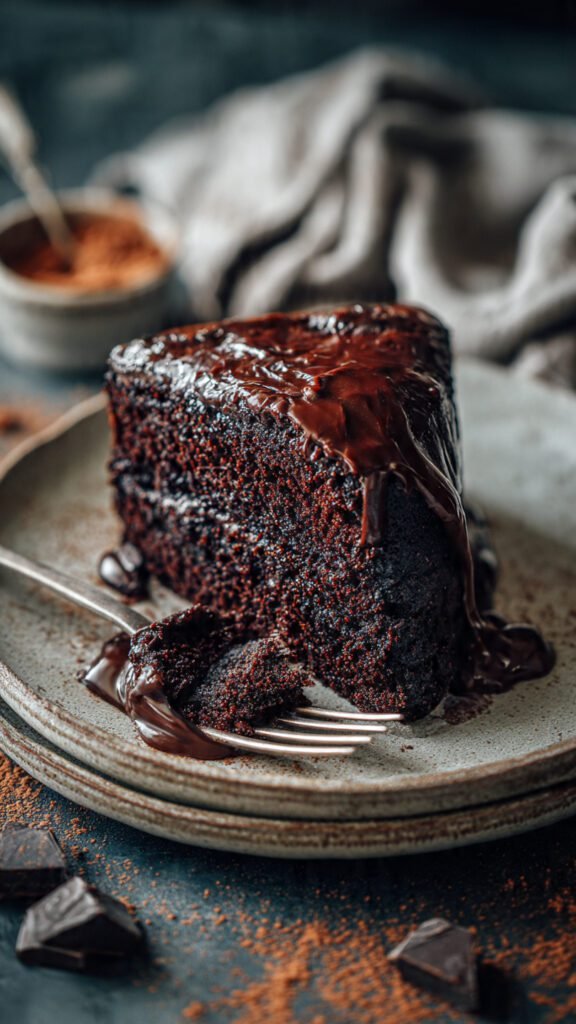
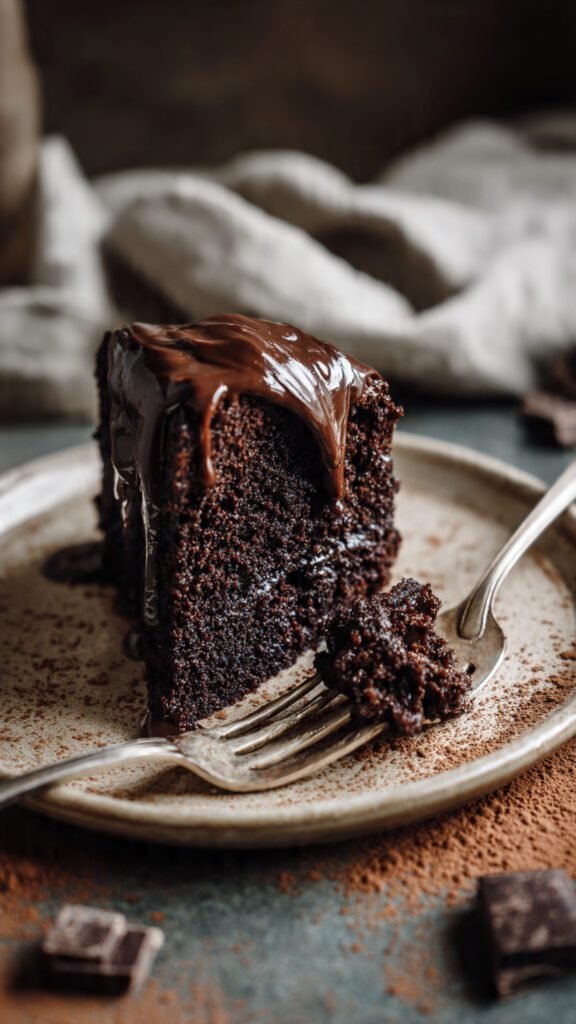
🍫 The Best Simple Chocolate Cake Recipe
So you’re craving something tasty but too lazy to spend forever in the kitchen, huh? Same.
Listen, I get it. It’s 8:30 PM on a Tuesday. You’ve had a day. The kind of day where the only logical solution is a slice of cake the size of a small brick. But looking at complicated recipes with 15 steps and ingredients you can’t pronounce? Hard pass.
You just want chocolate. You want it moist, you want it rich, and you want it without needing a PhD in pastry arts to pull it off.
Welcome to your new favorite corner of the internet. This isn’t just a simple chocolate cake recipe; it’s the holy grail of “I need comfort food, and I need it now.” We are talking one bowl (less dishes, bless), no electric mixer (arm workout included), and a result that tastes like you bought it from that fancy bakery that charges $8 a slice.
Let’s get baking. Or, you know, let’s mix some brown sludge and turn it into magic.
Why This Recipe is Awesome
Okay, aside from the obvious fact that it results in cake, why is this specific recipe the one you should bookmark?
1. The “One-Bowl” Wonder I cannot stress this enough: You only need one bowl. Most recipes want you to cream butter and sugar here, sift flour there, and whip egg whites in a third bowl until they achieve “stiff peaks” (whatever that means). Who has the time? Who has the dishwasher space? Not me. This recipe respects your time and your water bill.
2. It’s Actually Idiot-Proof I have burned toast. I have made pasta that was crunchy. But I have never messed up this cake. It is incredibly forgiving. If you accidentally add a tablespoon too much milk or your oven runs a little hot, this batter is resilient. It fights for its life to remain delicious.
3. The Texture is Unreal You know how some chocolate cakes are dry and crumbly, requiring a gallon of milk just to swallow a bite? This isn’t that. This cake uses oil instead of butter (more on that science-y stuff later), which keeps the crumb incredibly tender and moist for days. It’s dense enough to hold frosting but light enough that you can accidentally eat half the pan without noticing.
4. The “Boiling Water” Hack We use boiling water in the batter. It sounds weird. You might think, “Am I making soup?” But this is the secret weapon. The hot water “blooms” the cocoa powder, waking up those flavor compounds and turning a mild chocolate flavor into a deep, dark, intense chocolate explosion. It makes the batter very thin, which scares rookies, but trust me—it’s the secret to that velvety texture.
Ingredients You’ll Need
Here is your shopping list. You probably have 90% of this in your pantry right now. If you don’t, put on pants and go to the store. It’s worth it.
- Sugar: Good ol’ white granulated sugar. Don’t get fancy here.
- All-Purpose Flour: Just standard flour. If you use cake flour, it might be too light. If you use bread flour, you’re making chocolate bread. Stick to AP.
- Cocoa Powder: Unsweetened. The better the quality, the better the cake, but honestly? The generic store brand works fine if you aren’t trying to impress Gordon Ramsay.
- Baking Powder & Baking Soda: Yes, you need both. They are the chemistry team that lifts this heavy batter. Make sure they aren’t expired. If they’ve been sitting in your cupboard since 2018, throw them out.
- Salt: To balance the sweet. A dessert without salt is just sad sugar.
- Eggs: Two large ones. Room temperature is best (if you remember to take them out of the fridge, unlike me).
- Milk: Whole milk is best for richness, but 2% works. I’ve even used almond milk in a pinch.
- Vegetable Oil: Canola, vegetable, or melted coconut oil. This provides the moisture.
- Vanilla Extract: Measure with your heart, not the spoon.
- Boiling Water: The MVP of the recipe.
Step-by-Step Instructions
Alright, apron on (or just wear a shirt you don’t care about). Let’s do this.
1. Prep the Zone Preheat your oven to 350°F (175°C). Grease two 9-inch round cake pans or one 9×13 pan. Pro Tip: Don’t just butter the pan; dust it with a little cocoa powder afterwards. If you use flour, your dark chocolate cake will have white dusty streaks on the outside, which looks… questionable. Cocoa powder keeps it looking sleek.
2. Mix the Dry Stuff Grab your massive bowl. Dump in the sugar, flour, cocoa, baking powder, baking soda, and salt. Grab a whisk and give it a good mix. You want to break up those little hard lumps of cocoa powder. If you skip this, someone is going to bite into a bitter powder bomb later, and they will not forgive you.
3. Add the Wet Stuff Add the eggs, milk, oil, and vanilla to the dry mixture. Now, mix it. You don’t need a stand mixer here—just a whisk or a wooden spoon and some elbow grease. Mix it for about 2 minutes. You want everything fully combined. The batter will look thick and glossy at this stage. You’ll feel accomplished.
4. The Scary Part (Add Water) Stir in the boiling water. Pour it slowly so you don’t splash hot water on yourself (safety first, safety second, cake third). Don’t panic. The batter is going to look incredibly watery. Like, “I definitely ruined this” watery. You didn’t. This thin consistency allows the steam to escape slowly during baking, creating that flat, even top and moist crumb. Trust the process.
5. Bake It Pour the batter into your prepared pans. It will be runny, so pour carefully. Pop them in the oven.
- For two 9-inch rounds: Bake for 30–35 minutes.
- For a 9×13 pan: Bake for 35–40 minutes.
6. The Toothpick Test Insert a wooden toothpick into the center of the cake. If it comes out clean or with just a few moist crumbs attached, it’s done. If it comes out looking like wet mud, it needs 5 more minutes. Do not overbake. Overbaking is the enemy of joy.
7. Cool It Let the cakes cool in the pans for about 10 minutes, then remove them to a wire rack to cool completely. Crucial: Do not try to frost a warm cake. The frosting will melt, slide off, and pool at the bottom of the plate. It will taste good, but it will look like a disaster. Patience, grasshopper.
Common Mistakes to Avoid
Even though this is a simple chocolate cake recipe, humans are talented at finding creative ways to mess things up. Here is how to avoid disaster:
- The “Scoop and Drag” Method: When measuring flour, don’t scoop the measuring cup directly into the flour bag. This packs the flour down, and you end up with way too much. Instead, spoon the flour into the cup and level it off. Too much flour = dry brick.
- Opening the Oven Door: I know you want to look. It smells amazing. But every time you open that door, the temperature drops, and your cake might collapse in the middle. It’s shy. Leave it alone until the timer goes off.
- Using Old Leaveners: I mentioned this before, but it bears repeating. Baking soda loses its mojo over time. If your cake turns out dense and rubbery, your baking soda was probably dead.
- Skipping the Salt: Salt makes chocolate taste more like chocolate. Without it, the flavor falls flat. It’s like watching a movie without sound—you get the idea, but you’re missing the impact.
Alternatives & Substitutions
Cooking is art; baking is science. However, even science has some wiggle room.
- Make it Coffee-Flavored: Replace the boiling water with boiling hot coffee. I do this 100% of the time. It doesn’t make the cake taste like a latte; the coffee enhances the cocoa, making it taste darker and richer. It’s a game-changer.
- Gluten-Free: Swap the All-Purpose flour for a high-quality “Measure for Measure” Gluten-Free flour blend (like King Arthur or Bob’s Red Mill). Since this cake relies on oil and eggs for structure, it converts to GF surprisingly well.
- Egg-Free: Out of eggs? You can use “flax eggs” (1 tbsp ground flaxseed meal + 3 tbsp water per egg) or applesauce (1/4 cup per egg). The texture will be slightly denser, closer to a brownie, but still tasty.
- Buttermilk Swap: If you want extra tang and tenderness, swap the regular milk for buttermilk. If you don’t have buttermilk, add a teaspoon of vinegar or lemon juice to your regular milk and let it sit for 5 minutes. Boom, DIY buttermilk.
FAQ (Frequently Asked Questions)
1. Can I use butter instead of oil? Technically, yes. But here is the tea: Oil remains liquid at room temperature, while butter becomes solid. That means an oil-based cake stays moister and softer for longer than a butter-based cake. If you want that melt-in-your-mouth texture, stick with oil. If you just love the taste of butter, use a butter-based frosting instead. Best of both worlds.
2. Why is my batter so runny? Did I break it? Deep breaths. You didn’t break it. The batter for this simple chocolate cake recipe is supposed to be very thin. It ensures the cocoa hydrates fully and the cake bakes up level. If it looks like thick soup, you did it right.
3. Can I turn this into cupcakes? Absolutely! This batter makes incredible cupcakes. Line a muffin tin with papers and fill them about 2/3 full. Bake for roughly 18–22 minutes. Keep an eye on them; small things burn faster.
4. How do I store this masterpiece? If you haven’t eaten it all in one sitting (impressive self-control), store it in an airtight container at room temperature for up to 4 days. If it’s frosted with something perishable (like cream cheese or whipped cream), keep it in the fridge.
5. Can I freeze the cake layers? Yes! This cake freezes beautifully. Wrap the unfrosted layers tightly in plastic wrap, then foil. They will survive in the freezer for up to 3 months. When you’re ready to eat, thaw them on the counter. Honestly, slightly frozen cake is a delicious snack in itself.
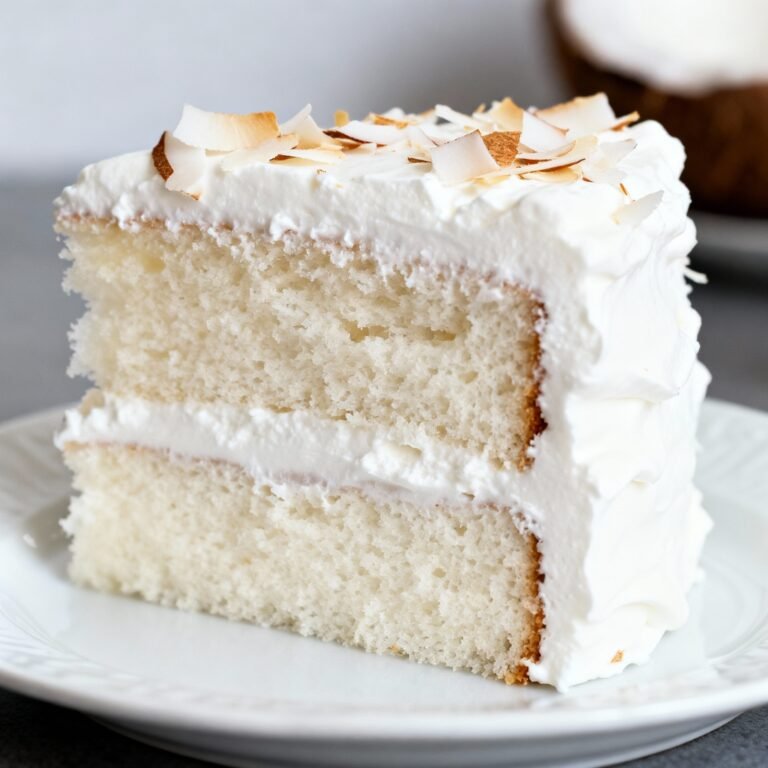
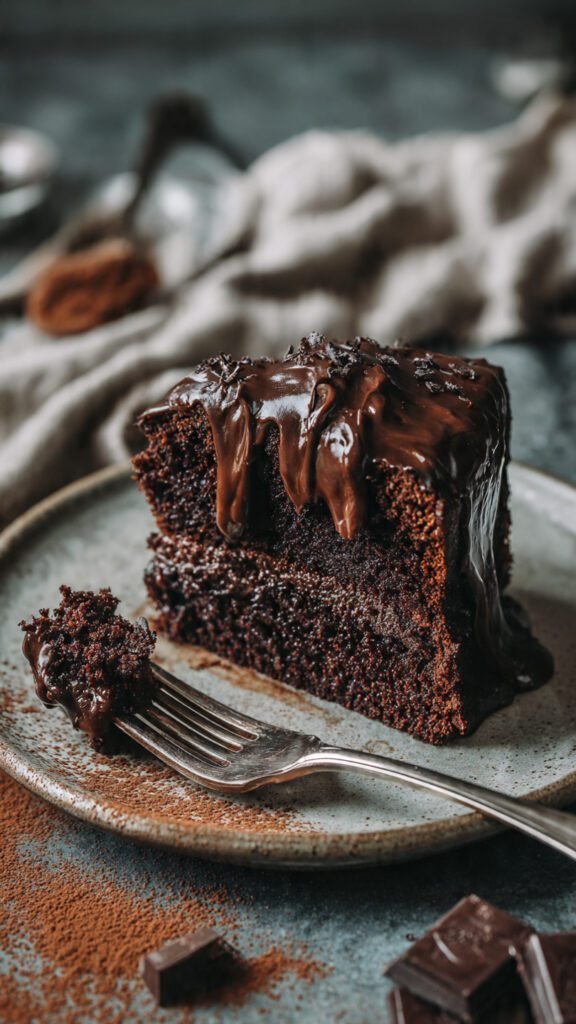
6. What frosting goes best with this? This cake is the “little black dress” of desserts—it goes with everything. A classic Chocolate Buttercream is standard. A Cream Cheese frosting adds a nice tang. If you’re lazy (like me), a simple Chocolate Ganache (hot cream poured over chocolate chips) is elegant and takes 5 minutes.
7. My cake has a giant dome in the middle. Help? This usually happens if your oven is too hot or you over-mixed. But hey, don’t worry. Just take a bread knife and slice the dome off to make it flat. Then, eat the dome. It’s the baker’s tax. You earned it.
Final Thoughts
Look at you, making a cake from scratch!
There is something genuinely therapeutic about baking. In a world where everything is complicated, measuring out flour and sugar and watching it rise in the oven is a simple win we all need. Plus, the smell of chocolate baking in your oven is better than any expensive candle you can buy at the mall.
So, don’t overthink it. Don’t worry if your frosting looks a little lopsided. The best cakes are the ones eaten with a fork, straight out of the pan, while standing in the kitchen in your pajamas.
Now go impress someone—or yourself—with your new culinary skills. You’ve earned it!