Sourdough Discard Bread Recipe: Turn “Oops” Starter Into a Ridiculously Good Loaf
You’ve got a jar of sourdough discard glaring at you like a gym membership you never use. Perfect. Today we turn that “waste” into a bakery-level loaf that tastes like you planned it all along.
No week-long ferment, no fancy gear—just a chewy, crisp-crusted bread with a gentle tang and big flavor. If you can stir, fold, and wait (a little), you can bake this. Your future toast?
It’s about to level up big time.
Why This Recipe Works
This loaf uses sourdough discard for flavor, not leavening. That means you get the complex tang without needing an active starter to do the heavy lifting. Commercial yeast handles the rise, so it’s predictable, fast(ish), and beginner-friendly.
The hydration is balanced enough to deliver open crumb without turning the dough into pancake batter.
Oil and a touch of sweetener support browning and tenderness. A simple stretch-and-fold routine builds gluten strength so you get structure without aggressive kneading. Easy win.
What You’ll Need (Ingredients)
- 400 g (about 3 1/4 cups) bread flour – all-purpose works, but bread flour = better chew
- 120 g (1/2 cup) sourdough discard – unfed, room-temp or cold
- 300 g (1 1/4 cups) warm water – about 95–100°F
- 7 g (2 tsp) instant yeast – or 9 g (2 3/4 tsp) active dry
- 10 g (1 3/4 tsp) fine sea salt
- 15 g (1 tbsp) olive oil – for tenderness and flavor
- 8 g (2 tsp) sugar or honey – feeds yeast, boosts browning
- Optional add-ins: 1 tsp garlic powder, 1 tbsp everything seasoning, 50 g seeds, 30 g grated Parmesan
- For finishing: A dusting of flour or a light egg wash for shine
Let’s Get Cooking – Instructions
- Activate your plan. In a large bowl, whisk warm water, sugar/honey, and yeast.
If using active dry, let it foam for 5–8 minutes. Instant yeast? Keep moving.
- Add the flavor. Stir in the sourdough discard and olive oil until mostly smooth.
A few lumps are fine—this isn’t a beauty contest yet.
- Bring the dough together. Add flour and salt. Mix with a spatula or your hand until no dry spots remain. The dough will be sticky; that’s good.
- Rest and hydrate (autolyse-lite). Cover and rest 15 minutes.
This short break improves gluten development with zero effort. You’re welcome.
- Strength building. Perform 3 sets of stretch-and-folds: every 10 minutes, wet your hand, grab one edge, stretch up, fold over; rotate bowl and repeat 4–6 times. The dough will tighten and smooth out.
Total time ~30 minutes.
- Bulk fermentation. Cover and let rise at warm room temp until doubled, 60–90 minutes. If your kitchen is chilly, give it up to 2 hours. Slow isn’t failure; it’s flavor.
- Shape the loaf. Lightly flour a surface.
Turn out the dough, pat gently into a rectangle, and fold like a letter. Tension-roll into a tight log or tuck into a round (boule). Seam side down.
- Second proof. Place in a lightly oiled loaf pan or a floured banneton/lined bowl.
Cover and proof until puffy and risen ~60–75%, about 35–60 minutes. Press gently—if it springs back slowly, you’re ready.
- Prep the oven. Preheat to 450°F (232°C). For best crust: heat a Dutch oven or add a pan on the lower rack for steam.
If using a sheet or stone, preheat those too.
- Score and bake. Dust with flour, slash the top 1/4-inch deep. Bake covered (Dutch oven) for 20 minutes, then uncover and reduce to 425°F (218°C) for 18–25 minutes, until deep golden and 205–210°F internal. No Dutch oven?
Add 1 cup hot water to the preheated pan for steam and bake 35–40 minutes total.
- Cool like you mean it. Transfer to a rack and cool at least 60 minutes before slicing. Cutting early = gummy sadness. Patience pays.
Preservation Guide
- Room temp: Wrap in a clean towel or paper bag for 24 hours, then move to a bread box or zip-top bag.
Best within 2–3 days.
- Freezer: Slice, then freeze in a zip bag with the air pressed out. Keeps 2–3 months. Toast straight from frozen.
- Revive stales: Sprinkle loaf with water, bake at 350°F (175°C) for 8–10 minutes.
Crust snaps back; you look like a genius.
Benefits of This Recipe
- Zero waste, big flavor: Discard adds subtle tang and depth that basic white bread can’t touch.
- Fast track to artisan vibes: Commercial yeast guarantees rise without babysitting a starter.
- Flexible format: Loaf pan, boule, rolls—it adapts to your vibe and your cookware.
- Beginner-friendly technique: Stretch-and-fold replaces intense kneading. Your wrists can relax.
- Customizable: Seeds, herbs, cheese—go savory; add cinnamon sugar—go sweet. IMO, sesame + everything seasoning = elite.
Don’t Make These Errors
- Using super cold discard without adjusting proof time: Cold ingredients slow fermentation.
Expect longer rises or warm your water slightly more.
- Over-flouring the dough: Sticky is normal. Too much flour leads to a dry, dense loaf. Lightly flour hands, not the dough.
- Underproofing the second rise: If it’s too tight going into the oven, it will tear or blow out weirdly.
Look for that slow spring-back test.
- Slicing hot: You’re not carving a brisket. Wait until internal steam settles or the crumb will gum up.
- Skipping steam: Steam = oven spring + shiny, crackly crust. No Dutch oven?
A preheated pan + hot water works.
Different Ways to Make This
- Seeded sandwich loaf: Add 50 g mixed seeds to the dough. Brush top with egg wash and sprinkle more seeds before baking.
- Garlic-herb boule: Mix in 1 tsp garlic powder and 2 tsp dried Italian herbs. Finish with olive oil brush post-bake.
- Cheddar-jalapeño: Fold in 80 g shredded cheddar and 1–2 chopped jalapeños during shaping.
Spicy, melty, ridiculous.
- Olive-rosemary: Add 70 g chopped, patted-dry olives and 1 tbsp fresh rosemary. Slash in a cross for drama.
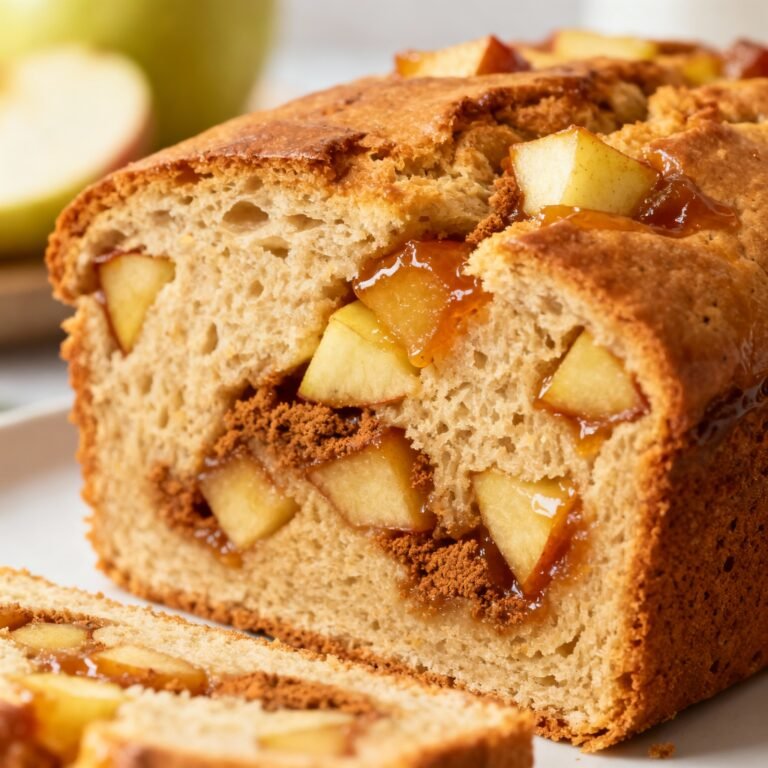
- Sweet brunch twist: Add 25 g sugar, 1 tsp vanilla, and swirl in cinnamon sugar during shaping. Bake in a loaf pan.
FAQ
Can I use all-purpose flour instead of bread flour?
Yes.
The loaf will be slightly softer with a bit less chew, but still excellent. If using AP, hold back 10–15 g water at first and add only if the dough seems stiff.
How sour will this taste?
Mellow tang, not puckering sour. Discard adds complexity more than acidity.
For extra tang, use older discard and cold-ferment the shaped loaf overnight.
Do I need a Dutch oven?
Nope. It helps, but a preheated baking stone or sheet plus steam from a pan of hot water will get you a solid crust and good oven spring.
My dough is super sticky—did I mess up?
Likely not. This is a moderately high-hydration dough.
Use wet hands and a bench scraper. Stickiness decreases as gluten develops through folds and rest.
Can I make this gluten-free?
Not directly. Gluten-free bread requires a dedicated blend and different hydration and binders.
If you have a GF starter/discard, look for a GF-specific formula.
How do I add whole wheat?
Swap 20–30% of the bread flour for whole wheat and add 10–20 g extra water. Expect slightly denser crumb and nuttier flavor—very worth it.
What if I only have active dry yeast?
Bloom it in the warm water with sugar for 5–8 minutes until foamy, then proceed. Use 9 g instead of 7 g to keep timing similar.
Can I cold-proof overnight?
Absolutely.
After shaping, cover and refrigerate 8–14 hours. Bake straight from the fridge. You’ll get deeper flavor and easier scoring.
FYI, it might need a few extra minutes in the oven.
Why is my crust too hard?
Overbaking or insufficient steam. Next time, reduce bake time by a few minutes and ensure you’ve got steam early on. Storing in a bag softens crust slightly over time.
What internal temperature should I aim for?
205–210°F (96–99°C) in the center of the loaf.
This ensures a fully baked crumb without drying it out.
My Take
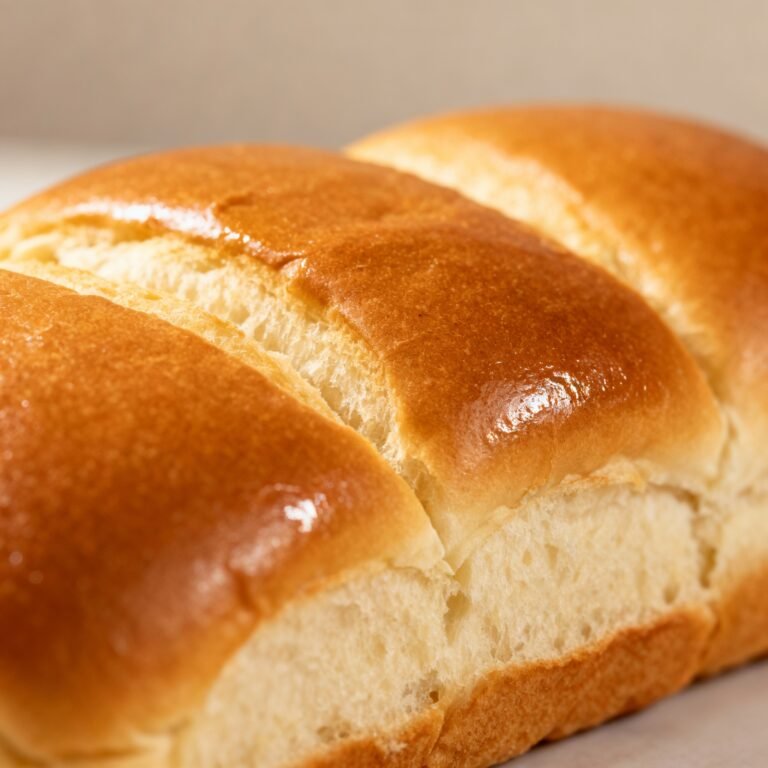
This sourdough discard bread recipe hits the sweet spot between practical and impressive. It turns kitchen “leftovers” into a loaf that tastes like you stood in line at an artisan bakery—without the line. The method is forgiving, the crust is legit, and the crumb makes sandwiches, toast, and butter look heroic.
If you want fast, flavorful, and foolproof, this is the move. And once you master the base, the add-in possibilities are basically endless—dangerously fun, IMO.