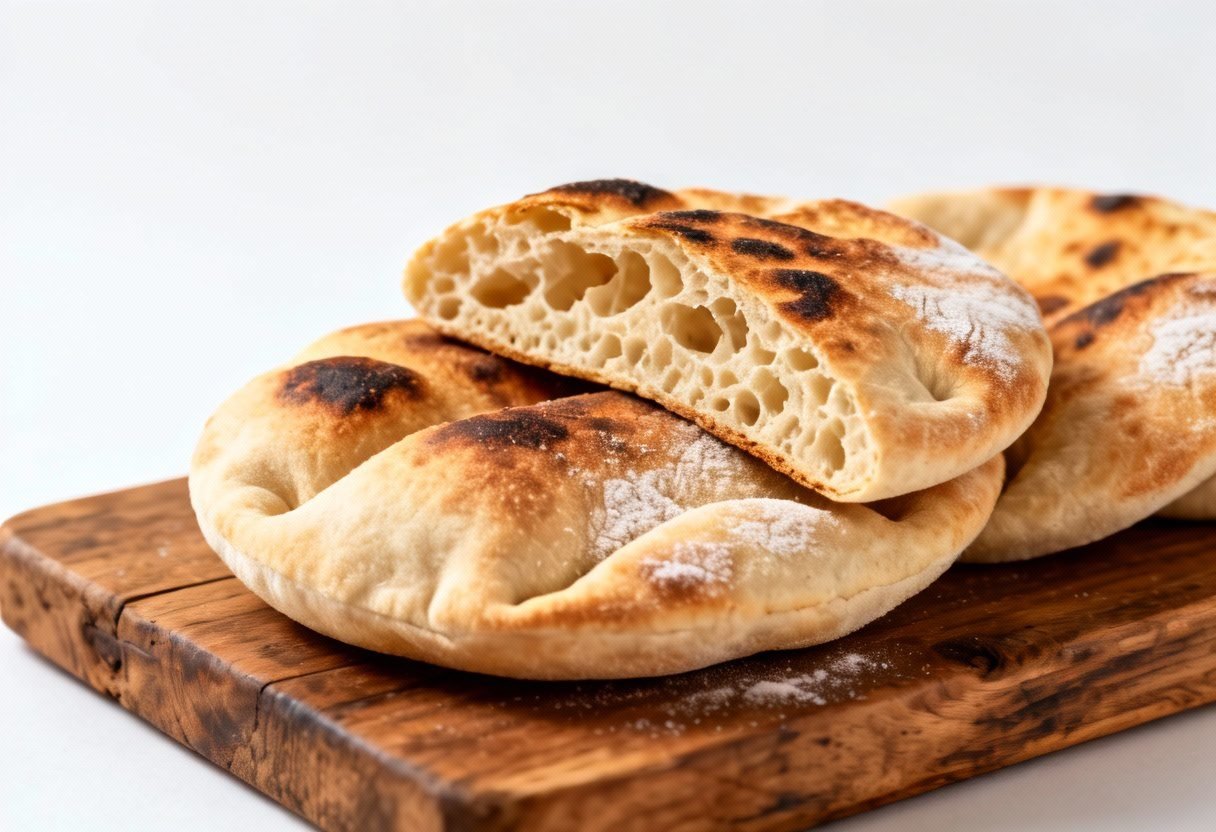
Sourdough Pita Bread Recipe: The Perfect Pocket Every Time!
Craving warm, fluffy pita bread with that unmistakable sourdough tang? Look no further! This recipe delivers perfect pita pockets, ready to be filled with your favorite Mediterranean delights, flavorful dips, or simply enjoyed on their own. Forget store-bought, bland imitations; this homemade sourdough pita is a game-changer. Get ready to impress your family and friends with this surprisingly simple and utterly delicious recipe.
Why This Recipe Works
This recipe is designed for success, even if you’re relatively new to sourdough baking. Here’s why it works:
- Hydration Balance: The carefully calculated hydration level ensures a dough that’s easy to handle yet still produces a light and airy crumb with those coveted pockets.
- Sourdough Starter Strength: We emphasize using a vigorous and active starter. A strong starter is crucial for proper leavening and that characteristic sourdough flavor.
- Proper Resting and Proofing: The resting periods allow the gluten to relax, making the dough easier to shape and promoting even rising. The bulk fermentation and final proofing stages are carefully timed to develop flavor and structure.
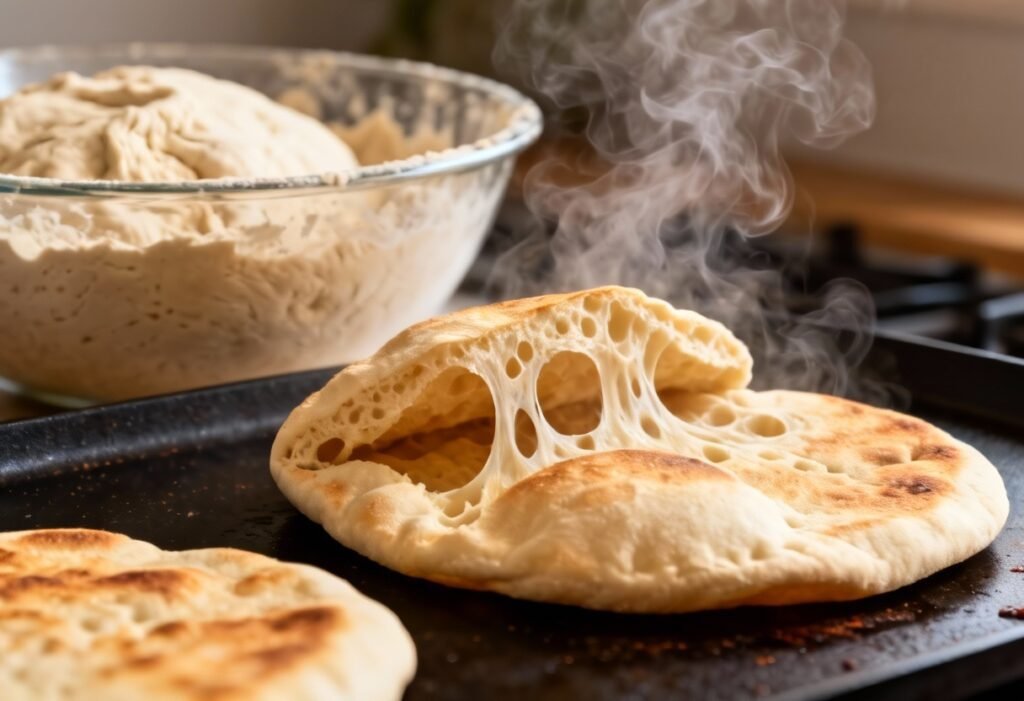
- High-Heat Baking: The high oven temperature creates a burst of steam that causes the pita to puff up dramatically, forming the pocket.
- Detailed Instructions: We provide clear and concise instructions, leaving no room for guesswork. You’ll be guided through each step, from mixing the dough to baking the perfect pita.
Ingredients
- 150g Active Sourdough Starter (100% hydration): Your starter should be bubbly and doubled in size after feeding.
- 350g Bread Flour: Bread flour has a higher protein content than all-purpose flour, resulting in a stronger gluten network and a chewier texture.
- 250g Warm Water (around 90-95°F): Warm water helps to activate the yeast in your starter and promotes faster fermentation.
- 10g Salt: Salt controls the yeast activity and enhances the flavor of the pita bread.
- 1 Tablespoon Olive Oil (optional): Adds a subtle richness and helps to keep the pita bread soft.
Instructions
- Autolyse (Optional but Recommended): In a large bowl, combine the bread flour and warm water. Mix until just combined, forming a shaggy dough. Cover and let rest for 30-60 minutes. This allows the flour to fully hydrate, resulting in a more extensible dough.
- Combine Ingredients: Add the active sourdough starter, salt, and olive oil (if using) to the autolysed dough (or directly to the flour and water if skipping the autolyse).
- Mix the Dough: Mix the dough until it comes together into a cohesive ball. This can be done by hand (kneading for 8-10 minutes) or with a stand mixer using the dough hook attachment (mixing on low speed for 6-8 minutes). The dough should be smooth and slightly sticky.
- Bulk Fermentation: Place the dough in a lightly oiled bowl, turning to coat. Cover and let rise in a warm place for 4-6 hours, or until doubled in size. Perform stretch and folds every hour for the first 3 hours. This helps to develop strength and structure in the dough. To perform a stretch and fold, gently grab one side of the dough, stretch it upwards, and fold it over onto itself. Rotate the bowl and repeat this process until you’ve stretched and folded all four sides of the dough.
- Divide and Shape: Gently turn the dough out onto a lightly floured surface. Divide the dough into 8-10 equal pieces (approximately 75-90g each). Shape each piece into a tight ball.
- Rest the Dough Balls: Cover the dough balls with a damp cloth or plastic wrap and let them rest for 20-30 minutes. This allows the gluten to relax, making them easier to roll out.
- Roll Out the Pitas: Preheat your oven to 500°F (260°C) with a baking stone or baking sheet inside. The stone or sheet needs to be very hot for the pita to puff up properly.
On a lightly floured surface, roll out each dough ball into a circle about 6-8 inches in diameter and 1/4 inch thick. Try to keep the shape as even as possible. - Bake the Pitas: Carefully transfer the rolled-out pitas to the preheated baking stone or baking sheet. Bake for 3-5 minutes, or until they puff up dramatically and are lightly golden brown. Watch them carefully, as they can burn quickly.
- Cool and Serve: Remove the pitas from the oven and place them on a wire rack to cool slightly. Cover them with a clean kitchen towel to keep them soft. Serve warm and enjoy!
Tips for Success
- Use a strong and active starter: This is the most crucial element for successful sourdough pita bread. Your starter should be bubbly and doubled in size after feeding. If your starter isn’t active enough, your pitas won’t rise properly.
- Don’t over-knead the dough: Over-kneading can result in tough pita bread. Knead until the dough is smooth and elastic but still slightly sticky.
- Proof the dough adequately: Allow the dough to double in size during bulk fermentation. This is essential for developing flavor and structure.
- Preheat your baking stone or sheet thoroughly: The high heat is crucial for creating the steam that causes the pita to puff up. Make sure your baking stone or sheet is preheated for at least 30 minutes before baking.
- Work quickly when rolling out the pitas: The longer the rolled-out pitas sit, the more likely they are to stick to the surface.
- Adjust baking time as needed: Oven temperatures can vary, so keep a close eye on the pitas while they’re baking and adjust the baking time accordingly.
- Experiment with different flours: You can try using a combination of bread flour and whole wheat flour for a more complex flavor and texture.
Storage Instructions
Store leftover pita bread in an airtight container at room temperature for up to 2 days. For longer storage, freeze the pita bread in a freezer-safe bag or container for up to 2 months. To reheat, thaw the pita bread at room temperature and then warm it in a toaster, oven, or microwave.

FAQ
Q: My pitas didn’t puff up. What did I do wrong?
A: Several factors could contribute to this. Make sure your starter is active, your oven is hot enough, and your baking stone or sheet is preheated thoroughly. Also, ensure the pitas are rolled out evenly and not too thick.
Q: Can I use all-purpose flour instead of bread flour?
A: While you can use all-purpose flour, the results won’t be as good. Bread flour has a higher protein content, which creates a stronger gluten network and a chewier texture. If using all-purpose flour, you may need to adjust the hydration slightly.
Q: Can I add herbs or spices to the dough?
A: Absolutely! Feel free to add your favorite herbs or spices, such as rosemary, thyme, garlic powder, or onion powder, to the dough for added flavor.
Q: Can I make this recipe without a stand mixer?
A: Yes, you can definitely make this recipe by hand. Knead the dough for 8-10 minutes until it is smooth and elastic.
Q: My pitas are too tough. What can I do?
A: Avoid over-kneading the dough. Also, make sure you’re not using too much flour when rolling out the pitas. A light dusting is all you need.
Conclusion
This sourdough pita bread recipe is a rewarding baking project that yields incredibly delicious results. The satisfying tang of sourdough combined with the soft, fluffy texture and perfect pocket makes these pitas a standout. With a little practice and attention to detail, you’ll be making perfect pita bread every time. So, fire up your oven, embrace the sourdough journey, and enjoy the taste of homemade goodness!