🍅 Best Spaghetti Sauce Canning Recipe for Beginners
Look, I get it. We’ve all been there. You’re staring at a mountain of tomatoes on your counter that you ambitiously bought at the farmer’s market (or grew yourself, you overachiever), and now they are staring back at you, threatening to rot within 48 hours. Or maybe you’re just tired of paying premium prices for jarred sauce that tastes like metallic sugar water. Either way, you’re craving something tasty but too lazy to spend forever in the kitchen every single night. Same.
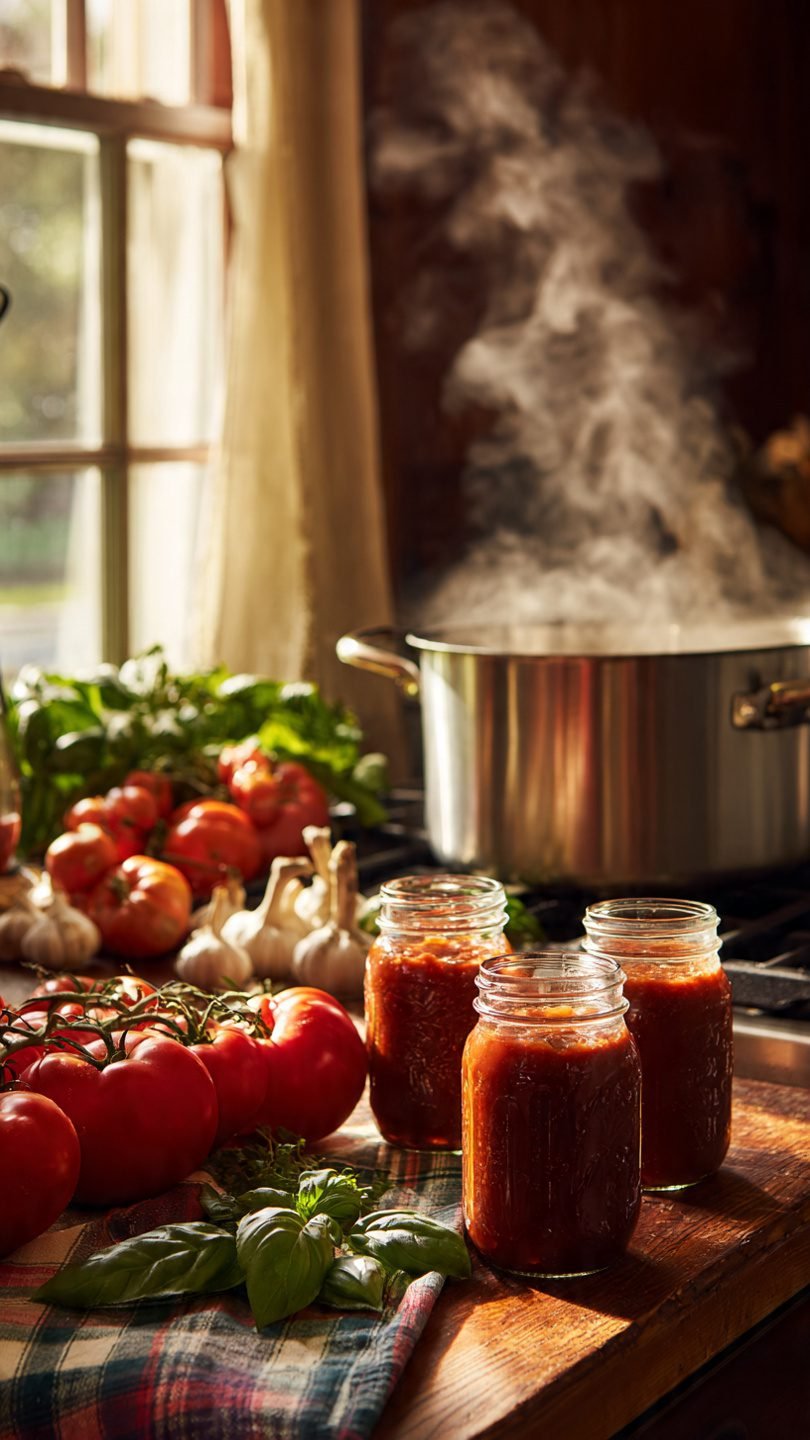
But here’s the secret: spending one “lazy” Sunday afternoon sweating over a boiling pot isn’t a chore—it’s an investment in your future happiness. We are talking about future-proofing your pantry with liquid gold. Welcome to the world of the spaghetti sauce canning recipe. Grab a glass of wine (for the chef, obviously), put on a podcast, and let’s make some magic happen.
Why This Recipe is Awesome
You might be asking, “Why on earth would I do this when I can buy a jar for $2?” Oh, my sweet summer child. Let me count the ways.
First off, flavor control. When you buy store-bought sauce, you’re at the mercy of some factory’s idea of “Italian seasoning,” which usually means “way too much dried oregano and enough sugar to induce a coma.” When you make this spaghetti sauce canning recipe, you are the captain of the ship. Want it garlicky enough to ward off vampires for a decade? Do it. Want a spicy kick that makes your eyes water? Throw in those chili flakes.
Secondly, let’s talk about the sensory experience. There is absolutely nothing—and I mean nothing—that smells better than a pot of tomatoes, basil, garlic, and onions simmering away for four hours. It transforms your house into an Italian nonna’s kitchen. The scent lingers in the best way possible. It smells like comfort. It smells like love. It smells like you actually have your life together, even if you’re doing this in your pajamas.
Third, there is the Science of Satisfaction. This isn’t just cooking; it’s preservation. You are literally stopping time. By adjusting the acidity (we’ll get to the lemon juice, don’t worry) and processing these jars, you are creating shelf-stable food that requires zero electricity to store. It’s the ultimate prepper move, but for people who just really love pasta. Plus, hearing that little metal “ping” when the jar seals? It releases more dopamine than a thousand Instagram likes. It’s idiot-proof, honestly—even I didn’t mess it up the first time, and I once burned instant noodles.
Finally, the texture. Store-bought sauces are often thickened with weird gums or cornstarch. This recipe relies on good old-fashioned reduction. We evaporate the water to concentrate the tomato flavor, resulting in a sauce that clings to your pasta like a needy ex, rather than sliding off into a watery puddle at the bottom of the bowl.
Ingredients You’ll Need
Don’t panic. You don’t need a degree in chemistry, but you do need fresh stuff. Here is the hit list:
- Tomatoes (20-25 lbs): Yes, pounds. We are going big. Paste tomatoes like Romas or San Marzanos are the gold standard because they are meatier and have less water. If you use slicing tomatoes, just be prepared to boil them longer.
- Onions (3-4 cups, chopped): Yellow or white onions work best. They provide that savory backbone.
- Garlic (Lots): The recipe says 8-10 cloves, but measure with your heart. I usually double it.
- Bottled Lemon Juice or Citric Acid: CRITICAL. Do not skip this. Fresh tomatoes vary in acidity. You need bottled juice (consistent acidity) to make sure botulism doesn’t crash your party.
- Dried Herbs (Oregano, Basil, Thyme, Bay Leaves): Dried is actually better for long canning processes because fresh herbs can sometimes get bitter or weirdly earthy after months in a jar.
- Salt & Black Pepper: Kosher salt is best.
- Sugar (Optional): Just a pinch. Not to make it sweet, but to balance the acidity of the tomatoes.
- Olive Oil: For sautéing the veggies.
- Red Wine (Optional): A splash for the pot, a glass for you. It adds depth (the pot, not you).
Step-by-Step Instructions
Alright, apron up. We are diving in. This is a water bath canning method, which is the gateway drug of food preservation.
1. The Great Blanching (Peeling the Tomatoes) This is the most tedious part, so let’s get it over with. Bring a large pot of water to a boil and prepare a big bowl of ice water next to it.
- Score an “X” on the bottom of each tomato.
- Drop them in boiling water for about 30–60 seconds until the skins start to peel back.
- Immediately fish them out and dunk them into the ice bath. This “shocks” them and stops the cooking.
- The skins will slip right off. It’s oddly satisfying. Core the tomatoes and roughly chop them. Tip: Squeeze out some of the seeds/water if you want a thicker sauce faster.
2. Sauté the Aromatics Grab your biggest, heaviest pot (a stockpot is ideal). Heat the olive oil over medium heat. Toss in your onions and sauté until they are soft and translucent (about 8 minutes). Add the garlic and cook for another minute until fragrant. Do not burn the garlic, or your sauce will taste bitter and sad.
3. The Simmer Down Add your massive pile of chopped peeled tomatoes to the pot. Stir in your dried herbs, salt, pepper, sugar (if using), and wine. Bring it to a boil, then lower the heat.
- The Wait: Let this simmer uncovered. You want to reduce the volume by at least one-third, maybe even half. This can take anywhere from 2 to 4 hours. Stir occasionally so the bottom doesn’t scorch.
- Sensory Check: The sauce will darken from a bright red to a deep, rusty brick red. The smell will change from “fresh salad” to “rich savory goodness.”
4. Prep the Jars While the sauce simmers, get your canning station ready. Wash your quart or pint jars in hot soapy water. Keep them warm (I like to keep them in the dishwasher on a heated dry cycle or in a pot of hot water). You don’t want to pour hot sauce into cold glass—that’s how glass explodes.
5. Acidify the Jars (Safety First!) This is the science part. To each Quart jar, add 2 tablespoons of bottled lemon juice (or ½ tsp citric acid). To each Pint jar, add 1 tablespoon lemon juice (or ¼ tsp citric acid). Put this directly into the empty jar before adding the sauce. This ensures the pH is safe for water bath canning.
6. Fill ‘Em Up Using a wide-mouth funnel (seriously, get one, messy ladles are a nightmare), ladle the hot sauce into the hot jars.
- Headspace: Leave about ½ inch of space between the sauce and the top of the rim. This is called headspace. It allows the food to expand while processing without blowing the lid off.
7. De-Bubble and Wipe Run a plastic spatula or a chopstick around the inside edge of the jar to release any trapped air bubbles. Air bubbles can mess with the seal.
- Wipe the Rims: Dip a clean paper towel in vinegar and wipe the rim of the jar. Any speck of sauce or oil on the rim will prevent the lid from sealing.
8. The Water Bath Place the lids on and screw the bands on until “fingertip tight” (don’t crank it like you’re opening a pickle jar, just until resistance is met).
- Lower the jars into a large canner filled with boiling water. Ensure the water covers the jars by at least 1 inch.
- Process (boil) pints for 35 minutes and quarts for 40 minutes. (Adjust for altitude if you live in the mountains—Google is your friend here).
9. The Cool Down Turn off the heat. Let jars sit in the water for 5 minutes, then carefully lift them out onto a towel-lined counter. Do not touch the lids. Let them sit undisturbed for 24 hours. You will hear the glorious ping, ping, ping as they seal.
Common Mistakes to Avoid
We’re all human, but let’s try not to be dangerous humans.
- Freestyling the Acid: “I don’t like lemon juice, I’ll skip it.” Stop. Without the acid, you risk botulism, which is odorless, tasteless, and deadly. The lemon juice flavor disappears in the rich sauce, I promise.
- Overfilling the Jars: Thinking “I can fit a little more in” is a rookie mistake. If there isn’t enough headspace, the sauce will bubble out under the lid, grease the rim, and fail the seal.
- Using Cornstarch or Flour: Do not thicken your sauce with flour, cornstarch, or dairy before canning. These ingredients interfere with heat transfer to the center of the jar. If you want creamy sauce, add the cream when you open the jar to eat it, not before.
- The “Fake Seal”: Sometimes a lid looks sealed but isn’t. After 24 hours, remove the screw band and gently pull up on the lid with your fingertips. If it comes off, it didn’t seal. Put that jar in the fridge and eat it this week.
- Using “Over the Hill” Tomatoes: Canning preserves quality; it doesn’t improve it. If you use rotting, moldy tomatoes, you’re just canning rot. Use ripe, firm, beautiful tomatoes.
Alternatives & Substitutions
So you want to mix it up? Here’s the deal.
- The Lazy Roast Method: Hate blanching and peeling? Cut the tomatoes in half, toss them on a baking sheet with the onions and garlic, and roast them at 400°F (200°C) until charred and soft. Then, blitz everything in a food blender (skins and all) or run it through a food mill. It gives a smokier, deeper flavor. IMO, this is way easier than the boiling water method.
- Make it Spicy: Add crushed red pepper flakes or even roast a few jalapeños with the veggies. Just don’t add huge amounts of low-acid veggies (like peppers/onions) beyond what the recipe calls for without consulting a safe canning guide.
- Meat Lovers: Listen closely. You cannot water bath can meat sauce. If you want to add ground beef or sausage, you must use a pressure canner. If you don’t have one, just can the Marinara base and brown some meat fresh when you’re ready to serve dinner. It tastes better fresh anyway.
FAQ (Frequently Asked Questions)
1. Can I use fresh herbs instead of dried? Technically yes, but the flavor of fresh herbs (especially basil) tends to fade or get slightly bitter during the long high-heat processing. I prefer adding fresh basil right when I crack the jar open for dinner.
2. Can I use margarine instead of olive oil? Well, technically yes, but why hurt your soul like that? Also, fats can interfere with sealing if you use too much. Stick to a little high-quality olive oil.
3. Do I really need a special “canner” pot? Not necessarily. You just need a pot deep enough to submerge the jars by an inch of water, and you need a rack on the bottom so the jars don’t touch the direct heat of the burner (which cracks the glass). A few screw bands tied together on the bottom of a stockpot works in a pinch.
4. How long does this sauce last? If stored in a cool, dark place (like a pantry or a basement), these jars are best consumed within 12–18 months. After that, the nutritional value and texture start to degrade, though they are usually still safe to eat.
5. Why did my sauce separate in the jar? That’s just water and solids parting ways. It’s called “tomato water.” It’s totally harmless. Just shake the jar before opening or stir it when heating. It happens more often with slicing tomatoes than paste tomatoes.
6. I don’t have a funnel. Can I just pour carefully? You can try, but you will fail. You will get sauce on the rim, the jar won’t seal, and you will cry. Spend the $3 on a funnel.
Final Thoughts
There you have it! You have successfully navigated the world of the spaghetti sauce canning recipe. Is it more work than popping a jar of Prego? Absolutely. Is it infinitely more delicious, satisfying, and impressive? 100%.
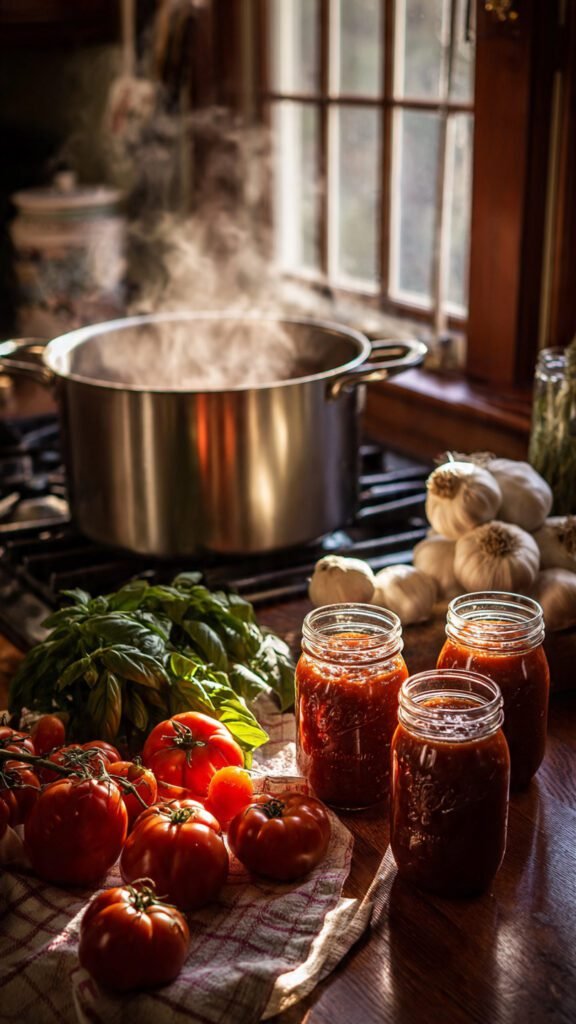
There is something primal and deeply rewarding about looking at a shelf lined with ruby-red jars that you made. It’s a little jar of summer sunshine that you can pop open in the middle of a bleak February. So, pat yourself on the back, pour another glass of wine, and maybe stretch your back out.
Now go impress someone—or yourself—with your new culinary skills. You’ve earned it!