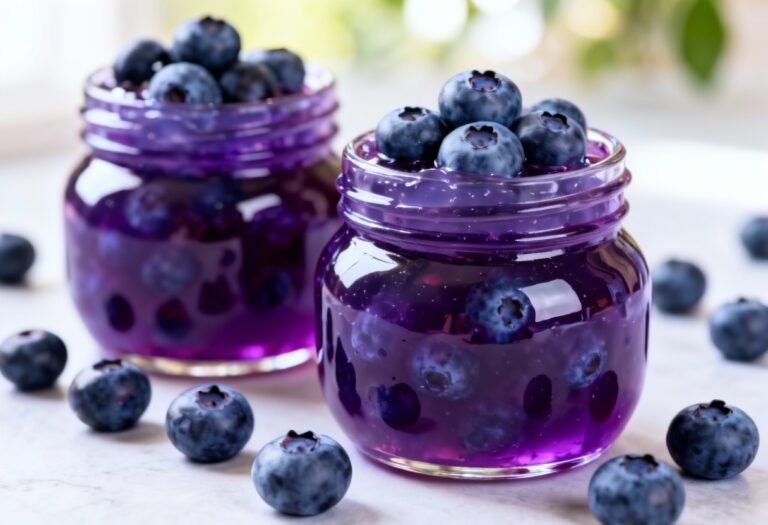
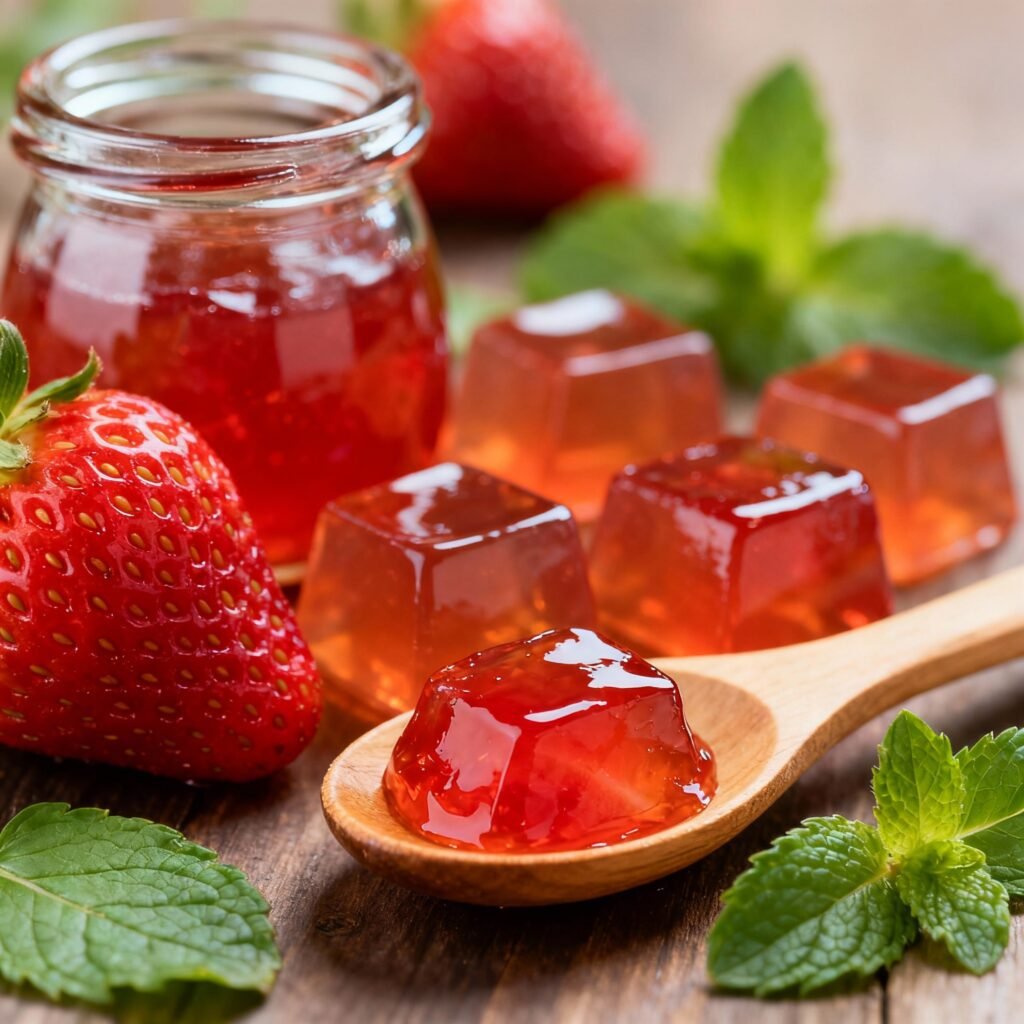
Strawberry Jelly Recipe Canning: Sweet Summer in Every Jar
There’s nothing quite like the vibrant taste of homemade strawberry jelly, especially when it’s preserved through canning to enjoy long after strawberry season has ended. This recipe captures the essence of sun-ripened strawberries, transforming them into a shimmering, jewel-toned jelly that’s perfect for spreading on toast, topping pancakes, or even glazing meats. Canning this delicious jelly allows you to savor the taste of summer all year round, and it makes a thoughtful, homemade gift for friends and family. Forget store-bought varieties packed with artificial flavors; this recipe delivers pure, unadulterated strawberry bliss.
Why This Recipe Works
This strawberry jelly recipe is carefully crafted to ensure a beautiful set, a vibrant flavor, and a safe canning process. Here’s why it’s a winner:
- Pectin Power: We use powdered pectin specifically designed for cooked jams and jellies. Pectin is crucial for achieving the proper gel consistency. Using the right type and amount ensures a firm but spreadable jelly.
- Precise Sugar Ratio: The ratio of sugar to fruit juice and pectin is vital for a successful set. Too little sugar, and the jelly won’t gel properly; too much, and it can become overly sweet and crystallized. This recipe provides the perfect balance.
- Boiling Point Magic: Reaching a rolling boil is essential for activating the pectin and evaporating excess moisture, concentrating the flavors and creating a stable jelly.
- Safe Canning Practices: We follow tested and approved canning methods to ensure the safety and longevity of your strawberry jelly. This includes proper jar preparation, processing time, and sealing verification.
- Flavor Optimization: A touch of lemon juice brightens the strawberry flavor and adds a subtle tartness that balances the sweetness. It also helps to prevent sugar crystals from forming.
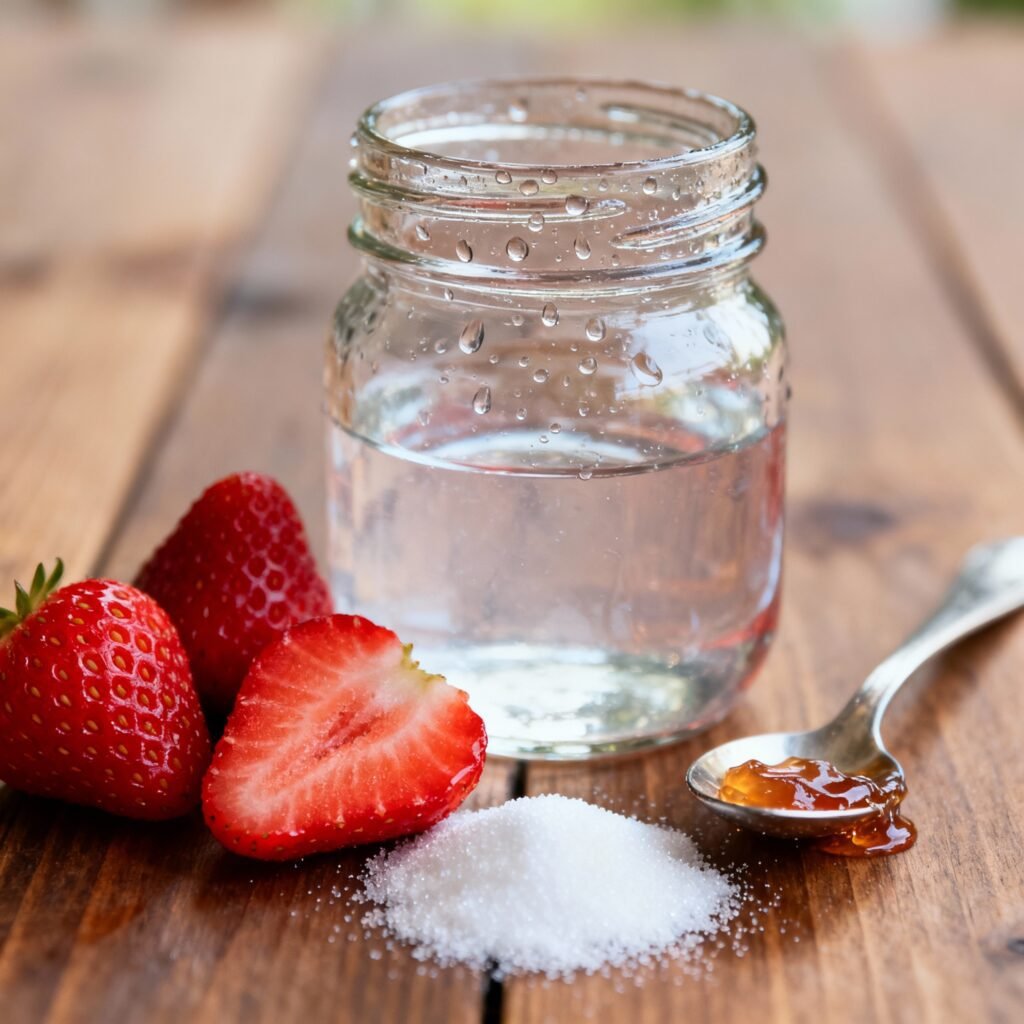
Ingredients
- 6 cups strawberry juice (from approximately 8-10 pounds of fresh strawberries)
- 7 ½ cups granulated sugar
- ½ cup lemon juice, freshly squeezed
- 1 box (1.75 oz) powdered pectin (specifically for cooked jams and jellies)
Instructions
- Prepare the Strawberries: Wash and hull the strawberries. Crush them thoroughly using a potato masher or food processor.
- Extract the Juice: Place the crushed strawberries in a jelly bag or several layers of cheesecloth lined in a colander set over a large bowl. Let the juice drip naturally for several hours or overnight. Do not squeeze the bag, as this will result in cloudy jelly. You should have 6 cups of juice.
- Prepare Canning Equipment: Wash canning jars (pint or half-pint) in hot, soapy water. Rinse well. Sterilize the jars by boiling them in a water bath canner for 10 minutes. Keep the jars hot until ready to use. Place new lids in a small saucepan and cover with water. Bring to a simmer (do not boil) and keep hot.
- Combine Ingredients: In a large, heavy-bottomed pot, combine the strawberry juice, lemon juice, and pectin. Stir well to dissolve the pectin.
- Bring to a Boil: Bring the mixture to a full rolling boil over high heat, stirring constantly to prevent scorching. A rolling boil is one that cannot be stirred down.
- Add Sugar: Add the sugar all at once and stir continuously until it is completely dissolved.
- Reach Setting Point: Continue to boil hard, stirring constantly, until the jelly reaches the setting point. This usually takes 1-3 minutes. To test for setting point, use one of the following methods:
- Candy Thermometer: The jelly should reach 220°F (104°C).
- Cold Plate Test: Place a small plate in the freezer before you begin. Drop a spoonful of hot jelly onto the cold plate. Return the plate to the freezer for 30 seconds. Push the jelly with your finger. If it wrinkles, it’s ready.
- Remove from Heat: Once the jelly reaches the setting point, remove the pot from the heat. Skim off any foam that has formed on the surface.
- Fill Jars: Ladle the hot jelly into the hot, sterilized jars, leaving ¼ inch headspace.
- Remove Air Bubbles: Run a non-metallic spatula or bubble remover down the inside of each jar to release any trapped air bubbles.
- Wipe Jar Rims: Wipe the rims of the jars with a clean, damp cloth to ensure a good seal.
- Place Lids and Rings: Center the lids on the jars and screw the bands on fingertip tight.
- Process in Water Bath Canner: Place the jars in the water bath canner, ensuring they are covered by at least 1-2 inches of water. Bring the water to a rolling boil.
- Process for the Correct Time: Process pint or half-pint jars for 10 minutes for elevations at or below 1,000 feet. For elevations above 1,000 feet, increase the processing time by 1 minute for every 1,000 feet of elevation. (Example: 11 minutes for 1,001-2,000 feet, 12 minutes for 2,001-3,000 feet, etc.)
- Remove Jars from Canner: Turn off the heat and remove the canner lid. Let the jars sit in the hot water for 5 minutes before removing them to a towel-lined surface to cool completely.
- Check for Seals: After the jars have cooled completely (about 12-24 hours), check the seals. The lids should be concave and not flex when pressed in the center.
- Label and Store: Label the jars with the date and contents. Store in a cool, dark place.
Tips for Success
- Use Fresh, Ripe Strawberries: The best flavor comes from using high-quality, ripe strawberries. Avoid using overripe or bruised berries.
- Don’t Squeeze the Jelly Bag: Squeezing the jelly bag will result in cloudy jelly. Be patient and let the juice drip naturally.
- Accurate Measurement is Key: Use accurate measuring cups and spoons to ensure the correct ratio of ingredients.
- Constant Stirring: Stirring constantly while boiling is crucial to prevent scorching and ensure even heat distribution.
- Adjust Processing Time for Altitude: It’s important to adjust the processing time based on your altitude to ensure proper sealing and prevent spoilage.
- Test Your Seal: Always check the seals of your jars after they have cooled. If a jar doesn’t seal properly, refrigerate the jelly and use it within a few weeks.
Storage Instructions
Properly canned strawberry jelly can be stored in a cool, dark, and dry place for at least 1 year. Once opened, refrigerate the jelly and use it within a few weeks.
FAQ
- Can I use frozen strawberries? While fresh strawberries are preferred, you can use frozen strawberries. Thaw them completely and drain off any excess liquid before crushing them. Be aware that the juice yield may be slightly less, so adjust the recipe accordingly.
- Can I use less sugar? Reducing the sugar significantly can affect the set of the jelly. If you want to use less sugar, consider using a low-sugar pectin specifically designed for that purpose, and follow the instructions on the pectin package.
- Why is my jelly cloudy? Cloudy jelly is usually caused by squeezing the jelly bag or using overripe fruit.
- My jelly didn’t set. What can I do? If your jelly doesn’t set, you can try recooking it. Combine the unset jelly with additional pectin and lemon juice, bring it back to a boil, and test for setting point again.
- Can I use a different type of pectin? It is crucial to use powdered pectin specifically designed for cooked jams and jellies. Liquid pectin is used differently and will not work in this recipe without significant adjustments.
Conclusion
Canning your own strawberry jelly is a rewarding experience that allows you to capture the sweet taste of summer and enjoy it throughout the year. By following this recipe and the provided tips, you can create jars of beautiful, flavorful jelly that will impress your friends and family. So, gather your strawberries, prepare your canning equipment, and get ready to create a taste of sunshine in every spoonful! Happy canning!