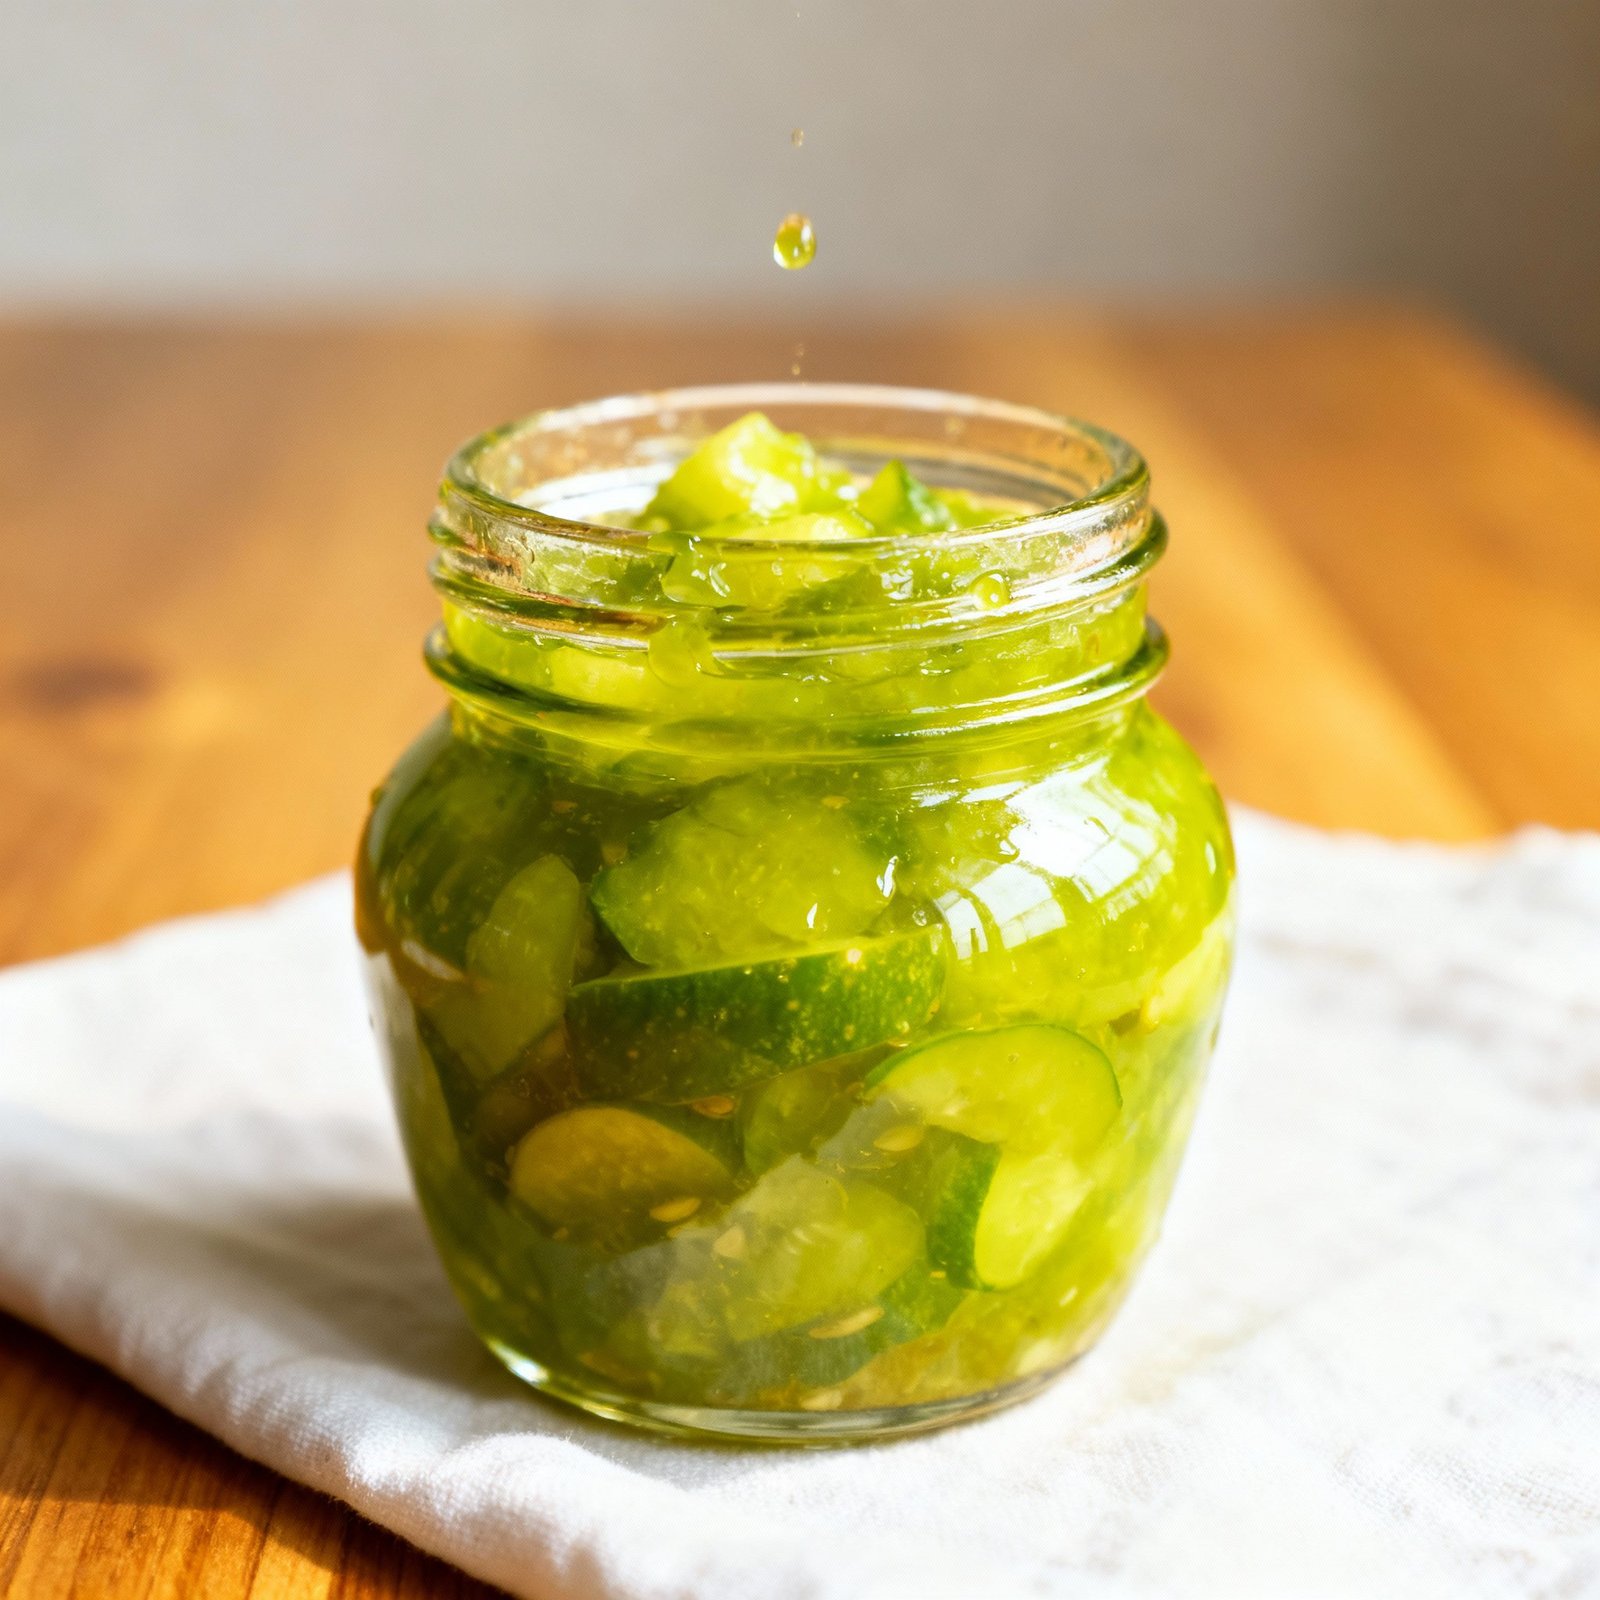
Sweet Relish Recipe Canning: A Taste of Summer All Year Long!
Imagine biting into a juicy hot dog piled high with crisp, tangy, homemade sweet relish. Or perhaps you’re envisioning a spoonful alongside your favorite grilled chicken or stirred into a creamy potato salad. That’s the magic of sweet relish! And what’s even better? You can capture the flavors of summer and enjoy them throughout the year by canning your own batch. This recipe guarantees a vibrant, flavorful relish that’s perfect for gifting or enjoying in your own kitchen.
Why This Recipe Works
This isn’t just any sweet relish recipe; it’s a tried-and-true method that ensures both incredible flavor and safe canning practices. Here’s why it stands out:
- Balanced Sweetness and Tang: The perfect ratio of sugar to vinegar creates a delightful sweet and sour profile that’s not overly sugary.
- Crisp Texture: We use a salting process to draw out excess moisture from the vegetables, resulting in a relish that stays crisp even after canning.
- Safe Canning: This recipe adheres to USDA guidelines for safe canning, using the correct acid levels to prevent spoilage and ensure a shelf-stable product.
- Versatile Flavor: While delicious on its own, the recipe allows for customization with your favorite spices and vegetables.
- Detailed Instructions: We provide clear, step-by-step instructions, making the canning process approachable for beginners and experienced canners alike.
Ingredients
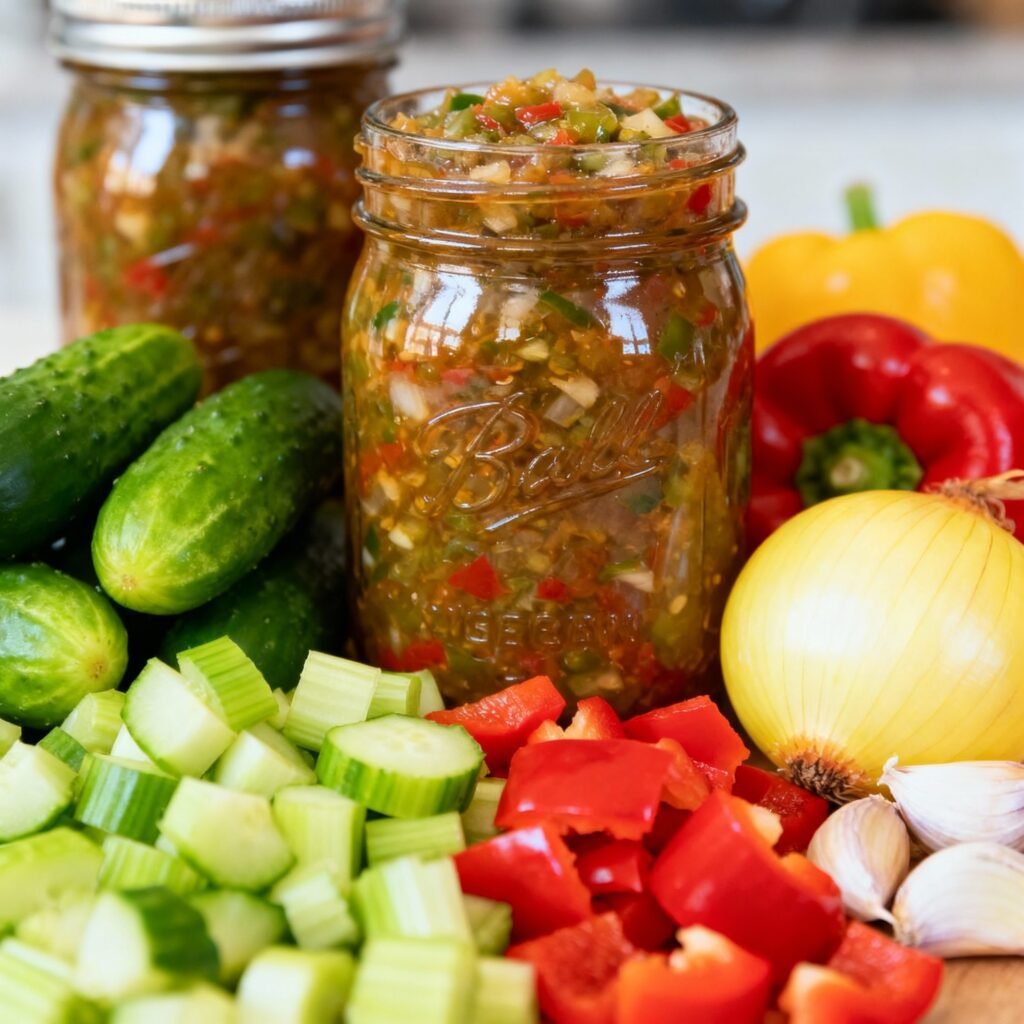
- 8 cups finely diced cucumbers (about 4-5 medium)
- 4 cups finely diced green bell peppers (about 2-3 medium)
- 2 cups finely diced red bell peppers (about 1-2 medium)
- 2 cups finely diced onions (about 1-2 large)
- 1/4 cup canning salt (also known as pickling salt)
- 4 cups granulated sugar
- 4 cups white vinegar (5% acidity)
- 2 tablespoons mustard seeds
- 1 tablespoon celery seeds
- 1 teaspoon ground turmeric (for color and flavor)
Instructions
Prepare the Vegetables:
- Wash and thoroughly dry all vegetables.
- Finely dice the cucumbers, green bell peppers, red bell peppers, and onions. Aim for pieces that are roughly the same size for even cooking. A food processor can be helpful, but be careful not to over-process into a puree.
- In a large, non-reactive bowl (stainless steel or glass), combine the diced vegetables and canning salt.
- Toss well to ensure the salt is evenly distributed.
- Cover the bowl with plastic wrap and weigh it down with a plate or a few cans.
- Let the vegetables sit for at least 2 hours, or preferably overnight, in the refrigerator. This process draws out excess moisture, leading to a crisper relish.
Prepare the Jars and Lids:
- Wash canning jars (pint or half-pint size) in hot, soapy water. Rinse well.
- Sterilize the jars by placing them in a boiling water bath canner filled with enough water to cover them by at least 1 inch. Bring the water to a boil and boil for 10 minutes. Turn off the heat and leave the jars in the hot water until ready to use.
- Wash canning lids and bands in hot, soapy water. Rinse well. Heat the lids in a small saucepan of simmering water (do not boil) until ready to use.
Make the Relish:
- Drain the salted vegetables in a colander. Rinse them thoroughly under cold running water to remove the excess salt.
- Press the vegetables firmly with your hands or a clean kitchen towel to remove as much remaining moisture as possible. This step is crucial for a crisp relish.
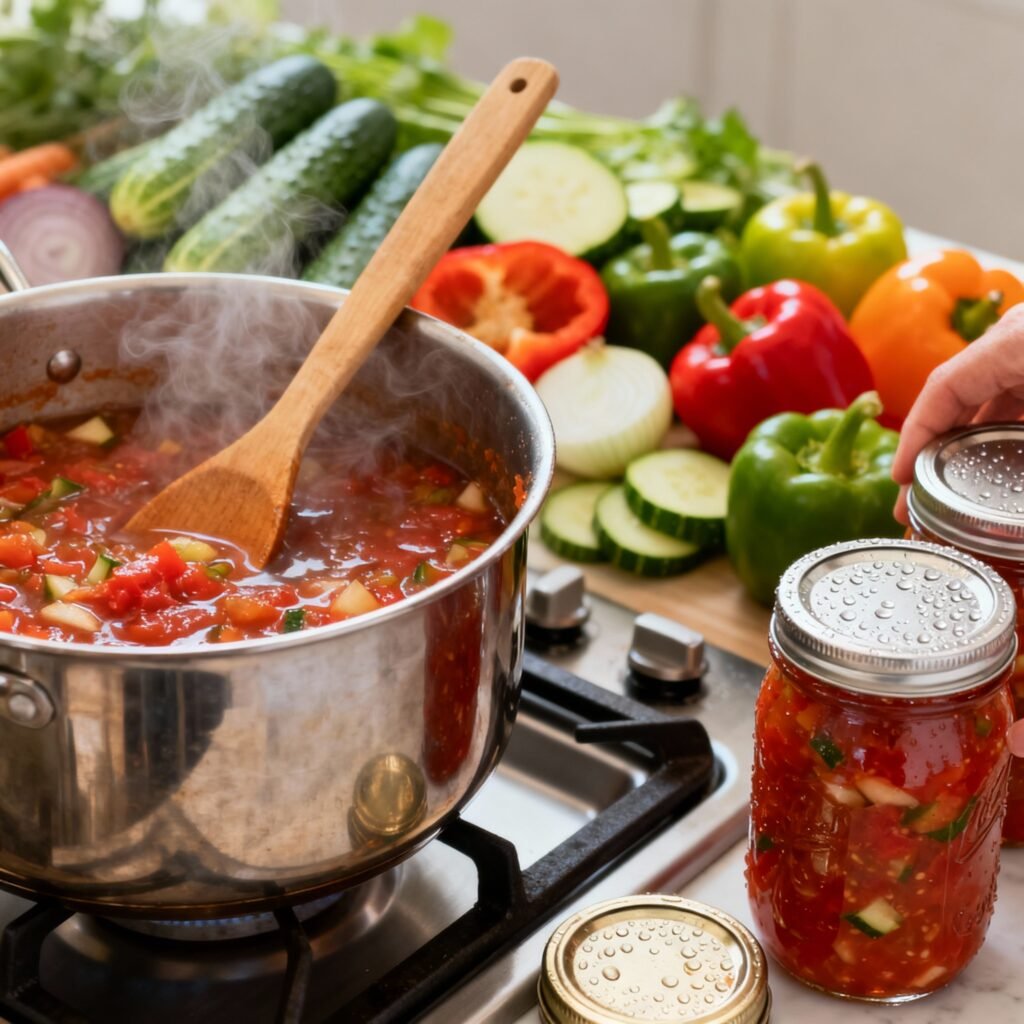
- In a large, non-reactive pot (stainless steel or enamel-coated), combine the sugar, white vinegar, mustard seeds, celery seeds, and turmeric.
- Bring the mixture to a boil over medium-high heat, stirring constantly until the sugar is dissolved.
- Add the drained and rinsed vegetables to the boiling vinegar mixture.
- Return to a boil, then reduce the heat to medium and simmer for 10-15 minutes, or until the vegetables are translucent and the relish has thickened slightly. Stir frequently to prevent sticking and burning.
Can the Relish:
- Remove the sterilized jars from the hot water bath, one at a time, using jar lifters. Drain any excess water back into the canner.
- Ladle the hot relish into the hot jars, leaving 1/2 inch of headspace (the space between the top of the relish and the jar rim).
- Remove any air bubbles by gently tapping the jar on a towel-covered surface or by running a non-metallic utensil (like a chopstick or plastic spatula) around the inside of the jar.
- Wipe the jar rims with a clean, damp cloth to remove any spills or drips.
- Center a sterilized lid on each jar and screw on a band until fingertip tight (not too tight, not too loose).
- Carefully lower the filled jars into the boiling water bath canner, ensuring they are covered by at least 1 inch of water.
- Bring the water back to a rolling boil and process for 15 minutes for pint or half-pint jars. Adjust processing time for altitude:
- 0-1,000 feet: 15 minutes
- 1,001-6,000 feet: 20 minutes
- Above 6,000 feet: 25 minutes
- Turn off the heat and let the jars sit in the hot water for 5 minutes before removing them. This helps prevent siphoning.
- Carefully remove the jars from the canner using jar lifters and place them on a towel-lined surface, spaced at least 1 inch apart.
- Let the jars cool completely for 12-24 hours. As the jars cool, you should hear a “pop” sound as the lids seal.
Tips for Success
- Use Fresh, High-Quality Vegetables: The better the ingredients, the better the relish.
- Don’t Skip the Salting Process: This step is crucial for a crisp texture.
- Remove Excess Moisture: After salting, squeeze out as much water as possible.
- Maintain Headspace: Leaving the correct headspace ensures a proper seal.
- Don’t Over-tighten the Bands: Over-tightening can prevent the jars from sealing properly.
- Listen for the Seal: After cooling, check that the lids are concave and don’t flex when pressed.
- Be Patient: Allow the relish to sit for a few weeks before enjoying to allow the flavors to meld.
- Customization: Add other vegetables like cauliflower or hot peppers for a unique flavor. Experiment with different spices like allspice or cloves.
Storage Instructions
Store sealed jars of sweet relish in a cool, dark, and dry place for up to 1 year. Once opened, refrigerate the relish and use it within 2-3 weeks.
FAQ
Q: Can I use a different type of vinegar?
A: White vinegar (5% acidity) is recommended for safety and flavor. Using a lower acidity vinegar could compromise the safety of the canned product. Apple cider vinegar can be used, but it will slightly alter the flavor and color of the relish.
Q: Can I reduce the amount of sugar?
A: While you can slightly reduce the sugar, it’s important to maintain a proper sugar-to-acid ratio for preservation. Reducing the sugar significantly could affect the safety of the canned product.
Q: What if a jar doesn’t seal?
A: If a jar doesn’t seal within 24 hours, refrigerate the relish immediately and use it within 2-3 weeks. Alternatively, you can reprocess the relish using a new lid and processing for the full recommended time.
Q: My relish is too watery. What did I do wrong?
A: The most common cause of watery relish is not removing enough moisture from the vegetables after salting. Be sure to thoroughly rinse and squeeze the vegetables to remove excess water.
Q: Can I make this relish without canning?
A: Yes, you can! Simply follow the recipe up to the canning step. Store the relish in an airtight container in the refrigerator and use it within 1-2 weeks.
Conclusion
Canning sweet relish is a rewarding way to preserve the flavors of summer. With its delightful sweet and tangy taste, this homemade relish is a versatile condiment that will enhance your meals and impress your friends and family. Follow this recipe carefully, and you’ll be rewarded with jars of delicious, shelf-stable sweet relish to enjoy all year long. Happy canning!