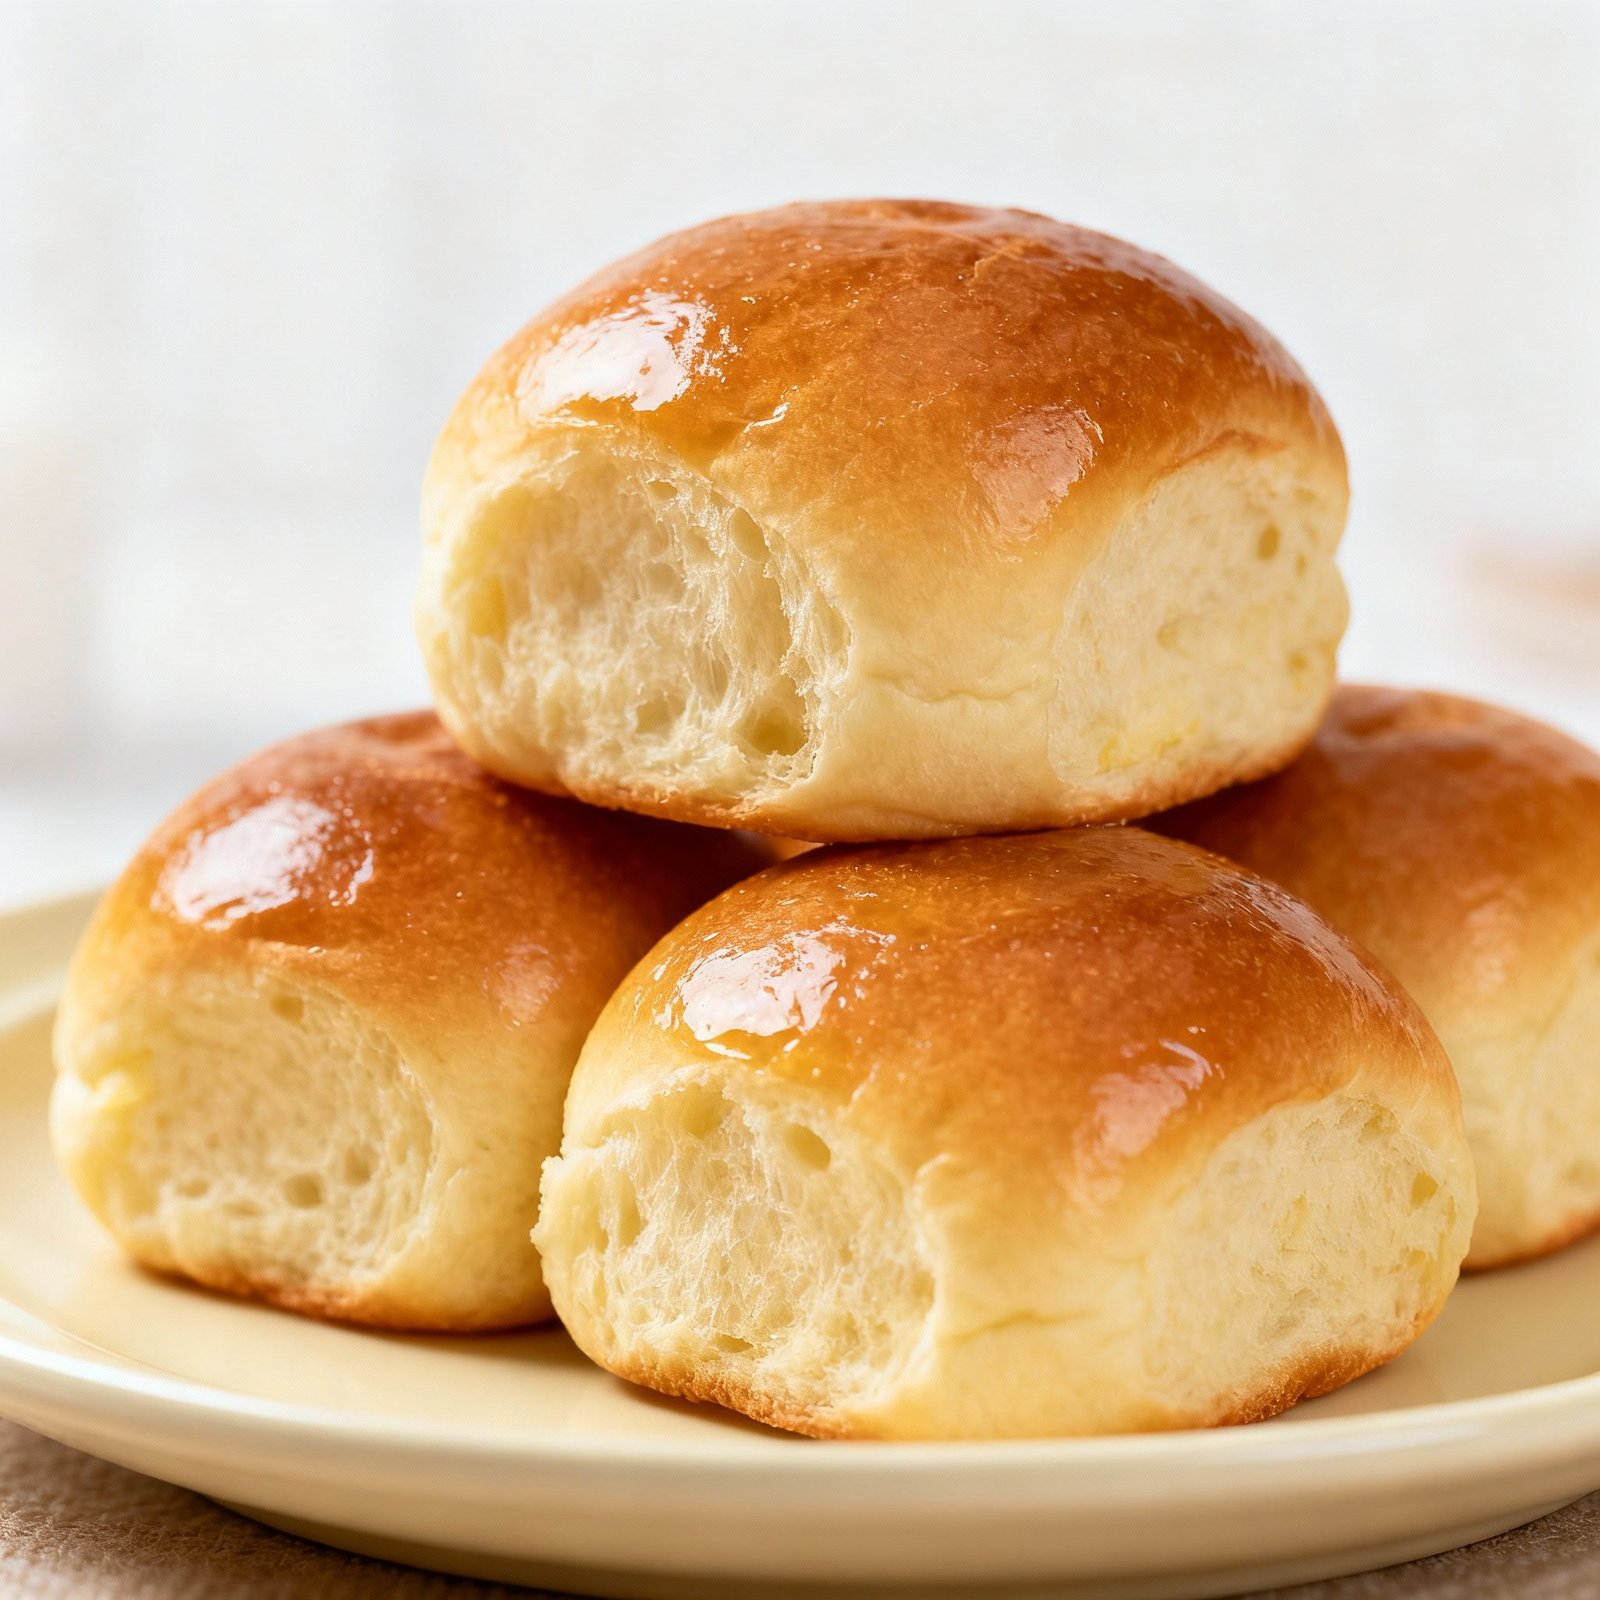
Sweet Yeast Rolls Recipe: Pillowy Soft Perfection!
Is there anything quite as comforting as the aroma of freshly baked sweet yeast rolls wafting through your kitchen? These aren’t just any rolls; they’re melt-in-your-mouth, slightly sweet, and utterly irresistible. Whether you’re serving them alongside a holiday meal, enjoying them for brunch, or simply craving a warm, doughy treat, this recipe will become your go-to for perfect sweet yeast rolls every time. Forget store-bought – once you taste these homemade delights, you’ll never go back!
Why This Recipe Works
This recipe isn’t just about throwing ingredients together; it’s about understanding the science behind baking. We’ve carefully balanced the ingredients to create a dough that’s rich, flavorful, and easy to work with. Here’s why it works:
- The Right Yeast: We use active dry yeast, which is reliable and readily available. Blooming the yeast ensures it’s alive and ready to leaven the dough properly.
- Warm Milk and Butter: Warm (but not hot!) milk provides the ideal environment for the yeast to thrive. Melted butter adds richness and tenderness to the dough.
- Sugar’s Role: Sugar not only adds sweetness but also feeds the yeast, helping it to rise.
- Proper Kneading: Kneading develops the gluten in the flour, creating the structure needed for a light and airy texture.
- Two Rises: The double rise allows the yeast to fully develop, resulting in a flavorful and light roll.
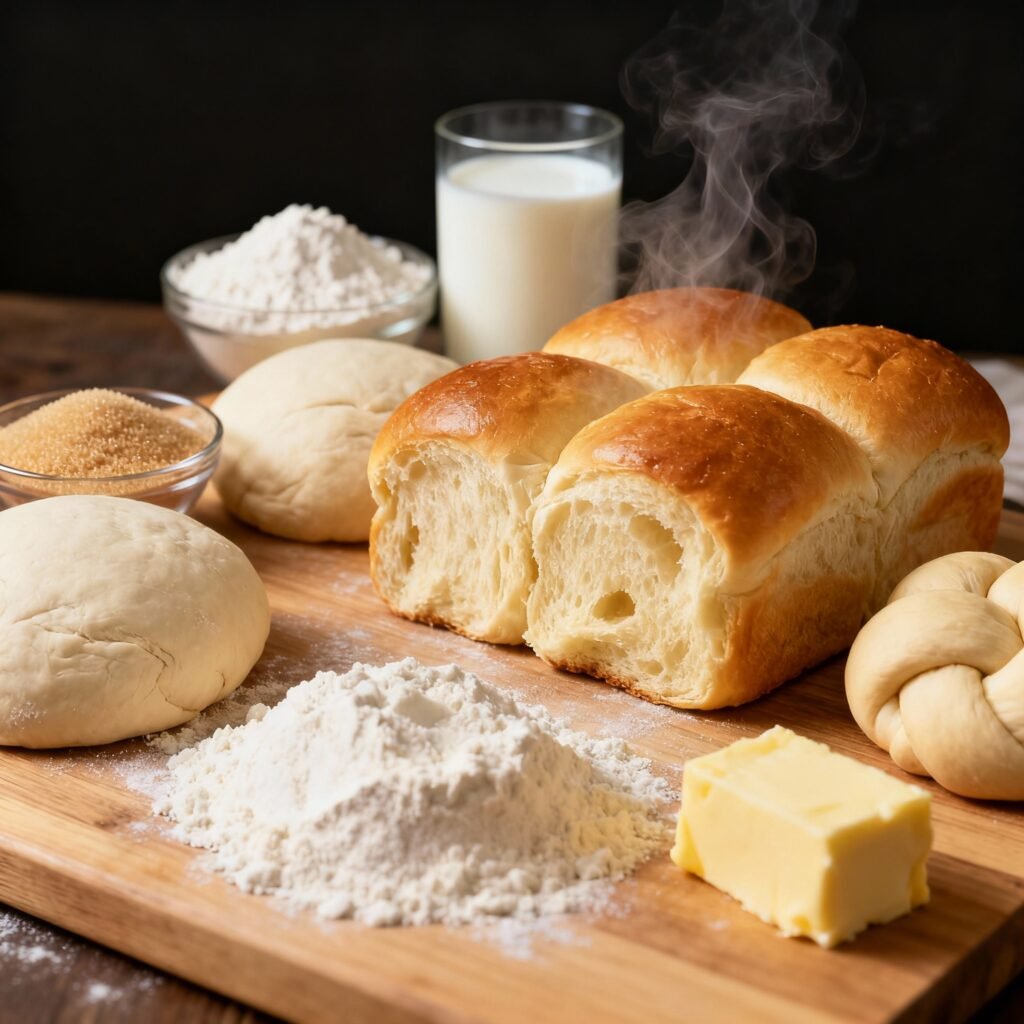
Ingredients
- 1 cup warm milk (105-115°F)
- 2 ¼ teaspoons active dry yeast (1 packet)
- ¼ cup granulated sugar, plus 1 teaspoon
- ½ teaspoon salt
- ¼ cup unsalted butter, melted
- 1 large egg, lightly beaten
- 3 ¼ – 3 ¾ cups all-purpose flour, plus more for dusting
- 2 tablespoons unsalted butter, melted (for brushing)
Instructions
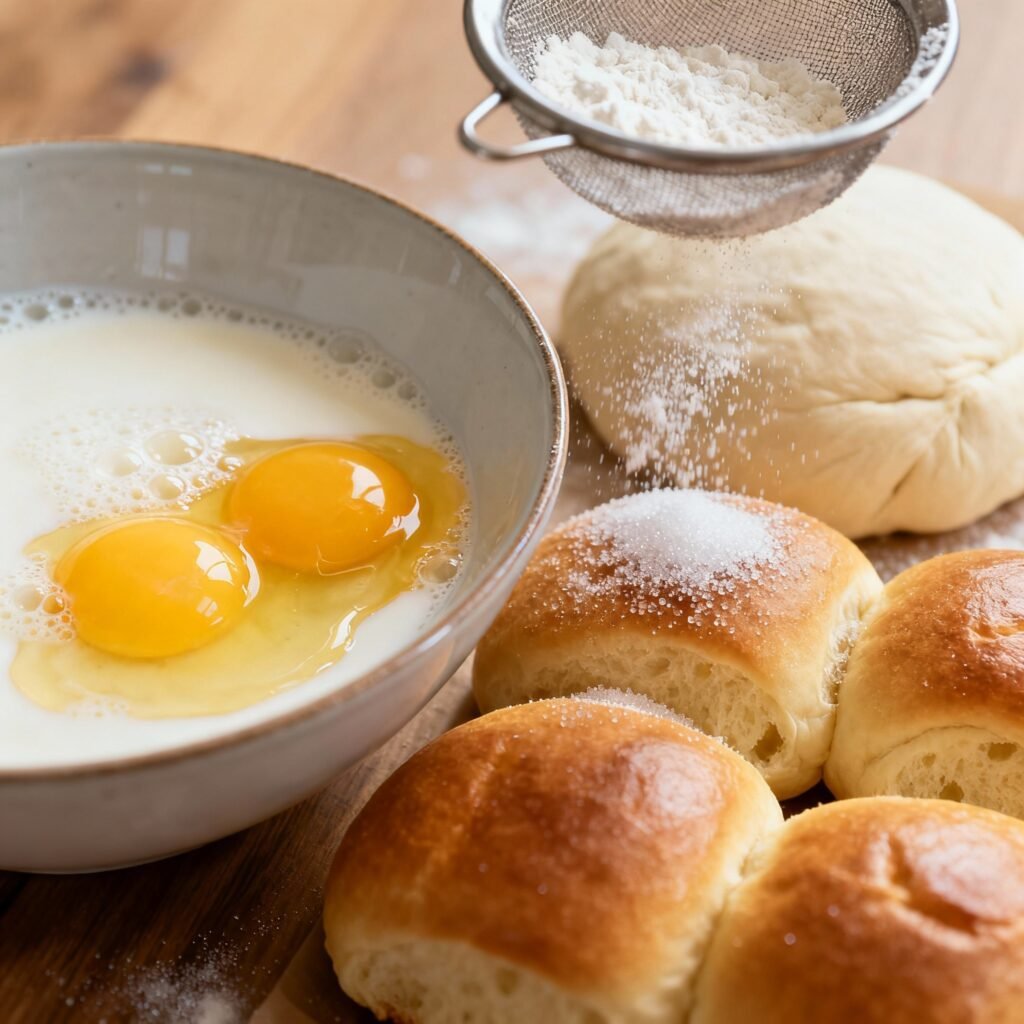
- Bloom the Yeast: In a large bowl, combine the warm milk and 1 teaspoon of sugar. Sprinkle the yeast over the milk and let it sit for 5-10 minutes, or until foamy. This indicates that the yeast is active.
- Combine Wet Ingredients: Add the remaining ¼ cup sugar, salt, melted butter, and egg to the yeast mixture. Whisk to combine.
- Add Flour: Gradually add the flour, 1 cup at a time, mixing with a wooden spoon or dough hook until a shaggy dough forms.
- Knead the Dough: Turn the dough out onto a lightly floured surface. Knead for 5-7 minutes, or until the dough is smooth and elastic. Alternatively, knead in a stand mixer with a dough hook on medium speed for 5-7 minutes. The dough should be slightly sticky but manageable. Add a little more flour if necessary, 1 tablespoon at a time.
- First Rise: Place the dough in a lightly oiled bowl, turning to coat. Cover with plastic wrap or a clean kitchen towel and let rise in a warm place for 1-1.5 hours, or until doubled in size.
- Shape the Rolls: Punch down the dough to release the air. Turn the dough out onto a lightly floured surface. Divide the dough into 12 equal pieces. Roll each piece into a ball or shape as desired.
- Second Rise: Place the shaped rolls in a greased 9×13 inch baking dish. Cover with plastic wrap or a clean kitchen towel and let rise in a warm place for 30-45 minutes, or until nearly doubled in size.
- Bake: Preheat oven to 350°F (175°C).
- Brush with Butter: Brush the tops of the rolls with the melted butter.
- Bake: Bake for 20-25 minutes, or until golden brown.
- Cool and Serve: Let the rolls cool in the baking dish for a few minutes before transferring them to a wire rack to cool completely, or serve warm. Brush with additional melted butter if desired.
Tips for Success
- Temperature Matters: Ensure the milk is warm, not hot. Hot milk can kill the yeast.
- Don’t Overknead: Overkneading can result in tough rolls. Knead until the dough is smooth and elastic, but not stiff.
- Warm Place for Rising: A warm environment is crucial for the dough to rise properly. You can place the bowl in a slightly warmed oven (turned off!), near a sunny window, or in a warm spot in your kitchen.
- Don’t Rush the Rise: Allow the dough to fully double in size during both rises. This ensures a light and airy texture.
- Browning Control: If the rolls are browning too quickly, tent the baking dish with aluminum foil.
- Experiment with Flavors: Add a teaspoon of vanilla extract to the dough for extra flavor. You can also sprinkle the tops of the rolls with cinnamon sugar before baking.
Storage Instructions
Room Temperature: Store cooled sweet yeast rolls in an airtight container at room temperature for up to 2-3 days. They are best enjoyed fresh.
Freezer: For longer storage, freeze the rolls. Allow the rolls to cool completely. Wrap them individually in plastic wrap, then place them in a freezer-safe bag or container. Frozen rolls can be stored for up to 2-3 months. To reheat, thaw the rolls at room temperature, then warm them in a 350°F (175°C) oven for 5-10 minutes.
FAQ
Q: Can I use instant yeast instead of active dry yeast?
A: Yes, you can use instant yeast. You don’t need to bloom instant yeast. Simply add it directly to the dry ingredients.
Q: Can I make these rolls ahead of time?
A: Yes, you can prepare the dough through the first rise and then refrigerate it overnight. In the morning, punch down the dough, shape the rolls, and let them rise for the second time before baking.
Q: My dough isn’t rising. What could be the problem?
A: Several factors can affect the dough’s rise:
- Yeast: Make sure your yeast is fresh and active. Expired yeast won’t work.
- Temperature: The milk should be warm, not hot. The environment where the dough is rising should also be warm.
- Sugar: Ensure you’ve added enough sugar to feed the yeast.
Q: Can I use a different type of flour?
A: While all-purpose flour is recommended for the best results, you can experiment with bread flour. Bread flour has a higher protein content, which will result in a chewier roll. You may need to adjust the amount of liquid if using bread flour.
Conclusion
These sweet yeast rolls are a labor of love, but the reward is well worth the effort. The soft, pillowy texture and delicate sweetness will impress your family and friends. Don’t be intimidated by working with yeast; this recipe is designed to be approachable and foolproof. So, gather your ingredients, put on your apron, and get ready to bake a batch of truly unforgettable sweet yeast rolls. Happy baking!