Vanilla Birthday Cake Recipe: The Ultimate Crowd-Pleaser!
Birthdays are special, and what’s a birthday without a magnificent cake? This vanilla birthday cake recipe is your ticket to creating a moist, flavorful, and utterly irresistible centerpiece for any celebration. Forget dry, bland cakes – this recipe delivers a perfect crumb, a delicate vanilla aroma, and a sweetness that’s just right. Whether you’re a seasoned baker or a beginner, this recipe is designed for success, guiding you through each step with clear instructions and helpful tips. Get ready to bake a cake that will impress your family and friends and make their birthday truly unforgettable!
Why This Recipe Works
This vanilla birthday cake recipe stands out for several reasons:
- Moist Crumb: The combination of buttermilk and oil ensures a tender and moist crumb that stays fresh for days.
- Perfect Vanilla Flavor: Using both vanilla extract and vanilla bean paste (optional, but highly recommended!) amplifies the vanilla flavor, creating a truly decadent experience.
- Easy to Follow: The instructions are clear and concise, making it easy for bakers of all skill levels to achieve success.
- Sturdy Structure: This cake is sturdy enough to hold layers of frosting and decorations without collapsing.
- Versatile: The vanilla flavor pairs well with a variety of frostings and fillings, allowing you to customize the cake to your liking.
Ingredients
- All-Purpose Flour: 3 cups (360g)
- Baking Powder: 3 teaspoons
- Salt: 1/2 teaspoon
- Unsalted Butter: 1 cup (2 sticks, 226g), softened
- Granulated Sugar: 2 cups (400g)
- Eggs: 3 large
- Egg Whites: 2 large
- Vanilla Extract: 2 teaspoons
- Vanilla Bean Paste: 1 teaspoon (optional, for enhanced flavor)
- Vegetable Oil: 1/2 cup (120ml)
- Buttermilk: 1 cup (240ml)

Instructions
- Preheat and Prep: Preheat your oven to 350°F (175°C). Grease and flour two 9-inch round cake pans. You can also line the bottoms with parchment paper rounds for easy removal.
- Combine Dry Ingredients: In a large bowl, whisk together the flour, baking powder, and salt.
- Cream Butter and Sugar: In a separate bowl, cream together the softened butter and granulated sugar until light and fluffy, about 3-5 minutes. Use an electric mixer for best results.
- Add Eggs and Egg Whites: Beat in the eggs one at a time, followed by the egg whites. Mix well after each addition.
- Add Vanilla: Stir in the vanilla extract and vanilla bean paste (if using).
- Alternate Wet and Dry Ingredients: Gradually add the dry ingredients to the wet ingredients, alternating with the buttermilk. Begin and end with the dry ingredients. Mix until just combined. Be careful not to overmix. Start by adding 1/3 of the dry ingredients, then 1/2 of the buttermilk, then another 1/3 of the dry ingredients, then the remaining buttermilk, and finally the remaining dry ingredients.
- Add Oil: Gently fold in the vegetable oil until just combined.
- Divide Batter: Divide the batter evenly between the prepared cake pans.
- Bake: Bake for 30-35 minutes, or until a wooden skewer inserted into the center comes out clean.
- Cool in Pans: Let the cakes cool in the pans for 10 minutes before inverting them onto a wire rack to cool completely.
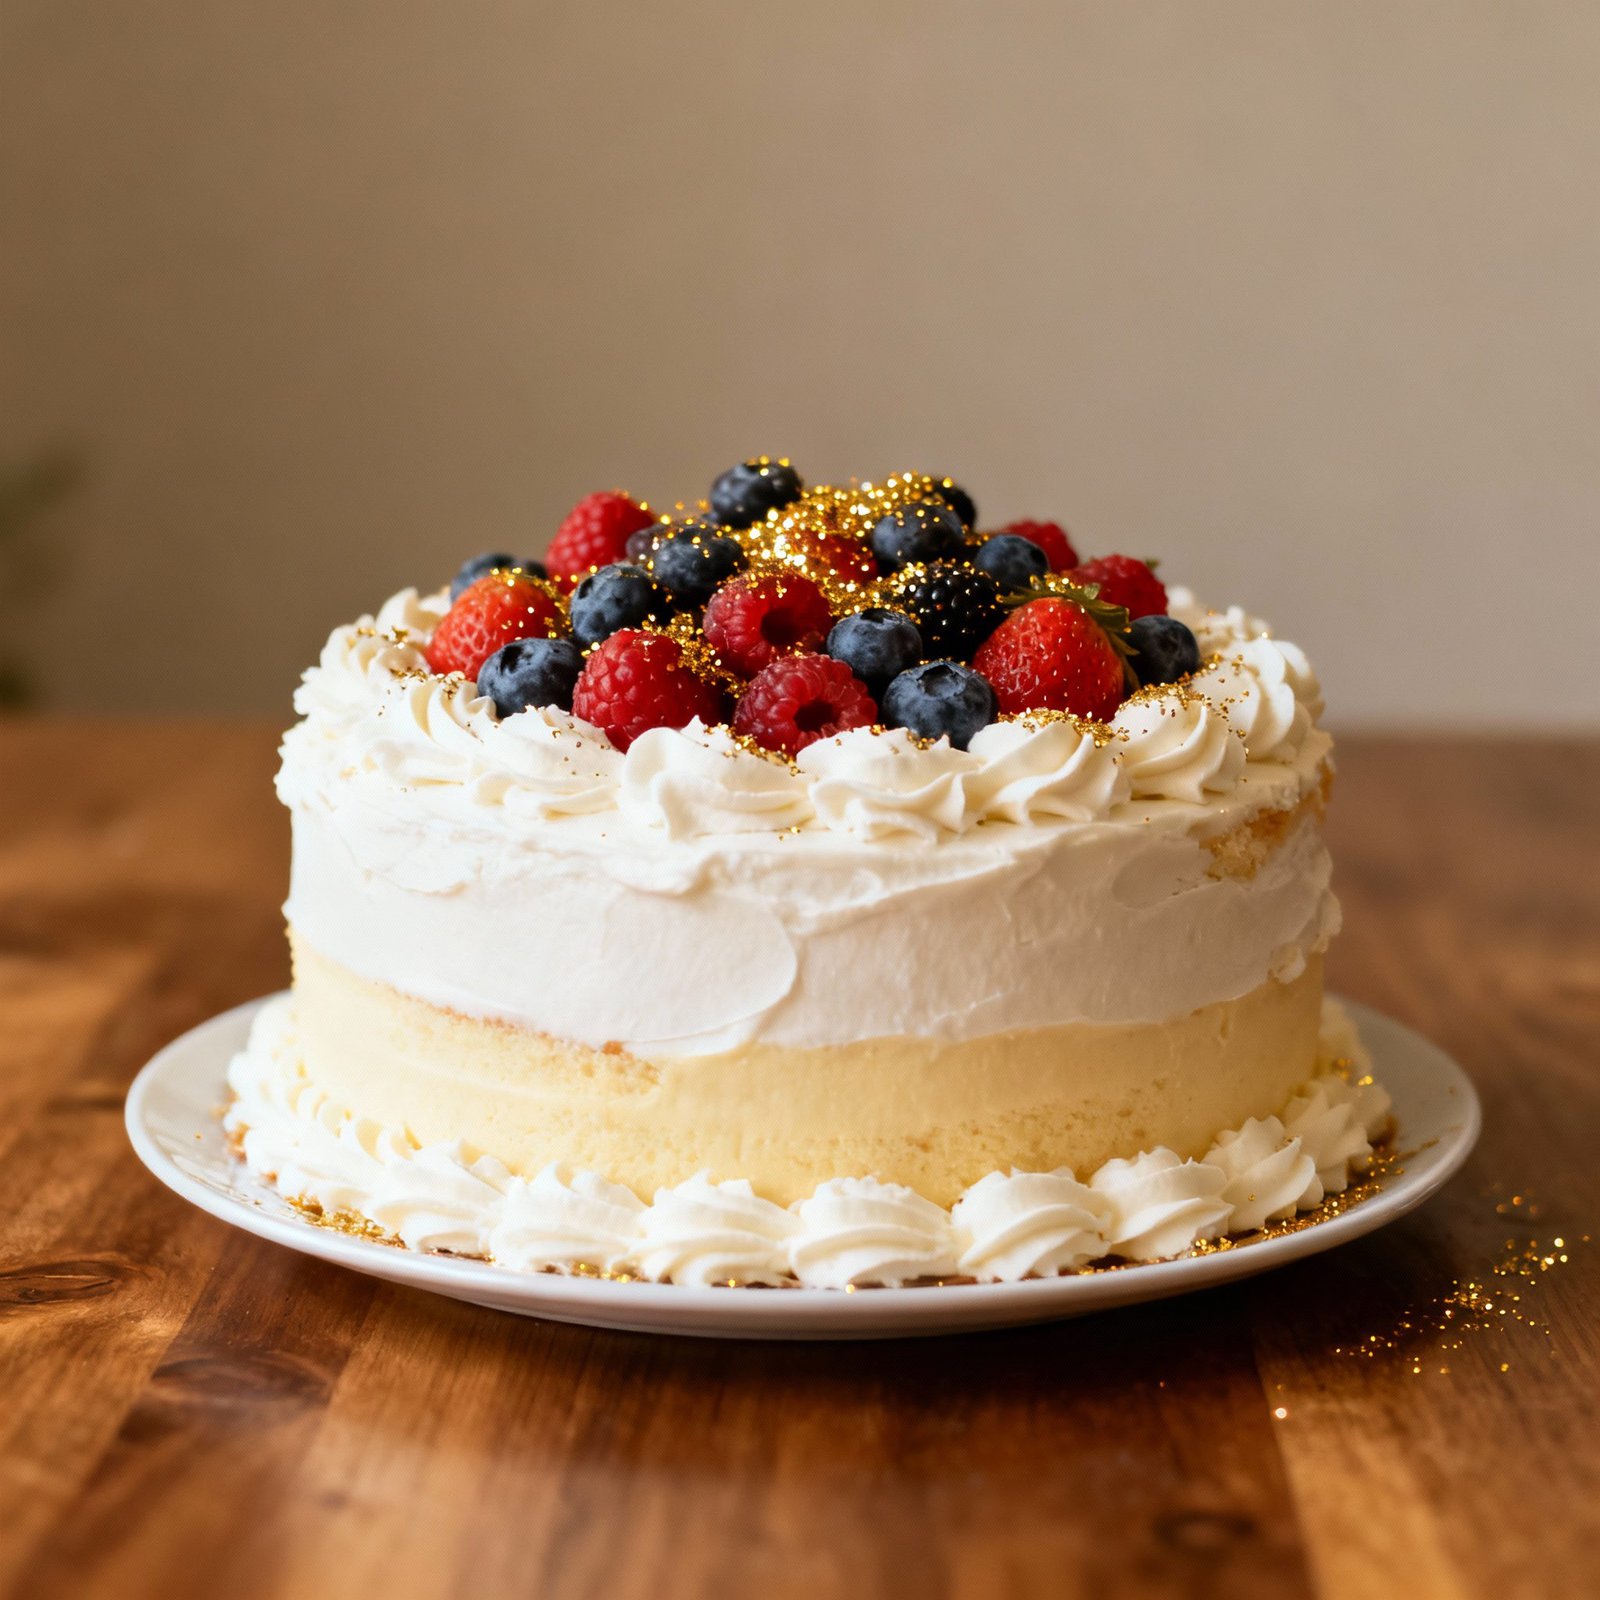
- Frost and Decorate: Once the cakes are completely cool, frost and decorate as desired. Our favorite is a classic vanilla buttercream!
Tips for Success
- Room Temperature Ingredients: Using room temperature butter, eggs, and buttermilk is crucial for creating a smooth and even batter.
- Don’t Overmix: Overmixing the batter can result in a tough cake. Mix until just combined.
- Accurate Oven Temperature: Ensure your oven temperature is accurate for even baking. An oven thermometer can be helpful.
- Cool Completely: Make sure the cakes are completely cool before frosting to prevent the frosting from melting.
- Level the Cakes: If the cakes have domed tops, use a serrated knife to level them before frosting for a more professional look.
- Use Parchment Paper: Lining the bottoms of the cake pans with parchment paper ensures easy release.
- Test for Doneness: Start checking for doneness around 30 minutes. Every oven is different!
Storage Instructions
Unfrosted Cakes:
- Room Temperature: Store unfrosted cakes tightly wrapped in plastic wrap or in an airtight container at room temperature for up to 2 days.
- Freezer: For longer storage, wrap the unfrosted cakes tightly in plastic wrap and then in aluminum foil. Freeze for up to 3 months. Thaw completely at room temperature before frosting.
Frosted Cakes:
- Room Temperature: Cakes frosted with buttercream can be stored at room temperature for up to 2 days, as long as the room is cool.
- Refrigerator: For longer storage, store frosted cakes in the refrigerator. Cover loosely to prevent them from drying out. They can be stored in the refrigerator for up to 5 days.
- Freezer: Frosted cakes can also be frozen. Place the cake in the freezer uncovered for about an hour to allow the frosting to harden. Then, wrap the cake tightly in plastic wrap and then in aluminum foil. Freeze for up to 2 months. Thaw in the refrigerator overnight before serving.

FAQ
Q: Can I use milk instead of buttermilk?
A: While buttermilk is preferred for its tang and moisture, you can substitute it with milk. To mimic the acidity of buttermilk, add 1 tablespoon of lemon juice or white vinegar to 1 cup of milk and let it sit for 5 minutes before using.
Q: Can I use cake flour instead of all-purpose flour?
A: Yes, you can substitute cake flour for all-purpose flour. Cake flour will result in an even more tender cake. Use the same amount (3 cups). However, be careful not to overmix the batter when using cake flour.
Q: Can I make this cake gluten-free?
A: Yes, you can make this cake gluten-free by using a gluten-free all-purpose flour blend. Make sure the blend contains xanthan gum or add it separately according to the package instructions.
Q: Can I bake this cake in different sized pans?
A: Yes, you can bake this cake in different sized pans, but the baking time will need to be adjusted accordingly. Smaller pans will require a shorter baking time, while larger pans will require a longer baking time. Keep an eye on the cake and test for doneness with a wooden skewer.
Q: What kind of frosting do you recommend?
A: A classic vanilla buttercream frosting is a perfect complement to this vanilla cake. However, you can use any frosting you like, such as chocolate buttercream, cream cheese frosting, or even a simple glaze.
Conclusion
This vanilla birthday cake recipe is a reliable and delicious way to celebrate any special occasion. With its moist crumb, perfect vanilla flavor, and easy-to-follow instructions, you’ll be baking a cake that everyone will love. So, gather your ingredients, preheat your oven, and get ready to create a memorable birthday treat!