Vanilla Pound Cake Recipe: The Only One You’ll Ever Need
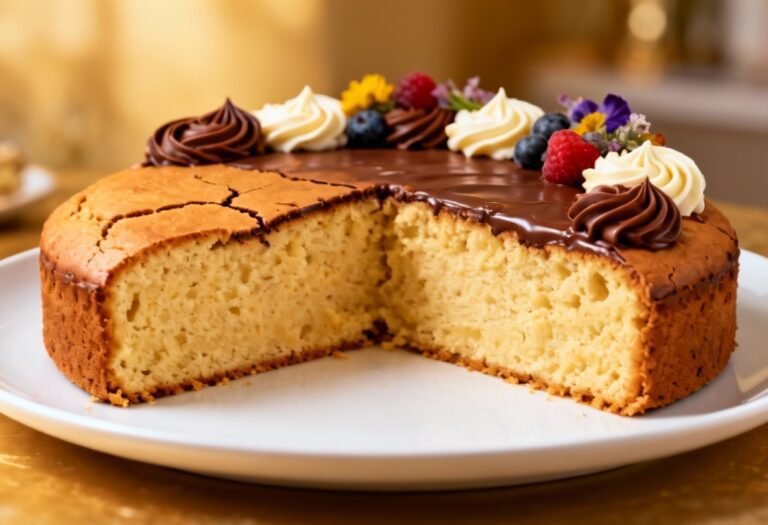
There’s something undeniably comforting about a slice of classic vanilla pound cake. Its dense, buttery crumb, subtly sweet flavor, and simple elegance make it a perfect treat for any occasion. Whether you’re enjoying it with a cup of coffee in the morning, serving it as a sophisticated dessert after dinner, or gifting it to a friend, a good pound cake is always a welcome sight. But finding *the* perfect pound cake recipe can be a challenge. Some are too dry, others lack flavor, and some just don’t rise properly. Fear not! This recipe guarantees a moist, flavorful, and perfectly risen vanilla pound cake every single time. Get ready to bake a cake so good, it will become your go-to for years to come!
Why This Recipe Works
This recipe isn’t just a collection of ingredients; it’s a carefully crafted formula designed to deliver the ultimate pound cake experience. Here’s why it works:
- Creaming Method: The foundation of a great pound cake lies in properly creaming the butter and sugar. This process incorporates air into the mixture, creating a light and airy base that allows the cake to rise beautifully. We’ll guide you through the creaming process to ensure you achieve the perfect texture.
- Room Temperature Ingredients: Using room temperature ingredients, especially butter and eggs, is crucial. Room temperature butter emulsifies more easily with the sugar, creating a smoother batter and a more tender crumb. Room temperature eggs also contribute to a better emulsion and a lighter texture.
- Precise Measurements: Baking is a science, and precise measurements are key to success. We’ve carefully measured each ingredient to ensure the perfect balance of flavor and texture.
- Proper Baking Temperature: Baking at the correct temperature is essential for even cooking and a golden-brown crust. We’ll specify the ideal oven temperature and baking time to ensure your cake is cooked to perfection.
- The Right Pan: A quality loaf pan is important for even baking. We recommend using a light-colored metal loaf pan, as dark pans can cause the cake to brown too quickly on the outside.
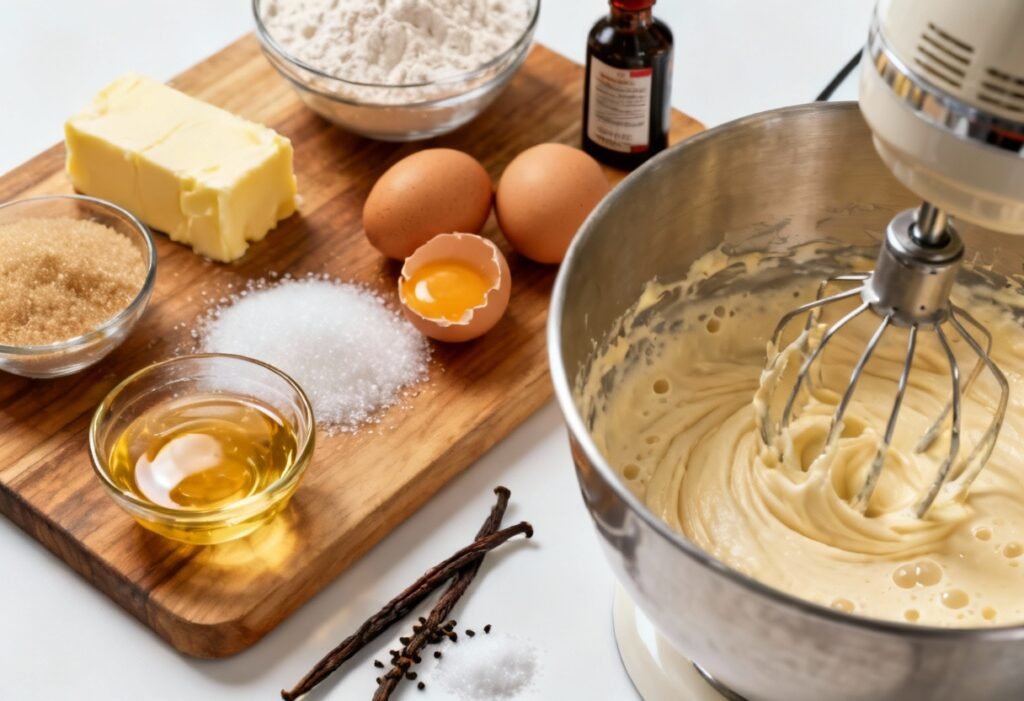
Ingredients
- 3 cups (360g) all-purpose flour, plus more for dusting the pan
- 1 teaspoon baking powder
- 1/2 teaspoon salt
- 1 cup (2 sticks or 226g) unsalted butter, softened to room temperature
- 3 cups (600g) granulated sugar
- 6 large eggs, at room temperature
- 1 teaspoon vanilla extract
- 1 cup (240ml) whole milk, at room temperature

Instructions
- Preheat and Prep: Preheat your oven to 325°F (160°C). Grease and flour a 9×5 inch loaf pan. Make sure to coat all surfaces evenly to prevent the cake from sticking.
- Whisk Dry Ingredients: In a medium bowl, whisk together the flour, baking powder, and salt. This ensures that the baking powder is evenly distributed throughout the flour.
- Cream Butter and Sugar: In a large bowl (or the bowl of a stand mixer), cream together the softened butter and sugar until light and fluffy. This should take about 5-7 minutes. The mixture should be noticeably lighter in color and have a whipped texture.
- Add Eggs: Add the eggs one at a time, beating well after each addition. It’s important to fully incorporate each egg before adding the next to prevent the batter from curdling. If the batter looks curdled, add a tablespoon of the flour mixture to help bring it back together.
- Stir in Vanilla: Stir in the vanilla extract.
- Alternate Wet and Dry Ingredients: Gradually add the dry ingredients to the wet ingredients, alternating with the milk. Begin and end with the dry ingredients. Add about one-third of the dry ingredients, mix until just combined, then add half of the milk, mix until just combined. Repeat with another third of the dry ingredients and the remaining milk. Finish with the last third of the dry ingredients, mixing until just combined. Be careful not to overmix the batter. Overmixing can develop the gluten in the flour, resulting in a tough cake.
- Pour into Pan: Pour the batter into the prepared loaf pan and spread it evenly.
- Bake: Bake for 70-80 minutes, or until a wooden skewer inserted into the center comes out clean. The top of the cake should be golden brown.
- Cool: Let the cake cool in the pan for 10-15 minutes before inverting it onto a wire rack to cool completely. Cooling the cake in the pan allows it to set properly and prevents it from crumbling when you remove it.
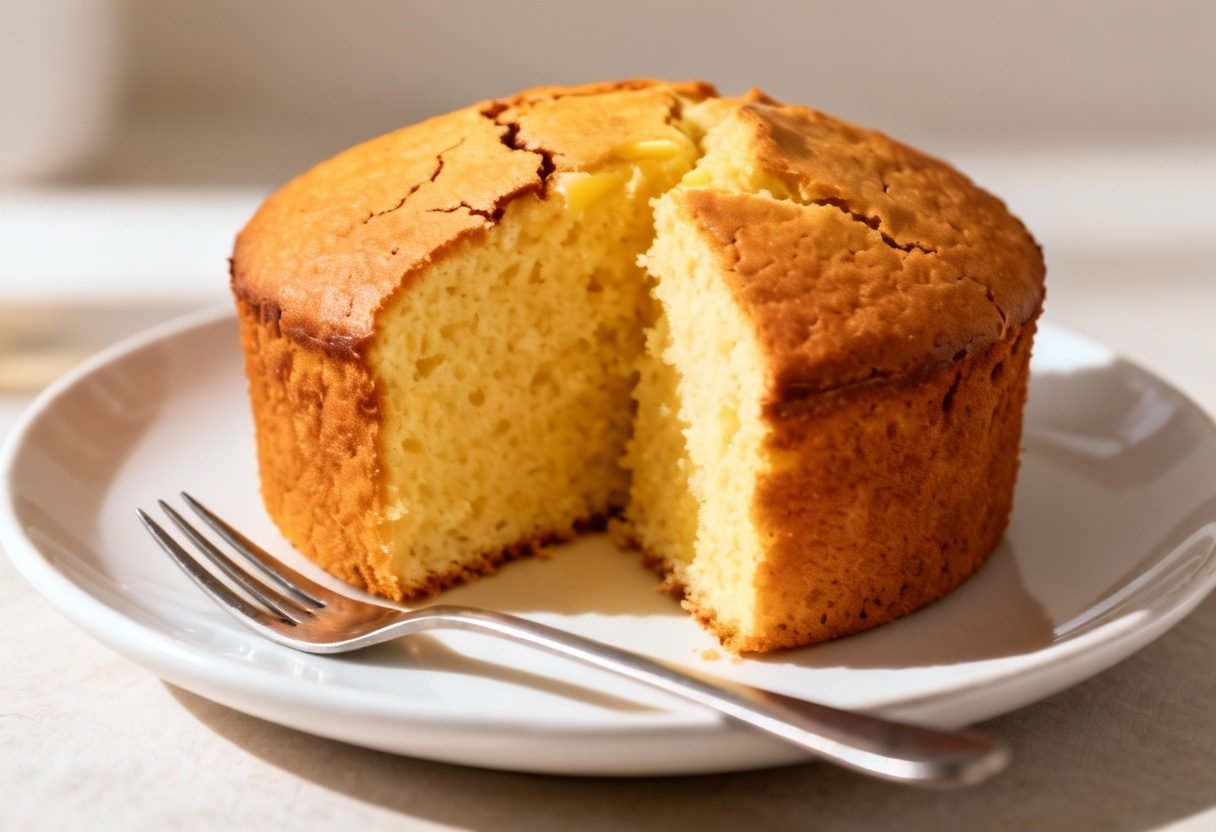
- Slice and Serve: Once the cake is completely cool, slice and serve. Enjoy it plain, with a dusting of powdered sugar, or with your favorite toppings.
Tips for Success
Here are a few extra tips to ensure your vanilla pound cake is a resounding success:
- Use a Kitchen Scale: For the most accurate results, use a kitchen scale to measure your ingredients. This is especially important for the flour, as too much flour can result in a dry cake.
- Don’t Overmix: Overmixing the batter will develop the gluten in the flour, resulting in a tough cake. Mix until just combined.
- Check for Doneness: Use a wooden skewer to check for doneness. Insert the skewer into the center of the cake. If it comes out clean, the cake is done. If it comes out with wet batter on it, continue baking for a few more minutes and check again.
- Let it Cool Completely: Be patient and let the cake cool completely before slicing. This will prevent it from crumbling.
- Add a Glaze: For an extra touch of sweetness and elegance, drizzle the cooled cake with a simple glaze made from powdered sugar and milk or lemon juice.
Storage Instructions
To keep your vanilla pound cake fresh, store it properly:
- Room Temperature: Store the cooled cake in an airtight container at room temperature for up to 3 days.
- Refrigerator: For longer storage, store the cake in an airtight container in the refrigerator for up to a week. However, refrigerating the cake may slightly dry it out.
- Freezer: You can also freeze the cake for up to 2 months. Wrap it tightly in plastic wrap and then in foil, or place it in a freezer-safe bag. Thaw the cake in the refrigerator overnight before serving.
FAQ
Here are some frequently asked questions about vanilla pound cake:
- Can I use salted butter? While unsalted butter is preferred for baking, you can use salted butter. Just omit the 1/2 teaspoon of salt in the recipe.
- Can I use a different type of flour? All-purpose flour is recommended for this recipe. Using cake flour will result in a more tender crumb, but the cake may not hold its shape as well.
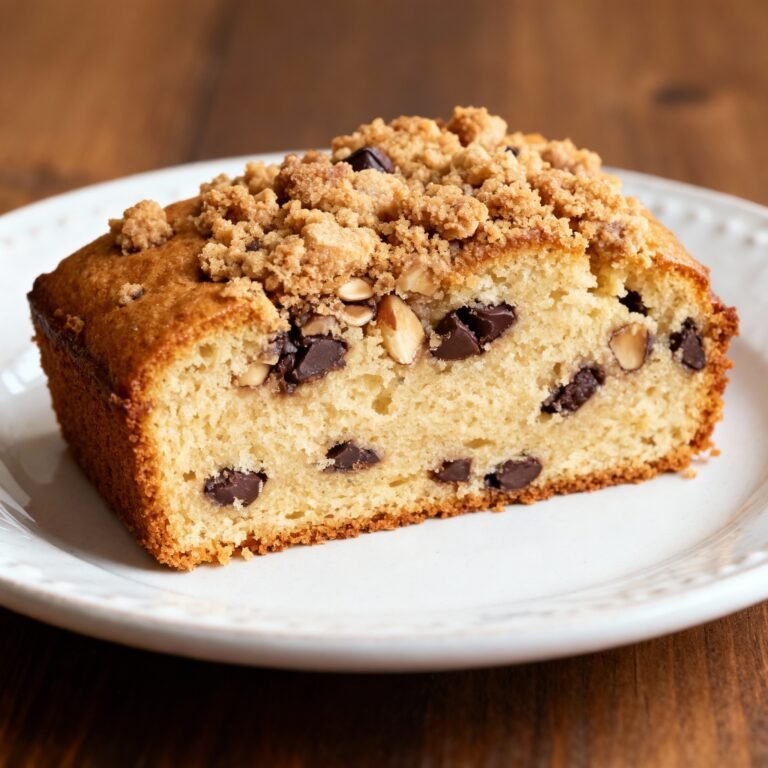
- Can I add other flavors? Absolutely! Feel free to add other flavors to your pound cake, such as lemon zest, orange zest, almond extract, or chocolate chips.
- Why did my cake sink in the middle? A sunken cake can be caused by several factors, including overmixing the batter, opening the oven door too frequently, or baking the cake at too low of a temperature.
- Why is my cake dry? A dry cake can be caused by overbaking, using too much flour, or not using enough butter.
Conclusion
This vanilla pound cake recipe is a timeless classic that’s sure to impress. Its simple ingredients and straightforward instructions make it a perfect baking project for both beginners and experienced bakers alike. With its moist, buttery crumb and delicate vanilla flavor, this cake is a delightful treat that can be enjoyed any time of day. So, gather your ingredients, preheat your oven, and get ready to bake the best vanilla pound cake you’ve ever tasted! You’ll find that this recipe quickly becomes your go-to for any occasion that calls for a comforting and delicious homemade cake.