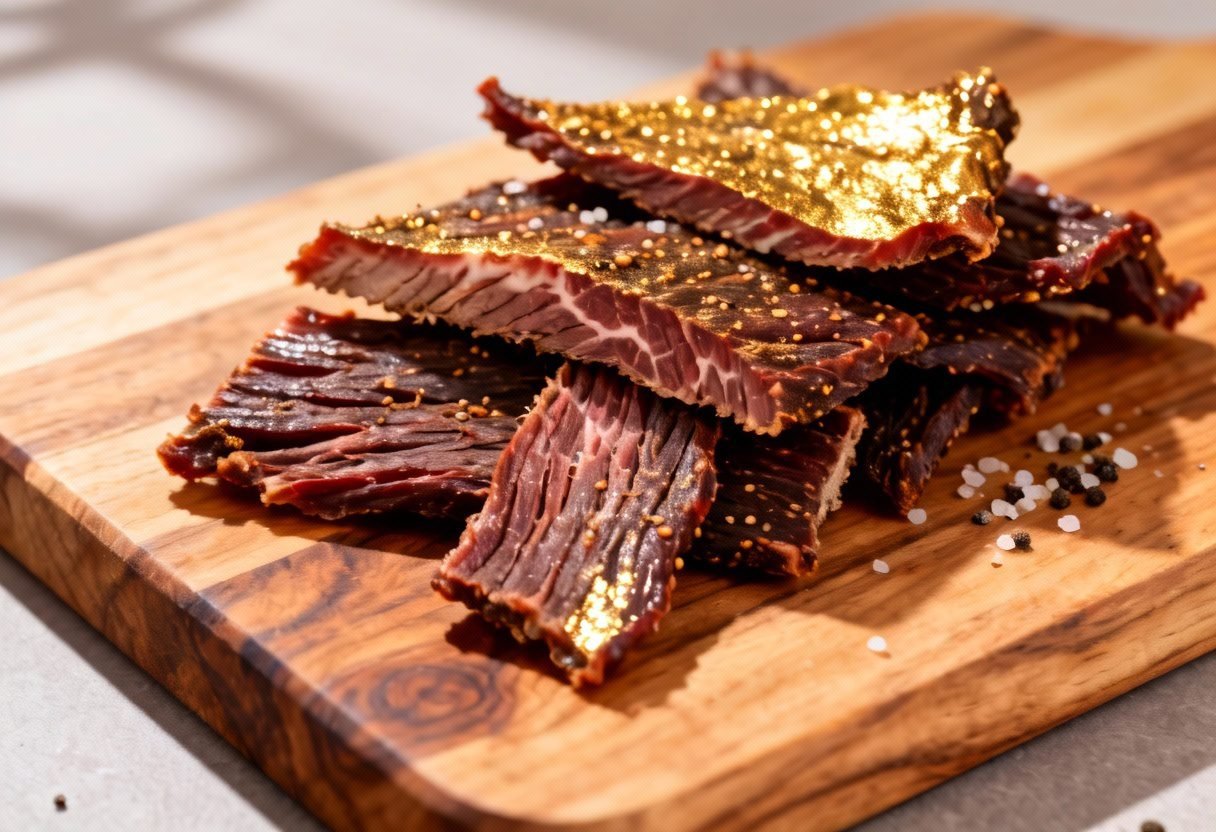
Venison Jerky Recipe Dehydrator: Unleash Your Inner Outdoorsman!
There’s nothing quite like the satisfaction of biting into a perfectly chewy, flavorful piece of homemade venison jerky. Whether you’re a seasoned hunter looking to utilize your harvest or simply a jerky enthusiast seeking a superior snack, this recipe will guide you through creating the ultimate venison jerky using a dehydrator. Forget the store-bought stuff loaded with preservatives and artificial flavors. With this recipe, you’ll have complete control over the ingredients and the final product, resulting in a healthier, tastier, and more rewarding snacking experience.
Why This Recipe Works
This recipe isn’t just a list of ingredients and instructions; it’s a carefully crafted formula designed to deliver consistently delicious venison jerky. Here’s why it works so well:
- Optimal Meat Preparation: We emphasize the importance of trimming the venison properly to remove silverskin and excess fat, which can spoil quickly and affect the texture of the jerky. Slicing against the grain ensures tenderness, making each bite easier to chew.
- Balanced Marinade: The marinade is a crucial component, and this recipe strikes the perfect balance between savory, sweet, and spicy. Soy sauce provides umami, Worcestershire sauce adds depth, brown sugar lends a touch of sweetness, and spices like garlic powder, onion powder, and black pepper contribute complexity. You can easily adjust the spice level to your preference by adding red pepper flakes or cayenne pepper.
- Dehydrator Specific Instructions: Unlike oven-baked jerky, dehydrators offer precise temperature control and consistent airflow, resulting in evenly dried jerky with a perfect chewy texture. This recipe provides specific temperature and time guidelines tailored for dehydrator use.
- Safety First: We prioritize food safety by ensuring the venison reaches a safe internal temperature during the dehydration process, minimizing the risk of bacterial growth.
Ingredients
- 2 lbs Venison, trimmed of silverskin and fat, sliced 1/4 inch thick against the grain
- 1/2 cup Soy Sauce
- 1/4 cup Worcestershire Sauce
- 1/4 cup Brown Sugar, packed
- 2 tbsp Liquid Smoke (optional)
- 2 tbsp Garlic Powder
- 2 tbsp Onion Powder
- 1 tbsp Black Pepper, freshly ground
- 1 tsp Red Pepper Flakes (optional, for heat)
- 1 tsp Cure #1 (optional, but recommended for safety and longer shelf life. Follow package instructions carefully.)

Instructions
- Prepare the Venison: Thoroughly trim the venison, removing any silverskin and excess fat. This is crucial for preventing spoilage and ensuring a better texture. Use a sharp knife or a meat slicer to slice the venison into 1/4-inch thick strips, cutting against the grain. Cutting against the grain shortens the muscle fibers, resulting in more tender jerky.
- Mix the Marinade: In a large bowl, whisk together the soy sauce, Worcestershire sauce, brown sugar, liquid smoke (if using), garlic powder, onion powder, black pepper, red pepper flakes (if using), and Cure #1 (if using). Ensure the brown sugar is fully dissolved.
- Marinate the Venison: Place the venison strips in a large resealable bag or a non-reactive container. Pour the marinade over the venison, ensuring all pieces are fully coated. Gently massage the marinade into the meat.
- Refrigerate: Seal the bag or cover the container and refrigerate for at least 12 hours, or preferably 24 hours. The longer the venison marinates, the more flavorful it will be. Turn the bag or stir the venison occasionally to ensure even marination.
- Prepare the Dehydrator: Remove the venison from the marinade and pat dry with paper towels. This helps to remove excess moisture and speeds up the drying process. Arrange the venison strips in a single layer on the dehydrator trays, making sure they don’t overlap. Overlapping can prevent even drying.
- Dehydrate: Set the dehydrator temperature to 160°F (71°C). Dehydrate for 4-6 hours, or until the jerky is dry but still pliable. The drying time will vary depending on the thickness of the venison strips and the efficiency of your dehydrator.
- Check for Doneness: To check for doneness, remove a piece of jerky from the dehydrator and let it cool slightly. Bend the jerky; it should crack but not break completely. It should be chewy but not brittle. If the jerky is still too moist, continue dehydrating for another hour and check again.
- Cool and Store: Once the jerky is done, remove it from the dehydrator and let it cool completely on a wire rack. This prevents condensation from forming and helps to preserve the jerky.
Tips for Success
- Meat Quality Matters: Use high-quality venison for the best results. Lean cuts like the round or sirloin are ideal.
- Slice Evenly: Consistent slicing ensures that the jerky dries evenly. A meat slicer can be a worthwhile investment if you plan to make jerky frequently.
- Don’t Overcrowd the Trays: Allow for adequate airflow around each piece of venison to ensure even drying.
- Rotate Trays: If your dehydrator doesn’t have even heat distribution, rotate the trays every few hours to ensure all the jerky dries at the same rate.
- Monitor Temperature: Use a meat thermometer to ensure the venison reaches an internal temperature of 160°F (71°C) during the dehydration process to kill any potential bacteria.
- Experiment with Flavors: Feel free to adjust the marinade to your liking. Add different spices, herbs, or sauces to create your own unique jerky flavors. Consider adding ingredients like sriracha, honey, or maple syrup for a sweet and spicy kick.
Storage Instructions
Proper storage is essential for maintaining the quality and extending the shelf life of your venison jerky. Here’s how to store it:
- Airtight Container: Store the cooled jerky in an airtight container or resealable bag.
- Cool, Dark Place: Keep the container in a cool, dark, and dry place, such as a pantry or cupboard.
- Refrigeration: For longer storage, you can refrigerate the jerky. This will help to prevent spoilage and extend its shelf life.
- Freezing: For the longest storage, you can freeze the jerky. Wrap it tightly in freezer-safe wrap or place it in a freezer-safe bag.
- Shelf Life: Properly stored jerky can last for several weeks at room temperature, several months in the refrigerator, and up to a year in the freezer. If using Cure #1, the jerky will last longer.

FAQ
Q: Can I make this recipe without Cure #1?
A: Yes, you can, but using Cure #1 is highly recommended for food safety, especially when making jerky at home. It helps to inhibit the growth of harmful bacteria and extends the shelf life of the jerky. If you choose not to use it, ensure the venison reaches an internal temperature of 160°F (71°C) during dehydration and consume it within a week.
Q: Can I use ground venison for this recipe?
A: Yes, you can make jerky from ground venison using a jerky gun or extruder. Follow the same marinade recipe and dehydrating instructions, but the texture will be different from sliced jerky.
Q: What if my jerky is too tough?
A: Tough jerky can be caused by over-drying or slicing the meat with the grain. Make sure to slice against the grain and avoid over-drying the jerky. If it’s already too tough, you can try rehydrating it slightly by placing it in a sealed bag with a damp paper towel for a few hours.
Q: Can I use this recipe for other types of meat?
A: Yes, this recipe can be adapted for other types of meat, such as beef, turkey, or chicken. Adjust the dehydrating time accordingly, as different meats may require different drying times.
Conclusion
Making venison jerky at home is a rewarding experience that allows you to control the ingredients and create a delicious, healthy snack. With this recipe and your trusty dehydrator, you’ll be well on your way to enjoying the ultimate venison jerky. So, gather your ingredients, fire up your dehydrator, and get ready to unleash your inner outdoorsman (or jerky aficionado!). Happy snacking!