Wheat Sourdough Bread Recipe: The Tangy Loaf You’ll Crave
There’s something undeniably magical about the process of baking sourdough bread. The bubbling starter, the patient kneading, the anticipation as it rises, and finally, the deeply satisfying aroma that fills your kitchen. This isn’t just bread; it’s an experience. And while sourdough can seem intimidating, this recipe is designed to guide you through each step, resulting in a delicious, tangy, and beautifully textured wheat sourdough loaf that will impress your friends and family (and, most importantly, yourself!). Get ready to embark on a journey of flavor and discover the joy of homemade sourdough!
Why This Recipe Works
This recipe is carefully crafted to ensure success for both beginner and experienced sourdough bakers. Here’s why it stands out:
- Hydration: The hydration level (the ratio of water to flour) is carefully balanced to create a dough that’s manageable yet yields a moist and airy crumb.
- Autolyse: We incorporate an autolyse step, which allows the flour to fully hydrate before adding the starter and salt. This promotes gluten development, resulting in a more extensible and elastic dough.
- Bulk Fermentation: The bulk fermentation process is key to developing the signature sourdough flavor. We provide clear guidelines on how to monitor your dough’s progress and adjust the timing based on your starter’s activity and your room temperature.
- Shaping Technique: Our shaping technique focuses on building tension in the dough, which helps to create a well-defined loaf with a beautiful oven spring.
- Baking Method: We use a Dutch oven to trap steam during the initial baking period, creating a crispy crust and a soft, chewy interior.
Ingredients
- Sourdough Starter (active): 100g (fed and doubled in size)
- Bread Flour: 350g
- Whole Wheat Flour: 150g
- Water (lukewarm, about 85-90°F): 375g
- Salt: 10g
Instructions
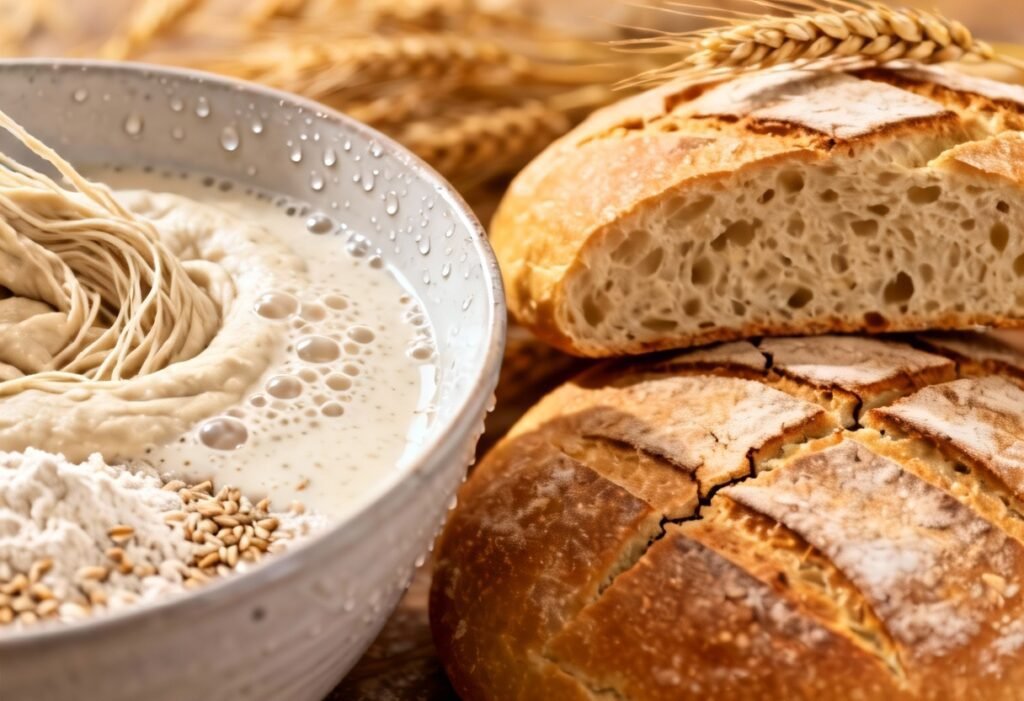
- Autolyse: In a large bowl, combine the bread flour, whole wheat flour, and 325g of water. Mix until just combined, ensuring there are no dry clumps of flour. Cover the bowl and let it rest for 30-60 minutes. This allows the flour to fully hydrate.
- Incorporate Starter and Salt: After the autolyse, add the active sourdough starter and salt to the dough. Use your hands to gently incorporate the starter and salt into the dough. Add the remaining 50g of water gradually, ensuring it’s fully absorbed.
- First Rise (Bulk Fermentation): Cover the bowl and let the dough rest for 30 minutes. This allows the gluten to relax.
- Stretch and Folds (Coil Folds): Perform 4 sets of stretch and folds (or coil folds) every 30-45 minutes. To do a stretch and fold, gently reach under one side of the dough, stretch it upwards, and fold it over the center. Rotate the bowl and repeat on all four sides. For coil folds, use wet hands to lift the dough from the center, allowing the sides to fold underneath. Rotate the bowl and repeat as needed. These folds help to develop strength and structure in the dough.
- Bulk Fermentation (Continued): After the stretch and folds, let the dough bulk ferment at room temperature for 4-6 hours, or until it has increased in size by about 50-75% and shows signs of activity (bubbles on the surface, a slightly domed shape). The exact time will depend on the strength of your starter and the temperature of your room.
- Shaping: Gently turn the dough out onto a lightly floured surface. Shape the dough into a round or oval loaf. Be gentle to avoid degassing the dough too much. Focus on building tension on the surface of the dough.
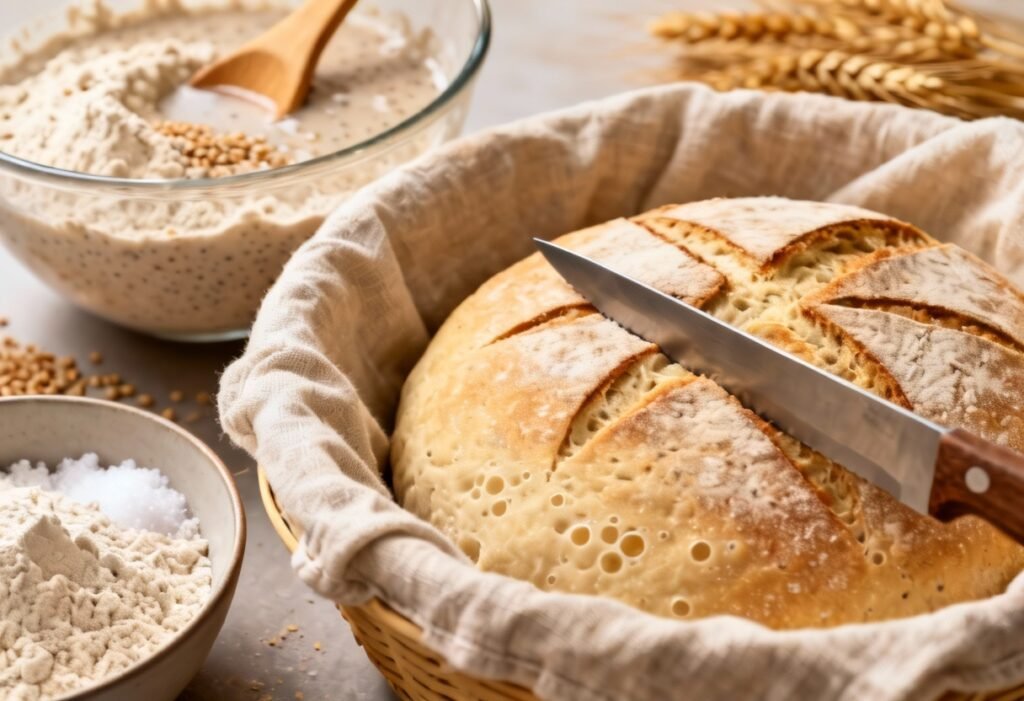
- Second Rise (Proofing): Place the shaped loaf in a well-floured banneton basket or a bowl lined with a floured cloth. Cover the basket or bowl and let it proof in the refrigerator for 12-24 hours. This slow, cold proofing develops flavor and improves the crust.
- Preheat Oven: Preheat your oven to 450°F (232°C) with a Dutch oven inside for at least 30 minutes. The Dutch oven needs to be very hot.
- Score the Loaf: Carefully remove the Dutch oven from the oven. Remove the loaf from the banneton basket and gently place it into the hot Dutch oven. Score the top of the loaf with a sharp knife or lame. This allows the loaf to expand properly during baking.
- Bake: Cover the Dutch oven and bake for 20 minutes.
- Remove Lid and Bake: Remove the lid from the Dutch oven and continue baking for another 25-35 minutes, or until the crust is a deep golden brown and the internal temperature reaches 205-210°F (96-99°C).
- Cool: Carefully remove the loaf from the Dutch oven and let it cool completely on a wire rack before slicing and enjoying. This is crucial for preventing a gummy texture.
Tips for Success
- Use a Kitchen Scale: Weighing your ingredients is the most accurate way to ensure consistent results.
- Active Starter is Key: Make sure your starter is active and bubbly before using it in the recipe. A weak starter will result in a flat, dense loaf.
- Adjust Bulk Fermentation Time: The bulk fermentation time will vary depending on the strength of your starter and the temperature of your room. Monitor the dough closely and adjust the time accordingly. Look for signs of activity, such as bubbles on the surface and an increase in volume.
- Don’t Over-Proof: Over-proofing can lead to a flat, dense loaf. If your dough looks like it’s spreading out too much in the proofing basket, it’s likely over-proofed.
- Score Deeply: Scoring the loaf deeply allows it to expand properly in the oven and creates a beautiful crust.
- Be Patient: Sourdough baking takes time and patience. Don’t rush the process.
Storage Instructions
Once cooled, store your sourdough bread in a bread box or a paper bag at room temperature. It will stay fresh for 2-3 days. For longer storage, you can slice the bread and freeze it. To thaw, simply remove the slices from the freezer and let them thaw at room temperature.
FAQ
Q: My starter isn’t doubling in size. What should I do?
A: Continue feeding your starter regularly (once or twice a day) until it consistently doubles in size within 4-8 hours after feeding. The temperature of your environment also plays a crucial role. A warmer environment will encourage faster growth.
Q: My dough is too sticky to handle. What can I do?
A: Wet your hands lightly with water before handling the dough. This will prevent it from sticking to your hands. Also, ensure you’re using the correct amount of flour and water.
Q: My loaf is flat and dense. What went wrong?
A: There are several possible reasons: your starter may not have been active enough, the dough may have been under-proofed or over-proofed, or the oven temperature may have been too low. Review the instructions and tips for success to troubleshoot.
Q: Can I use a different type of flour?
A: Yes, you can experiment with different types of flour, such as rye flour or spelt flour. However, you may need to adjust the hydration level accordingly. Start with a smaller amount of water and add more as needed until the dough reaches the desired consistency.
Conclusion
Congratulations! You’ve just baked your own delicious wheat sourdough bread. The process may seem daunting at first, but with practice and patience, you’ll be able to create a loaf that rivals those from your favorite bakery. Embrace the journey, experiment with different techniques, and most importantly, enjoy the taste of your homemade creation. Happy baking!