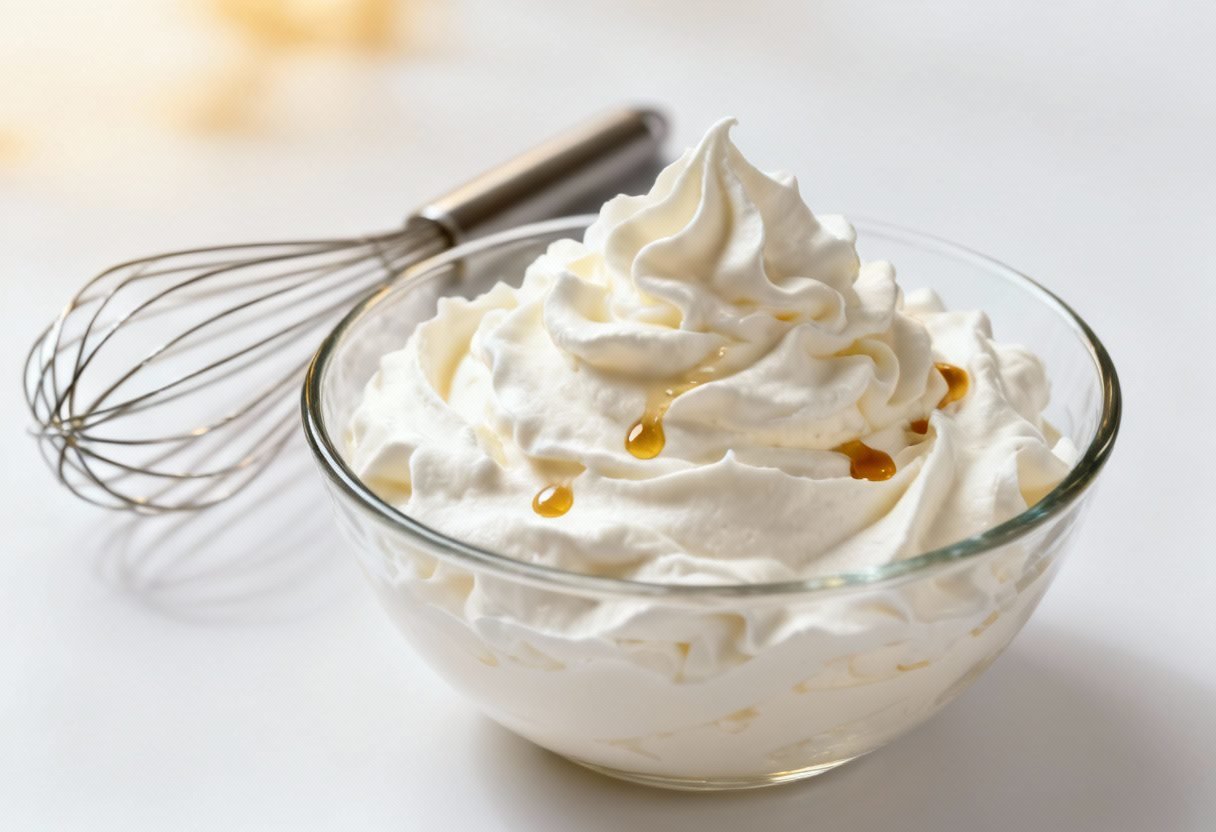
Whipped Cream Recipe Easy: The Foolproof Guide to Fluffy Perfection
Whipped cream. The very name evokes images of decadent desserts, rich hot chocolate, and the perfect finishing touch to a slice of pie. But for many, the thought of making whipped cream at home conjures up anxieties about curdling, flat peaks, and general kitchen mishaps. Fear no more! This recipe is your foolproof guide to achieving perfectly fluffy, stable whipped cream every single time. We’re breaking down the process into simple, easy-to-follow steps, ensuring that even the most novice baker can create a cloud of creamy delight.
Why This Recipe Works
This recipe isn’t just about throwing ingredients together and hoping for the best. It’s built on a foundation of understanding the science behind whipped cream. Here’s why this recipe consistently delivers perfect results:
- Cold is Key: We emphasize the importance of chilling both the cream and the bowl. Cold temperatures help the fat molecules in the cream solidify and hold air, creating a more stable and voluminous whipped cream.
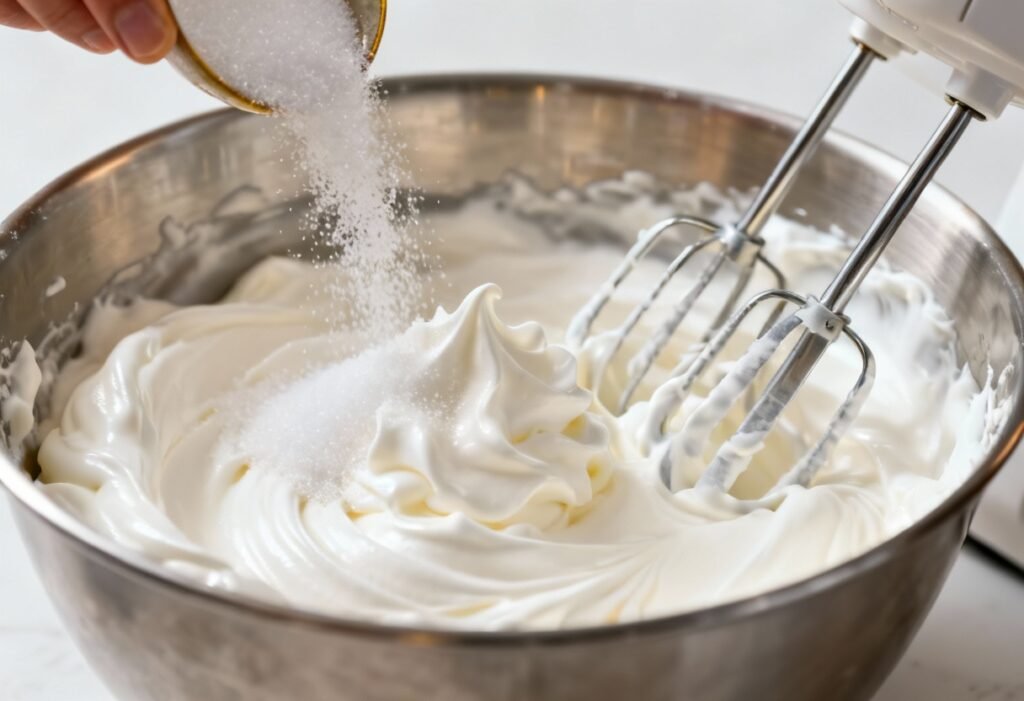
- Gradual Sweetening: Adding the sugar gradually allows it to dissolve properly and evenly distribute throughout the cream, preventing a grainy texture.
- Stabilization Options: We offer optional stabilization methods (like cornstarch or gelatin) for those who need their whipped cream to hold its shape for extended periods, perfect for decorating cakes or preparing desserts in advance.
- Over-whipping Prevention: Clear visual cues are provided to help you identify the perfect stage of whipped cream, avoiding the dreaded curdling that happens with over-whipping.
- Simple Ingredients: You only need a few basic ingredients, making this recipe accessible to everyone.
Ingredients
- 2 cups (480ml) heavy cream (at least 36% milkfat)
- 2-4 tablespoons powdered sugar (adjust to your desired sweetness)
- 1 teaspoon vanilla extract
- Optional Stabilizers:
- 1 teaspoon cornstarch (mixed with the powdered sugar) OR
- 1 teaspoon unflavored gelatin powder (bloomed in 1 tablespoon cold water)
Instructions
- Chill Everything: Place your mixing bowl and whisk attachment (or beaters) in the freezer for at least 15-20 minutes. This is crucial for achieving a stable whipped cream. Also, make sure your heavy cream is thoroughly chilled.
- Combine Ingredients (with Stabilizer, if using): If using cornstarch, whisk it together with the powdered sugar in a small bowl. This prevents clumping. If using gelatin, bloom it by sprinkling the gelatin powder over 1 tablespoon of cold water in a small bowl. Let it sit for 5 minutes until it becomes a thick gel.
- Pour and Whip: Pour the cold heavy cream into the chilled mixing bowl. If using gelatin, microwave the bloomed gelatin for 5-10 seconds until melted and clear. Let it cool slightly (but not solidify) and slowly drizzle it into the heavy cream as you begin to whip.
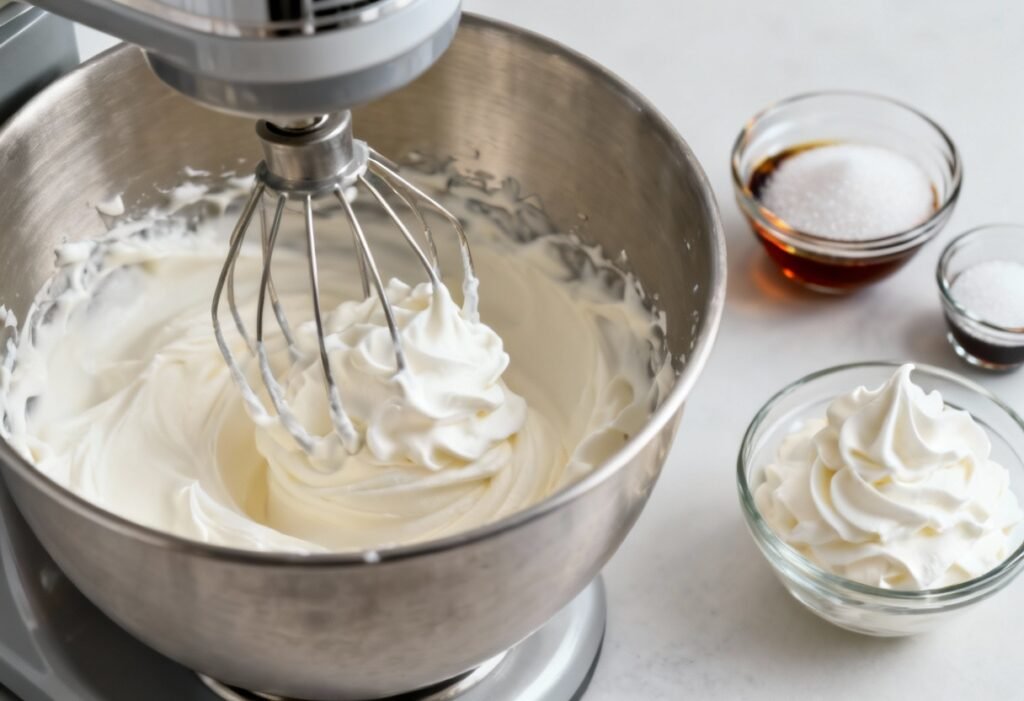
- Start Whipping: Using an electric mixer (handheld or stand mixer), begin whipping the cream on medium speed.
- Add Sugar and Vanilla: Once the cream starts to thicken slightly (after about 1-2 minutes), gradually add the powdered sugar (mixed with cornstarch, if using) and vanilla extract.
- Continue Whipping: Increase the mixer speed to medium-high and continue whipping until stiff peaks form. Stiff peaks mean that when you lift the whisk or beaters, the peaks of the whipped cream stand straight up or curl slightly at the tip.
- Watch Carefully: Pay close attention to the cream as it thickens. It can go from perfectly whipped to over-whipped very quickly. Once you see stiff peaks, stop mixing immediately.
Tips for Success
- Use the Right Cream: Make sure you’re using heavy cream or heavy whipping cream with at least 36% milkfat. Lower fat percentages won’t whip properly.
- Don’t Over-Whip: Over-whipping will turn your beautiful whipped cream into butter. Watch carefully and stop when stiff peaks form.
- Adjust Sweetness: Adjust the amount of powdered sugar to your liking. Start with 2 tablespoons and add more if needed.
- Flavor Variations: Get creative with flavorings! Try adding a pinch of cinnamon, a tablespoon of coffee liqueur, or a few drops of peppermint extract.
- Hand Whipping: While an electric mixer is recommended, you can also whip cream by hand. It will take longer and require more effort, but it’s definitely possible! Use a whisk and a large bowl, and whisk vigorously until stiff peaks form.
- Prevent Graininess: If you notice any graininess, it could be from undissolved sugar. Sifting the powdered sugar before adding it can help prevent this.
- Test for Stiff Peaks: To test for stiff peaks, stop the mixer and lift the whisk or beater. The peak should stand straight up or curl slightly at the tip. If the peak flops over, continue whipping for a few more seconds and test again.
Storage Instructions
Whipped cream is best served immediately. However, if you need to store it, here’s how:
- Short-Term Storage (Up to 2 hours): Store whipped cream in the refrigerator in an airtight container.
- Long-Term Storage (Up to 24 hours): For longer storage, stabilize the whipped cream with cornstarch or gelatin. Store it in the refrigerator in an airtight container. The stabilizer will help it hold its shape for a longer period.
- Re-Whipping: If the whipped cream deflates slightly in the refrigerator, you can try gently re-whipping it for a few seconds before serving. Be careful not to over-whip it.
FAQ
Q: Can I use regular milk instead of heavy cream?
A: No, regular milk doesn’t have enough fat to whip properly. You need heavy cream or heavy whipping cream with at least 36% milkfat.
Q: Can I use granulated sugar instead of powdered sugar?
A: While you can, powdered sugar is recommended because it dissolves more easily and creates a smoother texture. If you use granulated sugar, make sure it dissolves completely before the cream is fully whipped.
Q: My whipped cream curdled. What did I do wrong?
A: Curdling usually happens from over-whipping. You’ve whipped the cream past the point of stiff peaks, causing the fat molecules to separate. Unfortunately, there’s no way to fix curdled whipped cream. You’ll need to start over.
Q: How can I make vegan whipped cream?
A: You can make vegan whipped cream using chilled full-fat coconut milk or aquafaba (the liquid from canned chickpeas). There are also commercially available vegan whipping creams that work well.
Q: Can I freeze whipped cream?
A: Freezing whipped cream is not recommended as it can change the texture and become grainy. If you must freeze it, use a stabilizer and pipe small dollops onto a baking sheet lined with parchment paper. Freeze until solid, then transfer to an airtight container. Thaw in the refrigerator before serving.
Conclusion
Making whipped cream at home is easier than you think! With a few simple ingredients, a little patience, and this foolproof recipe, you can create a cloud of creamy perfection to elevate any dessert. So, ditch the store-bought stuff and impress your friends and family with homemade whipped cream that’s bursting with flavor and made with love. Enjoy!