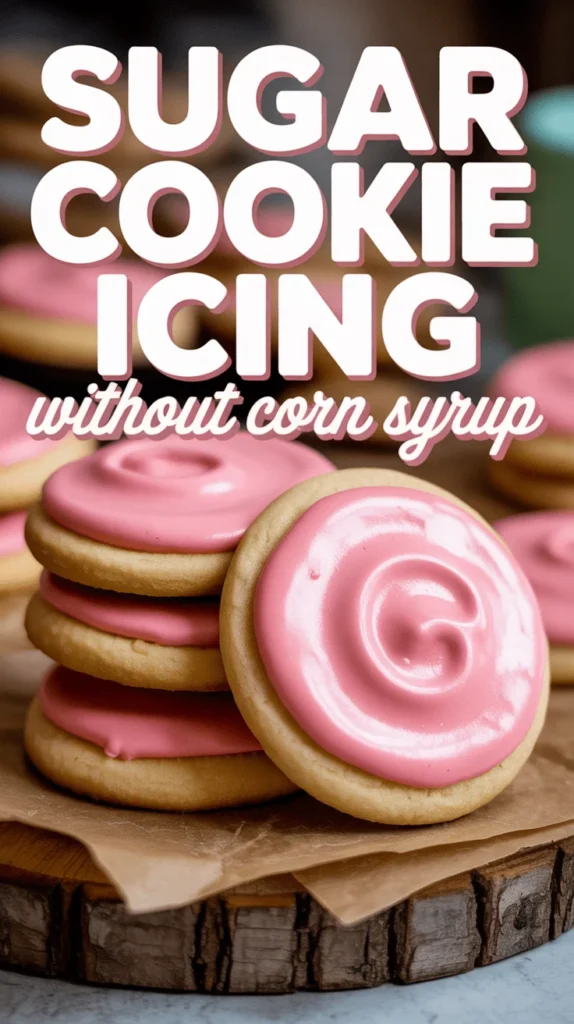
🌸 Sugar Cookie Icing Without Corn Syrup That Melts in Your Mouth
👩🍳 The Home Chef's Essential Kitchen
Consistently cooking incredible, healthy meals at home is so much easier when you aren't fighting with cheap tools. These are the 5 absolute powerhouse kitchen essentials that professional chefs and serious home cooks rely on every single day to get perfect results.
🍳 Lodge 10.25" Cast Iron Skillet
The single greatest value in all of cookware. It retains heat infinitely better than cheap non-stick pans, allowing you to get a restaurant-quality crust on steaks or perfect crispy edges on cornbread. With proper care, this $20 pan will literally outlive you.
🔪 Victorinox Fibrox Pro 8" Chef's Knife
A dull knife makes cooking a frustrating chore. This specific blade is the undisputed champion of the culinary world—it holds a terrifyingly sharp edge, features a comfortable non-slip grip, and performs identical to German knives that cost quadruple the price.
🌡️ ThermoPro Instant Read Thermometer
Never serve dry chicken or undercooked pork again. An instant-read thermometer is the secret difference between amateur cooks who 'guess' when protein is done, and professionals who know exactly when to pull meat off the heat for maximum juiciness.
🍲 Lodge Enameled Cast Iron Dutch Oven
The ultimate workhorse for soups, stews, braised short ribs, and baking crusty artisanal bread. The enameled interior provides incredible heat distribution for slow-cooking while eliminating the intense seasoning maintenance required by bare cast iron.
🥄 Bpa-Free Silicone Utensil Set
Throw away those melting plastic spatulas and bacteria-harboring wooden spoons. This pure silicone set is heat-resistant up to 600°F, won't scratch your expensive pans, and features seamless designs that make cleaning out thick sauces and batters effortless.
There’s an undeniable magic that happens when a beautifully decorated sugar cookie makes its appearance. Whether it’s for a holiday celebration, a birthday party, or just a quiet afternoon treat, the simple joy of a perfectly iced cookie is something truly special. But for many home bakers, the thought of creating that flawless, glossy finish without relying on corn syrup can seem like a daunting task. Fear not, fellow sweet enthusiasts! We’re about to embark on a delightful journey to craft the most exquisite sugar cookie icing you’ve ever tasted, one that requires no corn syrup whatsoever, yet delivers all the professional sheen, incredible flavor, and melt-in-your-mouth texture you dream of.
Imagine biting into a tender sugar cookie, only to be met with a delicate snap of perfectly set icing, followed by a sweet, creamy surrender that coats your palate with pure vanilla bliss. This isn’t just any icing; it’s an experience. It’s the kind of icing that transforms your humble homemade cookies into edible works of art, inviting oohs and aahs from anyone lucky enough to receive one. And the best part? It’s surprisingly simple to achieve, using ingredients you likely already have in your pantry. Get ready to elevate your cookie decorating game and impress everyone with your newfound icing prowess!
Why This Recipe Works
This recipe is a game-changer for several compelling reasons. Firstly, and most importantly, it completely eliminates the need for corn syrup. Many bakers prefer to avoid corn syrup for various dietary reasons or simply because they don’t keep it on hand. Our recipe proves that you don’t need it to achieve a stunning, professional-looking glaze. Instead, we rely on the perfect ratio of powdered sugar to liquid, creating a naturally smooth, quick-setting icing that dries to a beautiful, subtle sheen without any stickiness.
Secondly, the beauty of this icing lies in its unparalleled flavor and versatility. The combination of pure vanilla extract, a hint of almond (optional, but highly recommended!), and a pinch of salt creates a balanced sweetness that complements any sugar cookie recipe beautifully. It’s not cloyingly sweet; rather, it offers a delicate whisper of flavor that enhances, rather than overwhelms, the cookie itself. Furthermore, by adjusting the consistency with just a touch more or less liquid, you can effortlessly create both a sturdy outline icing and a smooth, flowing flood icing, making it perfect for both intricate designs and simple, elegant glazes. It sets relatively quickly, allowing for easy layering and packaging, making your cookie decorating process a joy, not a chore.
Ingredients
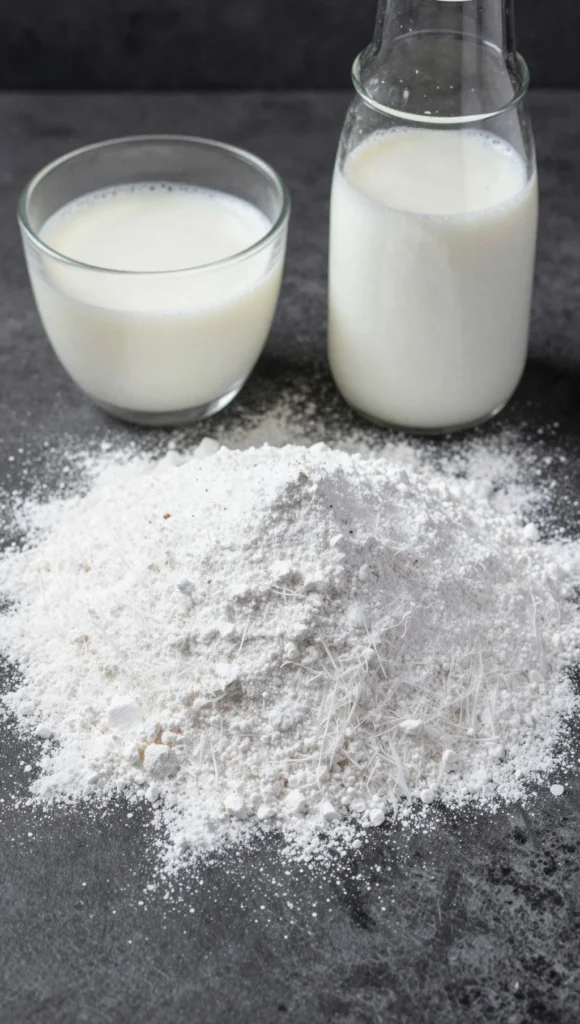
- 4 cups (480g) powdered sugar (also known as confectioners’ sugar or icing sugar), sifted
- 4-6 tablespoons milk (dairy or non-dairy, such as almond or soy milk; water can also be used for a slightly less rich result)
- 1 teaspoon pure vanilla extract
- 1/4 teaspoon pure almond extract (optional, but highly recommended for depth of flavor)
- Pinch of salt (optional, to balance sweetness)
- Gel food coloring (optional, for vibrant hues)
Instructions
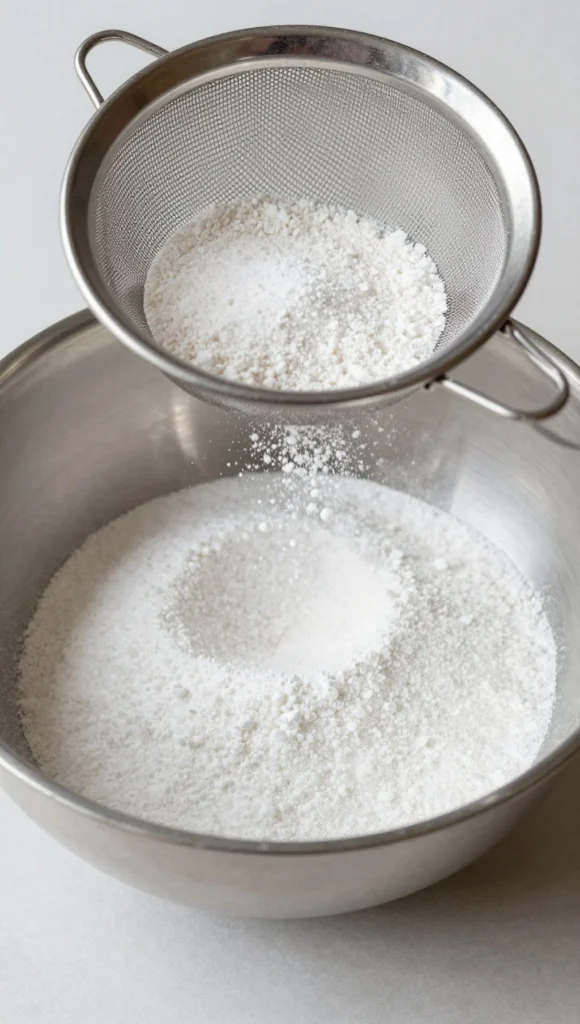
- Prepare Your Workspace and Sift Your Sugar: Before you begin, gather all your ingredients and tools. Place a fine-mesh sieve over a large mixing bowl. Measure out your powdered sugar and sift it directly into the bowl. This crucial step ensures a truly lump-free, silky smooth icing, essential for professional-looking cookies. Don’t skip it, as even the smallest lumps can clog your piping tips or create an uneven finish.
- Combine Wet Ingredients: In a separate small bowl or measuring cup, whisk together 4 tablespoons of your chosen milk, vanilla extract, almond extract (if using), and the pinch of salt (if using). The salt acts as a flavor enhancer, subtly cutting through the sweetness and bringing out the bright notes of the extracts.
- Start Mixing the Icing: Pour about half of the liquid mixture into the sifted powdered sugar. Using a whisk or a rubber spatula, begin to gently incorporate the liquid into the sugar. Start slowly to avoid creating a cloud of powdered sugar dust! As it comes together, it will initially look very thick and crumbly.
- Gradually Add More Liquid to Achieve Base Consistency: Continue adding the remaining liquid mixture, a tablespoon at a time, mixing thoroughly after each addition. Your goal at this stage is to reach a thick, yet pourable consistency – often referred to as “outline” or “detail” consistency. This means that if you lift your whisk, the icing should fall back into the bowl in a slow, thick ribbon, holding its shape for a few seconds before melting back into the surface. You may not need all 6 tablespoons of milk, or you might need a tiny bit more; adjust based on the humidity in your kitchen and the exact powder sugar brand.
- Achieve the Desired Consistencies (Outline & Flood):
- For Outline/Detail Icing: If you’re planning intricate designs, remove about 1/3 to 1/2 of your base icing and place it into a separate small bowl. This portion should be thick enough to hold a distinct line when piped, but still flow smoothly without breaking. It should take about 10-15 seconds for a ribbon of icing dropped from a spoon to fully disappear back into the surface.
- For Flood Icing: To the remaining icing in your main bowl, add milk, a quarter teaspoon at a time, mixing well after each addition. You are aiming for a thinner consistency that will spread easily to fill in your outlines. When you lift your spoon or whisk, a ribbon of icing should fall and disappear back into the surface within 5-8 seconds. This is often called “10-second icing” or “8-second icing.” It needs to be thin enough to flow and self-level, but not so thin that it runs off the cookie.
- Color Your Icing (Optional): If you wish to color your icing, now is the time. Divide your outline and flood icing into separate bowls for each desired color. Add gel food coloring sparingly with a toothpick, mixing thoroughly until you achieve your desired shade. Remember, a little gel goes a long way, and colors often deepen slightly as they sit.
- Prepare for Decorating: Transfer your icing to piping bags fitted with small round tips (e.g., PME #1.5, #2, or Wilton #2, #3) for outline/detail work, and slightly larger tips or just snipped ends for flood icing. Secure the tops of your piping bags with rubber bands to prevent drying and leakage.
- Decorate Your Cookies:
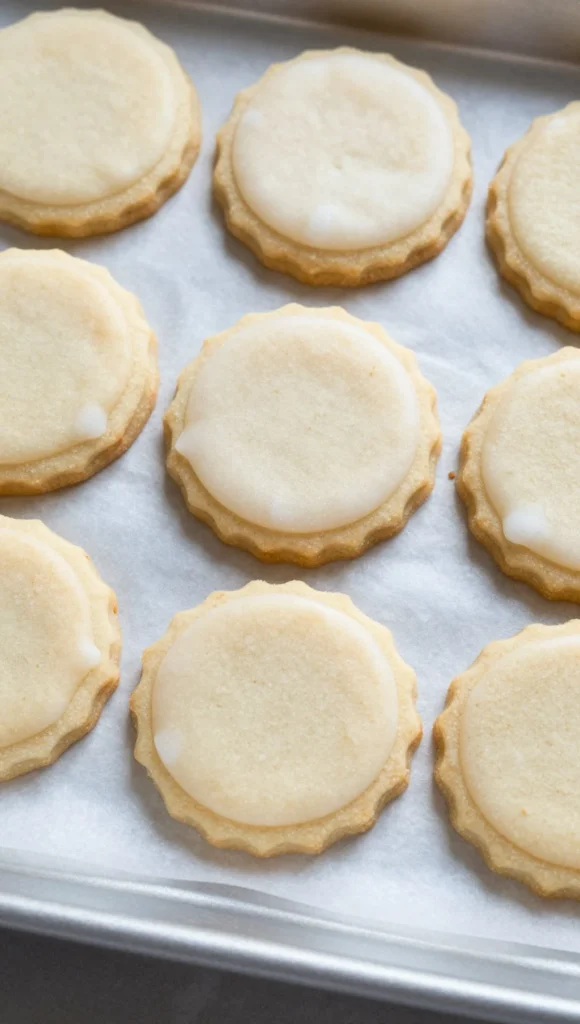
- Outline: Pipe an outline around the edge of your cooled sugar cookies using the thicker outline consistency icing. Allow this outline to set for 10-15 minutes, or until it forms a slight crust. This creates a dam to hold in your flood icing.
- Flood: Fill in the outlined area with the thinner flood consistency icing. Use a small offset spatula, a toothpick, or a clean paintbrush to gently spread the icing to the edges and pop any air bubbles.
- Drying: Allow your decorated cookies to dry completely on a flat surface. This can take anywhere from 4 to 8 hours, or even overnight, depending on the thickness of your icing and the humidity in your environment. For best results and a truly hard, glossy finish, allow them to air dry uncovered.
Tips for Success
- Sift, Sift, Sift: We cannot stress this enough. Sifting your powdered sugar is the number one secret to truly smooth, lump-free icing. Any lumps will clog your piping tips and ruin the velvety texture you’re aiming for.
- Adjust Consistency Gradually: When adding liquid, always do so a tiny bit at a time. It’s much easier to add more liquid than to thicken icing that’s too thin (which would require adding more sifted powdered sugar). Work slowly and patiently until you achieve the perfect consistency for your needs.
- Use Quality Extracts: The flavor of your icing relies heavily on the quality of your extracts. Invest in good pure vanilla extract and, if using, pure almond extract. They make a noticeable difference in the overall taste profile.
- Cover Your Icing: Royal icing (and this corn syrup-free version behaves similarly) dries out very quickly when exposed to air. Always keep your icing covered with plastic wrap pressed directly onto the surface, or securely sealed in piping bags, while you’re working or storing it.
- Patience is Key for Drying: Resist the urge to stack or move your cookies too soon. A fully dry icing will be hard to the touch and won’t smudge. For multi-layered designs, allow each layer to crust over for 30 minutes to an hour before adding the next, and fully dry for several hours before packaging.
- Practice Makes Perfect: Don’t get discouraged if your first few cookies aren’t masterpieces. Icing cookies is a skill that improves with practice. Start with simple designs and gradually work your way up to more intricate patterns.
Storage Instructions
This delightful sugar cookie icing can be made ahead of time, which is a fantastic time-saver for busy bakers. Store any leftover icing in an airtight container at room temperature for up to 2-3 days, or in the refrigerator for up to 1 week. If refrigerating, be sure to bring it back to room temperature before using. Before re-using, give the icing a good stir with a spoon or whisk, as it may separate slightly or thicken up. If it’s too thick, add a tiny drop or two of milk (or water) until it reaches your desired consistency again. Always ensure it’s covered tightly to prevent it from drying out and forming a crust.
FAQ
Q1: Can I make this icing vegan?
Absolutely! This recipe is incredibly adaptable for vegan diets. Simply substitute the dairy milk with your favorite plant-based milk, such as almond milk, soy milk, or oat milk. Ensure your powdered sugar is vegan-friendly, as some brands process it with bone char. The flavor and consistency will remain wonderfully similar.
Q2: How do I get different icing consistencies for outlining and flooding?
Achieving the right consistency is all about controlling the amount of liquid. For outlining, you want a thicker icing that holds its shape well and creates a barrier; a ribbon dropped from a spoon should take 10-15 seconds to disappear. For flooding, you need a thinner, more fluid icing that spreads and self-levels; a ribbon should disappear in 5-8 seconds. Start with your thickest consistency and then gradually thin out portions with tiny additions of milk (a quarter teaspoon at a time) until you reach the desired flood consistency.
Q3: How long does this icing take to dry completely?
The drying time for this corn syrup-free icing typically ranges from 4 to 8 hours, but it can vary based on several factors. The thickness of your icing layers, the humidity in your kitchen, and even the type of milk used can all play a role. For optimal results and a truly hard, non-smudging finish, it’s best to let your decorated cookies air dry uncovered overnight. If you’re doing multiple layers or intricate wet-on-wet designs, allow each layer to crust over for at least 30-60 minutes before adding the next.
Q4: Why is my icing lumpy even after sifting the powdered sugar?
If you’ve sifted your powdered sugar thoroughly but still notice lumps, it could be due to a few reasons. Firstly, ensure you’re mixing the icing very well, scraping down the sides of the bowl to incorporate everything evenly. Sometimes, tiny pockets of dry sugar can remain. Secondly, if you’re adding liquid too quickly, it might create small undissolved clumps. Lastly, if your powdered sugar was exposed to humidity, it might have clumped before sifting. If lumps persist, you can try pushing the finished icing through a fine-mesh sieve again, or even briefly blending it with an immersion blender (be careful not to incorporate too much air).
🍰 The Master Baker & Prep Kit
Baking is a science, and meal prep requires efficiency. If you want consistently flaky pie crusts, perfectly risen cakes, and healthy meals ready for the week, these are the 5 upgrade tools that take your execution to the next level.
⚖️ OXO Good Grips 11lb Food Scale
The secret to why bakery bread and cookies are always perfect while home batches vary wildly. Measuring by weight (grams) instead of volume (cups) guarantees precise hydration and flawlessly consistent results every single time you bake.
🧑🍳 KitchenAid Classic Stand Mixer
The undisputed holy grail of the kitchen. From aggressively kneading heavy pizza doughs to whipping meringues into stiff peaks, this powerful motor saves your arms from exhaustion and cuts your hands-on prep time in half.
🍪 Silpat Premium Silicone Baking Mats
Stop wasting money on rolls of parchment paper or agonizing over cookies permanently fused to your metal pans. These reusable, professional-grade silicone mats ensure completely even heat distribution and instantly release even the stickiest caramel.
🌪️ Braun MultiQuick Immersion Blender
The ultimate shortcut tool for creamy tomato soups, lump-free gravies, and rapid smoothies. Avoid the burns and mess of dangerously transferring boiling liquids in batches to a traditional blender by simply blending right inside your cooking pot.
🍱 Premium Glass Meal Prep Containers
If you want to bake and cook healthier, batch preparation is required. These durable glass containers transition safely from freezer to microwave, never absorb tomato sauce stains, and feature airtight seals to keep your hard work fresh all week.
Conclusion
And there you have it – a magnificent recipe for sugar cookie icing without corn syrup that promises to transform your baking endeavors into truly memorable moments. This isn’t just about decorating cookies; it’s about creating joy, fostering creativity, and sharing delicious, homemade goodness with those you cherish. The velvety texture, the subtle sweetness, and the beautiful sheen of this icing will elevate your sugar cookies from simple treats to edible works of art, proving that you don’t need fancy ingredients or complex techniques to achieve stunning results.
So, gather your ingredients, put on your favorite apron, and get ready to unleash your inner cookie artist. We encourage you to try this recipe, experiment with colors, and delight in the process of creating something truly beautiful and delicious. Once you experience the ease and deliciousness of this corn syrup-free icing, you’ll wonder why you ever did it any other way. Happy decorating, and may your cookies be as sweet and charming as the smiles they bring!