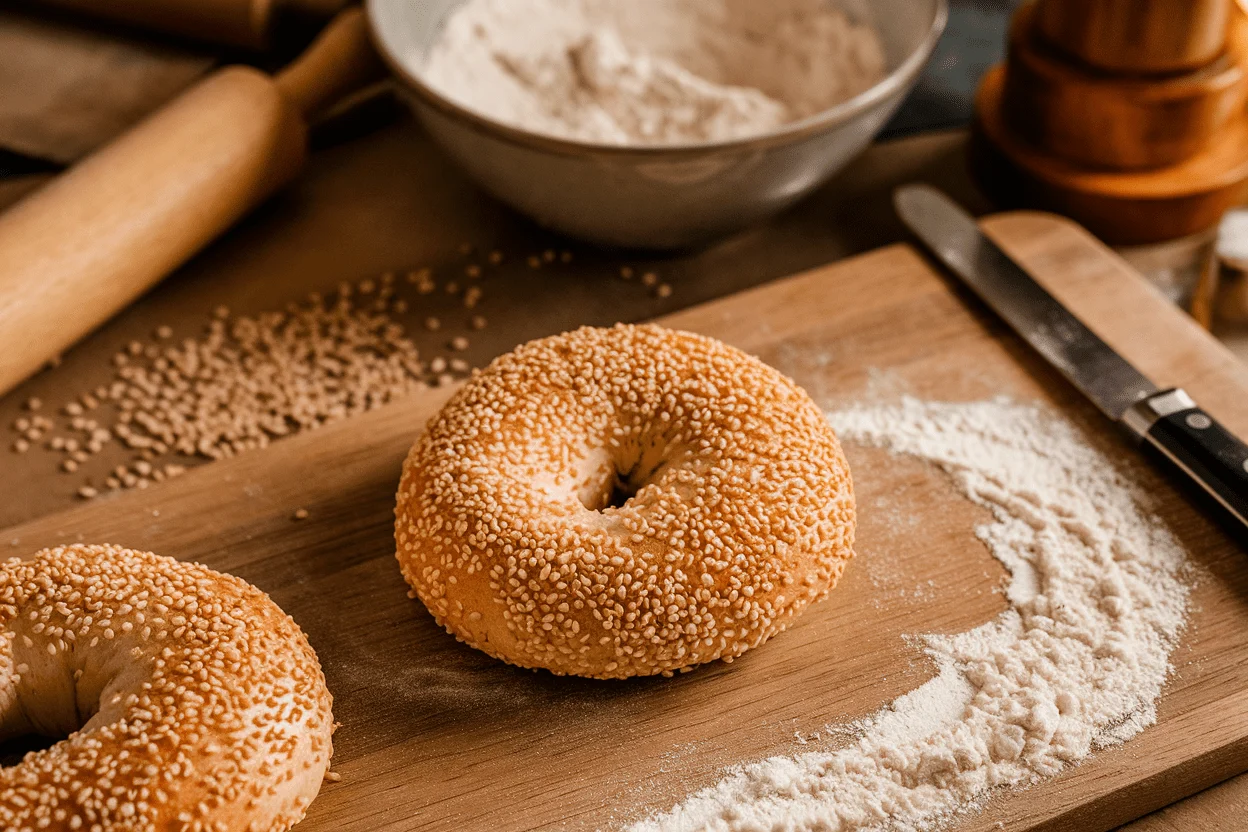
Gluten Free Bagel Recipe That Actually Chews: The NYC-Style Hack You’ll Make Every Weekend
👩🍳 The Home Chef's Essential Kitchen
Consistently cooking incredible, healthy meals at home is so much easier when you aren't fighting with cheap tools. These are the 5 absolute powerhouse kitchen essentials that professional chefs and serious home cooks rely on every single day to get perfect results.
🍳 Lodge 10.25" Cast Iron Skillet
The single greatest value in all of cookware. It retains heat infinitely better than cheap non-stick pans, allowing you to get a restaurant-quality crust on steaks or perfect crispy edges on cornbread. With proper care, this $20 pan will literally outlive you.
🔪 Victorinox Fibrox Pro 8" Chef's Knife
A dull knife makes cooking a frustrating chore. This specific blade is the undisputed champion of the culinary world—it holds a terrifyingly sharp edge, features a comfortable non-slip grip, and performs identical to German knives that cost quadruple the price.
🌡️ ThermoPro Instant Read Thermometer
Never serve dry chicken or undercooked pork again. An instant-read thermometer is the secret difference between amateur cooks who 'guess' when protein is done, and professionals who know exactly when to pull meat off the heat for maximum juiciness.
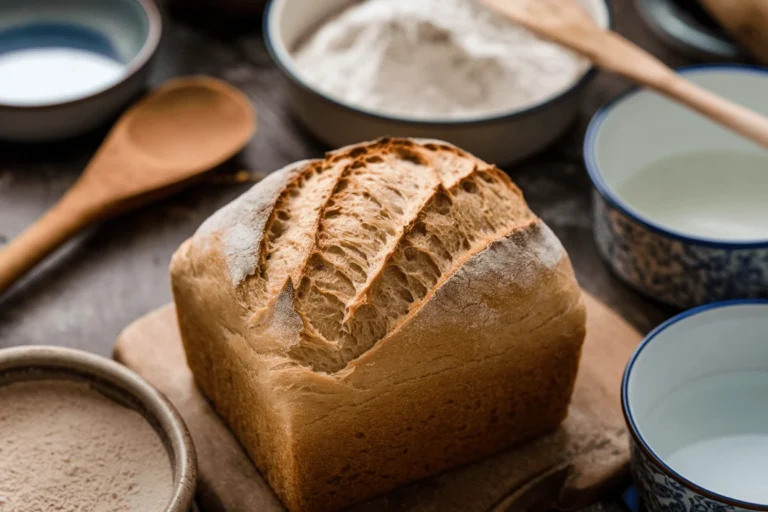
🍲 Lodge Enameled Cast Iron Dutch Oven
The ultimate workhorse for soups, stews, braised short ribs, and baking crusty artisanal bread. The enameled interior provides incredible heat distribution for slow-cooking while eliminating the intense seasoning maintenance required by bare cast iron.
🥄 Bpa-Free Silicone Utensil Set
Throw away those melting plastic spatulas and bacteria-harboring wooden spoons. This pure silicone set is heat-resistant up to 600°F, won't scratch your expensive pans, and features seamless designs that make cleaning out thick sauces and batters effortless.
You don’t need a bakery, a stand mixer, or mystical gluten powers to get a bagel with a real chew. You just need the right flour blend, a hot boil, and a tiny bit of swagger. Most gluten-free bagels taste like coasters—these don’t.
These are glossy, bouncy, and slice like a dream. If you’ve missed egg-and-cheese on a proper ring of joy, this gluten free bagel recipe is your comeback story.
What Makes This Special
This bagel hits the trifecta: chewy interior, thin glossy crust, and serious flavor. The magic comes from a 50/50 blend of gluten-free flour and tapioca starch, plus psyllium husk for the stretch gluten usually brings.
A brief boil with baking soda gives that signature bite and shine.
We’re not dumping sugar here to mask blandness. A touch of honey and a patient rise build natural, bakery-level taste. And yes, you can pull this off on a weeknight—most of the time is hands-off.
Shopping List – Ingredients
- Dry Ingredients
- 2 cups (280 g) gluten-free all-purpose flour blend (with xanthan gum included)
- 2 cups (240 g) tapioca starch
- 2 1/2 tsp instant yeast
- 2 tbsp psyllium husk powder (not whole husks)
- 1 1/2 tsp fine sea salt
- 1 tbsp sugar
- Wet Ingredients
- 1 1/2 cups (360 ml) warm water, 105–115°F
- 2 tbsp neutral oil (avocado or light olive)
- 1 tbsp honey or maple syrup
- 1 large egg white, beaten (for glaze; optional but recommended)
- Boil Bath
- 8 cups water
- 1 tbsp baking soda
- 1 tbsp honey or brown sugar
- Toppings (optional)
- Everything seasoning
- Poppy or sesame seeds
- Coarse salt
- Cinnamon sugar (skip the boil sugar for sweet versions)
Instructions
- Mix the psyllium gel. In a bowl, whisk warm water with honey.
Sprinkle in psyllium husk powder and whisk until thickened, 30–60 seconds. Let it sit 2 minutes until it turns into a gel. This is your gluten impersonator.
- Combine dry ingredients. In a large bowl, whisk gluten-free flour, tapioca starch, instant yeast, sugar, and salt until fully blended.
- Make the dough. Add the psyllium gel and oil to the dry ingredients.
Stir with a sturdy spoon, then knead by hand or with a dough hook on low for 2–3 minutes. Dough should be soft, slightly tacky, and cohesive—like Play-Doh. If crumbly, add 1–2 tsp water; if sticky, dust 1–2 tsp tapioca.
- First rise (short). Shape the dough into a ball, cover the bowl, and rest 30–40 minutes at warm room temp.
It won’t double like wheat dough, but it should puff slightly.
- Divide and shape. Turn dough onto a lightly tapioca-dusted surface. Divide into 8 equal pieces (about 110–120 g each). Roll each into a tight ball: cup your hand and make small circles to create surface tension.
Poke a hole in the center with a floured finger and gently stretch to 1.5–2 inches wide.
- Proof. Place shaped rings on parchment-lined sheets. Lightly cover and proof 20–30 minutes. They should relax and plump a touch.
Preheat oven to 425°F (220°C) with a rack in the center.
- Boil bath ready. In a wide pot, bring water, baking soda, and honey to a gentle boil. The alkaline water boosts browning and that bagel snap.
- Boil the bagels. Add 2–3 bagels at a time. Boil 30 seconds per side for a thinner crust, up to 60 seconds per side for extra chew.
Remove with a slotted spoon, drain well, and return to the parchment.
- Glaze and top. Brush with beaten egg white for sheen and color. Sprinkle seeds or toppings generously. Press lightly so they stick.
For cinnamon sugar, brush with egg white and sprinkle after baking to avoid bitterness.
- Bake. Bake 18–22 minutes until deep golden and firm. Internal temp should hit ~205°F. Rotate the pan once if your oven plays favorites.
- Cool—but not too long. Rest on a rack 20 minutes to set the crumb.
Then slice, toast, and show off. You earned this.
Storage Tips
- Room temp: Keep in a paper bag inside a loose plastic bag for 24 hours. They’ll keep their crust better this way.
- Freeze: Slice first, then freeze in a zip bag up to 2 months.
Toast straight from frozen—no thaw tantrums.
- Revive: Day-old? Splash a few drops of water on the cut sides and toast. Steam reactivates that chewy magic.
Nutritional Perks
- Gluten-free without compromise: Psyllium adds soluble fiber, which supports digestion and helps mimic gluten’s structure.
- Balanced carbs: Tapioca boosts chew and lightness, while a moderate sugar level keeps spike potential reasonable (still a bagel, not a salad).
- Customizable: Add-ins like seeds or ground flax raise healthy fats and fiber, turning breakfast into more than just a carb fest.
Don’t Make These Errors
- Skipping psyllium: No psyllium, no structure.
Your bagels will flatten like a sad donut.
- Over-proofing: If they double, they’re over-proofed. They’ll deflate in the boil. Aim for a modest puff.
- Boiling too aggressively: A rolling, violent boil can rough up the surface and cause tearing.
Gentle boil = glossy finish.
- Wrong flour: Not all GF blends are equal. Use one with xanthan gum included. If not, add 1 tsp xanthan to the dry mix.
- Skipping the egg wash: You’ll lose color and toppings won’t stick.
If vegan, brush with oat milk + a touch of maple.
Variations You Can Try
- Everything Bagels: Classic topping mix—go heavy-handed. Add a pinch of garlic powder to the dough for extra oomph.
- Cinnamon Raisin: Mix 1 tsp cinnamon and 1/2 cup raisins into the dough. Skip honey in the boil and finish with a cinnamon sugar dust after baking.
- Sesame-Scallion: Fold in 1/2 cup sliced scallions and top with toasted sesame seeds.
- Cheddar-Jalapeño: Add 1/2 cup shredded sharp cheddar and 1 tbsp finely diced jalapeño to the dough; top with more cheddar before baking.
- Whole(er)-grain vibe: Swap 1/2 cup of the GF flour with sorghum flour for a toastier flavor.
Hydration may need 1–2 tsp extra water.
- Vegan: Use maple instead of honey and brush with unsweetened plant milk. Ensure your GF blend is dairy-free, FYI.
FAQ
Can I use active dry yeast instead of instant?
Yes. Use the same amount, but bloom it in the warm water with the honey for 5–10 minutes until foamy, then proceed.
If it doesn’t foam, your yeast is ghosted—get fresh.
My dough is sticky. What now?
Lightly dust with tapioca starch and knead 20–30 seconds. Aim for tacky, not gluey.
Humidity swings matter, so tiny adjustments are normal.
Do I have to boil them?
If you skip the boil, you’ll get bagel-shaped rolls. The baking soda bath creates the bagel crust and chew. It’s 2 minutes that make all the difference.
Can I make the dough ahead?
Yes.
Shape the bagels, cover, and refrigerate up to 12 hours. Boil straight from the fridge and bake. The cold rest deepens flavor—win-win.
What if I don’t have psyllium husk powder?
Use 3 tbsp whole husks and blend to a powder, or sub 1 1/2 tbsp ground chia.
Texture won’t be identical, but it’ll still be stellar.
How do I get bigger, deli-style bagels?
Divide into 6 pieces instead of 8 and boil closer to 60 seconds per side. Bake an extra 2–4 minutes until deeply golden.
Why did my bagels collapse after boiling?
They were likely over-proofed or handled too roughly. Next time, shorten the proof and support them with a slotted spoon under the ring when flipping.
Wrapping Up
This gluten free bagel recipe doesn’t apologize for being gluten-free—it flexes.
With a smart flour mix, a psyllium gel, and that quick alkaline boil, you get real-deal chew and shine. Batch a dozen, freeze the extras, and become the friend who casually “just makes bagels.” Because why settle for cardboard when you can have NYC-level rings at home, no gluten required?