🍦 DIY Vanilla Cold Foam Recipe: Better Than Starbucks!
👩🍳 The Home Chef's Essential Kitchen
Consistently cooking incredible, healthy meals at home is so much easier when you aren't fighting with cheap tools. These are the 5 absolute powerhouse kitchen essentials that professional chefs and serious home cooks rely on every single day to get perfect results.
🍳 Lodge 10.25" Cast Iron Skillet
The single greatest value in all of cookware. It retains heat infinitely better than cheap non-stick pans, allowing you to get a restaurant-quality crust on steaks or perfect crispy edges on cornbread. With proper care, this $20 pan will literally outlive you.
🔪 Victorinox Fibrox Pro 8" Chef's Knife
A dull knife makes cooking a frustrating chore. This specific blade is the undisputed champion of the culinary world—it holds a terrifyingly sharp edge, features a comfortable non-slip grip, and performs identical to German knives that cost quadruple the price.
🌡️ ThermoPro Instant Read Thermometer
Never serve dry chicken or undercooked pork again. An instant-read thermometer is the secret difference between amateur cooks who 'guess' when protein is done, and professionals who know exactly when to pull meat off the heat for maximum juiciness.
🍲 Lodge Enameled Cast Iron Dutch Oven
The ultimate workhorse for soups, stews, braised short ribs, and baking crusty artisanal bread. The enameled interior provides incredible heat distribution for slow-cooking while eliminating the intense seasoning maintenance required by bare cast iron.
🥄 Bpa-Free Silicone Utensil Set
Throw away those melting plastic spatulas and bacteria-harboring wooden spoons. This pure silicone set is heat-resistant up to 600°F, won't scratch your expensive pans, and features seamless designs that make cleaning out thick sauces and batters effortless.
So, you’re sitting there, craving that velvety, cloud-like topping on your iced coffee, but you are absolutely too lazy to put on real pants and drive to the coffee shop. Also, let’s be real—your bank account is probably side-eying you for spending $7 on bean water and sugar milk again. Same, honestly. We’ve all been there.
But here is the good news: You can make that fancy, boujee vanilla cold foam right in your own kitchen. And no, you don’t need a massive espresso machine that costs as much as a used Honda Civic. You just need a few basics and the will to froth.
This isn’t just a recipe; it’s your ticket to barista-level glory without the judgmental stare when you ask for “extra, extra foam.” Let’s get into it.

Why This Recipe is Awesome
Look, I’m not going to lie to you—this recipe changed my morning routine forever. Here is why you are going to obsess over this vanilla cold foam recipe:
- It’s Idiot-Proof: Seriously. If you can pour liquid into a cup and press a button (or whisk like your life depends on it), you can do this. Even I didn’t mess it up on the first try, and I once burned toast in a toaster oven.
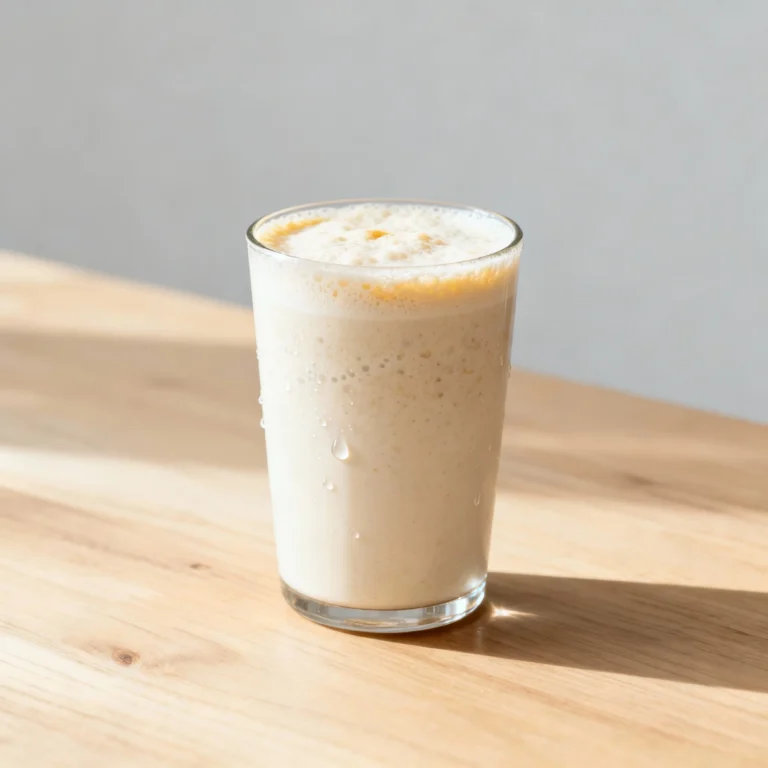
- The Texture is Elite: We are talking about that perfect middle ground between whipped cream and frothed milk. It sits heavily on top of your cold brew, slowly cascading down like a mesmerizing lava lamp of caffeine. It doesn’t melt immediately like hot foam, giving you that sipping experience where you get the cold, sweet foam and the bitter coffee all at once. Chef’s kiss.
- Total Customization: You want it sweeter? Add more syrup. You want it vanilla-ier? (Is that a word? It is now). Add more extract. You control the destiny of your drink.
- It saves major coin: A carton of heavy cream and a bottle of vanilla syrup cost less than two trips to the big green mermaid chain. You do the math. Actually, don’t do the math, just enjoy the savings.
Ingredients You’ll Need
You don’t need a pantry full of weird stuff. You likely have half of this already. Here is the lineup for the perfect foam:
- Heavy Whipping Cream: This is non-negotiable. Do not try to use just milk. You need the fat content to create that thick, structural integrity. The cream gives it the body so it doesn’t just dissolve into your coffee immediately.
- 2% Milk (or Skim Milk): Okay, hear me out. While cream provides the body, milk provides the bubbles. The protein in the milk helps create that airy froth. I find 2% is the Goldilocks ratio—skim is too watery, whole milk is too heavy when mixed with cream.
- Vanilla Syrup (or Vanilla Extract + Sugar): If you want the true coffee shop taste, grab a bottle of vanilla syrup (like Torani or Monin). If you’re doing it old school, use high-quality vanilla extract and simple syrup (or powdered sugar).
- Note: If using extract, do not use the fake stuff. Treat yourself.
- A Pinch of Sea Salt (Optional): This is my secret weapon. A tiny flake of salt makes the vanilla pop. It’s like the difference between regular chocolate and salted caramel. It just elevates the vibe.
Step-by-Step Instructions
Alright, aprons on (just kidding, you’re probably in pajamas). Let’s make magic happen.
1. The Chill Factor Before you do anything, make sure your ingredients are cold. Like, straight out of the fridge cold. Warm cream doesn’t froth; it just gets sad. If you want to be extra, stick your mixing cup in the freezer for 5 minutes.
2. The Golden Ratio Grab your vessel. Combine 3 tablespoons of heavy cream, 2 tablespoons of 2% milk, and 1 tablespoon of vanilla syrup.
- Pro Tip: This ratio (3:2:1) is the holy grail. Memorize it. Tattoo it on your arm. (Okay, maybe don’t do that, but remember it).
3. The Froth Zone Now, the fun part. You have a few options here:
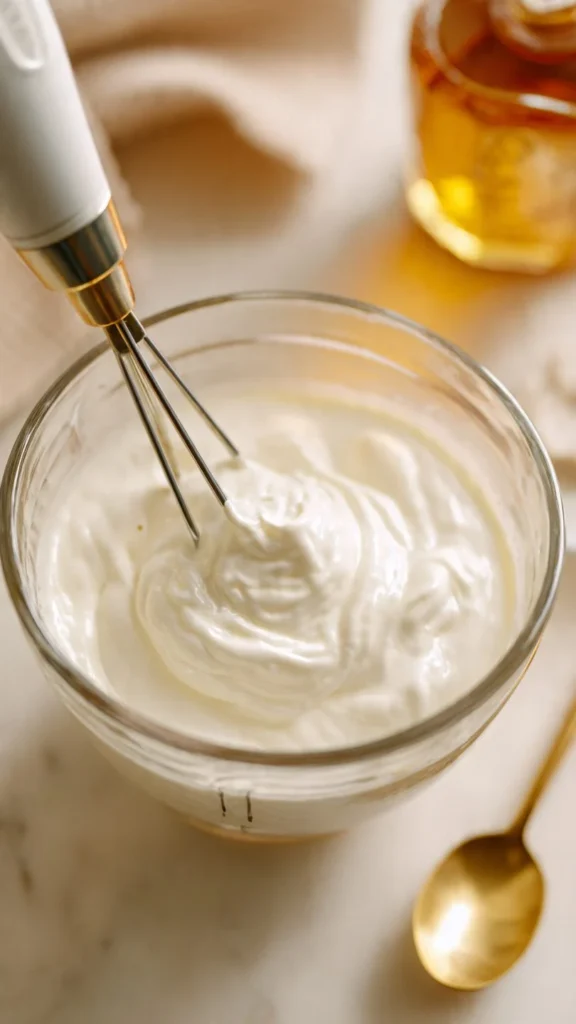
- Handheld Milk Frother: Submerge the whisk head fully into the liquid before turning it on (unless you want to wear the milk). Turn it on and move it up and down gently near the surface to drag air in. Froth for about 20–30 seconds.
- French Press: Pour the mix in, put the lid on, and pump the plunger up and down vigorously like you’re trying to unclog a drain (but faster). Do this for 30 seconds. The texture this method creates is actually insane.
- Mason Jar: The “I have no tools” method. Put the lid on tight. Shake it. Shake it until your arm hurts. Then shake it some more. It won’t be as silky, but it works in a pinch.
4. The Texture Check You are looking for “wet paint.” It should be thick and hold its shape slightly, but it should still be pourable. If it looks like stiff peaks (whipped cream), you went too far. If it looks like bubbly water, keep frothing.
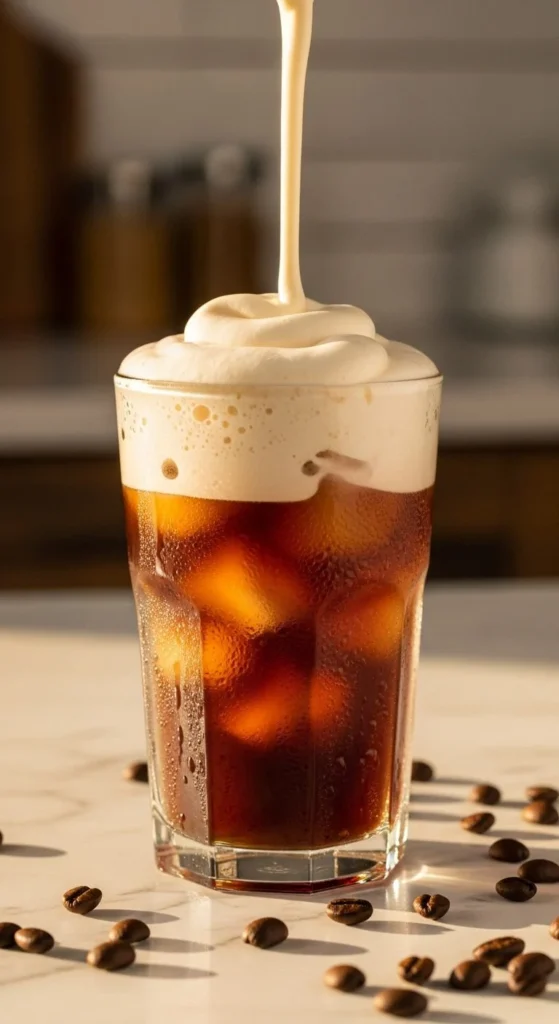
5. The Pour Fill a glass with ice and your favorite cold brew or iced latte. Leave about an inch of room at the top. Gently pour your vanilla cold foam over the ice. Watch it settle. Take a picture for the ‘gram. You did it.
Common Mistakes to Avoid
Even though I said this was idiot-proof, there are still ways to derail the train. Avoid these tragedies:
- Over-Frothing the Cream: This is the most common one. If you froth too long, you literally just make whipped cream. While whipped cream is delicious, it is not cold foam. You want it to sip with the coffee, not sit on top like an iceberg requiring a spoon.
- Using Warm Ingredients: I cannot stress this enough. If your cream is room temp, the fat globules won’t stabilize the air bubbles effectively. You will get a runny, sad mess that disappears into your coffee in seconds. Keep. It. Cold.
- Using Only Heavy Cream: If you skip the milk, the foam will be too dense. It will feel like drinking straight butter. You need the milk to cut the density and add those micro-bubbles.
- Adding the Foam to Hot Coffee: It’s called cold foam for a reason, folks. If you put this on piping hot coffee, the heat will melt the fats instantly. You’ll just have a creamy coffee (which is fine), but you lose the foam texture entirely.
Alternatives & Substitutions
Dietary restrictions or empty pantry? I got you. Here is how to tweak the recipe without ruining the vibe.
- Dairy-Free / Vegan: This is tricky because plant-based milks don’t have the same fat structure.
- Best option: Oat milk (barista blend) mixed with a specific plant-based heavy whipping cream alternative (like Silk or Country Crock).
- Coconut Milk: You can use the thick cream from the top of a can of coconut milk, but be warned—it will taste very coconutty.
- Almond Milk: Honestly? Don’t bother. It separates and gets weirdly watery. Stick to oat or soy for better protein structure.
- Sugar-Free: Easy swap. Use a sugar-free vanilla syrup (Torani makes a great one) or use Stevia/Monkfruit drops. Just be careful with the aftertaste if you’re sensitive to artificial sweeteners.
- Flavor Twists:
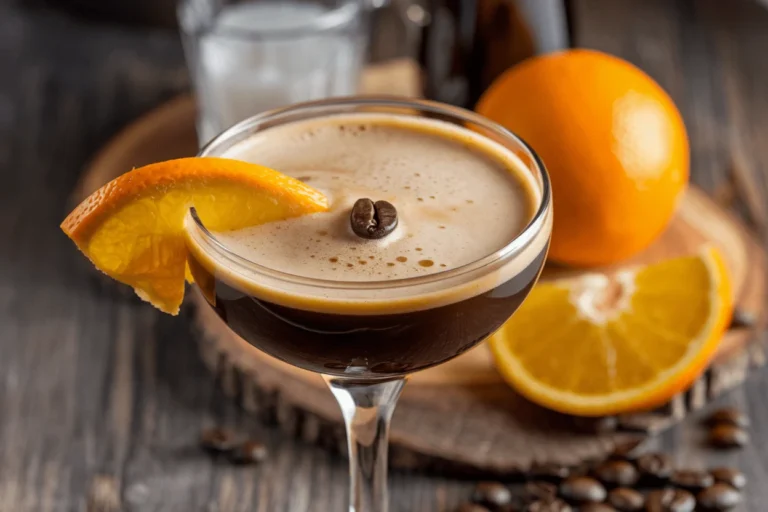
- Salted Caramel Foam: Swap vanilla syrup for caramel and add extra sea salt.
- Pumpkin Cream: Add a teaspoon of pumpkin puree and a dash of pumpkin pie spice to the base before frothing. (Basic season is year-round in my heart).
- Chocolate Cream: Add a teaspoon of cocoa powder or chocolate syrup. Boom—mocha cold foam.
FAQ (Frequently Asked Questions)
1. Can I make this ahead of time? Technically, yes, but why would you? It takes 45 seconds. Also, the foam will eventually deflate and separate if it sits in the fridge for hours. Fresh is best, my friend.
2. Do I need a $500 blender for this? Absolutely not. A $10 handheld wand frother from Amazon is the MVP here. I’ve even used a whisk and pure muscle power before. It takes longer, but hey, it’s an arm workout.
3. Why did my foam sink immediately? Two reasons: You either didn’t froth it enough (it’s too runny), or you poured it too fast into a drink with no ice. The ice acts as a “landing pad” for the foam. No ice = sinkage.
4. Can I use half-and-half instead of the cream/milk combo? You can, but it won’t be as stable. Half-and-half has lower fat content than heavy cream. It will froth, but the bubbles will be larger and pop faster. It’s a decent “B-team” player if you’re out of heavy cream.
5. Is this healthy? I mean… it’s heavy cream and sugar syrup. It’s good for the soul, and that counts for something, right? Let’s just enjoy the drink and eat a salad later.
6. Can I put this on hot coffee? As mentioned in the mistakes section—it will melt. However, if you don’t care about the “foam” layer lasting a long time and just want a creamy top, go for it. We don’t gatekeep coffee temps here.
7. Can I use margarine instead of butter? Wait, this is a foam recipe… please don’t put butter OR margarine in your cold foam. That is a bulletproof coffee thing, and we aren’t doing that today. (But to answer your rhetorical question: No. Never margarine. Love yourself more than that).
Final Thoughts
There you have it! You are now fully equipped to become your own barista. No more waiting in drive-thru lines, no more spelling your name wrong on the cup, and no more paying a premium for milk and air.
Mastering this vanilla cold foam recipe is a massive flex. It elevates a boring Tuesday morning iced coffee into a “treat yourself” moment. Play around with the ratios, try new flavors, and figure out exactly how you like your foam.
Now go impress someone—or yourself—with your new culinary skills. You’ve earned it!