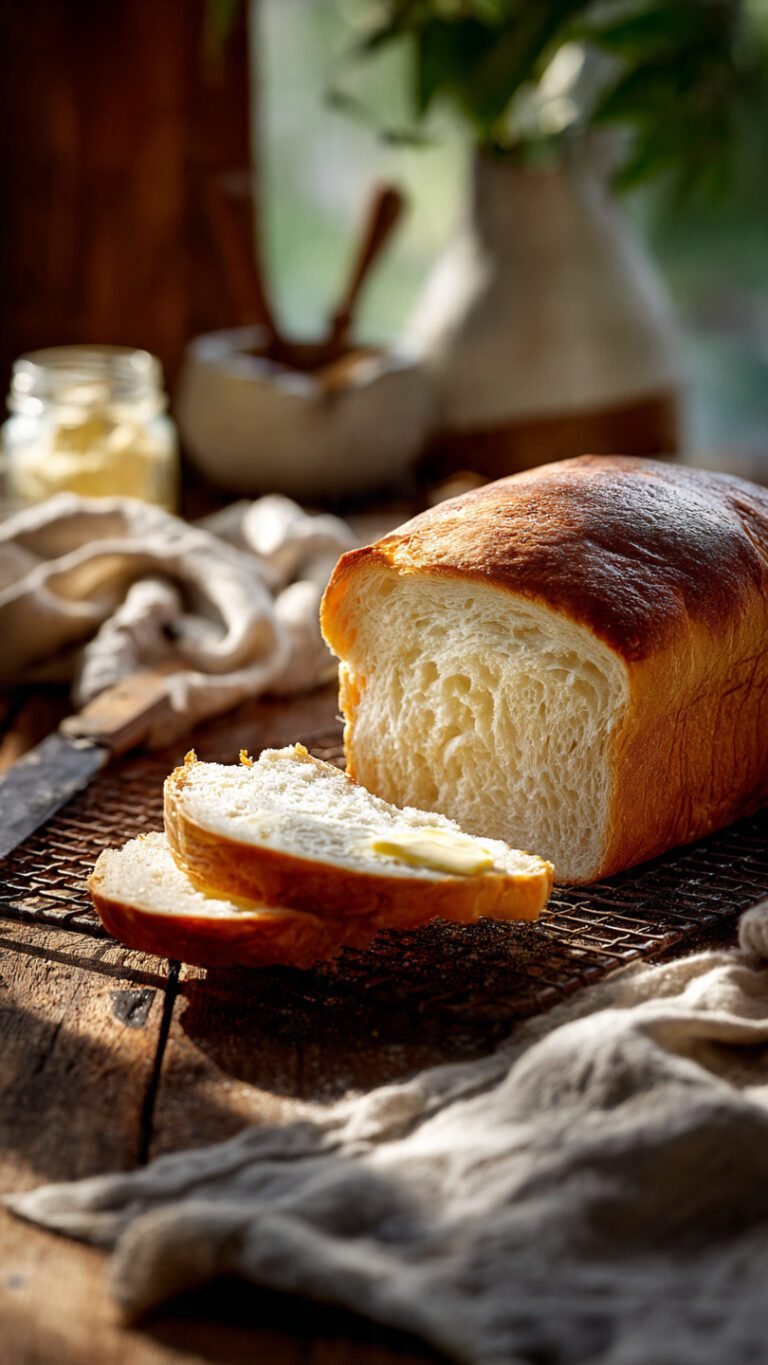
Bread Without Yeast Recipe: The Quickest Loaf You’ll Ever Bake!
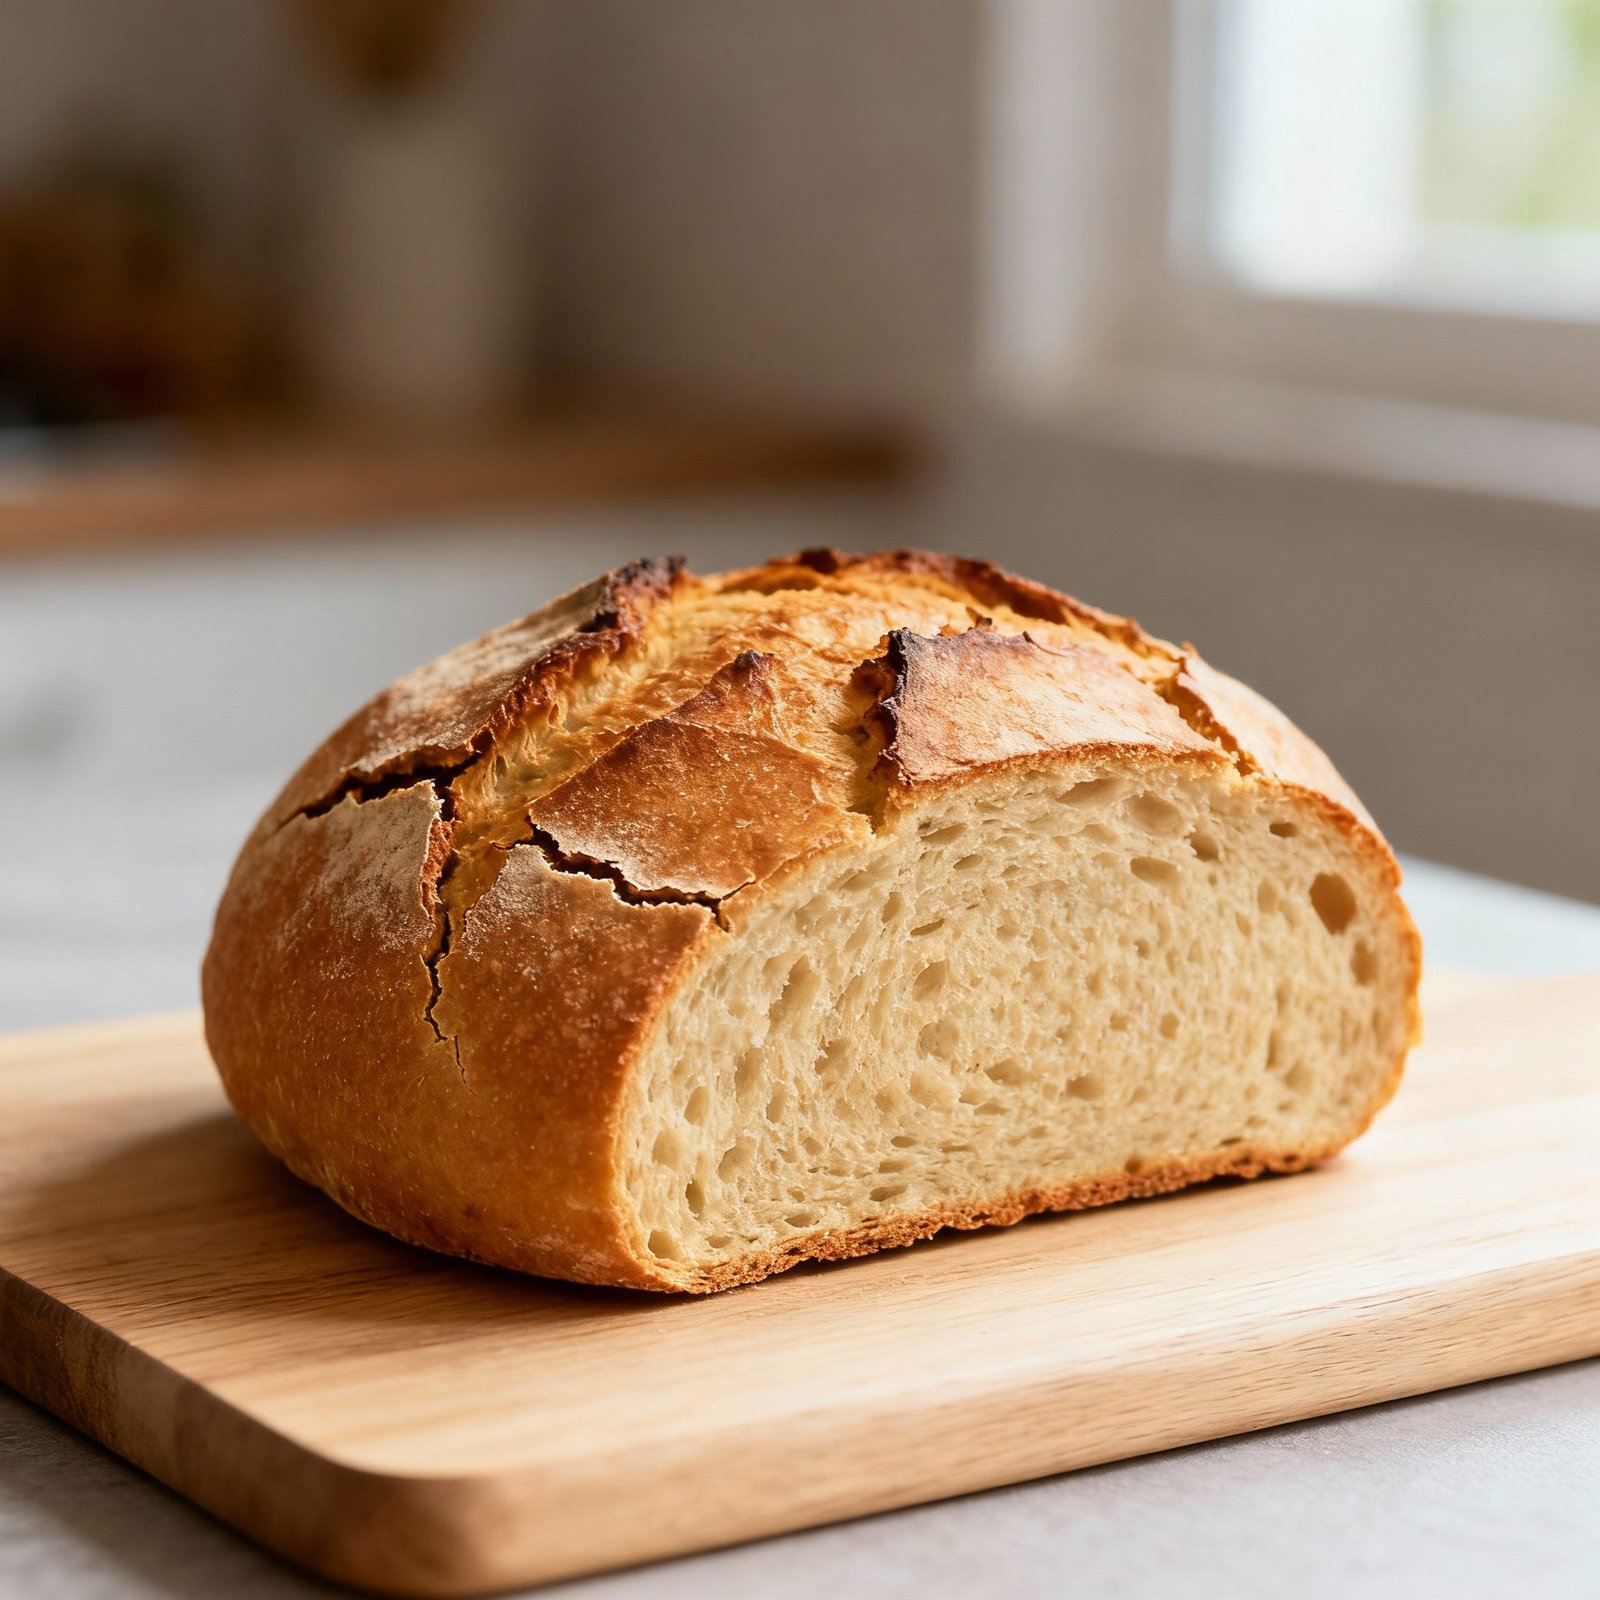
Craving the comforting aroma and taste of freshly baked bread but don’t have any yeast on hand? Or maybe you’re simply looking for a faster, easier bread-making experience? Look no further! This recipe delivers a delicious, satisfying loaf of bread without relying on yeast. It’s perfect for busy weeknights, impromptu gatherings, or when you just need a warm slice of bread to brighten your day. Get ready to enjoy a tender, flavorful loaf that’s ready in under an hour – from start to finish!
Why This Recipe Works
This recipe skips the yeast and relies on the power of baking powder to create a light and airy texture. Baking powder is a chemical leavening agent that releases carbon dioxide when mixed with liquid and heated. This gas creates bubbles in the dough, causing it to rise. We also incorporate buttermilk (or a buttermilk substitute) which adds a subtle tang and helps to tenderize the bread. The combination of baking powder and buttermilk results in a surprisingly delicious and satisfying loaf of bread that rivals its yeast-leavened counterparts, but in a fraction of the time.
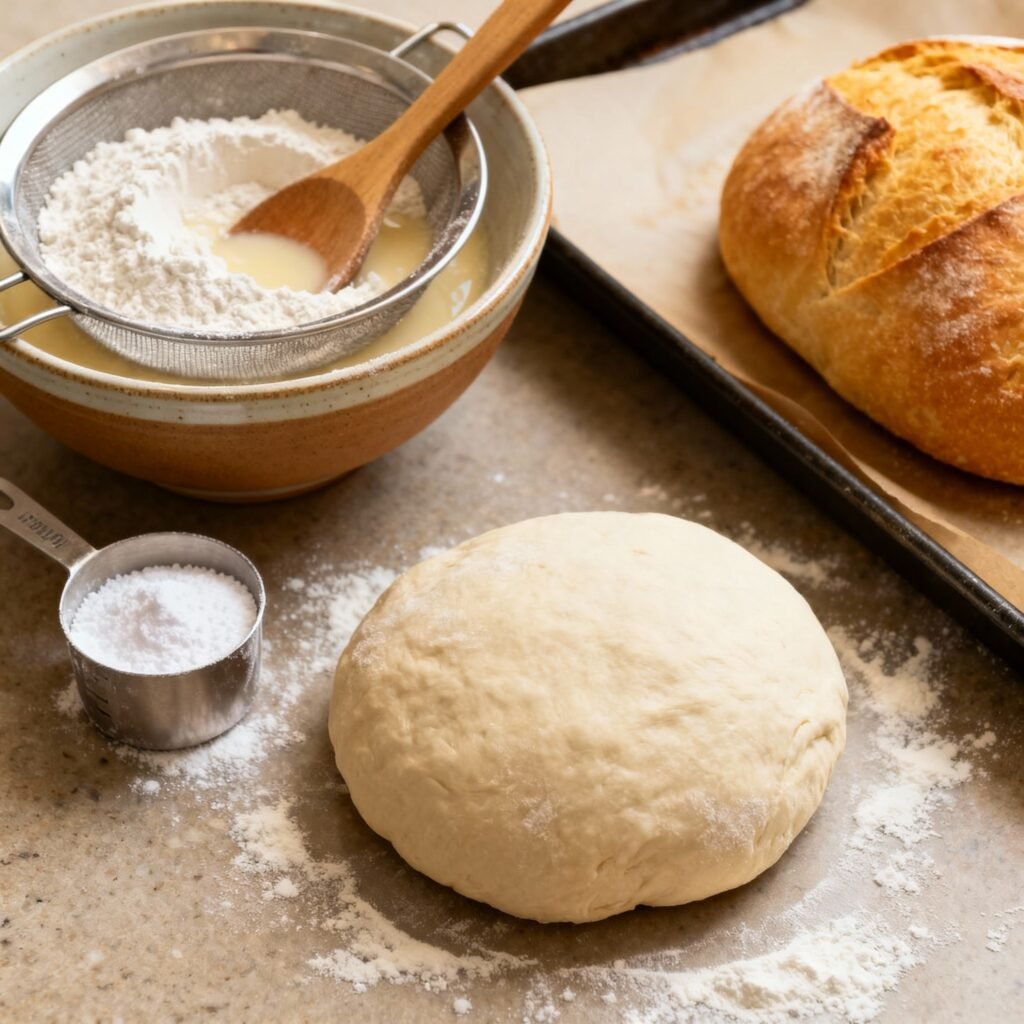
Ingredients
- 3 cups all-purpose flour, plus more for dusting
- 1 tablespoon baking powder
- 1 teaspoon salt
- 1/4 cup granulated sugar
- 1/4 cup (1/2 stick) cold unsalted butter, cut into small cubes
- 1 1/4 cups buttermilk (or see substitution below)
Instructions
- Preheat and Prep: Preheat your oven to 400°F (200°C). Grease and flour a 9×5 inch loaf pan. This prevents the bread from sticking.
- Combine Dry Ingredients: In a large bowl, whisk together the flour, baking powder, salt, and sugar. Make sure the baking powder is evenly distributed for consistent rising.
- Cut in the Butter: Add the cold, cubed butter to the dry ingredients. Using a pastry blender, your fingertips, or a fork, cut the butter into the flour mixture until it resembles coarse crumbs. The butter should be well-distributed but still visible in small pieces. This creates pockets of steam during baking, contributing to a tender crumb.
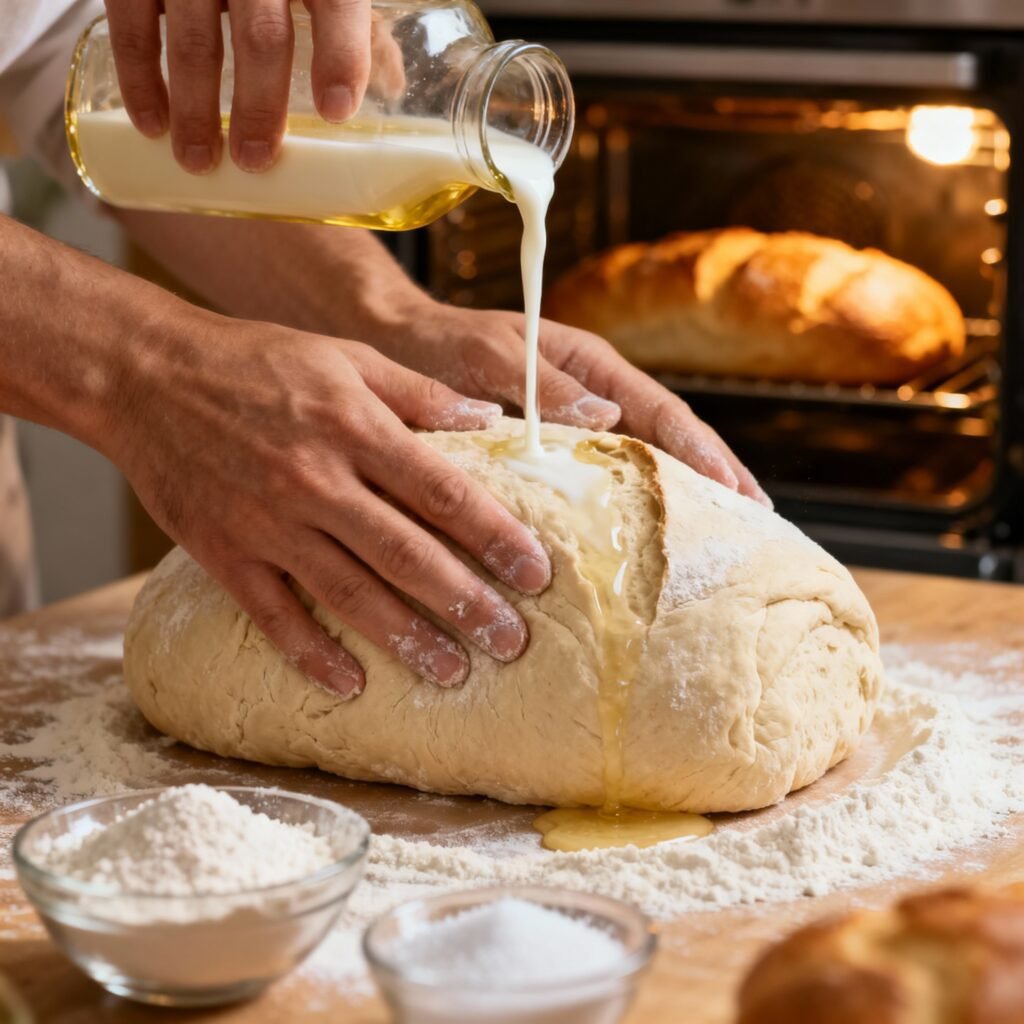
- Add Buttermilk: Gradually add the buttermilk to the flour mixture, mixing until just combined. Be careful not to overmix the dough. Overmixing can develop the gluten in the flour, resulting in a tough bread. The dough will be slightly sticky.
- Shape the Dough: Turn the dough out onto a lightly floured surface. Gently knead the dough a few times to bring it together into a cohesive ball. Shape the dough into a loaf that fits into your prepared loaf pan.
- Score the Top: Using a sharp knife or a lame (a bread-scoring tool), make a shallow cut down the center of the loaf. This allows the bread to expand evenly during baking and prevents it from cracking randomly.
- Bake: Bake in the preheated oven for 35-40 minutes, or until the loaf is golden brown and a toothpick inserted into the center comes out clean. If the top is browning too quickly, you can loosely tent it with aluminum foil during the last 10-15 minutes of baking.
- Cool: Remove the loaf from the oven and let it cool in the pan for 10 minutes before transferring it to a wire rack to cool completely. This prevents the bread from becoming soggy.
Tips for Success
- Cold Butter is Key: Using cold butter is crucial for creating a tender crumb. The cold butter melts during baking, creating steam and pockets of air that contribute to the bread’s texture.
- Don’t Overmix: Overmixing the dough develops the gluten, leading to a tough bread. Mix just until the ingredients are combined.
- Buttermilk Substitute: If you don’t have buttermilk, you can make a substitute by adding 1 tablespoon of lemon juice or white vinegar to 1 1/4 cups of milk. Let it sit for 5 minutes to curdle slightly before using.
- Experiment with Flavors: Feel free to add herbs, cheese, or other flavorings to the dough. A handful of chopped rosemary or some shredded cheddar cheese would be delicious additions.
- Adjust Baking Time: Baking times may vary depending on your oven. Keep an eye on the bread and adjust the baking time as needed.
- Rest the Dough (Optional): While not strictly necessary, letting the dough rest for 10-15 minutes before baking can help relax the gluten and improve the texture.
Storage Instructions
This bread is best enjoyed fresh, but it can be stored at room temperature for up to 3 days. Wrap the bread tightly in plastic wrap or store it in an airtight container to prevent it from drying out. You can also freeze the bread for longer storage. Slice the bread before freezing for easier thawing. To thaw, simply remove the desired number of slices from the freezer and let them thaw at room temperature or in the microwave.
FAQ
- Can I use self-rising flour? No, this recipe is specifically formulated for all-purpose flour and baking powder. Self-rising flour already contains baking powder and salt, so using it would throw off the balance of ingredients.
- Can I use a different type of milk? While buttermilk is preferred for its flavor and acidity, you can use regular milk or almond milk as a substitute. However, the texture and flavor may be slightly different.
- Why did my bread come out dense? This could be due to several factors, including overmixing the dough, using old baking powder, or not using cold butter. Make sure to follow the instructions carefully for best results.
- Can I make this recipe gluten-free? Yes, you can substitute the all-purpose flour with a gluten-free all-purpose flour blend. However, you may need to add a binder like xanthan gum to help improve the texture. Follow the instructions on your gluten-free flour blend for best results.
- Can I add eggs to the recipe? Adding an egg will make the bread richer and slightly denser. If you want to add an egg, whisk it into the buttermilk before adding it to the dry ingredients.
Conclusion
This yeast-free bread recipe is a lifesaver when you’re short on time or ingredients. It’s incredibly easy to make, requires minimal effort, and delivers a satisfying loaf of bread that’s perfect for sandwiches, toast, or simply enjoying with a pat of butter. So, ditch the yeast and give this recipe a try – you’ll be amazed at how quickly and easily you can bake a delicious loaf of bread from scratch!