Butter Cream Frosting Recipe That Breaks the Internet: Silky, Pipe-Perfect, and Foolproof Every Time
👩🍳 The Home Chef's Essential Kitchen
Consistently cooking incredible, healthy meals at home is so much easier when you aren't fighting with cheap tools. These are the 5 absolute powerhouse kitchen essentials that professional chefs and serious home cooks rely on every single day to get perfect results.
🍳 Lodge 10.25" Cast Iron Skillet
The single greatest value in all of cookware. It retains heat infinitely better than cheap non-stick pans, allowing you to get a restaurant-quality crust on steaks or perfect crispy edges on cornbread. With proper care, this $20 pan will literally outlive you.
🔪 Victorinox Fibrox Pro 8" Chef's Knife
A dull knife makes cooking a frustrating chore. This specific blade is the undisputed champion of the culinary world—it holds a terrifyingly sharp edge, features a comfortable non-slip grip, and performs identical to German knives that cost quadruple the price.
🌡️ ThermoPro Instant Read Thermometer
Never serve dry chicken or undercooked pork again. An instant-read thermometer is the secret difference between amateur cooks who 'guess' when protein is done, and professionals who know exactly when to pull meat off the heat for maximum juiciness.
🍲 Lodge Enameled Cast Iron Dutch Oven
The ultimate workhorse for soups, stews, braised short ribs, and baking crusty artisanal bread. The enameled interior provides incredible heat distribution for slow-cooking while eliminating the intense seasoning maintenance required by bare cast iron.
🥄 Bpa-Free Silicone Utensil Set
Throw away those melting plastic spatulas and bacteria-harboring wooden spoons. This pure silicone set is heat-resistant up to 600°F, won't scratch your expensive pans, and features seamless designs that make cleaning out thick sauces and batters effortless.
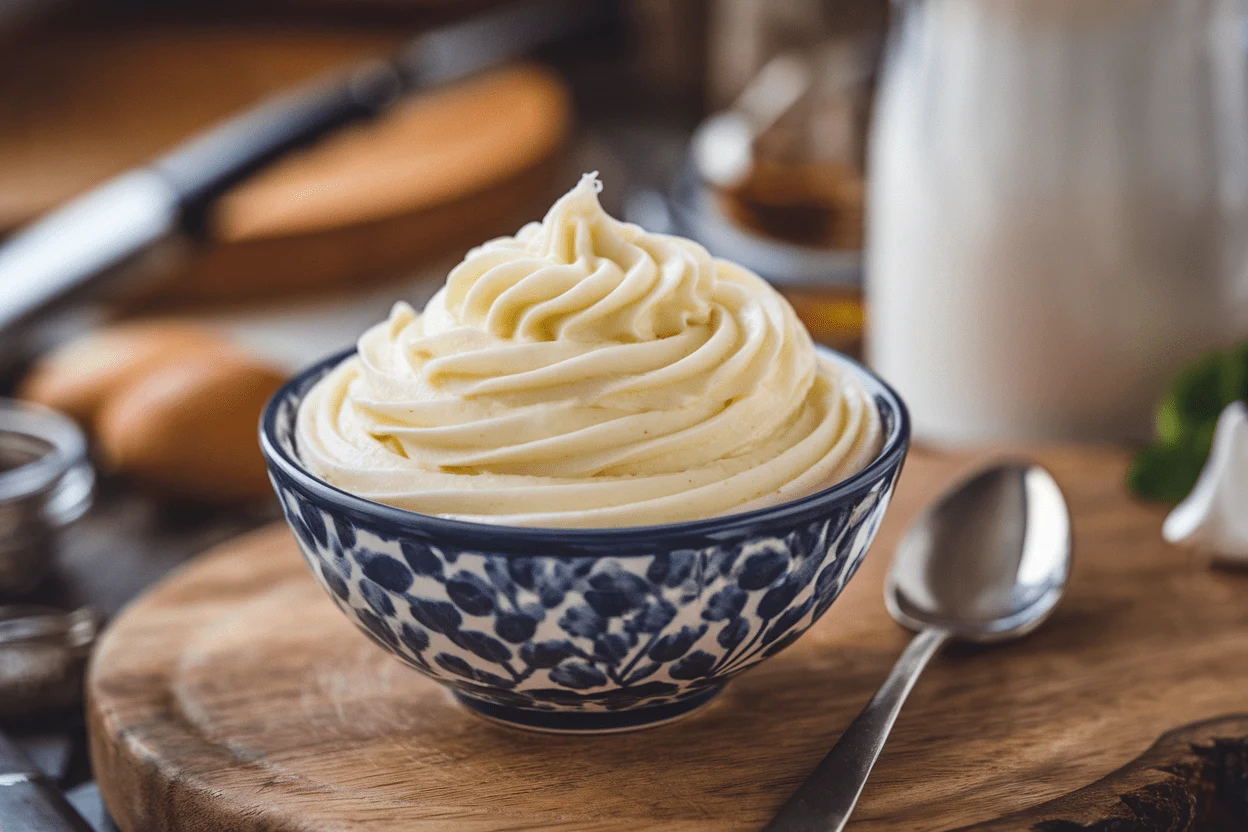
You don’t need a pastry degree to make bakery-level frosting—you just need this butter cream frosting recipe and 10 minutes. Most people mess it up with cold butter, mystery ratios, and too much sugar. Not you.
You’re about to whip up a silky, pipe-stable cloud that actually tastes like butter and vanilla instead of a sugar brick. Prepare for cupcakes that vanish and cakes that finally look the way Pinterest promised.
What Makes This Special
This recipe nails the holy trinity: flavor, texture, and stability. It’s rich without being greasy, sweet without being cloying, and smooth enough to spread—or pipe—like a dream.
The secret? Properly softened butter, a smart balance of powdered sugar, and a splash of cream for that luscious, whipped finish.
It’s also flexible. Want it thicker for sharp cupcake swirls? Done.
Softer for rustic cake swoops? Easy. Plus, it adapts to chocolate, citrus, or coffee flavors in about 30 seconds.
Minimal drama, maximum payoff—basically the opposite of fondant.
What You’ll Need (Ingredients)
- 1 cup (226 g) unsalted butter, softened to cool room temperature (65–68°F)
- 3–4 cups (360–480 g) powdered sugar, sifted
- 2–4 tablespoons heavy cream (or whole milk, but cream is better)
- 2 teaspoons pure vanilla extract (or 1 teaspoon vanilla bean paste)
- 1/8 teaspoon fine sea salt (adjust to taste)
- Optional: 1–2 teaspoons cornstarch for extra stability in warm conditions
Yield: Enough to frost 12–16 cupcakes generously or a 2-layer 8-inch cake with a thin coat and simple decoration.
Let’s Get Cooking – Instructions
- Soften the butter right. Press a finger into the butter—if it leaves a clean indent without sliding, you’re golden. Too soft = greasy frosting. Too firm = lumpy frosting.
- Beat the butter solo. In a stand mixer with a paddle (or hand mixer), beat butter on medium-high for 2–3 minutes until pale and fluffy.
Air is your friend here.
- Add sugar in stages. Sift the powdered sugar and add 1 cup at a time, beating on low until incorporated, then medium until smooth. Start with 3 cups; you can add more later for stiffness.
- Flavor + balance. Add vanilla and salt. Beat 30 seconds.
Taste. If it needs more depth, another pinch of salt works magic.
- Cream it to perfection. Add 2 tablespoons heavy cream and beat on medium-high for 1–2 minutes until light, smooth, and slightly aerated. For extra silky texture, beat an additional minute.
- Adjust texture. Too thick?
Add 1 teaspoon cream at a time. Too loose? Add 2–3 tablespoons powdered sugar or 1 teaspoon cornstarch.
Mix briefly to avoid over-aeration.
- De-bubble for silky piping. Switch to low speed and mix 20–30 seconds to knock out big air pockets. FYI, this gives cleaner piping lines.
- Use or store. Use immediately for the easiest spreading. If it sits, re-whip briefly before using.
Preservation Guide
- Room temperature: Up to 2 days in a cool room (below 72°F), covered.
If your kitchen is warm, don’t risk it.
- Refrigerator: Store in an airtight container up to 1 week. Bring to room temp and re-whip 15–30 seconds before using.
- Freezer: Up to 2 months. Thaw in the fridge overnight, then bring to room temp and whip briefly.
- Stability boost: For hot climates, mix in 1–2 teaspoons cornstarch or replace 2 tablespoons butter with high-ratio shortening.
It won’t taste “shortening-y” at that amount, IMO.
Why This is Good for You
No, it’s not kale. But it is about control and quality. You choose real butter, real vanilla, the exact amount of sugar, and zero weird stabilizers.
That means flavor that hits harder and satisfaction with fewer swipes of the knife.
Also, homemade buttercream lets you keep allergens and artificial dyes out. You can scale sweetness, adjust salt for balance, and pair it with fruit or dark chocolate to keep desserts from tasting one-note. Joy matters—and this frosting delivers it by the spoonful.
Don’t Make These Errors
- Using melted or overly soft butter. This is the fastest route to soupy frosting.
Aim for cool-room-temp butter.
- Skipping the sift. Powdered sugar lumps don’t magically disappear. Sift for ultra-smooth texture.
- Adding all the sugar at once. You’ll wear it, and the texture suffers. Go in stages.
- Ignoring salt. A pinch of salt transforms sweetness into flavor.
Don’t skip.
- Over-whipping at the end. Too much air = bubbles and porous piping. Finish with a quick low-speed mix.
- Frosting warm cakes. That’s a slip-n-slide. Cool layers completely before frosting.
Variations You Can Try
- Chocolate Buttercream: Add 1/2 cup Dutch-process cocoa and 1–2 tablespoons extra cream.
For richer flavor, blend in 3 ounces melted, cooled dark chocolate.
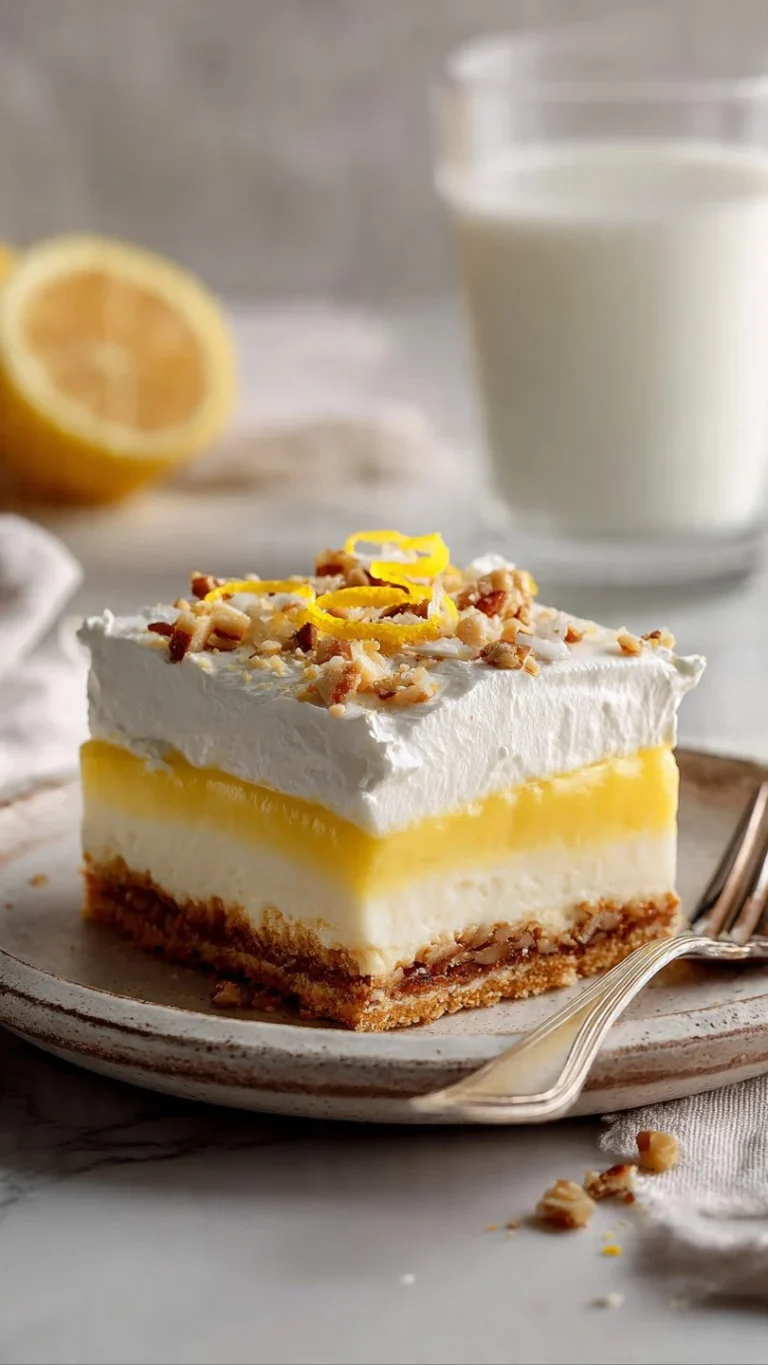
- Lemon Dream: Add 1 tablespoon lemon zest and 1–2 tablespoons fresh lemon juice; replace vanilla with 1 teaspoon lemon extract if desired.
- Salted Caramel: Beat in 1/3 cup thick caramel sauce and increase salt to 1/4 teaspoon. Watch consistency; add sugar if needed.
- Mocha: Dissolve 2 teaspoons instant espresso in 1 tablespoon hot water; cool and beat in with 1/4 cup cocoa.
- Vanilla Bean Luxe: Swap extract for 1 teaspoon vanilla bean paste and 1/2 teaspoon extract. Specks = fancy.
- Strawberry: Beat in 3–4 tablespoons freeze-dried strawberry powder.
Bright flavor, no watery texture.
- Cream Cheese Hybrid: Replace 4 ounces of butter with block-style cream cheese; beat butter first, then cream cheese, then proceed.
FAQ
Can I make this less sweet?
Yes. Start with 2.5–3 cups powdered sugar and add a tablespoon of cornstarch for structure. A pinch more salt and vanilla bean paste also deepen flavor without piling on sugar.
Why is my frosting grainy?
Likely unsifted sugar or butter that was too cold.
Let frosting sit 5–10 minutes, then beat again. A tablespoon of warm cream can help dissolve tiny crystals.
How do I get it super white?
Use pale butter, clear vanilla, and beat longer to aerate. A teensy drop of purple gel cancels yellow tones (color theory for bakers).
Don’t overdo it unless you want lavender frosting.
Will this hold up under fondant?
Yes, if you keep it on the firmer side. Add enough sugar for a stable crumb coat, chill the cake 20–30 minutes, then apply fondant.
What piping tips work best?
For classic swirls, use 1M or 2D. For crisp lines, de-bubble the frosting and use an 808 round or 4B French tip.
Consistency should be soft-peak, not runny.
Can I color this frosting?
Use gel or oil-based colors. Add gradually, as vibrant shades can loosen consistency slightly. If that happens, 1–2 tablespoons extra powdered sugar sets it right.
How do I fix frosting that’s too thin?
Add 2–4 tablespoons powdered sugar, beat briefly, then rest 3 minutes and beat again.
If it’s really warm, mix in 1 teaspoon cornstarch or chill 5 minutes and re-whip.
Is salted butter okay?
It works in a pinch. Reduce added salt and taste as you go. Unsalted gives you better control, but we’re not here to gatekeep your butter choices.
Final Thoughts
This butter cream frosting recipe is a high-return, low-effort upgrade for any cake, cupcake, or cookie.
With smart ratios and a few pro moves, you get buttery flavor, satin texture, and reliable stability. Customize it, color it, pipe it—this is your versatile base for every celebration.
Bookmark it, tweak it to your taste, and don’t be surprised when people ask which bakery you used. Your secret’s safe with us.