Buttercream Recipe for Piping: The Ultimate Guide to Perfect Swirls
Buttercream frosting is the backbone of countless beautiful cakes and cupcakes. But achieving that picture-perfect swirl, delicate flower, or intricate design requires a buttercream specifically formulated for piping. Forget droopy roses and melting borders! This recipe delivers a stable, smooth, and delicious buttercream that will hold its shape and impress everyone who sees (and tastes) your creations.
Why This Recipe Works
This recipe is based on the American buttercream method, but with a few key tweaks to enhance its piping capabilities. Here’s why it’s superior for creating stunning decorations:
- High Fat Content: A generous amount of butter provides the necessary structure and stability for intricate designs. The fat solidifies at room temperature, helping the frosting maintain its shape.
- Powdered Sugar Ratio: The ratio of powdered sugar to butter is carefully balanced to create a firm yet pliable consistency. Too little powdered sugar, and the frosting will be too soft; too much, and it will be dry and crumbly.
- Minimal Liquid: We use a small amount of liquid (milk or cream) to bring the buttercream together without making it too thin. This prevents the frosting from spreading or drooping after piping.
- Thorough Mixing: Extended mixing incorporates air into the buttercream, making it light and fluffy while simultaneously developing its structural integrity. This is crucial for a smooth, pipeable texture.
- Temperature Control: Using room temperature butter is vital. Cold butter will be lumpy, and melted butter will result in a greasy, unstable frosting.
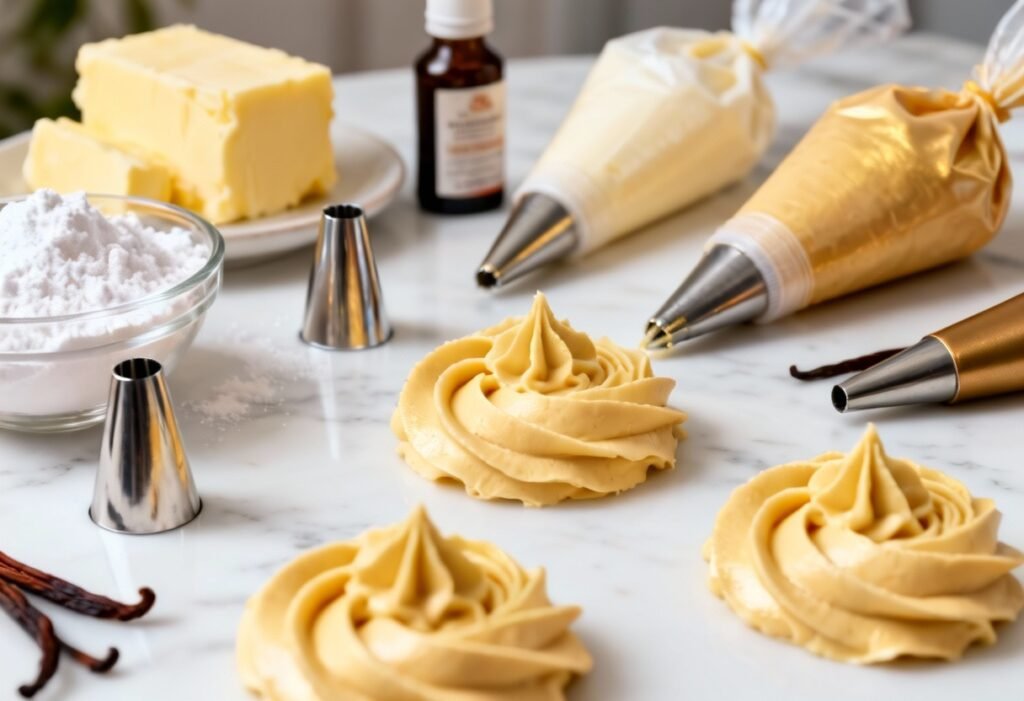
Ingredients
- 1 cup (2 sticks) unsalted butter, softened to room temperature
- 4 cups (1 pound) powdered sugar, sifted
- 2-4 tablespoons milk or heavy cream
- 1 teaspoon vanilla extract
- Pinch of salt (optional, but enhances the flavor)
Instructions
- Prepare the Butter: Ensure your butter is truly softened to room temperature. It should be pliable but not melted. If it’s too cold, it will be difficult to cream properly. If it’s too warm, the frosting will be greasy.
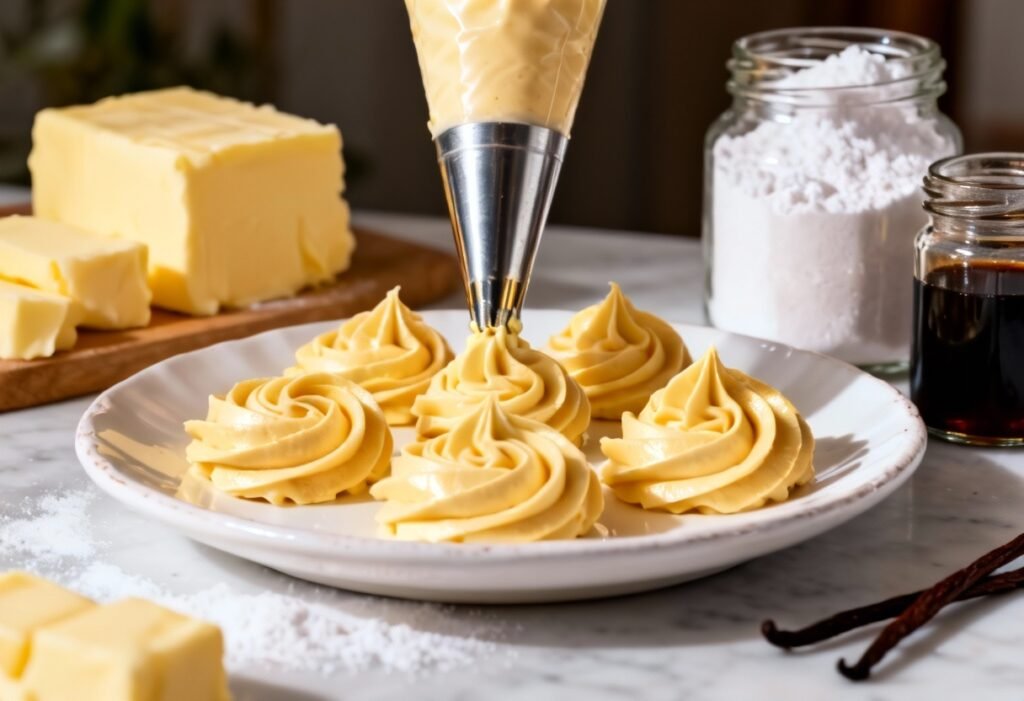
- Cream the Butter: In a large mixing bowl (or the bowl of a stand mixer), beat the softened butter on medium speed for 2-3 minutes, until light and fluffy. This step is crucial for incorporating air and creating a smooth base.
- Add the Powdered Sugar: Gradually add the sifted powdered sugar, one cup at a time, beating on low speed after each addition. Sifting the powdered sugar prevents lumps and ensures a smooth final product. Start on low speed to prevent a sugar cloud!
- Incorporate the Liquid: Add 2 tablespoons of milk or heavy cream and the vanilla extract. Beat on low speed until just combined.
- Adjust Consistency: If the buttercream is too thick, add the remaining milk or cream, one tablespoon at a time, until you reach your desired consistency. It should be smooth, creamy, and hold its shape when piped. If it’s too thin, add a little more sifted powdered sugar, one tablespoon at a time.
- Beat for Stability: Increase the mixer speed to medium-high and beat for 3-5 minutes. This extended mixing is essential for creating a stable buttercream that holds its shape well. The buttercream will become lighter and fluffier.
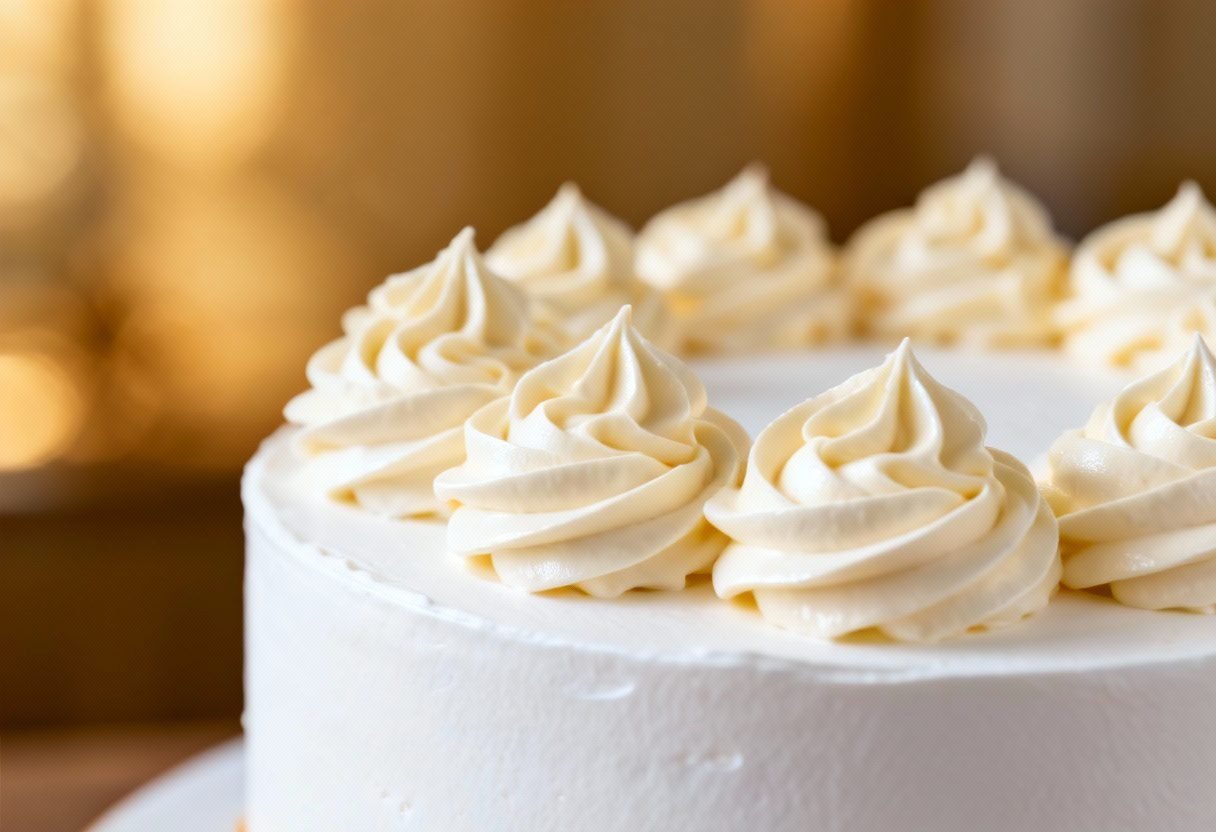
- Test the Consistency: To test the consistency, scoop a spoonful of buttercream and pipe a small swirl onto a plate. If the swirl holds its shape without drooping, the buttercream is ready. If it’s too soft, continue beating for another minute or two. If it’s too stiff, add a tiny bit more milk or cream.
- Coloring (Optional): If you want to color your buttercream, add gel food coloring one drop at a time, mixing well after each addition. Gel food coloring is preferred over liquid food coloring because it’s more concentrated and won’t change the consistency of the buttercream.
- Use Immediately: For best results, use the buttercream immediately for piping.
Tips for Success
- Room Temperature is Key: The success of this recipe hinges on using softened butter. Cold butter will result in lumpy buttercream, and melted butter will create a greasy, unstable frosting.
- Sift the Powdered Sugar: Sifting removes lumps and ensures a smooth final product.
- Don’t Overmix: While thorough mixing is important, overmixing can cause the buttercream to become too airy and unstable. Stop mixing as soon as the buttercream is smooth and holds its shape.
- Use Gel Food Coloring: Gel food coloring is more concentrated than liquid food coloring and won’t affect the consistency of the buttercream.
- Adjust the Consistency: Don’t be afraid to adjust the consistency of the buttercream by adding more milk or powdered sugar as needed. The ideal consistency will vary depending on the specific piping technique you’re using.
- Practice Makes Perfect: Piping takes practice! Don’t be discouraged if your first few attempts aren’t perfect. Keep practicing, and you’ll improve with time.
- Use Quality Ingredients: The quality of your ingredients will affect the taste and texture of your buttercream. Use good quality butter and vanilla extract for the best results.
- Avoid Humidity: Humidity can affect the consistency of buttercream. If you live in a humid climate, you may need to add a little more powdered sugar to compensate.
Storage Instructions
Room Temperature: Buttercream can be stored at room temperature for up to 2 days, covered tightly. Be mindful of the temperature of your room; if it’s very warm, the buttercream may soften.
Refrigerator: Buttercream can be stored in the refrigerator for up to 2 weeks in an airtight container. Before using, bring it back to room temperature and re-whip it to restore its smooth consistency.
Freezer: Buttercream can be frozen for up to 3 months in an airtight container. Thaw it in the refrigerator overnight, then bring it to room temperature and re-whip it to restore its smooth consistency. You may need to add a tablespoon or two of milk to regain the original texture.
FAQ
Q: My buttercream is too soft. What can I do?
A: Add more sifted powdered sugar, one tablespoon at a time, until you reach the desired consistency. Beat well after each addition.
Q: My buttercream is too stiff. What can I do?
A: Add a little more milk or heavy cream, one teaspoon at a time, until you reach the desired consistency. Beat well after each addition.
Q: My buttercream is grainy. What can I do?
A: This is usually caused by undissolved sugar. Try beating the buttercream for a longer period of time. If that doesn’t work, you can try adding a tablespoon of hot water to help dissolve the sugar.
Q: Can I use salted butter?
A: While you can, unsalted butter is preferred because it allows you to control the amount of salt in the recipe. If you use salted butter, omit the pinch of salt in the recipe.
Q: Can I make this recipe vegan?
A: Yes! Substitute the butter with a vegan butter alternative that’s designed for baking. Use a plant-based milk alternative. The rest of the recipe remains the same.
Conclusion
With this recipe and these tips, you’ll be well on your way to creating stunning buttercream decorations that will impress everyone. Remember to practice, be patient, and have fun! Don’t be afraid to experiment with different colors and flavors to create your own unique buttercream masterpieces. Happy baking!