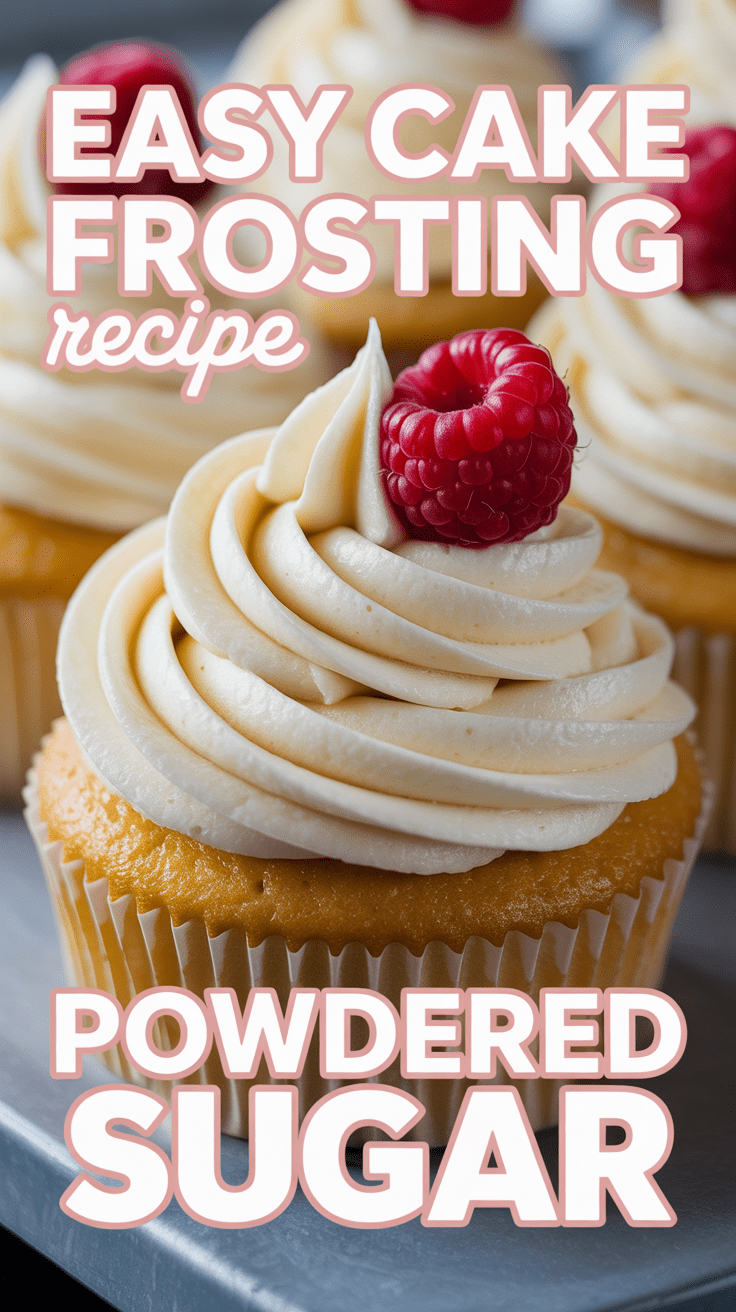
Cookie Cake Icing Recipe: The Secret to Bakery-Perfect Results
Cookie cakes! Those giant, shareable slices of happiness that are perfect for birthdays, celebrations, or just a really, really good Tuesday. But let’s be honest, the cookie is only half the equation. The real magic lies in the icing – that smooth, creamy, and perfectly sweet topping that elevates a simple cookie into a show-stopping dessert. Are you tired of cookie cake icing that’s too runny, too sweet, or just plain boring? This recipe is your answer. We’re unlocking the secrets to achieving bakery-quality cookie cake icing at home, so you can impress your friends, family, and yourself with every slice.
Why This Recipe Works
This isn’t just another generic icing recipe. We’ve carefully crafted this formula to address the common pitfalls of cookie cake icing, ensuring a consistently delicious and visually appealing result. Here’s what sets it apart:
- Perfect Consistency: The ratio of butter, powdered sugar, and liquid is crucial. We’ve nailed it to create an icing that’s spreadable yet holds its shape beautifully, perfect for piping intricate designs or creating a smooth, even layer.
- Balanced Sweetness: Many cookie cake icings are overwhelmingly sweet. This recipe uses a touch of salt to balance the sweetness, creating a more complex and satisfying flavor profile.
- Versatile Flavor: The base recipe is a blank canvas! You can easily customize the flavor with extracts, citrus zest, or even melted chocolate to match your cookie cake’s flavor profile.
- Stable at Room Temperature: No one wants icing that melts into a puddle! This recipe is designed to be stable at room temperature for several hours, making it ideal for parties and celebrations.
- Easy to Make: Despite its impressive results, this icing is incredibly easy to make. No fancy equipment or advanced techniques are required. Just a few simple ingredients and a little patience are all you need.
Ingredients
- 1 cup (2 sticks) unsalted butter, softened to room temperature
- 4 cups (1 pound) powdered sugar, sifted
- 1/4 cup milk (whole or 2% recommended)
- 1 teaspoon vanilla extract
- 1/4 teaspoon salt
- Optional: Food coloring (gel food coloring recommended)
- Optional: Other extracts (almond, lemon, etc.)

Instructions
- Cream the Butter: In a large bowl (or the bowl of a stand mixer fitted with the paddle attachment), beat the softened butter on medium speed until light and fluffy, about 3-5 minutes. This is a crucial step to incorporate air and create a smooth base for the icing.
- Add Powdered Sugar Gradually: Gradually add the sifted powdered sugar, one cup at a time, beating on low speed after each addition. Sifting the powdered sugar is important to prevent clumps in your icing.
- Incorporate the Liquid: Add the milk, vanilla extract, and salt. Beat on low speed until the ingredients are combined.
- Whip to Perfection: Increase the mixer speed to medium and beat for 2-3 minutes, or until the icing is light, fluffy, and smooth. Be careful not to overbeat, as this can cause the icing to become too stiff.
- Adjust Consistency (If Necessary): If the icing is too thick, add milk, one tablespoon at a time, until you reach the desired consistency. If the icing is too thin, add powdered sugar, one tablespoon at a time, until it thickens.
- Add Food Coloring (Optional): If desired, add gel food coloring, one drop at a time, until you achieve your desired shade. Mix well after each addition. Remember that gel food coloring is more concentrated than liquid food coloring, so a little goes a long way.
- Flavor Customization (Optional): At this stage, you can also add other extracts or flavorings to customize your icing. Start with a small amount and taste as you go.
Tips for Success
- Use Softened Butter: This is non-negotiable! Using butter that is too cold or too melted will result in lumpy icing. The butter should be soft enough that you can easily press a finger into it, but not so soft that it’s greasy.
- Sift the Powdered Sugar: Sifting removes clumps and ensures a smooth, lump-free icing.
- Don’t Overbeat: Overbeating can incorporate too much air and cause the icing to become stiff and difficult to work with.
- Adjust Consistency Carefully: Add milk or powdered sugar in small increments to avoid over-thinning or over-thickening the icing.
- Use Gel Food Coloring: Gel food coloring is more concentrated than liquid food coloring, so it won’t thin out the icing as much. It also produces more vibrant colors.
- Taste as You Go: Adjust the sweetness and flavor to your liking.
- Chill Before Piping (Optional): If you plan to pipe intricate designs, chilling the icing for 15-30 minutes can help it hold its shape better.
Storage Instructions
Store leftover icing in an airtight container in the refrigerator for up to 5 days. Before using, bring the icing to room temperature and rewhip it with a mixer until smooth.

FAQ
Q: Can I use salted butter instead of unsalted butter?
A: While you can, it’s best to use unsalted butter so you can control the amount of salt in the icing. If you use salted butter, omit the 1/4 teaspoon of salt in the recipe.
Q: Can I use a different type of milk?
A: Yes, you can use other types of milk, such as almond milk or soy milk. However, whole or 2% milk will give you the creamiest results.
Q: My icing is too thick. What should I do?
A: Add milk, one tablespoon at a time, until you reach the desired consistency.
Q: My icing is too thin. What should I do?
A: Add powdered sugar, one tablespoon at a time, until it thickens.
Q: Can I freeze this icing?
A: Yes, you can freeze this icing for up to 2 months. Thaw it in the refrigerator overnight and rewhip it with a mixer until smooth before using.
Q: Can I make this icing ahead of time?
A: Yes, you can make this icing a day or two ahead of time. Store it in an airtight container in the refrigerator and rewhip it with a mixer until smooth before using.
Conclusion
With this recipe, you’re now armed with the knowledge to create the perfect cookie cake icing every time. Say goodbye to bland, runny icing and hello to bakery-quality results in your own kitchen. Whether you’re celebrating a special occasion or simply craving a sweet treat, this icing will take your cookie cake to the next level. So, grab your ingredients, fire up your mixer, and get ready to create a masterpiece that will impress everyone who takes a bite. Happy baking!