
Crepes Recipe Easy Filling: The Ultimate Guide to Perfect Crepes
Craving a delicious and versatile breakfast, brunch, or dessert? Look no further than crepes! These delicate, thin pancakes are incredibly easy to make and offer endless possibilities for fillings. This recipe guarantees perfect crepes every time, even for beginners, and we’ll walk you through the process step-by-step. Get ready to impress your family and friends with your newfound crepe-making skills!
Why This Recipe Works
This crepe recipe is designed for simplicity and success. Here’s what makes it so effective:
- Simple Ingredients: We use common pantry staples that you likely already have on hand. No fancy or hard-to-find items needed.
- Easy-to-Follow Instructions: The instructions are clear, concise, and detailed, guiding you through each step of the process.
- Foolproof Batter: The batter is designed to be smooth and lump-free, ensuring thin and even crepes.
- Versatile: This recipe works perfectly for both sweet and savory crepes. The batter itself is neutral, allowing the fillings to shine.
- Tried and Tested: This recipe has been tested and refined to guarantee consistent results.
Ingredients
Here’s what you’ll need to make the crepe batter:
- 1 cup all-purpose flour
- 1 1/4 cups milk
- 2 large eggs
- 2 tablespoons melted butter, plus more for greasing the pan
- 1 tablespoon sugar (optional, for sweeter crepes)
- 1/4 teaspoon salt
And here are some filling suggestions to get you started:
Sweet Fillings:
- Nutella and sliced bananas
- Fresh berries (strawberries, raspberries, blueberries) and whipped cream
- Lemon curd and powdered sugar
- Apple pie filling and caramel sauce
- Peaches and cream
- Chocolate sauce and ice cream
Savory Fillings:
- Ham and cheese (Swiss, Gruyere, or cheddar)
- Spinach and ricotta cheese
- Mushrooms and caramelized onions
- Smoked salmon and cream cheese
- Chicken and pesto
- Ratatouille
Instructions
Follow these step-by-step instructions to make perfect crepes:
- Prepare the Batter: In a large bowl, whisk together the flour and salt (and sugar, if using).
- Add Wet Ingredients: In a separate bowl, whisk together the milk, eggs, and melted butter.
- Combine Wet and Dry: Gradually pour the wet ingredients into the dry ingredients, whisking constantly until the batter is smooth and lump-free. It’s okay if there are a few tiny lumps; they’ll disappear as the batter rests.
- Rest the Batter: Cover the bowl with plastic wrap and refrigerate the batter for at least 30 minutes, or up to 2 hours. This allows the gluten to relax, resulting in more tender crepes.
- Heat the Pan: Heat a lightly greased non-stick skillet or crepe pan over medium heat. The pan is ready when a drop of water sizzles and evaporates quickly.
- Pour the Batter: Lift the pan off the heat and pour about 1/4 cup of batter onto the center of the pan. Immediately swirl the pan around to evenly distribute the batter in a thin circle.
- Cook the Crepe: Return the pan to the heat and cook for 1-2 minutes, or until the edges of the crepe start to lift and the bottom is lightly golden brown.
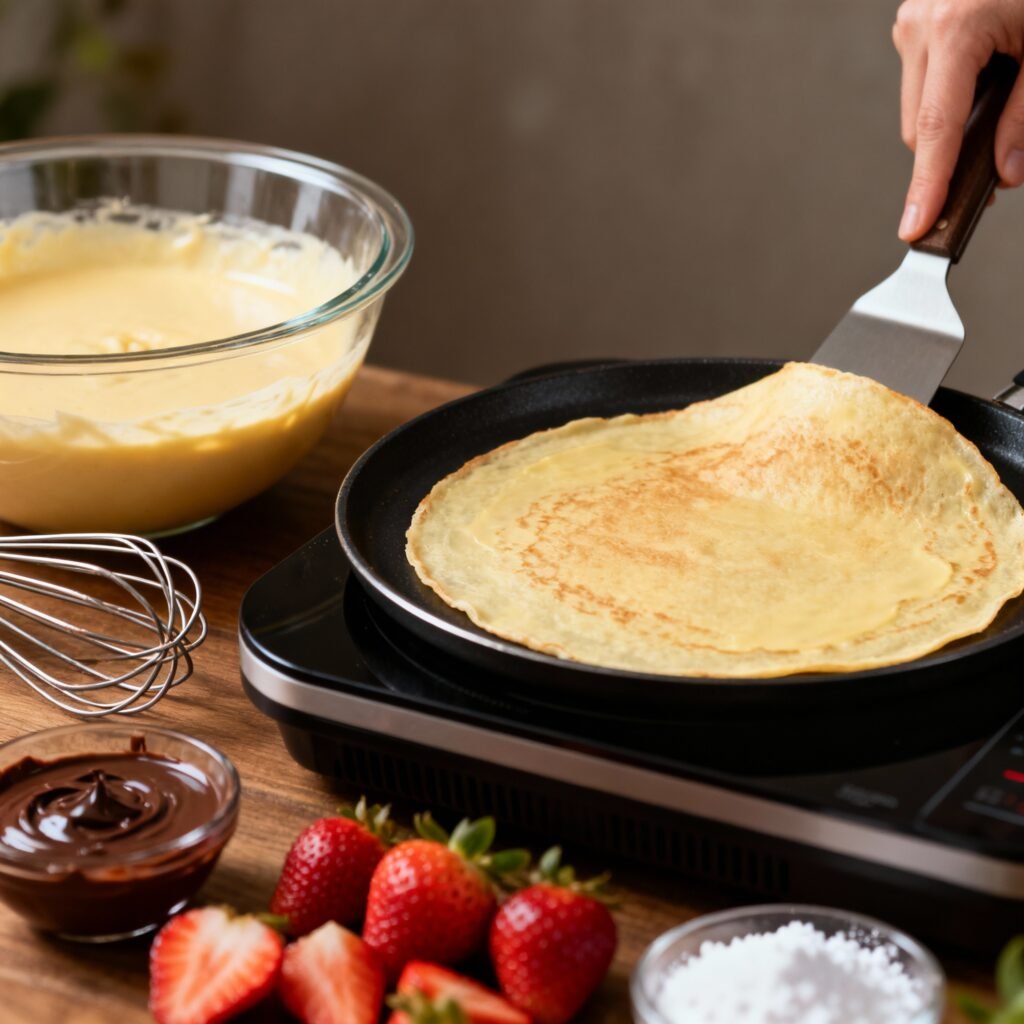
- Flip and Cook: Carefully flip the crepe with a thin spatula and cook for another 30-60 seconds, or until the other side is lightly golden brown.
- Repeat: Transfer the cooked crepe to a plate and repeat with the remaining batter, stacking the crepes on top of each other. You can place a piece of parchment paper between each crepe to prevent them from sticking.
- Fill and Serve: Fill the crepes with your desired fillings and enjoy! You can fold them into quarters, roll them up, or simply stack them high.
Tips for Success
Here are some tips to ensure your crepes turn out perfectly every time:
- Don’t Overmix: Overmixing the batter can develop too much gluten, resulting in tough crepes. Mix just until the ingredients are combined.
- Resting is Key: Resting the batter is crucial for tender crepes. Don’t skip this step!
- Grease the Pan Lightly: Too much grease will make the crepes greasy. Use just enough to prevent them from sticking.
- Heat Control: Maintaining the right heat is important. If the pan is too hot, the crepes will burn. If it’s too cold, they’ll be pale and rubbery.
- Thin Batter is Best: The thinner the batter, the thinner and more delicate the crepes will be. If the batter seems too thick, add a tablespoon or two of milk until it reaches the desired consistency.
- Practice Makes Perfect: The first crepe might not be perfect, but don’t worry! It takes a little practice to get the hang of it.
- Use a Crepe Spreader (Optional): While not necessary, a crepe spreader can help you create perfectly thin and even crepes.
Storage Instructions
Storing Cooked Crepes:
Cooked crepes can be stored in the refrigerator for up to 3 days. Stack them with parchment paper between each crepe to prevent sticking. To reheat, you can microwave them for a few seconds, or warm them in a skillet over low heat.
Freezing Cooked Crepes:
Cooked crepes can also be frozen for up to 2 months. Stack them with parchment paper between each crepe and place them in a freezer-safe bag or container. To thaw, transfer them to the refrigerator overnight.
Storing Crepe Batter:
Crepe batter can be stored in the refrigerator for up to 2 days. Whisk it well before using, as it may separate slightly.

FAQ
Q: Can I use a different type of flour?
A: Yes, you can use gluten-free all-purpose flour blend for a gluten-free version. You can also substitute some of the all-purpose flour with whole wheat flour for a slightly heartier crepe.
Q: Can I make the batter ahead of time?
A: Absolutely! In fact, resting the batter is recommended for the best results. You can make it up to 2 days in advance and store it in the refrigerator.
Q: My crepes are tearing. What am I doing wrong?
A: This could be due to a few reasons: the pan might not be hot enough, the batter might be too thick, or you might be flipping the crepe too soon. Make sure the pan is properly heated, the batter is thin enough, and the crepe is lightly golden brown before flipping.
Q: Can I add vanilla extract to the batter?
A: Yes, a teaspoon of vanilla extract can add a nice flavor to the crepes, especially if you’re making sweet crepes.
Q: What is the best way to reheat crepes?
A: You can reheat crepes in the microwave for a few seconds, in a skillet over low heat, or in the oven at a low temperature.
Conclusion
With this easy crepe recipe and our helpful tips, you’ll be whipping up perfect crepes in no time. Whether you’re craving a sweet treat or a savory meal, crepes are a versatile and delicious option that’s sure to please everyone. So, gather your ingredients, follow our instructions, and get ready to enjoy the delightful world of crepes! Happy cooking!