
Dill Pickle Brine Recipe: Unlock the Secret to Zesty Flavor!
Craving that tangy, garlicky, and utterly addictive dill pickle flavor? You don’t have to buy jar after jar to get your fix. This dill pickle brine recipe is your ticket to homemade pickle perfection, and it’s surprisingly simple to make. Whether you’re pickling cucumbers, vegetables, or even using it as a flavor booster for your favorite dishes, this brine will deliver that classic dill pickle zing you crave.
Why This Recipe Works
This recipe isn’t just about throwing ingredients together; it’s about achieving the perfect balance of flavors and acidity. Here’s why this brine is a winner:
- Balanced Acidity: The ratio of vinegar to water is crucial for both flavor and preservation. This recipe uses the ideal ratio to create a tangy, but not overwhelmingly sour, brine that will properly pickle your ingredients.
- Flavor Infusion: Fresh dill, garlic, and spices are the stars of the show, infusing the brine with their distinct aromas and flavors. The longer the brine sits, the more intense the flavor becomes.
- Versatility: This brine isn’t just for cucumbers! It can be used to pickle a variety of vegetables, from green beans and carrots to onions and peppers. You can even use it to marinate chicken or pork for a unique and flavorful twist.
- Adjustable Spice Level: Want a little kick? Simply add more red pepper flakes or a few slices of fresh jalapeño to the brine. This recipe is easily customizable to your personal preferences.
- Simple Ingredients: You likely already have most of these ingredients in your pantry. No need for fancy or hard-to-find items – just simple, wholesome ingredients that come together to create something amazing.
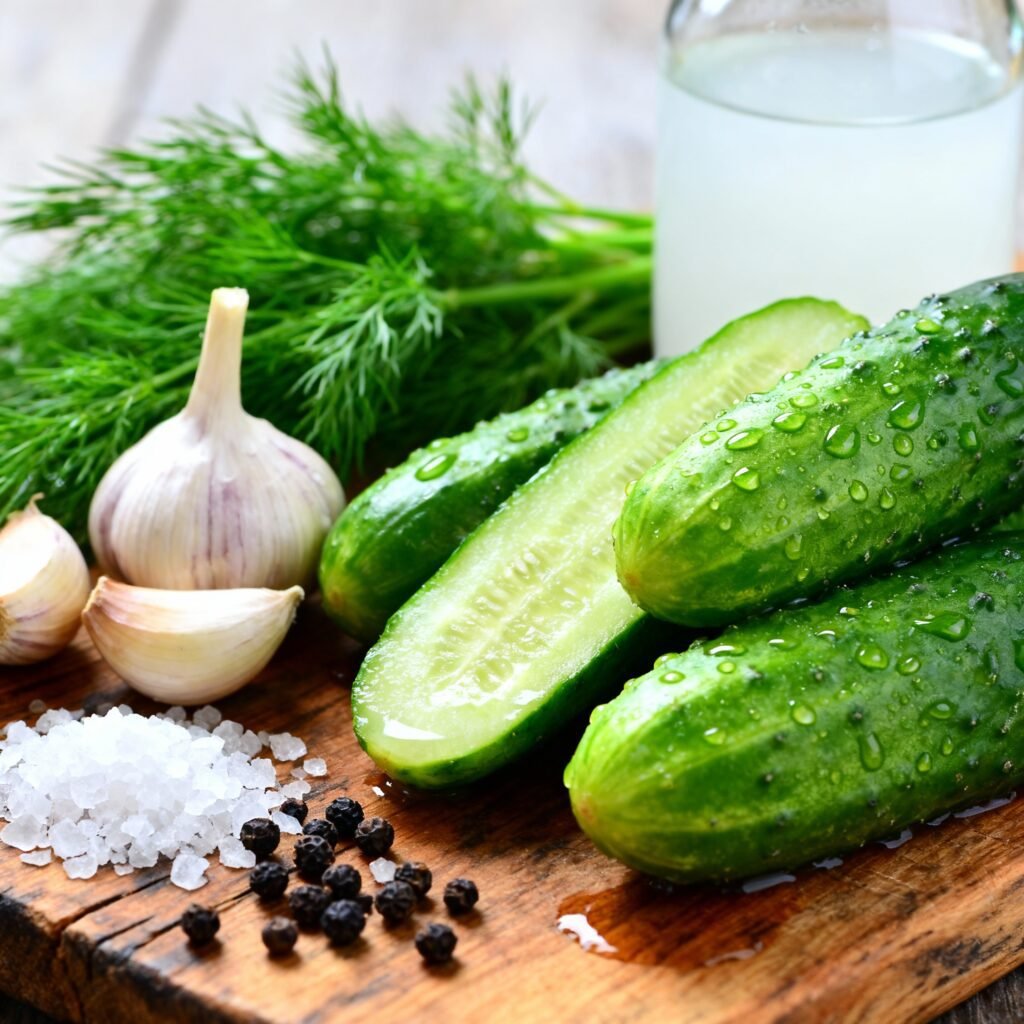
Ingredients
- 4 cups water
- 4 cups white vinegar (5% acidity)
- 1/4 cup kosher salt (or sea salt)
- 1/4 cup sugar (optional, but enhances the flavor)
- 4 cloves garlic, smashed
- 2 tablespoons dill seeds
- 2 tablespoons black peppercorns
- 1 tablespoon mustard seeds
- 1 teaspoon red pepper flakes (optional, for heat)
- 4-5 sprigs fresh dill
Instructions
- Combine Ingredients: In a large saucepan, combine the water, vinegar, salt, and sugar (if using).
- Add Spices: Add the smashed garlic cloves, dill seeds, black peppercorns, mustard seeds, and red pepper flakes (if using) to the saucepan.
- Bring to a Boil: Bring the mixture to a boil over medium-high heat, stirring occasionally until the salt and sugar are dissolved.
- Simmer: Reduce the heat to low and simmer for 5 minutes to allow the flavors to meld together.
- Remove from Heat: Remove the saucepan from the heat and add the fresh dill sprigs.
- Cool Completely: Allow the brine to cool completely to room temperature. This is crucial before pouring it over your vegetables.
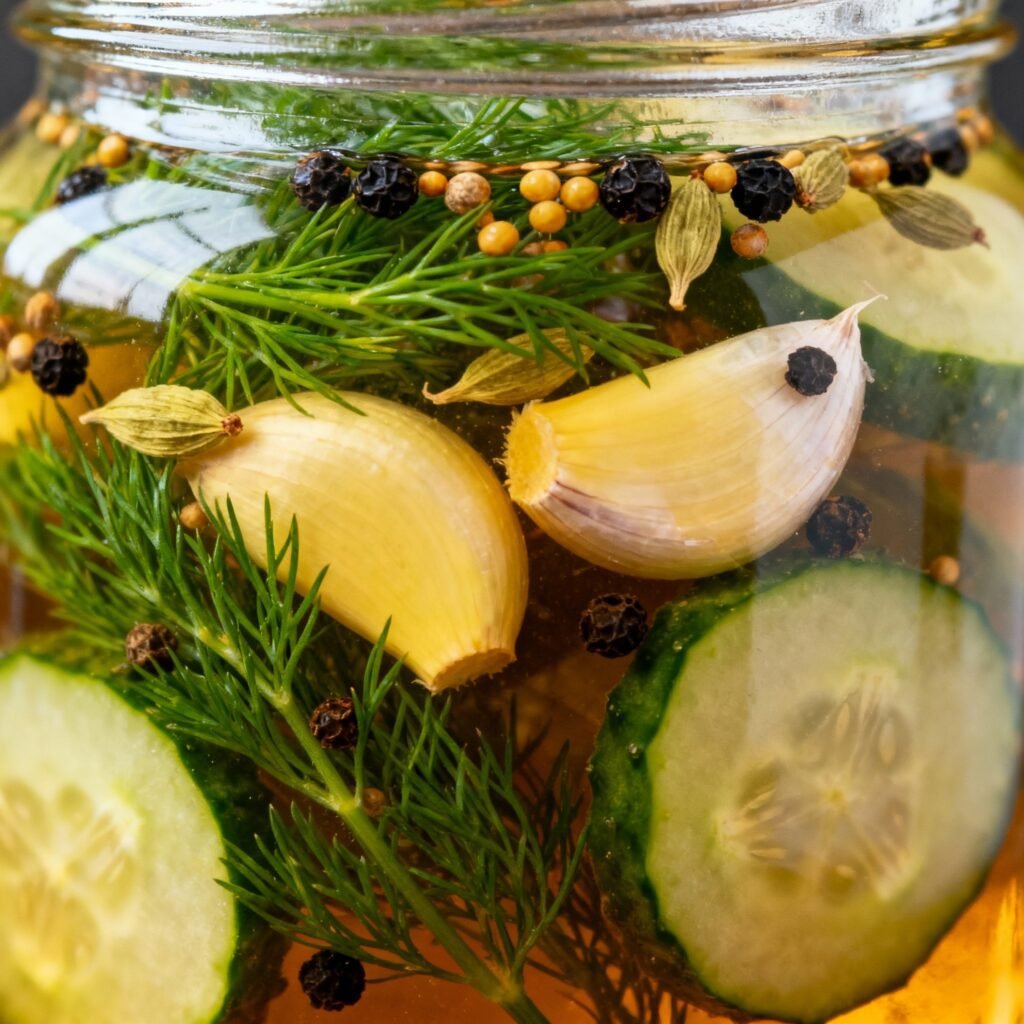
- Prepare Vegetables: While the brine is cooling, prepare your vegetables. Wash and cut them into the desired shapes (slices, spears, or whole).
- Pack Jars: Pack the prepared vegetables tightly into sterilized jars. Leave about 1/2 inch of headspace at the top.
- Pour Brine: Carefully pour the cooled brine over the vegetables, ensuring they are completely submerged. Again, leave about 1/2 inch of headspace.
- Remove Air Bubbles: Gently tap the jars on the counter to release any trapped air bubbles. You can also use a clean utensil to push the vegetables down slightly.
- Seal and Refrigerate: Seal the jars with lids and rings. Refrigerate for at least 24 hours, but preferably 3-5 days, to allow the flavors to fully develop. The longer they sit, the more flavorful they become!
Tips for Success
- Use High-Quality Ingredients: The quality of your ingredients will directly impact the flavor of your pickles. Use fresh dill, good-quality vinegar, and kosher or sea salt.
- Sterilize Jars: Sterilizing your jars is essential for preventing spoilage. You can do this by boiling them in water for 10 minutes or running them through a dishwasher cycle with a sanitizing option.
- Pack Vegetables Tightly: Packing the vegetables tightly into the jars helps to prevent them from floating and ensures they are fully submerged in the brine.
- Don’t Skip the Cooling Step: Pouring hot brine over your vegetables can make them mushy. Allow the brine to cool completely before using it.
- Be Patient: The longer the pickles sit in the brine, the more flavorful they will become. Resist the urge to eat them right away!
- Experiment with Flavors: Feel free to experiment with different spices and herbs to create your own unique pickle brine. Consider adding ingredients like coriander seeds, bay leaves, or even a small piece of ginger.
Storage Instructions
Once opened, store your pickles in the refrigerator. They should last for several weeks, or even months, as long as they are kept submerged in the brine. If you notice any signs of spoilage, such as mold or a bad odor, discard them immediately.
FAQ
Q: Can I use apple cider vinegar instead of white vinegar?
A: While you can use apple cider vinegar, it will impart a slightly different flavor to the pickles. White vinegar is the traditional choice for dill pickles because of its neutral flavor.
Q: Can I use dried dill instead of fresh dill?
A: Fresh dill is preferred for its brighter flavor, but you can use dried dill in a pinch. Use about 1 tablespoon of dried dill for every sprig of fresh dill.
Q: My pickles are too salty. What can I do?
A: If your pickles are too salty, you can try soaking them in fresh water for a few hours to draw out some of the salt. Next time, you can reduce the amount of salt in the brine slightly.
Q: My pickles are too sour. What can I do?
A: If your pickles are too sour, you can add a little bit of sugar to the brine to balance out the acidity. You can also try using a less acidic vinegar, such as rice vinegar.
Q: How long do the pickles need to sit in the brine before they are ready to eat?
A: They can be eaten after 24 hours, but they are best after 3-5 days. The longer they sit, the more flavorful they become.
Conclusion
This dill pickle brine recipe is a game-changer for anyone who loves that classic pickle flavor. It’s easy to make, customizable, and incredibly versatile. So, ditch the store-bought pickles and start making your own at home. You’ll be amazed at how delicious and satisfying homemade pickles can be! Enjoy the tangy, garlicky goodness!