Easy Mochi Recipe Simple: The 3-Ingredient Wonder
Craving that chewy, sweet, and subtly addictive delight that is mochi? You’re in luck! Forget complicated recipes and hard-to-find ingredients. This recipe simplifies the traditional process, allowing you to create delicious, homemade mochi with just 3 ingredients. That’s right, only three! Get ready to impress your friends and family (and yourself!) with this incredibly easy mochi recipe that delivers authentic flavor and texture without the fuss.
Why This Recipe Works
This recipe works because it focuses on the core elements that make mochi, well, mochi! By using glutinous rice flour (also known as mochiko), sugar, and water, we create the fundamental building blocks for that characteristic chewiness. The microwave cooking method streamlines the steaming process, making it incredibly quick and accessible. Plus, the simplicity of the recipe reduces the chances of error, ensuring a consistently delightful result every time. It’s perfect for beginner bakers or anyone looking for a fast and satisfying treat.
Ingredients
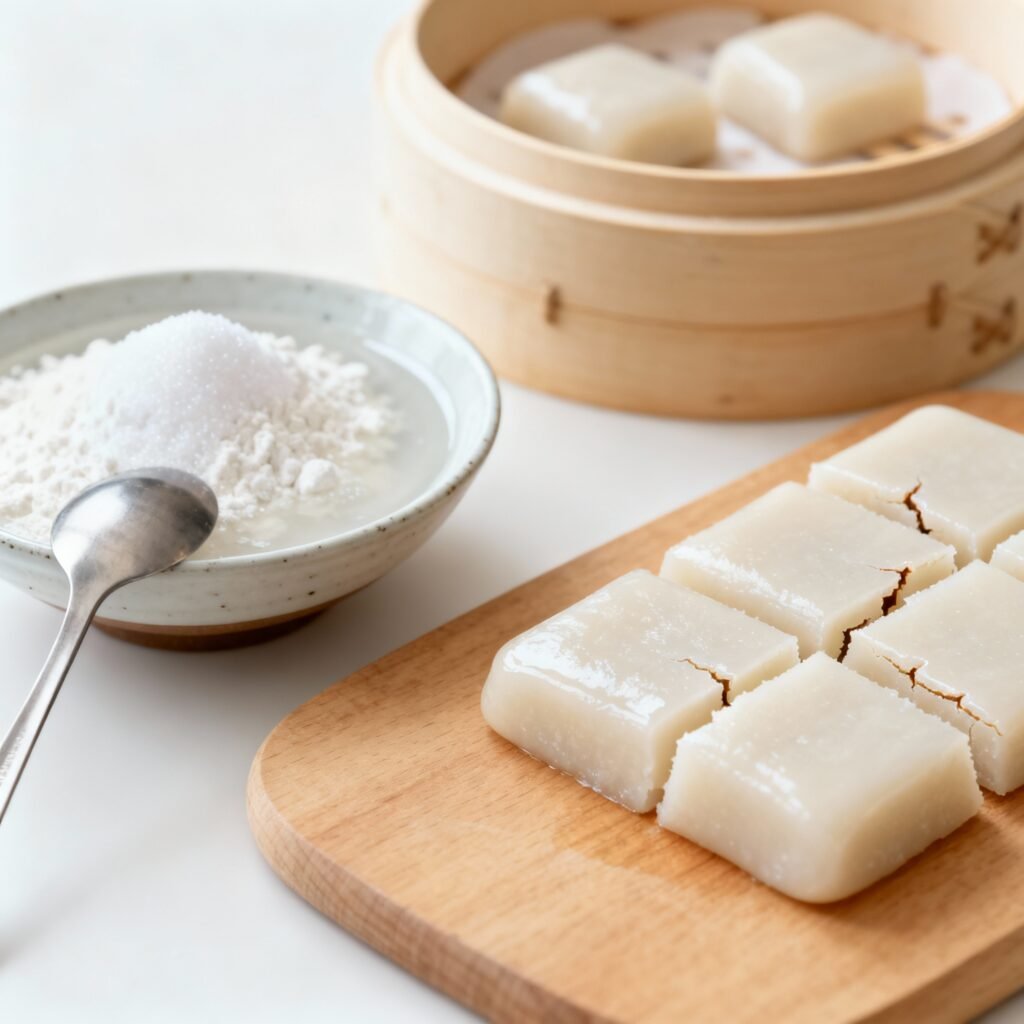
- 1 cup (100g) Glutinous Rice Flour (Mochiko): This is the key ingredient! Don’t substitute with regular rice flour. Look for “glutinous rice flour” or “mochiko” at Asian grocery stores or online.
- 1 cup (200g) Granulated Sugar: Adjust to your sweetness preference. You can also experiment with brown sugar for a slightly different flavor profile.
- 1 cup (240ml) Water: Plain tap water works just fine.
- Optional: Cornstarch or Potato Starch: For dusting to prevent stickiness.
- Optional: Food Coloring: If you want to add a pop of color! Gel food coloring is recommended.
Instructions
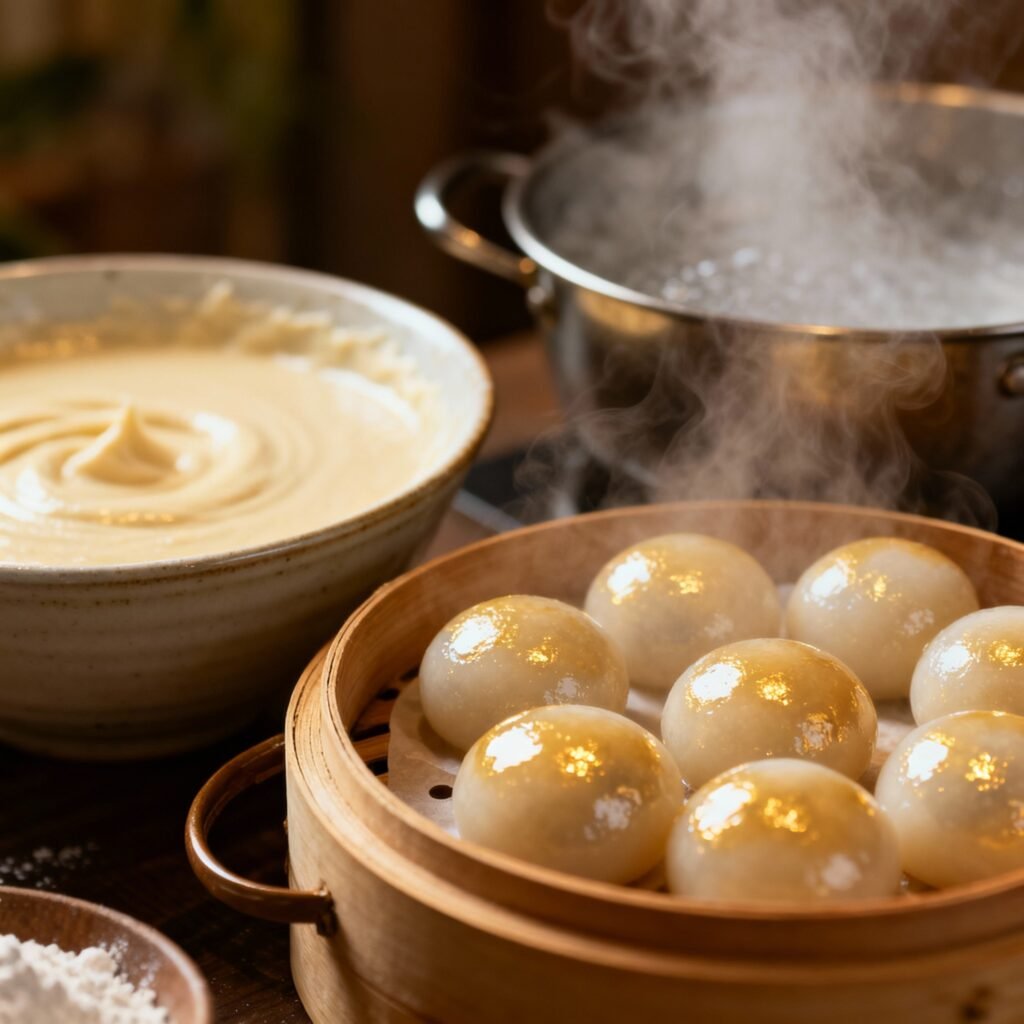
- Combine Ingredients: In a large, microwave-safe bowl, whisk together the glutinous rice flour, sugar, and water until smooth. Make sure there are no lumps. If using food coloring, add a few drops at this stage and mix well.
- Microwave (First Round): Cover the bowl with plastic wrap, ensuring there are a few small vents for steam to escape. Microwave on high for 2 minutes.
- Stir and Microwave (Second Round): Carefully remove the bowl from the microwave (it will be hot!). Remove the plastic wrap and stir the mixture vigorously with a wet spatula or wooden spoon. It will be sticky and clumpy. Cover again with plastic wrap (with vents) and microwave on high for another 1 minute.
- Stir and Microwave (Third Round – Optional): Remove the bowl from the microwave, remove the plastic wrap, and stir vigorously again. If the mochi still looks too wet or opaque, cover and microwave for a final 30 seconds to 1 minute. The mochi should be translucent and sticky.
- Dust and Shape: Generously dust a clean surface (like a cutting board or baking sheet) with cornstarch or potato starch. Also, dust your hands well.
- Transfer and Cool: Carefully transfer the hot mochi mixture onto the dusted surface. Let it cool slightly for a few minutes, until it’s cool enough to handle without burning yourself.
- Shape and Cut: Dust the top of the mochi with more cornstarch. Use a dusted knife or dough scraper to cut the mochi into desired shapes (squares, rectangles, or even roll it into a log and slice). You can also use cookie cutters for fun shapes!
- Enjoy! Your homemade mochi is ready to enjoy!
Tips for Success
- Use the Right Flour: Glutinous rice flour (mochiko) is crucial for the chewy texture. Regular rice flour will not work.
- Don’t Overcook: Overcooked mochi can become tough. Watch it carefully during the microwaving process. The mochi should be translucent and slightly sticky.
- Stir Vigorously: Thorough stirring between microwave intervals is essential for even cooking and a smooth texture.
- Dust Generously: Cornstarch or potato starch is your friend! Don’t be shy with it to prevent the mochi from sticking to everything.
- Wet Your Utensils: A wet spatula or wooden spoon will help prevent the mochi from sticking to your utensils while stirring.
- Customize Your Mochi: Get creative with flavors! Add a drop of vanilla extract, almond extract, or even matcha powder to the batter.
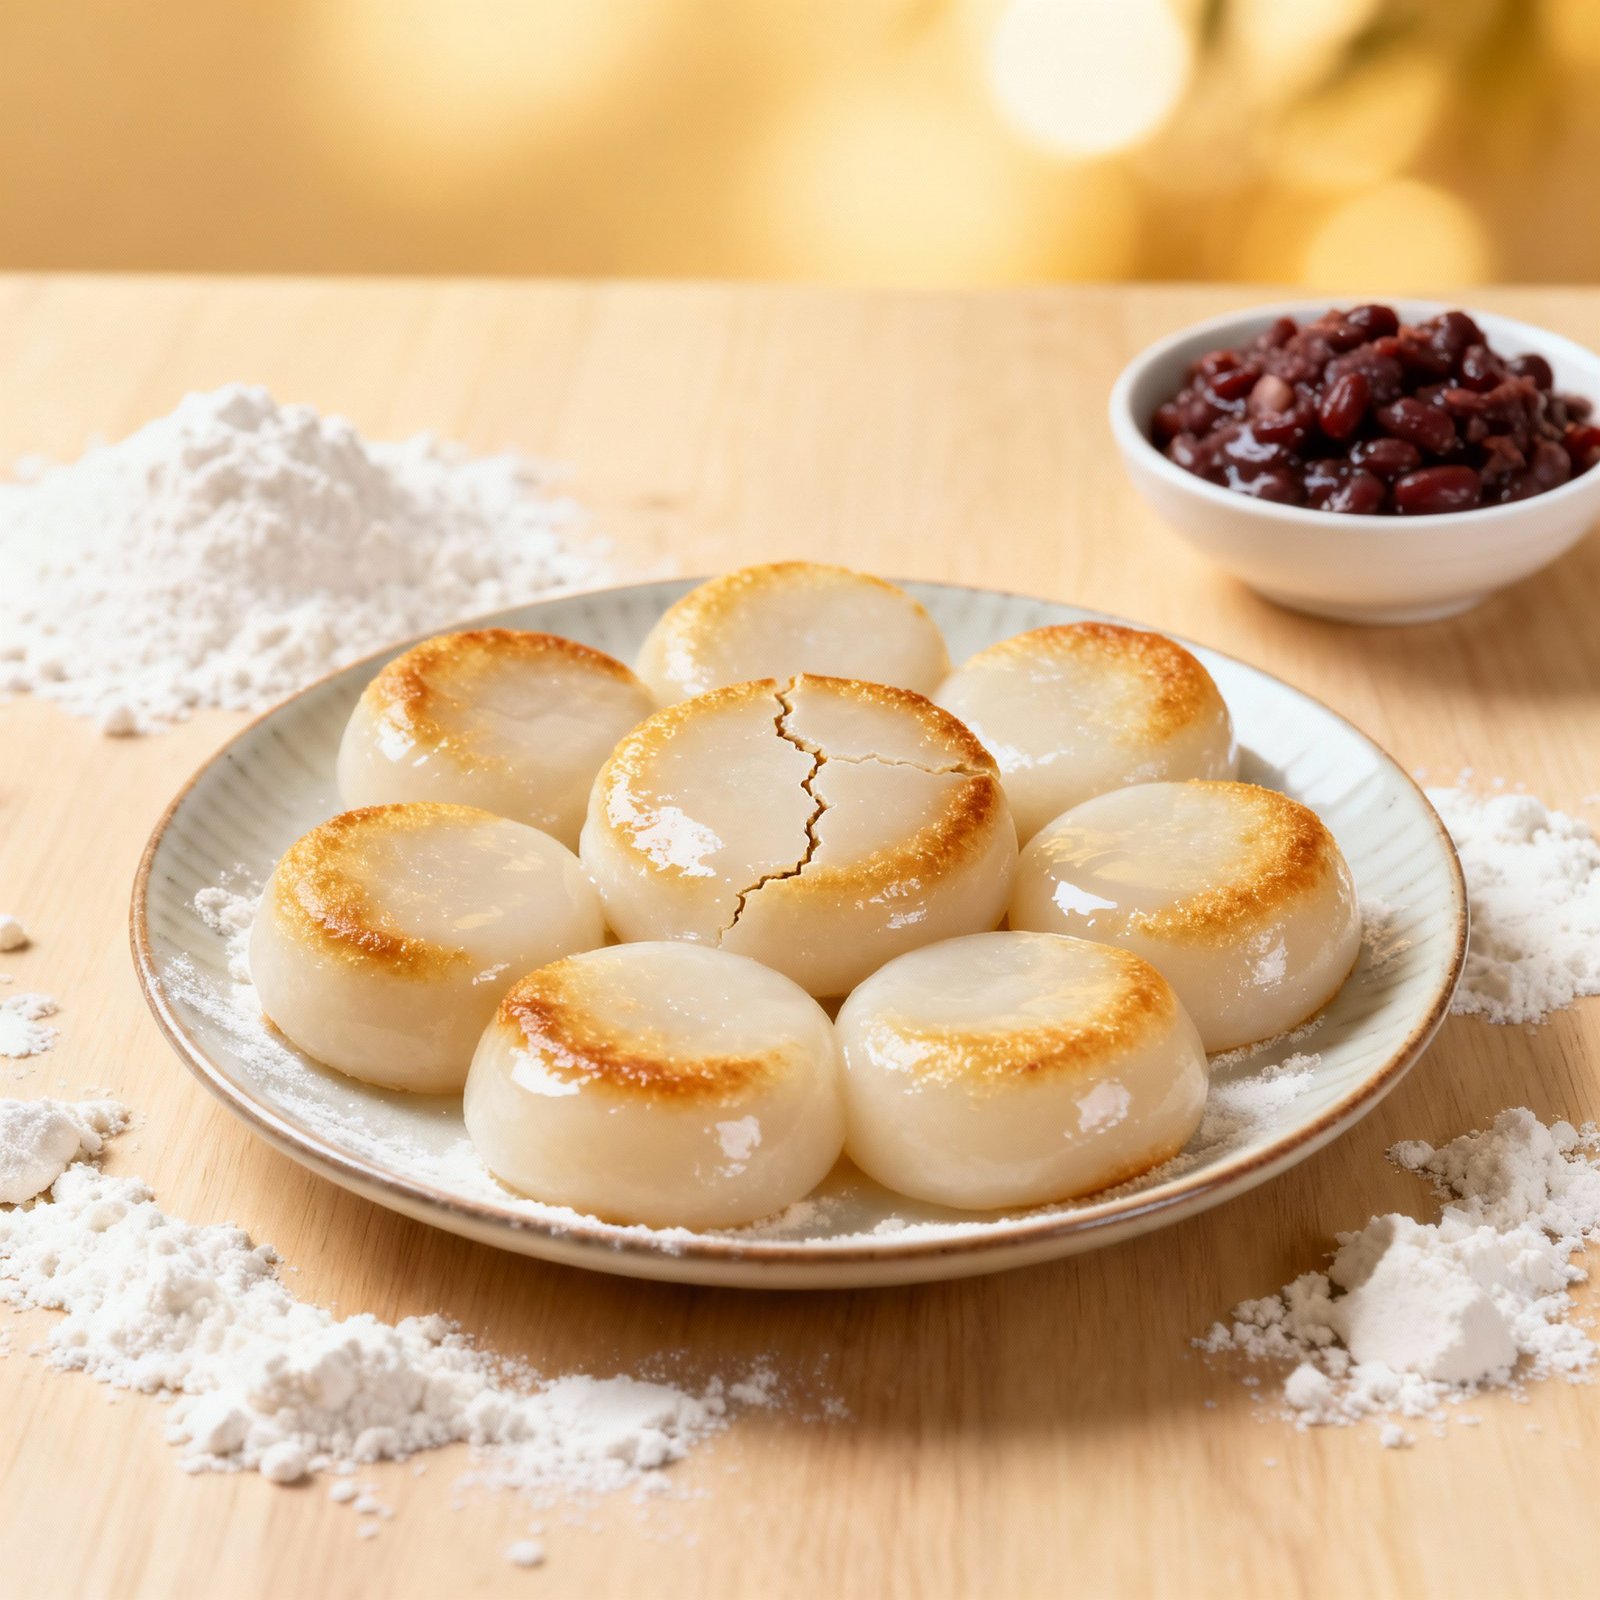
- Filling Options: While this recipe is for plain mochi, you can easily add fillings! Anko (red bean paste), ice cream, or even fresh fruit are popular choices. Simply wrap the mochi around your filling before serving.
Storage Instructions
Mochi is best enjoyed fresh, but you can store it in an airtight container at room temperature for up to 2 days. To prevent sticking, wrap each piece of mochi individually in plastic wrap. Mochi can also be frozen for longer storage. Wrap each piece individually in plastic wrap, then place them in a freezer-safe bag or container. Frozen mochi can be stored for up to 2 months. Thaw at room temperature before serving.
FAQ
Q: Can I use regular rice flour instead of glutinous rice flour?
A: No, regular rice flour will not work. Glutinous rice flour (mochiko) is essential for the chewy texture of mochi.
Q: My mochi is too sticky. What did I do wrong?
A: You may have overcooked it slightly. Also, make sure you’re using enough cornstarch or potato starch for dusting. Don’t be afraid to use plenty!
Q: My mochi is too hard. What did I do wrong?
A: You may have overcooked it. Try reducing the microwave time slightly in your next batch. Also, make sure you’re stirring well between microwave intervals.
Q: Can I make this recipe without a microwave?
A: While this recipe is specifically designed for the microwave, you can try steaming the mochi instead. Place the mixture in a heat-proof bowl and steam over boiling water for about 20-30 minutes, or until translucent and cooked through. Stir occasionally during steaming.
Q: Can I use brown sugar instead of granulated sugar?
A: Yes, you can use brown sugar for a slightly different flavor profile. It will give the mochi a slightly more caramel-like taste.
Conclusion
There you have it! An incredibly easy, 3-ingredient mochi recipe that anyone can master. With its simple ingredients and straightforward instructions, you can enjoy fresh, homemade mochi whenever the craving strikes. So, ditch the store-bought stuff and experience the joy of creating your own delicious mochi from scratch. Happy mochi-making!