🍫 Easy Sweet Dish Recipe: Molten Lava Cake
So, you’re currently lying on the couch, scrolling through your phone, and the craving hits. It’s not just a hunger pang; it’s a spiritual need for sugar. You want something decadent, something warm, and something that screams “I am a master chef,” but you also have zero desire to temper chocolate or wait four hours for a cheesecake to chill. Same.
We have all been there. You search for an easy sweet dish recipe, and the internet betrays you with “simple” recipes that require a stand mixer, three bowls, and an ingredient you can only find in a specific region of France. Not today.
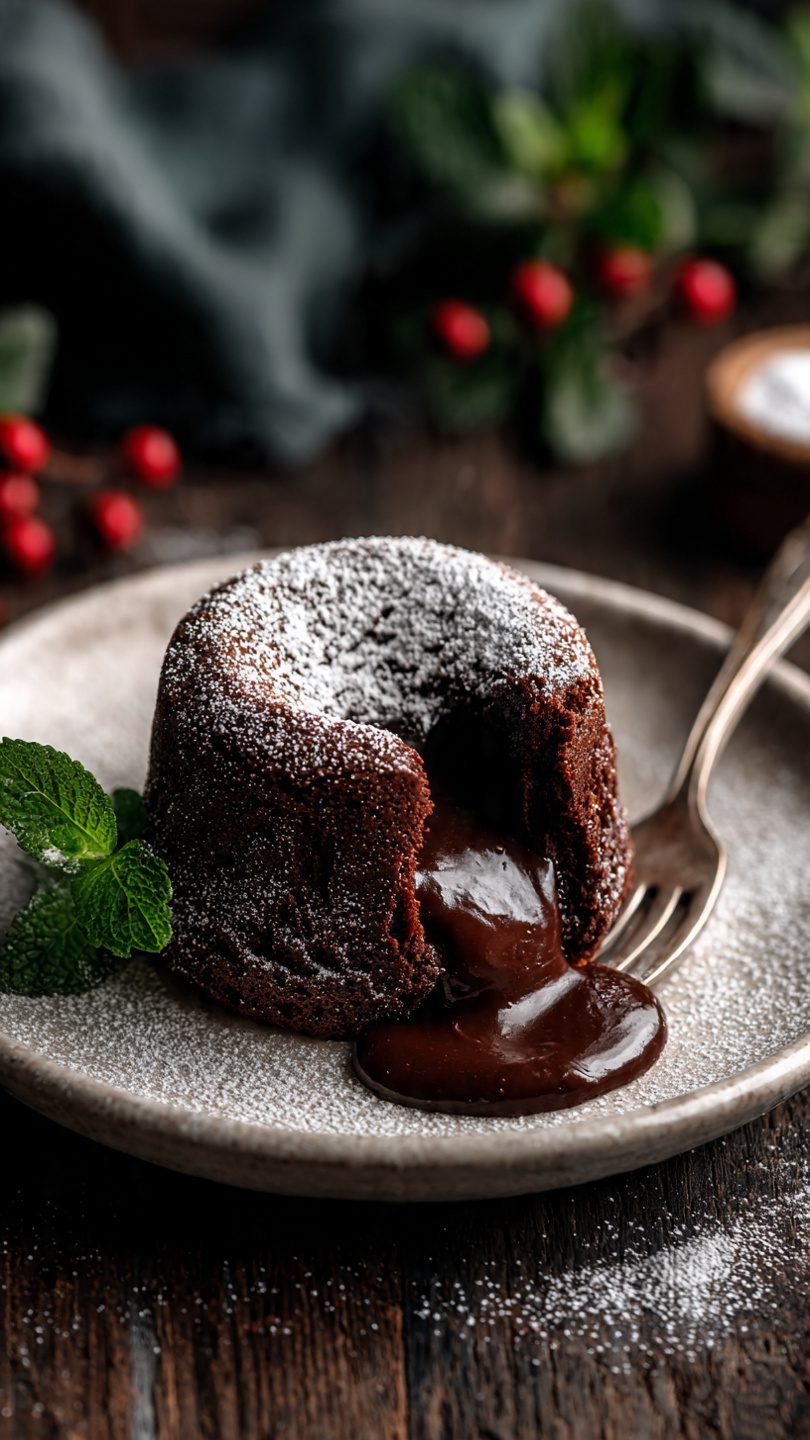
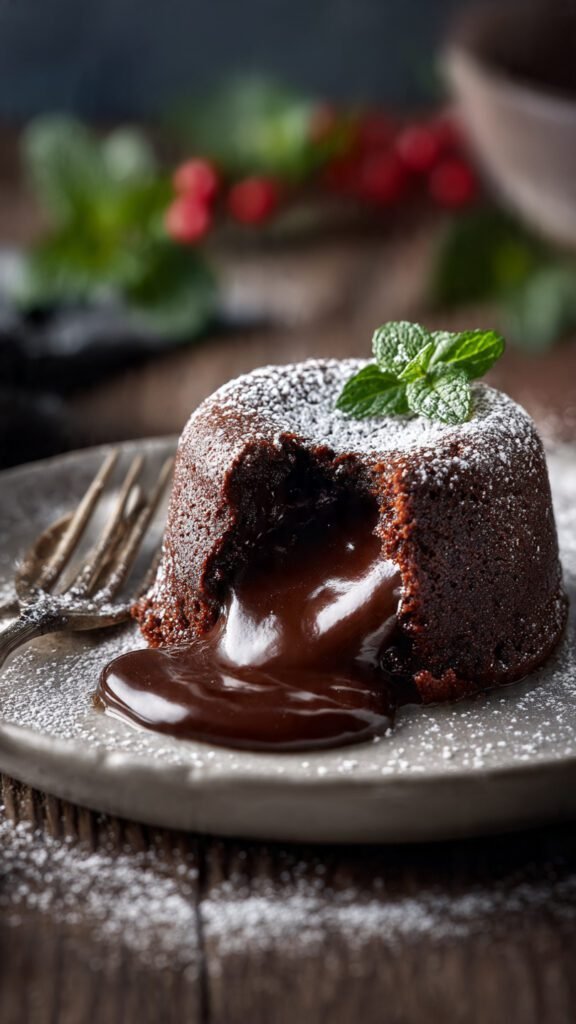
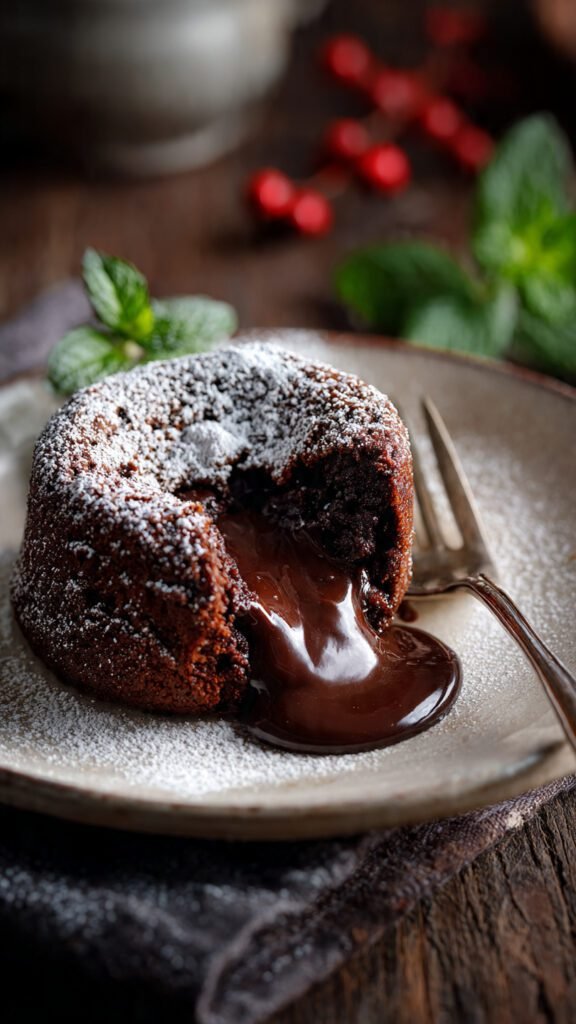
Today, we are making the holy grail of low-effort, high-reward desserts: The Molten Chocolate Lava Cake.
This isn’t just a cake; it’s a magic trick. It requires zero fancy equipment (a whisk and a bowl will do), it uses ingredients you probably have right now, and it goes from “raw ingredients” to “warm, gooey bliss” in less than 20 minutes. Put on your apron—or don’t, I’m not judging your pajama cooking—and let’s do this.
Why This Recipe is Awesome
Okay, let’s be real for a second. There are a million dessert recipes out there. Why should you commit your precious time and calorie intake to this specific easy sweet dish recipe? Let me break it down for you, because this little cake is actually an overachiever.
1. The “Fancy” Factor vs. The Lazy Reality
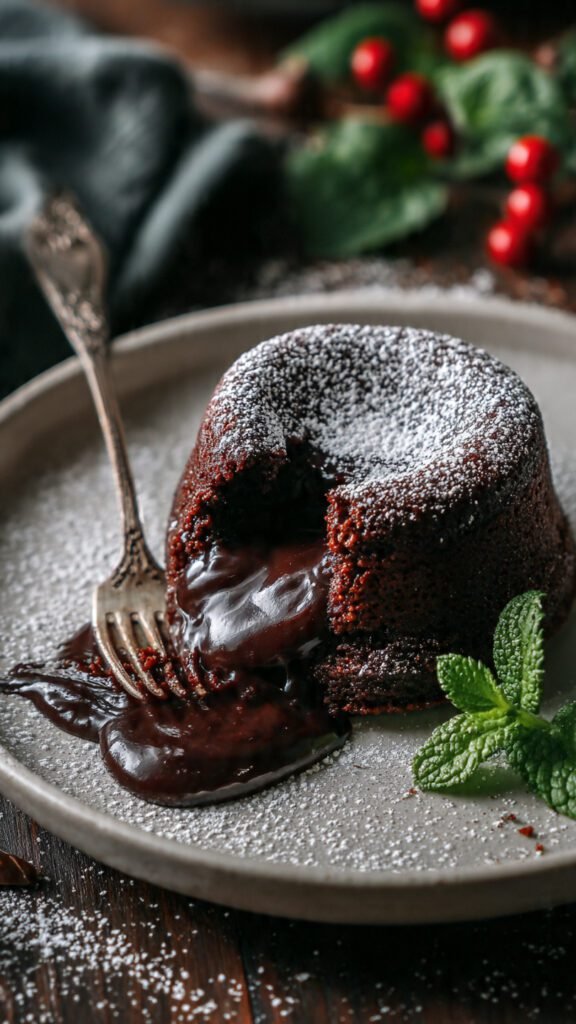
If you serve this to guests, they will think you spent hours slaving away in the kitchen. There is something incredibly sophisticated about cutting into a cake and watching a river of warm chocolate flow out. It screams “Michelin Star.” But between you and me? It’s basically a slightly undercooked brownie batter that relies on high heat. It is the culinary equivalent of messy hair that looks effortlessly chic—except you actually tried to make it look effortless. It is, quite literally, idiot-proof (and I say that with love, because even I didn’t mess it up the first time).
2. The Science of the “Goo”
You might be wondering, “How does the center stay liquid while the outside cooks?” Is it raw batter? Technically, yes and no. This recipe relies on a blast of high heat (we’re talking 425°F/220°C). This intense heat causes the proteins in the egg and the starches in the flour on the outside of the cake to set rapidly, creating a structural wall—a delicious, cakey shell.
However, heat takes time to travel to the center (thermal conductivity, FYI). By pulling the cakes out at the exact right moment—usually around the 12-minute mark—the center has reached a safe temperature to eat but hasn’t reached the temperature required for the structure to solidify. The result? A textural masterpiece. You get the slight crunch of the top crust, the fluffy sponge of the sides, and the velvety, warm liquid center. It’s a sensory rollercoaster that boxed brownies just can’t compete with.
3. Immediate Gratification
Most baking is a waiting game. Chill the dough. Proof the yeast. Cool completely before frosting. Boring. This easy sweet dish recipe is for the impatient. You mix it, you bake it, you eat it immediately while it’s hot. In fact, you have to eat it hot. It demands to be consumed right now. It matches your urgency.
Ingredients You’ll Need
We are keeping this list short and sweet. No weird gums, no stabilizers, just pure pantry staples. Here is the lineup:
- Semi-Sweet Chocolate (4 oz / 115g): Do not use chocolate chips here if you can avoid it. Chips contain stabilizers to help them hold their shape, which is the opposite of what we want (we want the melt!). Buy a decent bar of baking chocolate or chop up a high-quality chocolate bar.
- Unsalted Butter (1/2 cup / 1 stick): Plus a little extra for greasing the ramekins. If you only have salted butter, just skip the added salt later. We aren’t baking for the Queen.
- Powdered Sugar (1 cup): Also known as confectioners’ sugar. It dissolves faster than granulated sugar, ensuring your lava is smooth, not gritty.
- Eggs (2 whole eggs + 2 yolks): The yolks are the secret weapon. They add richness and fat, which gives the center that luxurious, custard-like texture rather than just tasting like wet cake batter.
- All-Purpose Flour (6 tablespoons): Just enough to hold the structure together. Do not sub this for almond flour unless you really know what you’re doing (see the Substitutions section).
- Salt (Pinch): Essential. Salt wakes up the chocolate flavor. Without it, the dessert is just cloying and flat.
- Vanilla Extract (1 tsp): For that bakery smell.
Step-by-Step Instructions
Ready to make the best easy sweet dish recipe of your life? Preheat your oven to 425°F (220°C). Do this first. Do not forget. The oven needs to be blazing hot.
1. Prep the Ramekins (The “Safety Net”)
Grab four 6-ounce ramekins. Grease them aggressively with butter. I mean, get in there. Then, dust them with a little cocoa powder or flour, tapping out the excess.
- Why? If the cake sticks to the side, it won’t flip out onto the plate. Or worse, it will tear, and your lava will leak out prematurely. Tragic.
2. The Melting Pot
In a microwave-safe bowl, combine your chopped chocolate and butter. Microwave in 20-second bursts, stirring in between.
- Pro Tip: Stop when there are still small chunks of chocolate left. Stir vigorously, and the residual heat will melt the rest. This prevents you from scorching the chocolate (which smells like burnt tires—ask me how I know).
3. The Egg Whip
While the chocolate cools slightly, grab a medium bowl. Whisk together the whole eggs, egg yolks, sugar, vanilla, and salt.
- The Goal: You want to whisk this until the mixture is pale yellow and slightly thick. You aren’t making a meringue, but you want some volume. This takes about 2 minutes of vigorous hand-whisking (hello, arm workout).
4. The Marriage
Pour the chocolate/butter mixture into the egg mixture. Fold them together gently using a spatula.
- Technique: “Folding” means scooping from the bottom and flipping over the top. Don’t whisk like a maniac; we want to keep the air we just whipped into the eggs.
5. The Flour Finale
Sift the flour over the wet mixture. Fold again just until the white streaks of flour disappear.
- Warning: Stop mixing immediately once the flour is gone. Over-mixing develops gluten, and gluten makes things tough. We want tender, not chewy.
6. The Bake
Divide the batter evenly between the four ramekins. Place them on a baking sheet (easier to pull out of the oven). Pop them into the center rack for 12 to 14 minutes.
- The Visual Check: The sides should look firm and cake-like, but the very center should still look soft and jiggle slightly when you shake the pan. If it doesn’t jiggle, you’ve made a muffin. If it sloshes like water, it needs 2 more minutes.
7. The Flip (The Moment of Truth)
Let them cool for 1 minute. Run a small knife around the edge to loosen it. Place a dessert plate upside down over the ramekin. Take a deep breath. Hold the ramekin and plate together tightly (use a towel, it’s hot!) and flip.
- Lift the ramekin slowly. Ideally, the cake slides out, sitting proudly on the plate.
Common Mistakes to Avoid
Even though this is an easy sweet dish recipe, things can go sideways. Here is how to avoid disaster:
- The “Cold Oven” Catastrophe: Putting these in before the oven hits 425°F is a rookie mistake. Without that initial blast of heat, the butter will just separate and you’ll get a greasy puddle.
- Scrambled Eggs: If your melted chocolate is boiling hot when you pour it into the eggs, you will cook the eggs. Nobody wants chocolate scrambled eggs. Let the chocolate cool for a couple of minutes first.
- Guessing the Time: Set a timer. Seriously. The difference between “lava” and “solid cake” is about 90 seconds. Watch the oven like a hawk during the last 2 minutes.
- Skipping the Salt: I mentioned this before, but it bears repeating. Sweetness without salt is boring. The salt makes the chocolate taste more chocolatey.
Alternatives & Substitutions
Cooking is an art, baking is a science, but sometimes we have to improvise.
- Gluten-Free? You can easily swap the All-Purpose flour for a high-quality 1:1 Gluten-Free baking flour blend. Since there is so little flour in this recipe, the texture change is barely noticeable.
- No Ramekins? Don’t panic. You can use a muffin tin. However, because muffin tins are metal and thinner than ceramic ramekins, they conduct heat faster. Check them at the 8-10 minute mark. They will be harder to flip, so maybe just eat them straight out of the tin. No shame.
- Flavor Twists:
- Peanut Butter Lover: Drop a teaspoon of peanut butter into the center of the batter in the ramekin before baking.
- Espresso: Add a teaspoon of instant coffee powder to the melted chocolate. It intensifies the richness.
- Salted Caramel: Put a chunk of soft caramel in the middle before baking. IMO, this is the elite version.
FAQ (Frequently Asked Questions)
1. Can I make the batter ahead of time? Yes! You can fill the ramekins and put them in the fridge for up to 24 hours. However, because the batter is cold, you will need to add about 2–3 minutes to the baking time.
2. Can I use margarine instead of butter? Well, technically yes, but why hurt your soul like that? Margarine has a higher water content and won’t give you that rich, velvety mouthfeel. Stick to real butter.
3. Do I need a stand mixer? Absolutely not. A hand whisk and a bowl are all you need. In fact, using a stand mixer makes it too easy to overmix the batter. Keep it manual.
4. Can I reheat leftovers? This is a tricky one. If you microwave a leftover lava cake, the center will likely cook through, and you’ll just have a warm chocolate muffin. It’s still delicious, but the “lava” effect is a one-time show. Eat it fresh!
5. Why did my cake collapse? You probably underbaked it slightly, or the structure was too weak. It happens. Just cover the collapsed part with a giant scoop of vanilla ice cream. No one will know.
6. Can I use white chocolate? You can, but white chocolate has a different fat/sugar ratio and burns easily. You’ll need to lower the temp to 400°F and watch it closely. It’s finicky, but tasty.
Final Thoughts
There you have it. The ultimate easy sweet dish recipe that bridges the gap between “I can’t bake” and “I just won the Great British Bake Off.”
The beauty of the Molten Lava Cake is in the contrast. It’s hot and cold (if you add ice cream), crispy and gooey, bitter (from the dark chocolate) and sweet. It hits every single pleasure point in your brain.
So, the next time you have a bad day, or a great day, or just a Tuesday, whip this up. It takes less time than watching an episode of The Office, and the payoff is infinitely sweeter. Now go impress someone—or yourself—with your new culinary skills. You’ve earned it!