🍕 The Ultimate Cheat Code: Fast Pizza Dough Recipe (No Wait!)
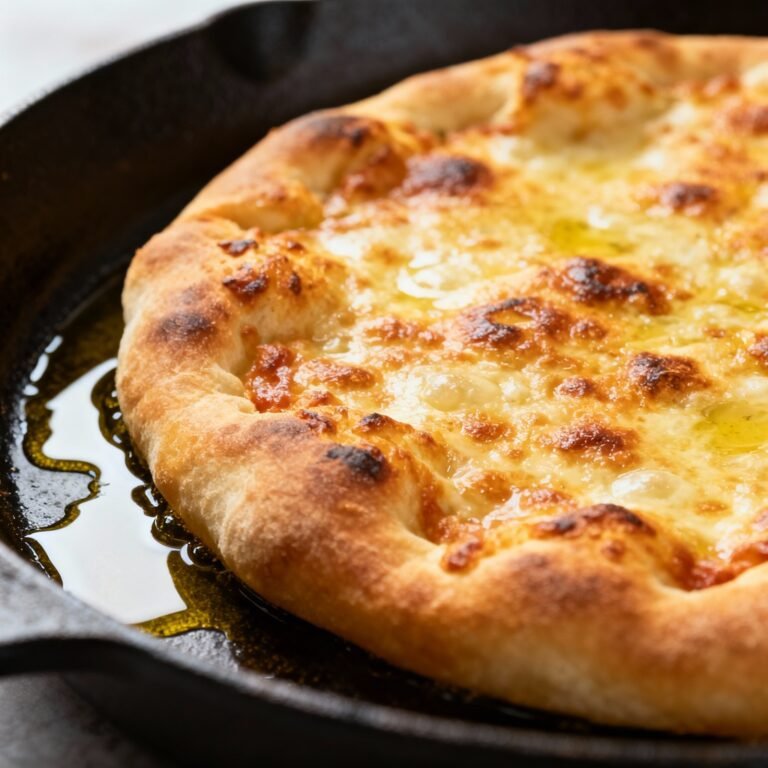
Okay, let’s be real for a second. It’s 6:30 PM on a Tuesday. You are aggressively craving pizza. Not the sad, cardboard-tasting frozen kind that’s been hanging out in the back of your freezer since the Dawn of Time. You want the real deal—chewy crust, bubbly cheese, that fresh-baked smell.
But here’s the problem: You also have absolutely zero desire to spend three hours waiting for dough to rise. You’re hungry now.
If you’ve ever Googled “pizza dough recipe” and immediately closed the tab when you saw “let rise for 2 hours in a draft-free room,” this post is your spiritual home. We don’t have that kind of time or patience. We need a carb emergency solution.
This, my hungry friend, is the fast pizza dough recipe that is going to save your dinner plans. It’s practically instant, requires zero advanced bread-making degrees, and yields a crust that actually tastes amazing. Let’s get messy.

Why This Recipe is Awesome
Look, I love an artisanal, 72-hour cold-fermented sourdough crust as much as the next food hipster. But I don’t love planning my cravings three days in advance. Sometimes you just need speed.
This recipe is awesome because it sits perfectly in the Goldilocks zone of pizza making. It’s not one of those “two-ingredient yogurt doughs” that tastes a bit too much like tangy pancakes (sorry, not sorry). But it also doesn’t require multiple rises or punching down dough like it owes you money.
It uses instant yeast—the superhero of the baking aisle—to get things moving fast. By the time your oven is actually hot enough to bake a decent pie, this dough is ready to rock.
It’s also incredibly forgiving. If you over-knead it slightly, it’s fine. If your water is a little too warm, it’ll probably survive. It’s idiot-proof, and I say that as someone who has definitely ruined “easy” recipes before. This is the reliable weeknight warrior you need in your repertoire.
Ingredients You’ll Need
Don’t panic; you probably have all of this stuff already. If you have to run to the store, walk fast. Every second counts.
- All-Purpose Flour (or Bread Flour): You’ll need about 2 ½ to 3 cups. Bread flour gives it a better, chewier texture because of the higher protein, but plain old AP flour works totally fine. Don’t overthink it.
- Instant Yeast (Rapid Rise): This is crucial. Do not grab “Active Dry Yeast” unless you want to wait around for it to bloom in water like a high-maintenance houseplant. We need speed. You need one standard packet (about 2 ¼ teaspoons).
- Sugar or Honey: Just a teaspoon. We aren’t making dessert pizza; this is just food for the yeast to wake it up and get it hyped.
- Salt: About a teaspoon. Please don’t skip this unless you enjoy eating flavorless paste.
- Warm Water: About 1 cup. When I say warm, think comfortably warm bathwater (around 110°F/45°C), not scalding hot lava that will murder your yeast upon contact.
- Olive Oil: A couple of tablespoons for the dough, plus extra for the bowl. It adds flavor and helps the dough stretch without tearing.
Step-by-Step Instructions
Ready? Let’s synchronize our watches.
1. Crank the Heat Before you touch any flour, turn your oven on. Preheat it to 475°F (245°C) or even 500°F if your oven goes that high. Pizza likes it hot. If you’re using a pizza stone or steel, get it in there now so it has time to absorb the heat.
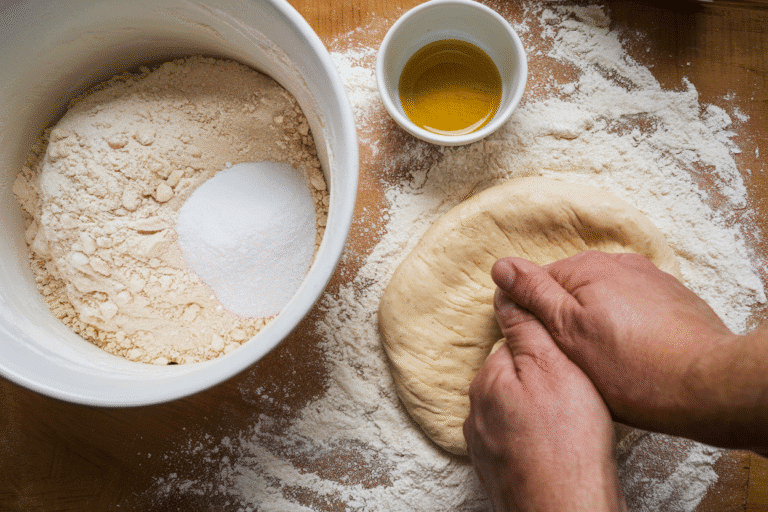
2. Whisk the Dry Stuff In a large mixing bowl, dump in 2 ½ cups of your flour, the packet of instant yeast, the sugar, and the salt. Give it a quick whisk so everything is friendly with each other.
3. Add the Liquid Gold Make a little well in the center of the flour mixture. Pour in the warm water and the 2 tablespoons of olive oil.
4. The “Shaggy Dough” Stage Use a wooden spoon or your hand (wash it first, obviously) to stir everything together. It’s going to look messy and “shaggy”—lots of dry bits and wet clumps. Keep mixing until it mostly holds together in a rough ball.
5. The Mini Workout (Kneading) Dust a clean counter with a little flour. Dump that shaggy mess onto the counter. Now, knead it. Push the dough away from you with the heel of your hand, fold it back over, turn it slightly, and repeat. FYI: We aren’t trying to build massive gluten networks here. You only need to do this for about 3–5 minutes. Just until the dough feels smooth, elastic, and isn’t frantically sticking to your hands. If it’s too sticky, add a sprinkle more flour.
6. The “Power Nap” (Crucial Step!) This is where the magic happens. Lightly oil the bowl you just used. Plop the dough ball back in and cover it with a clean towel or plastic wrap. Let it sit on the counter for 10 to 15 minutes. Do not skip this. You use this time to chop your veggies, grate your cheese, or open a bottle of wine. This short rest lets the gluten relax (so it doesn’t shrink back when you roll it out) and gives the instant yeast a head start.
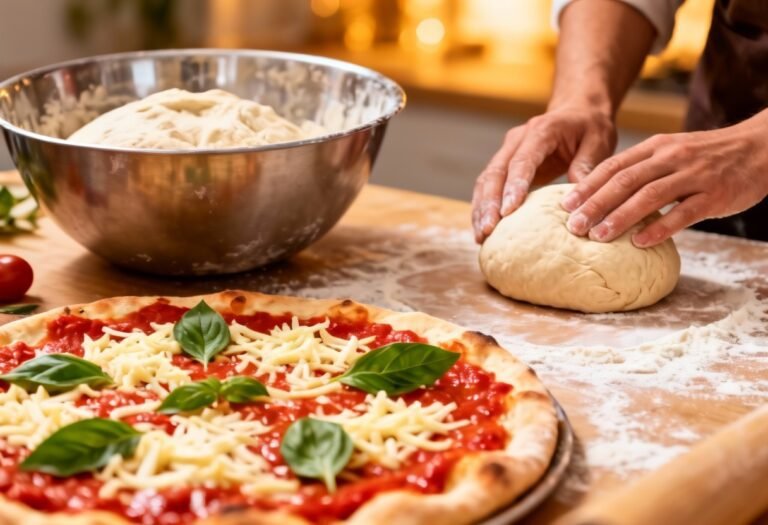
7. Shape and Bake After the 10-minute nap, your dough should feel puffy and soft. Punch it down gently to release air bubbles. Divide it in half for two thin-crust pizzas, or keep it whole for one thick boy. On a floured surface (or piece of parchment paper), stretch or roll the dough into your desired shape. Top with sauce, cheese, and whatever else your heart desires.
8. Blast It Carefully transfer the pizza to your screaming hot oven (onto a baking sheet or your preheated stone). Bake for 10–15 minutes. Keep an eye on it; you want golden crust and bubbly, slightly browned cheese.
Common Mistakes to Avoid
Even though this is easy, there are a few ways to derail the pizza train. Avoid these rookie moves.
- The Cold Oven Syndrome: I cannot stress this enough: If your oven isn’t hot, your pizza will be sad, pale, and soggy. Preheat it fully. If you put this dough into a 350°F oven, you’re essentially just drying out flour paste.
- Murdering the Yeast with Heat: Yes, water needs to be warm to activate yeast fast. But if the water is hot to the touch for you, it’s lethal for the yeast. If you kill the yeast, your dough will be a dense, unchewable hockey puck.
- Using Expired Yeast: That packet of yeast sitting in the back of your pantry since 2018? Toss it. Yeast is a living thing; if it’s dead, it won’t do its job. Check the date.
- Over-Flouring the Counter: When you turn the dough out to knead or shape, use a light dusting of flour. If you coat everything in thick layers of flour, you’re adding too much dry ingredient back into the dough, making it tough and cracker-like instead of chewy.
- Rolling It Out immediately: If you try to stretch the dough the second you finish kneading it, it will just snap back like a rubber band. It’s annoying. Give it that 10-minute power nap. The gluten needs to chill out before it cooperates.

Alternatives & Substitutions
Flexibility is the name of the game here.
- Flour Power: As mentioned, bread flour is king for chewiness. But if you want to feel healthier, you can sub in some whole wheat flour. Don’t go more than 50/50 whole wheat to white flour, though, or your pizza will taste like cardboard health food.
- Can I use Active Dry Yeast? Technically, yes. But it’s not a “fast” recipe anymore. You’ll need to dissolve the Active Dry yeast in the warm water with the sugar first and let it sit for 10 minutes until it gets foamy before adding it to the flour. It slows down the process, which defeats the purpose of this specific blog post, IMO.
- Flavor Boosters: Want to feel fancy? Add a teaspoon of garlic powder or dried Italian herbs (like oregano and basil) right into the dry flour mixture before you add the water. It makes the crust taste like breadsticks. Highly recommend.
- No Stand Mixer? No Problem: I wrote the instructions for doing this by hand because it’s fast and less cleanup. But if you have a KitchenAid and you’re feeling lazy, throw it all in with the dough hook and let it run on low-medium speed for about 5 minutes.
FAQ (Frequently Asked Questions)
You’ve got questions, I’ve got sassy answers.
Why isn’t my dough rising during the 10-minute rest? It’s not supposed to double in size like traditional dough! It’s just a short rest. As long as it looks slightly puffy and feels softer than it did when you finished kneading, you’re golden. The real rise happens in the hot oven (it’s called “oven spring”).
My dough is super sticky and impossible to handle. Help! Deep breaths. Humidity affects flour. You just need a little more flour. Sprinkle it in a tablespoon at a time while kneading until it stops trying to become one with your hands. Don’t overdo it, though; tacky is okay, wet paste is not.
Can I freeze this dough for later? Absolutely. This is a great meal-prep hack. After kneading, lightly oil the dough ball, wrap it tightly in plastic wrap, then put it in a freezer bag. It’ll last for 3 months. Thaw it in the fridge overnight before using it.
Do I really need a pizza stone? No, you don’t need one. A standard metal baking sheet works fine. However, if you want that crispy bottom crust like a real pizzeria, a preheated stone or baking steel makes a huge difference. If you’re using a baking sheet, flip it upside down in the oven so you have a flat surface to slide the pizza onto.
Can I use this for calzones or stromboli? Yes! It’s a versatile beast. Roll it out, stuff it, fold it over, seal the edges tight, and bake. You might need to lower the oven temp slightly to 400°F and bake a little longer so the inside cooks before the outside burns.

Final Thoughts
There you have it. The bridge between “I’m starving” and “I’m eating delicious homemade pizza.”
Is this dough going to win an award in Naples against a third-generation pizzaiolo who sings to his sourdough starter every morning? No. But is it going to be hot, fresh, cheesy, and ready in under 45 minutes from start to finish on a Tuesday night? You bet your basil it is.
Don’t let the fear of yeast stop you. This recipe is resilient. Now go forth, crank up that oven, and impress yourself with your lightning-fast culinary skills. You’ve earned a slice (or four).