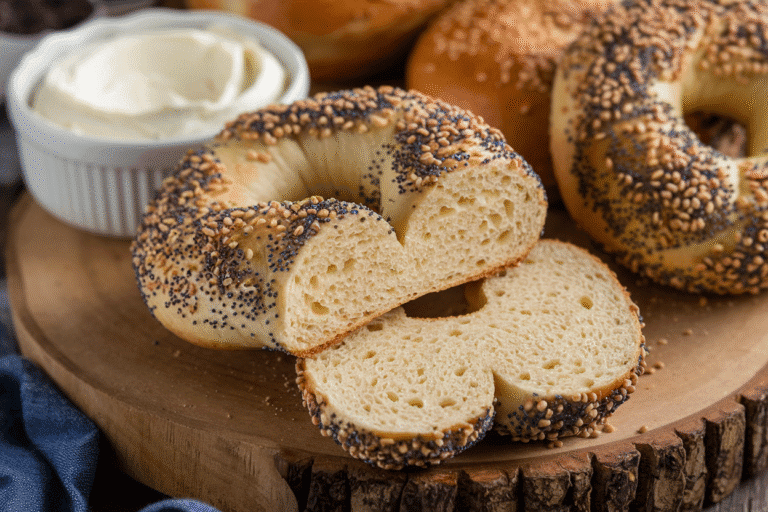
Gluten Free Bread Recipe That Actually Rises: The Foolproof Loaf You’ll Brag About
You don’t need a $300 bread machine or a culinary degree to bake bread that’s soft, springy, and—yes—gluten free. What you need is a game plan that fixes the two big problems: no structure and no flavor. This recipe delivers both without weird aftertastes or gummy slices.
Imagine toast that crunches, sandwiches that don’t collapse, and a crust that sings when you tap it. Ready to retire the store-bought bricks masquerading as bread? Good.
Why This Recipe Works
This loaf uses a smart blend of rice flour, tapioca starch, and potato starch to balance structure and tenderness.
The combo mimics wheat’s elasticity without turning the crumb into rubber. We also lean on psyllium husk—the MVP of gluten free baking—for a dough that traps gas and rises tall.
Instead of dry, flat flavors, we add whole-milk yogurt or dairy-free yogurt for tang and moisture. A touch of honey feeds the yeast and helps browning.
And we ditch the crumbly sad loaf vibe by mixing a batter-style dough (more like thick cake batter than kneadable dough), which is how gluten free bread gets its lift.
What You’ll Need (Ingredients)
- 1 1/2 cups (210g) white rice flour
- 1 cup (120g) tapioca starch
- 1/2 cup (80g) potato starch
- 2 1/2 tsp instant yeast (or active dry; see notes below)
- 1 tbsp psyllium husk powder (not whole husks; powder is key)
- 1 1/4 tsp fine sea salt
- 2 large eggs, room temperature
- 1 1/4 cups warm water (about 105–110°F/40–43°C)
- 1/4 cup neutral oil (olive, avocado, or canola)
- 2 tbsp honey (or sugar/maple syrup)
- 1/3 cup whole-milk yogurt (or unsweetened dairy-free yogurt)
- 1 tsp apple cider vinegar
- Optional add-ins: 1 tsp xanthan gum for extra chew, 1 tsp sugar for a sweeter loaf, seeds for topping
Step-by-Step Instructions
- Prep the pan. Grease a 9×5-inch loaf pan and line with a parchment sling. This loaf is tender—give it an exit plan.
- Mix the dry team. In a large bowl, whisk rice flour, tapioca starch, potato starch, psyllium husk powder, salt, and yeast. If using active dry yeast, see FAQ for proofing first.
- Blend the wet team. In a separate bowl, whisk warm water, eggs, oil, honey, yogurt, and vinegar until smooth.
- Combine into a thick batter. Pour wet into dry and beat with a hand mixer or stand mixer (paddle attachment) on medium for 2–3 minutes.
The mixture should be like thick brownie batter—scoopable but not kneadable. Too thick? Add 1–2 tbsp warm water.
Too thin? Add 1–2 tbsp rice flour.
- Pan and smooth. Scrape batter into the loaf pan. Smooth the top with a wet spatula.
Lightly sprinkle with seeds if you like.
- Rise smart. Cover loosely with oiled plastic wrap. Let rise in a warm, draft-free spot until the batter crowns about 1/2–3/4 inch above the rim, 35–60 minutes. It should jiggle slightly when nudged, not deflate.
- Preheat early. While rising, heat oven to 375°F (190°C).
Place a rack in the lower-middle position.
- Bake. Bake 45–55 minutes until deep golden brown. Internal temperature should hit 205–210°F (96–99°C). If browning too fast, tent with foil at the 30-minute mark.
- Cool like you mean it. Rest in pan 5 minutes, then lift out to a wire rack.
Cool at least 1 hour before slicing. Yes, an hour. Steam = gummy crumb; patience = clean slices.
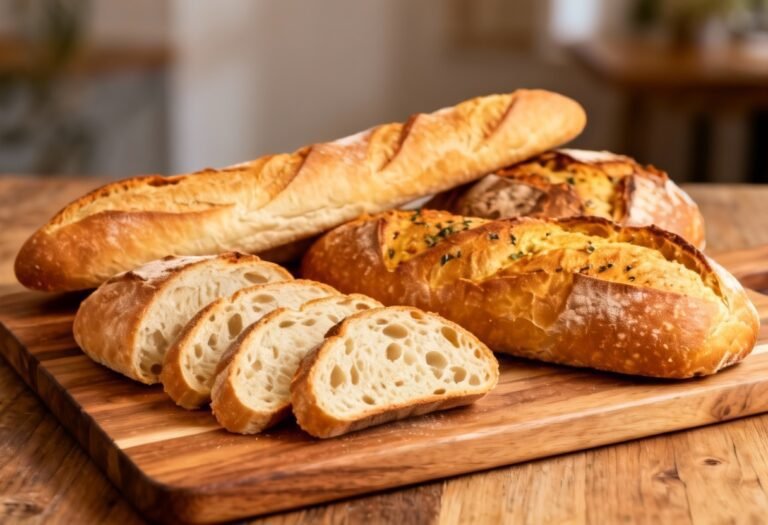
- Slice right. Use a serrated knife.
Slice thicker for toast, thinner for sandwiches. You made bread. Be proud.
Preservation Guide
- Room temperature: Store in a resealable bag or wrapped in parchment inside a bread box for 1–2 days.
Avoid the fridge; it dries out faster.
- Freezer: Slice, then freeze slices separated by parchment in a zip-top bag up to 2 months. Toast straight from frozen.
- Refresh: Day-old slices revive beautifully in a toaster or 350°F (175°C) oven for 5–7 minutes.
- Moisture control: If your kitchen is humid, add a paper towel to the storage bag to prevent sogginess.
What’s Great About This
- Real bread texture. Soft crumb, resilient chew, crisp crust. Not cake.
Not a brick.
- Approachable ingredients. No obscure blends; you can find everything at a regular grocery store.
- Versatile flavor. Neutral enough for PB&J, sturdy enough for grilled cheese, and killer for avocado toast.
- Consistent rise. Psyllium + proper hydration = reliable loft. No guessing, no drama.
- Flexible for dairy-free. Yogurt swaps easily, so everyone gets a slice. FYI, the tang is worth it.
Don’t Make These Errors
- Skipping the psyllium. It’s not optional.
It’s the backbone. Without it, the loaf won’t hold height.
- Overproofing. If the batter rises too high, it will collapse in the oven. Bake when it’s just above the pan rim.
- Undermixing. Those 2–3 minutes whip in air and hydrate the starches.
If you phone it in, expect a dense crumb.
- Cutting too soon. Hot loaf = gummy slices. Let it cool thoroughly. Your patience will be rewarded.
- Random flour swaps. Buckwheat or almond flour change hydration massively.
Stick to the blend unless you adjust liquids.
Variations You Can Try
- Herb and Garlic: Add 1 tsp garlic powder, 1 tsp onion powder, and 2 tbsp finely chopped fresh parsley to the batter. Great for savory toasts.
- Seeded Multigrain Vibes: Fold in 2 tbsp each sunflower seeds, pumpkin seeds, and sesame. Sprinkle more on top before baking.
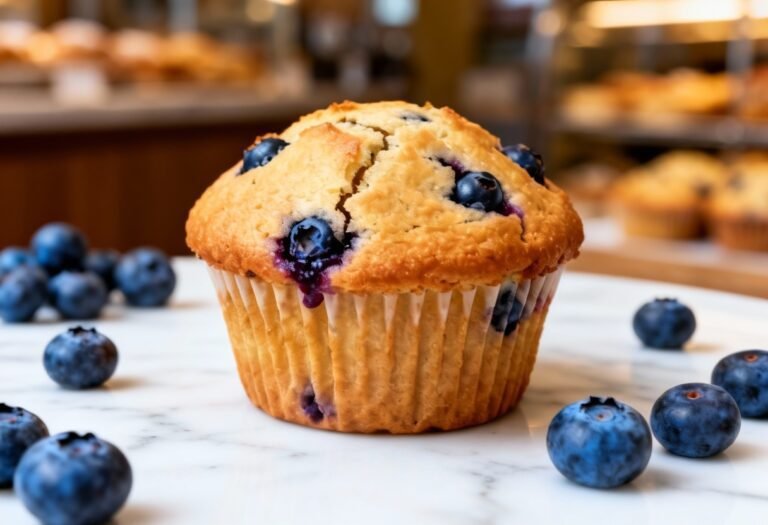
- Oat Twist: Swap 1/4 cup rice flour with certified gluten free oat flour for a slightly sweeter, heartier crumb.
- Cinnamon Raisin: Add 1 1/2 tsp cinnamon, 3 tbsp sugar, and 1/2 cup raisins.
Tent earlier to prevent over-browning.
- Dairy-Free Deluxe: Use coconut yogurt and 2 tbsp extra oil for richness. The loaf stays tender and pleasantly aromatic.
FAQ
Can I use a gluten free all-purpose flour blend instead?
Yes, but results vary. If you use a cup-for-cup blend that already contains xanthan gum, omit the psyllium only if the blend has at least 0.5–1% gum by weight.
Otherwise, keep the psyllium. Start with 2 3/4 cups of the blend and adjust water by 1–3 tbsp to match the thick-batter consistency.
What if I only have active dry yeast?
Proof it first: mix yeast with warm water and honey from the recipe and let stand 5–10 minutes until foamy. Then add the remaining wet ingredients.
If it doesn’t foam, your yeast is dead—get fresh yeast and try again.
Can I make this egg-free?
Yes. Replace the 2 eggs with 1/2 cup aquafaba (liquid from canned chickpeas) or 2 flax eggs (2 tbsp ground flax + 6 tbsp warm water, rested 10 minutes). The loaf will be slightly less lofty but still sliceable and tasty.
Do I really need a thermometer?
Strictly speaking, no, but it’s the difference between guessing and knowing.
Hitting 205–210°F inside ensures the starches set and the loaf won’t sink as it cools. IMO, it’s the $10 tool that saves you from heartache.
Why psyllium husk powder and not whole husks?
The powder hydrates evenly, creates a gel faster, and stabilizes the crumb. Whole husks can lead to uneven texture and weaker structure.
If using husks, grind them to a powder first.
How do I avoid a gummy center?
Three keys: measure liquids accurately, bake to temperature, and cool completely. If your oven runs cool, add 5–8 minutes. Also, resist slicing hot—steam needs to escape or it’ll gum up the crumb.
Simple, not optional.
Can I bake this in a bread machine?
Use the gluten free setting only if it skips the second rise and bakes promptly; GF batters can’t handle long proofing cycles. That said, oven baking typically gives a better crust and lift.
My Take
Gluten free bread doesn’t have to be a consolation prize. With a tight ingredient list and a batter-first mindset, you get a loaf that’s legitimately craveable—crispy crust, soft middle, and zero “what is that texture?” drama.
This recipe is reliable enough for weekday toast and good enough for company.
Make it once as written, then tweak. Try the oat twist for breakfast, go seeded for lunch, and keep a sliced stash in the freezer for emergency grilled cheeses. Because, let’s be honest, nothing beats hot toast with butter—gluten free or not.