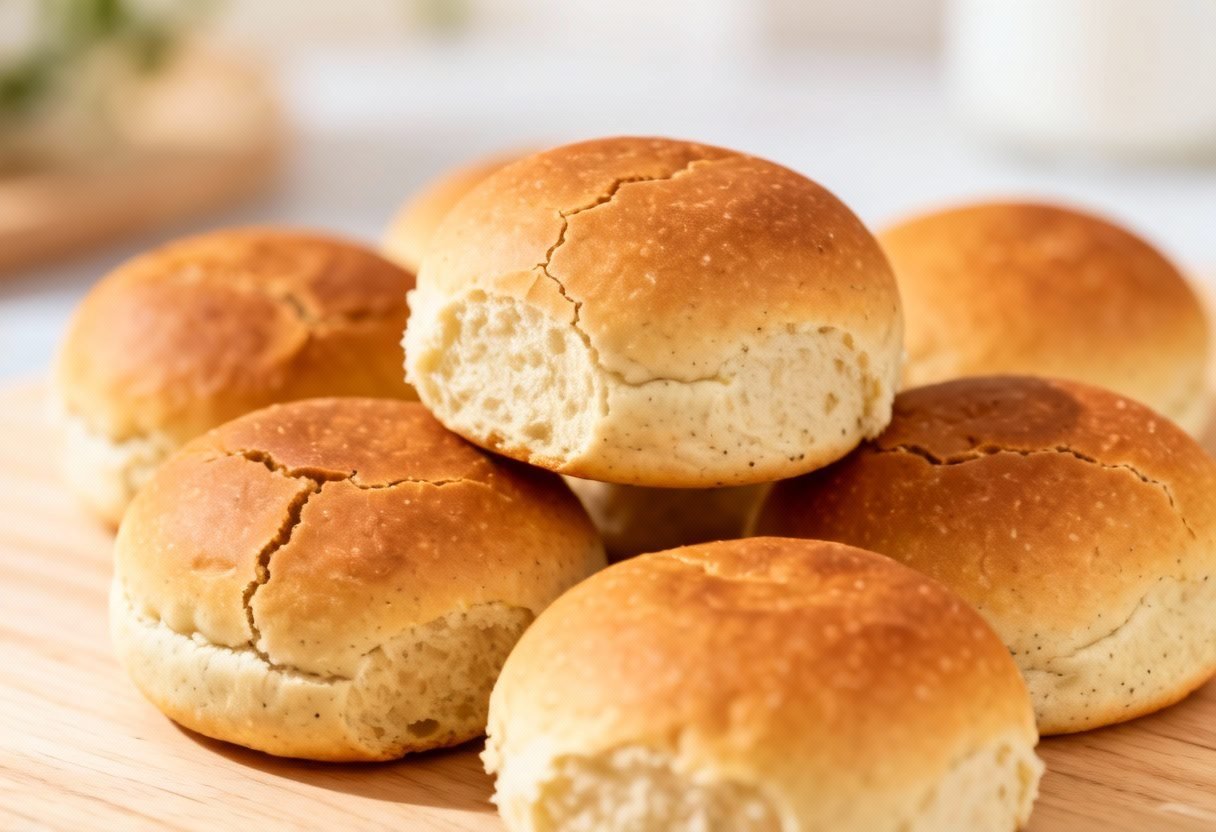
Gluten-Free Buns Recipe: The Softest, Tastiest You’ll Ever Make!
Craving a juicy burger, a delicious sandwich, or simply a satisfying bun to enjoy with your favorite soup? But you’re gluten-free? Fear not! This recipe delivers unbelievably soft, flavorful gluten-free buns that rival their gluten-filled counterparts. Say goodbye to dry, crumbly gluten-free bread and hello to a world of delicious possibilities. These buns are perfect for everything from weeknight dinners to weekend barbecues. Get ready to impress your friends and family with your baking skills!
Why This Recipe Works
Creating a truly great gluten-free bun requires a specific approach, and this recipe has cracked the code! Here’s why it works:
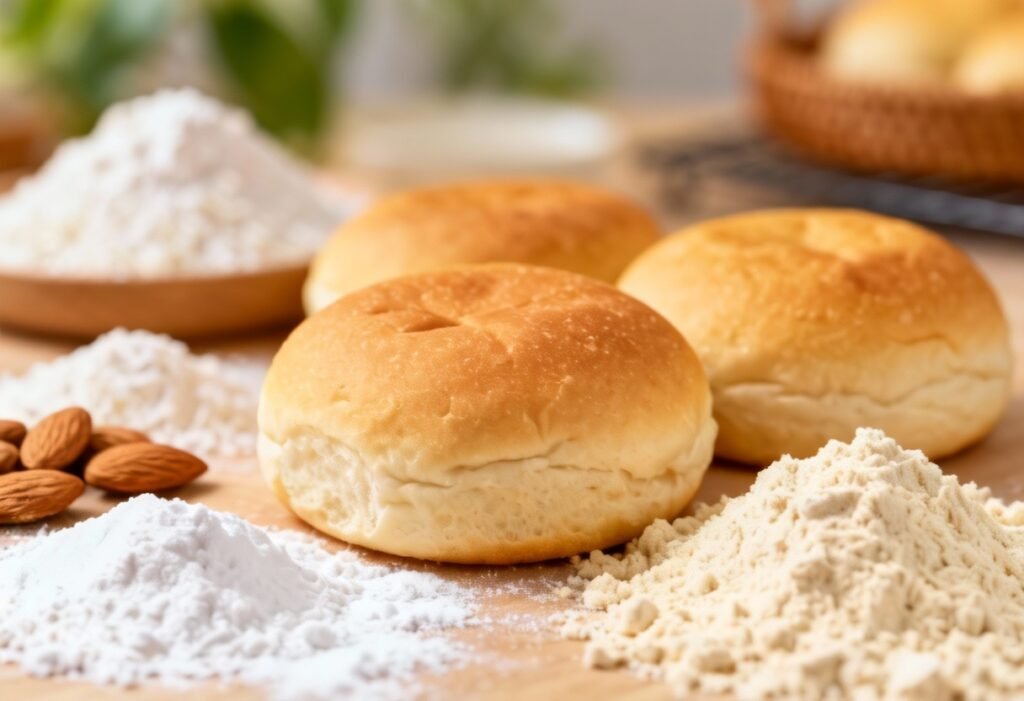
- A Blend of Gluten-Free Flours: Using a single gluten-free flour rarely yields the best results. This recipe utilizes a carefully balanced blend of flours (like rice flour, tapioca starch, and potato starch) to mimic the structure and texture of gluten.
- Xanthan Gum is Key: Xanthan gum acts as a gluten replacement, providing the necessary binding and elasticity to prevent the buns from crumbling. Don’t skip it!
- Warm Liquid Activation: Activating the yeast with warm water and a touch of sugar ensures that it’s alive and ready to leaven the dough, resulting in a light and airy texture.
- Proper Hydration: Gluten-free flours tend to absorb more liquid than wheat flour. This recipe incorporates the right amount of moisture to create a soft and pliable dough.
- A Slow, Warm Rise: Allowing the dough to rise in a warm environment promotes optimal fermentation and develops the flavor of the buns.
- Egg Wash for Shine and Color: Brushing the buns with an egg wash before baking gives them a beautiful golden-brown color and a slightly glossy finish.
Ingredients
- 1 1/2 cups (360ml) warm water (105-115°F / 40-46°C)
- 2 teaspoons granulated sugar
- 2 1/4 teaspoons (1 packet) active dry yeast
- 2 cups (250g) gluten-free all-purpose flour blend (make sure it contains xanthan gum, or add 1 teaspoon separately)
- 1/2 cup (60g) tapioca starch
- 1/4 cup (30g) potato starch
- 2 tablespoons olive oil
- 1 teaspoon salt
- 1 large egg, lightly beaten (for egg wash)
- Sesame seeds (optional, for topping)
Instructions
- Activate the Yeast: In a large bowl, combine the warm water and sugar. Sprinkle the yeast over the top and let it sit for 5-10 minutes, or until foamy. This indicates that the yeast is active.
- Combine Dry Ingredients: In a separate bowl, whisk together the gluten-free flour blend, tapioca starch, potato starch, and salt. If your gluten-free flour blend doesn’t contain xanthan gum, add 1 teaspoon now.
- Combine Wet and Dry Ingredients: Add the olive oil to the yeast mixture. Then, gradually add the dry ingredients to the wet ingredients, mixing with a stand mixer fitted with a dough hook (or by hand) until a sticky dough forms. The dough will be wetter than traditional wheat dough.
- First Rise: Cover the bowl with plastic wrap or a clean kitchen towel and let it rise in a warm place for 1-1.5 hours, or until doubled in size.
- Shape the Buns: Gently punch down the dough (it will deflate). Turn the dough out onto a lightly floured (with gluten-free flour) surface. Divide the dough into 6-8 equal portions.
- Form the Buns: With lightly floured hands, gently shape each portion of dough into a round bun. Place the buns on a baking sheet lined with parchment paper, leaving some space between them.
- Second Rise: Cover the buns with plastic wrap or a clean kitchen towel and let them rise for another 30-45 minutes in a warm place. They won’t double in size again, but they should puff up slightly.
- Prepare the Egg Wash: Preheat oven to 375°F (190°C). In a small bowl, whisk the egg with 1 tablespoon of water to create the egg wash.
- Egg Wash and Topping: Gently brush the tops of the buns with the egg wash. Sprinkle with sesame seeds, if desired.
- Bake: Bake for 20-25 minutes, or until the buns are golden brown and sound hollow when tapped on the bottom.
- Cool: Transfer the buns to a wire rack to cool completely before slicing and serving.
Tips for Success
- Use a Good Quality Gluten-Free Flour Blend: The quality of your gluten-free flour blend significantly impacts the texture of the buns. Look for a blend specifically designed for baking.
- Don’t Overmix: Overmixing gluten-free dough can result in tough buns. Mix just until the ingredients are combined.
- Resist Adding More Flour: The dough will be sticky, and that’s okay! Adding too much flour will make the buns dry and dense.
- Warm Environment is Key: Ensure a warm environment for both rises. A slightly warm oven (turned off) or a sunny spot in your kitchen works well.
- Check for Doneness: Use a toothpick inserted into the center of a bun to check for doneness. It should come out clean.
- Let Them Cool Completely: Resist the urge to slice into the buns while they’re still hot. Allowing them to cool completely helps them set and prevents them from becoming gummy.
Storage Instructions
Room Temperature: Store the cooled buns in an airtight container at room temperature for up to 2 days.
Freezer: For longer storage, freeze the buns in a freezer-safe bag or container for up to 2 months. Thaw completely at room temperature before using. You can refresh them by warming them slightly in the oven or microwave.
FAQ
Can I use a different type of gluten-free flour blend?
Yes, you can experiment with different gluten-free flour blends. However, the results may vary. Some blends may require adjustments to the liquid content. It is recommended to use a blend that contains xanthan gum.
Can I make this recipe without xanthan gum?
Xanthan gum is crucial for providing structure and binding in gluten-free baking. While you can try substituting it with other binders like psyllium husk or flaxseed meal, the texture and results may not be the same.
My dough is too sticky. What should I do?
Gluten-free dough is naturally stickier than traditional dough. Resist the urge to add more flour. Lightly flour your hands and the work surface when shaping the buns.
Can I use this recipe to make bread instead of buns?
Yes, you can use this recipe to make a loaf of bread. Simply bake the dough in a greased loaf pan for a longer period, approximately 35-40 minutes, or until a toothpick inserted into the center comes out clean.
Can I add seeds or herbs to the dough?
Absolutely! Feel free to add seeds, herbs, or spices to the dough to customize the flavor of your buns. Add them when you are combining the wet and dry ingredients.
Conclusion
This gluten-free bun recipe is a game-changer for anyone seeking delicious and satisfying gluten-free bread. With a little patience and attention to detail, you can create soft, flavorful buns that will elevate your sandwiches, burgers, and more. So, gather your ingredients, preheat your oven, and get ready to enjoy the best gluten-free buns you’ve ever tasted!