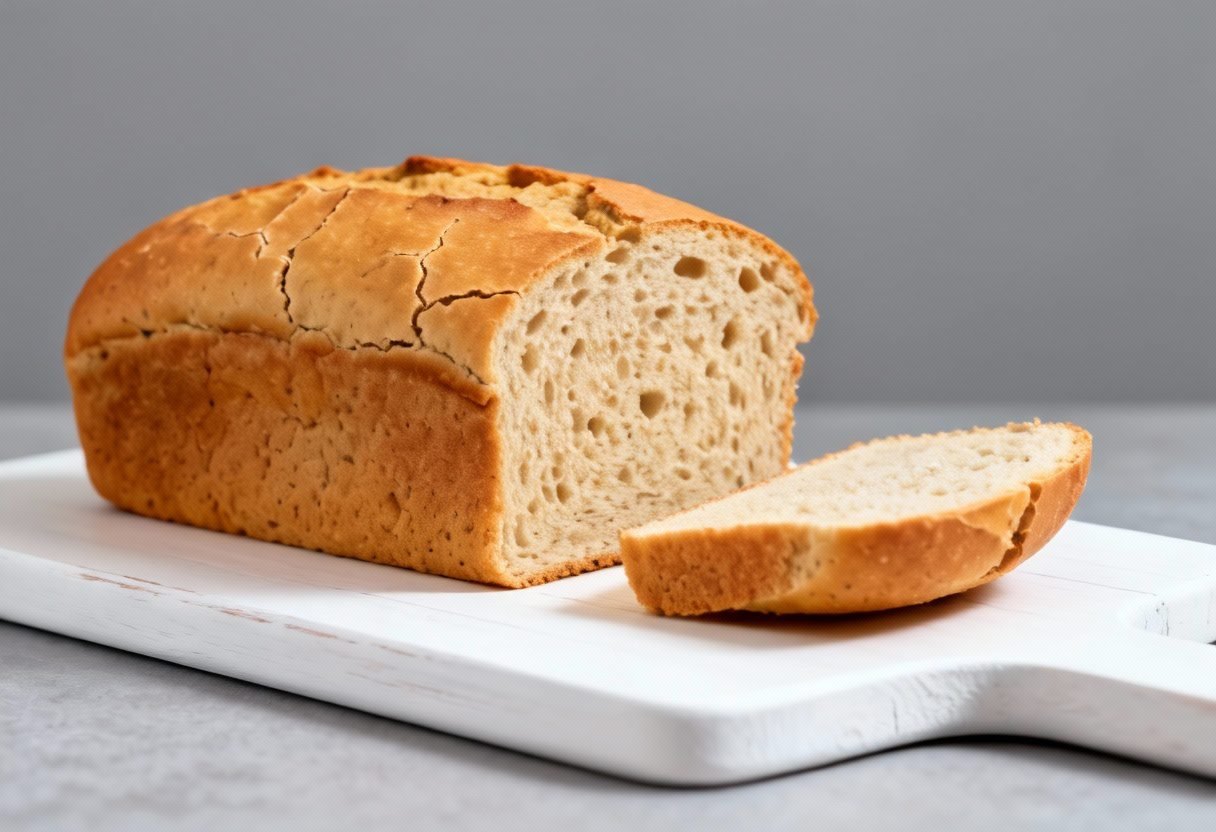
Gluten Free Sandwich Bread Recipe: The Softest Loaf Ever!
Craving a delicious, soft, and satisfying sandwich but struggling to find a gluten-free bread that doesn’t taste like cardboard? Look no further! This gluten-free sandwich bread recipe is a game-changer. It delivers a texture remarkably similar to traditional wheat bread, making it perfect for everything from classic peanut butter and jelly sandwiches to gourmet grilled cheese. Say goodbye to dry, crumbly gluten-free bread and hello to a truly enjoyable sandwich experience. This recipe is easy to follow, uses readily available ingredients, and guarantees a loaf that will impress even the most discerning palate.
Why This Recipe Works
Many gluten-free bread recipes fall short due to the absence of gluten, which provides structure and elasticity. This recipe overcomes this challenge by using a carefully balanced blend of gluten-free flours and a few key ingredients that mimic gluten’s properties. Here’s why it works so well:
- Specific Flour Blend: The recipe uses a combination of rice flour, tapioca starch, and potato starch. This blend provides a balanced texture, offering both structure and softness. Rice flour acts as the primary base, while tapioca starch adds chewiness and potato starch contributes to a tender crumb.
- Xanthan Gum: This is a crucial ingredient in gluten-free baking. Xanthan gum acts as a binder, holding the ingredients together and preventing the bread from crumbling. It mimics the elasticity of gluten, resulting in a more cohesive and pliable dough.
- Psyllium Husk: Another key ingredient for texture. Psyllium husk adds fiber and helps to absorb moisture, creating a softer and more pliable dough. It also improves the bread’s overall structure.
- Yeast Activation: Proper yeast activation is essential for a good rise. The recipe specifies a water temperature that is optimal for yeast activity.
- Resting Time: Allowing the dough to rest after mixing is crucial. This gives the starches time to absorb the water, resulting in a more hydrated dough and a softer bread.
- Baking Temperature and Time: The baking temperature and time are carefully calibrated to ensure the bread is fully cooked without drying out.
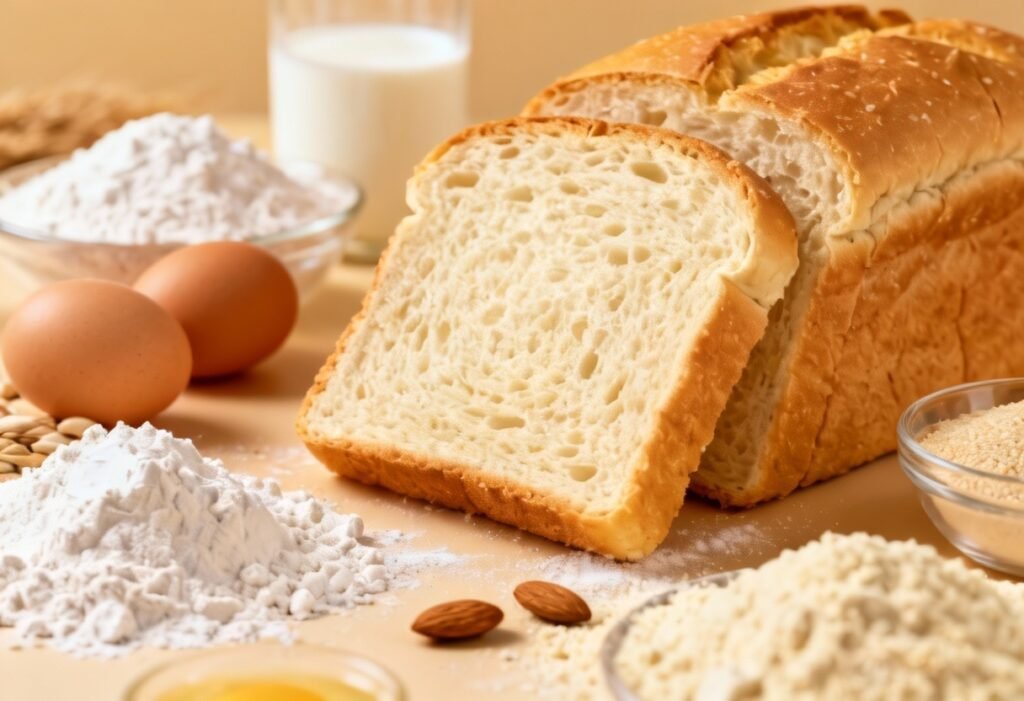
Ingredients
- 1 ½ cups (192g) Brown Rice Flour
- ¾ cup (96g) Tapioca Starch
- ½ cup (64g) Potato Starch
- 2 tablespoons (20g) Granulated Sugar
- 1 ½ teaspoons (7g) Salt
- 2 ¼ teaspoons (7g) Instant Yeast (or active dry yeast, proofed)
- 1 tablespoon (7g) Psyllium Husk Powder
- 1 ¾ cups (420ml) Warm Water (105-115°F / 40-46°C)
- 2 tablespoons (30ml) Olive Oil (or other neutral oil)
- 1 tablespoon (15ml) Apple Cider Vinegar
Instructions
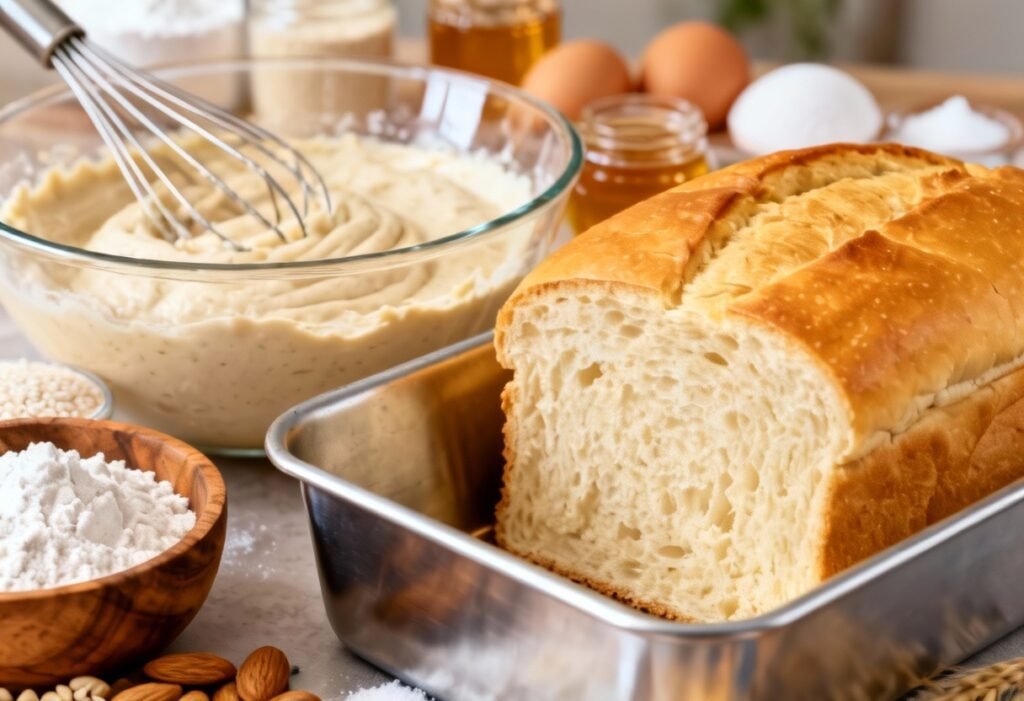
- Combine Dry Ingredients: In a large bowl, whisk together the brown rice flour, tapioca starch, potato starch, sugar, salt, instant yeast, and psyllium husk powder. Make sure everything is evenly distributed.
- Add Wet Ingredients: In a separate bowl or measuring cup, combine the warm water, olive oil, and apple cider vinegar.
- Combine Wet and Dry: Pour the wet ingredients into the dry ingredients and mix with a stand mixer fitted with a paddle attachment or a hand mixer until a smooth, thick batter forms. The batter will be quite sticky.
- Rest the Dough: Cover the bowl with plastic wrap or a clean kitchen towel and let the dough rest for 15-20 minutes. This allows the psyllium husk to absorb the water and thicken the dough.
- Prepare the Pan: Grease a 9×5 inch loaf pan with oil or cooking spray. You can also line the bottom with parchment paper for easy removal.
- Transfer Dough to Pan: Gently pour or spoon the dough into the prepared loaf pan. Use a wet spatula or your wet hands to smooth the top of the dough.
- Second Rise: Cover the loaf pan with plastic wrap or a clean kitchen towel and let it rise in a warm place for 30-45 minutes, or until the dough has risen about 1-2 inches above the top of the pan.
- Preheat Oven: Preheat your oven to 350°F (175°C) about 15 minutes before the end of the second rise.
- Bake: Bake the bread for 55-65 minutes, or until the top is golden brown and a toothpick inserted into the center comes out clean. If the top starts to brown too quickly, you can tent it with aluminum foil.
- Cool: Remove the bread from the oven and let it cool in the pan for 10 minutes. Then, transfer it to a wire rack to cool completely before slicing. Cooling completely is important to prevent a gummy texture.
Tips for Success
- Measure Accurately: Accurate measurements are crucial in gluten-free baking. Use a kitchen scale for the most precise results.
- Use Fresh Yeast: Make sure your yeast is fresh and active. If using active dry yeast, proof it in warm water with a pinch of sugar before adding it to the other ingredients.
- Don’t Overmix: Overmixing can result in a tough bread. Mix just until the ingredients are combined.
- Control the Rising Environment: For the second rise, create a warm, humid environment. You can place the loaf pan in a slightly warmed oven (turned off) with a bowl of hot water.
- Cool Completely: Be patient and allow the bread to cool completely before slicing. This prevents a gummy texture and makes it easier to slice.
- Experiment with Flour Blends: While this recipe uses a specific blend, you can experiment with other gluten-free flours. Just be aware that the texture and flavor may vary.
- Add Seeds or Nuts: For added flavor and texture, you can add seeds (such as sesame, poppy, or sunflower seeds) or chopped nuts to the dough before baking.
- Consider Using a Bread Machine: While this recipe is written for the oven, you can adapt it for use in a bread machine with a gluten-free setting. Follow your bread machine’s instructions for adding ingredients and selecting the appropriate cycle.
Storage Instructions
To keep your gluten-free sandwich bread fresh, store it properly:
- Room Temperature: Store the bread in an airtight container or wrapped tightly in plastic wrap at room temperature for up to 3 days.
- Refrigerator: For longer storage, store the bread in the refrigerator for up to a week. However, refrigeration can dry out the bread, so it’s best to slice it before refrigerating and toast it before serving.
- Freezer: For the longest storage, freeze the bread. Slice the bread and wrap each slice individually in plastic wrap or freezer paper. Place the wrapped slices in a freezer bag and store in the freezer for up to 3 months. Thaw the slices at room temperature or in the toaster.
FAQ
Q: Can I use a different gluten-free flour blend?
A: While this recipe is specifically formulated for the listed flour blend, you can experiment with other blends. However, be aware that the texture and flavor may vary. Look for blends that contain a mix of starches and flours for best results. If the dough seems too wet or dry, adjust the amount of water accordingly.
Q: Can I use active dry yeast instead of instant yeast?
A: Yes, you can use active dry yeast. Proof it in warm water with a pinch of sugar for 5-10 minutes before adding it to the other ingredients. Make sure the yeast is bubbly and foamy before using it.
Q: My bread is gummy. What did I do wrong?
A: A gummy texture is often caused by not cooling the bread completely before slicing. Make sure to let the bread cool completely on a wire rack before slicing. Also, ensure that the bread is fully cooked by inserting a toothpick into the center. If it comes out with wet batter, bake for a few more minutes.
Q: Can I make this recipe without psyllium husk?
A: Psyllium husk is crucial for the texture of this bread. It helps to bind the ingredients and create a softer, more pliable dough. If you omit it, the bread will likely be crumbly and dry. If you absolutely cannot use psyllium husk, you may be able to substitute with flaxseed meal (use the same amount), but the texture may not be as good.
Q: Can I add other ingredients to the dough?
A: Yes! Feel free to add seeds, nuts, herbs, or spices to the dough for added flavor and texture. Just be sure not to add too much, as it could affect the structure of the bread.
Conclusion
This gluten-free sandwich bread recipe is your ticket to delicious, satisfying sandwiches without the gluten. The soft texture, delightful flavor, and easy-to-follow instructions make it a winner. So, ditch the disappointing store-bought options and bake your own amazing gluten-free bread. Enjoy!