Molten Lava Cakes Recipe: Decadent Indulgence in Every Bite!
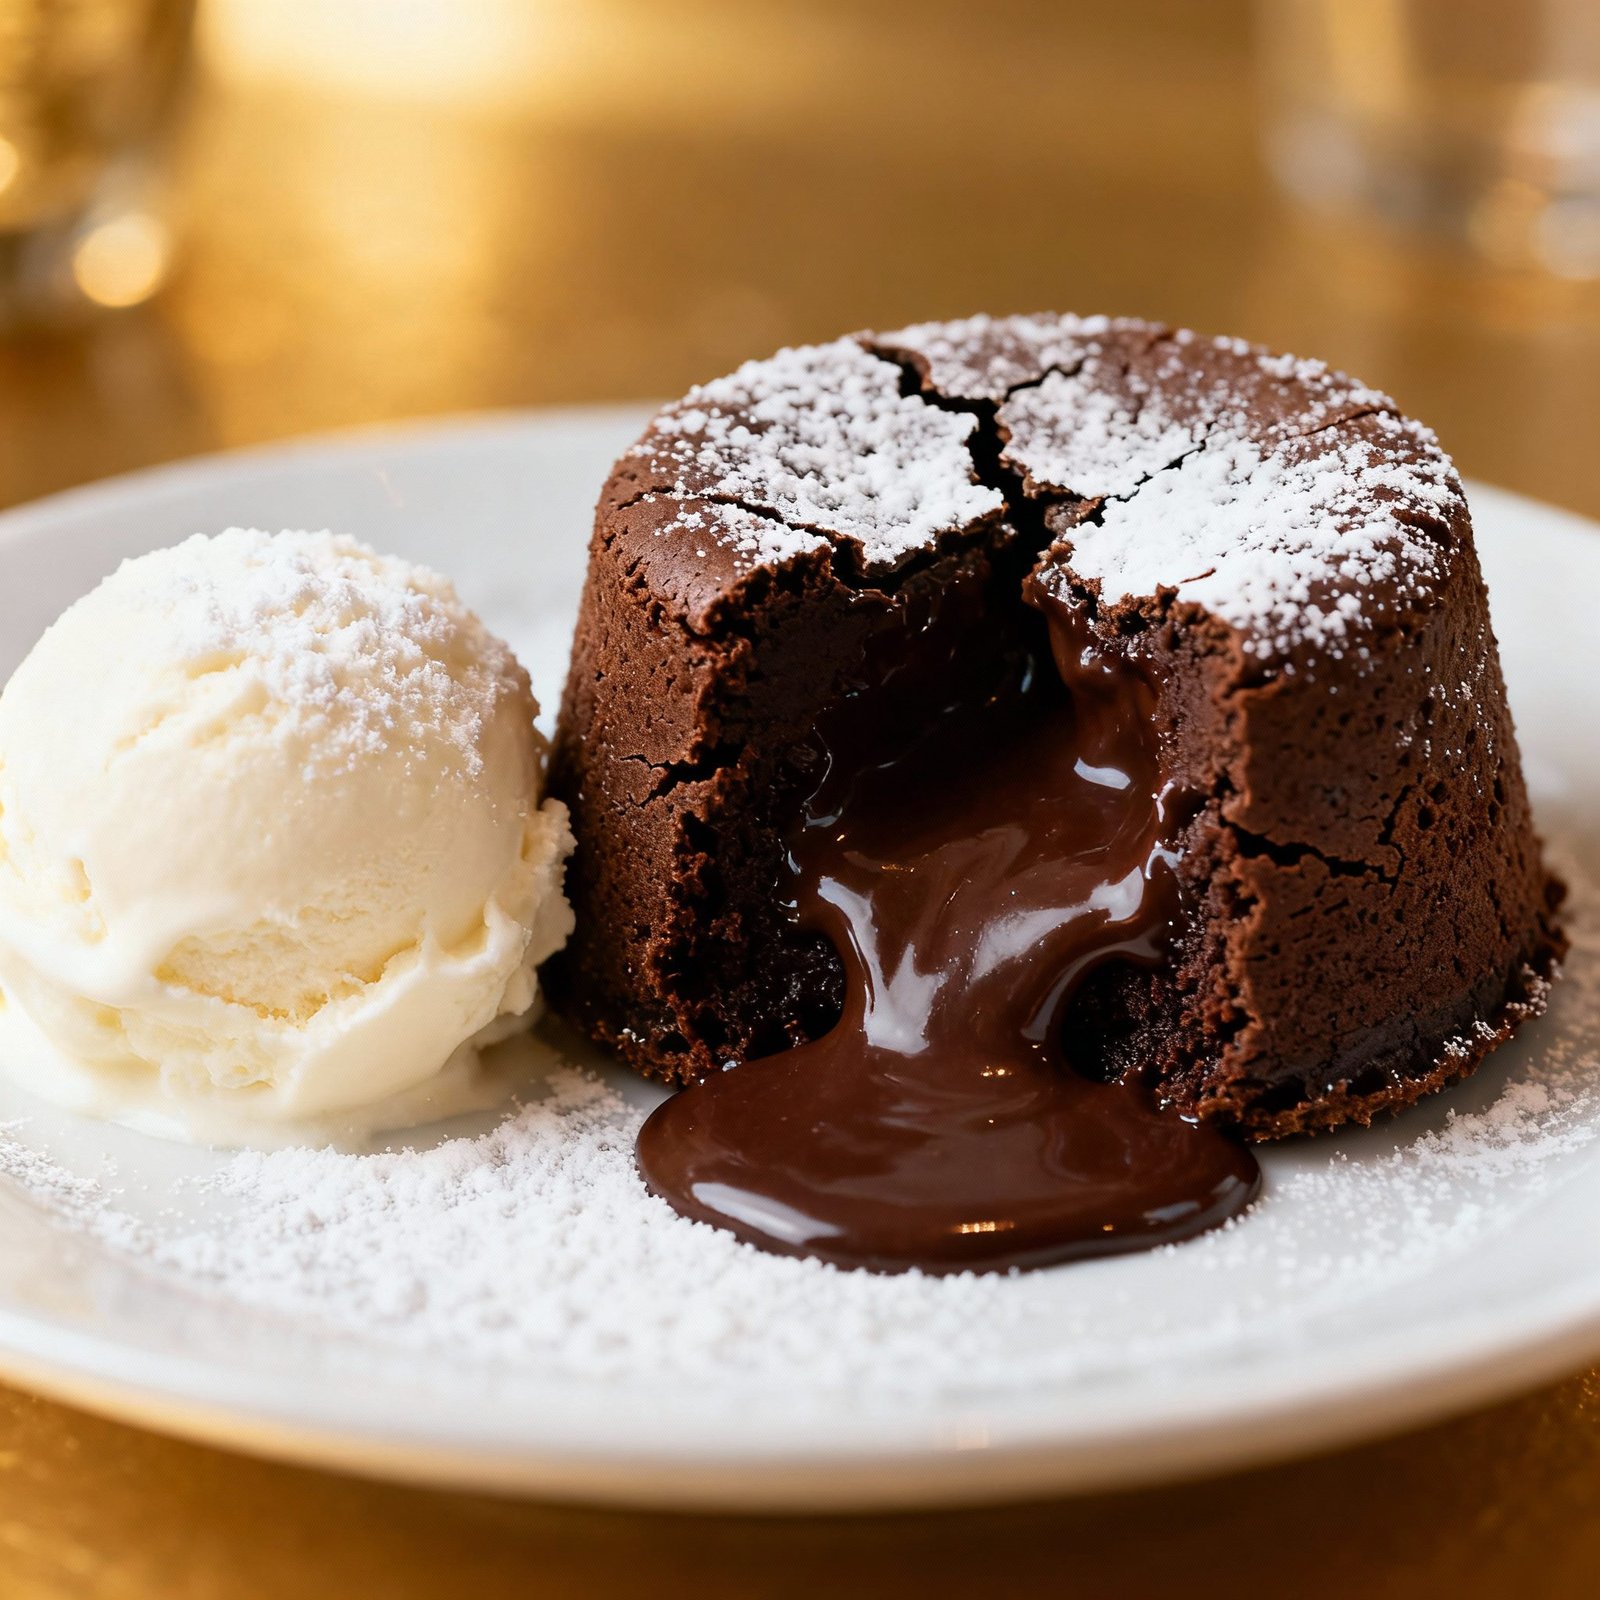
Imagine sinking your spoon into a warm, individual chocolate cake, the rich, dark chocolate aroma filling the air. Then, the magic happens: a river of molten chocolate oozes out, a testament to pure, unadulterated decadence. That’s the promise of a perfect molten lava cake, and this recipe delivers precisely that – a simple yet sophisticated dessert that’s sure to impress.
Molten lava cakes, also known as chocolate lava cakes or chocolate moelleux, are surprisingly easy to make at home. They require minimal ingredients and bake in under 20 minutes, making them ideal for a last-minute dessert craving or a special occasion. This recipe will guide you through each step, ensuring you achieve that signature molten center every single time. Get ready to experience chocolate heaven!
Why This Recipe Works
This molten lava cake recipe isn’t just another internet find; it’s a carefully crafted formula designed for consistent results. Here’s why it works so well:
- The Butter-Chocolate Ratio: The generous amount of butter combined with high-quality chocolate creates a luxuriously rich and smooth base. This is crucial for the molten center and overall flavor.
- The Egg Technique: Using both whole eggs and egg yolks adds richness and stability to the cake while maintaining that delicate, underbaked core. The yolks contribute to the creamy texture.
- Careful Baking Time: The baking time is the most critical factor. We’ve tested this recipe extensively to pinpoint the precise window for a perfectly molten center. Overbaking results in a solid cake, while underbaking can lead to a soupy mess.
- Gentle Handling: Because these cakes are delicate, we provide specific instructions on how to unmold them cleanly, preserving their elegant presentation.
- Simple Ingredients: You don’t need any fancy ingredients or specialized equipment. This recipe focuses on using readily available ingredients to create an exceptional dessert.
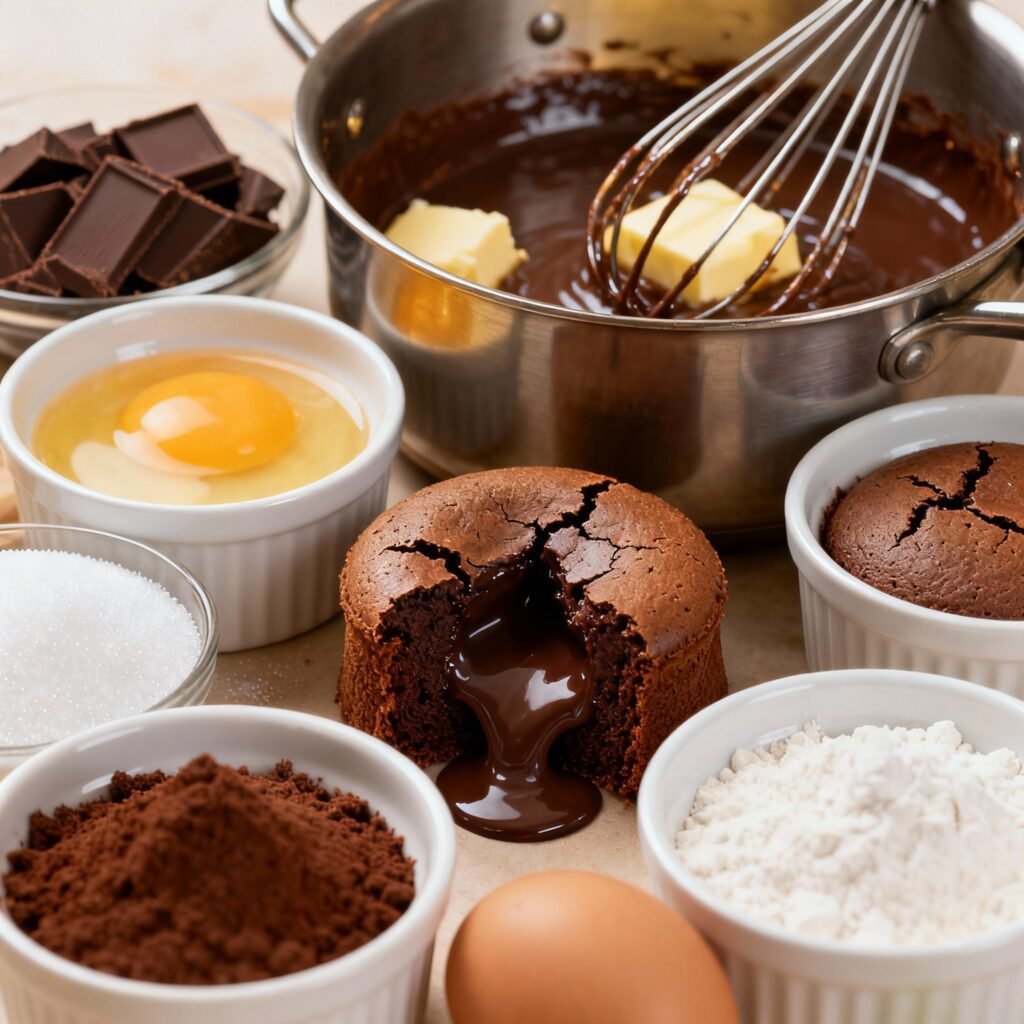
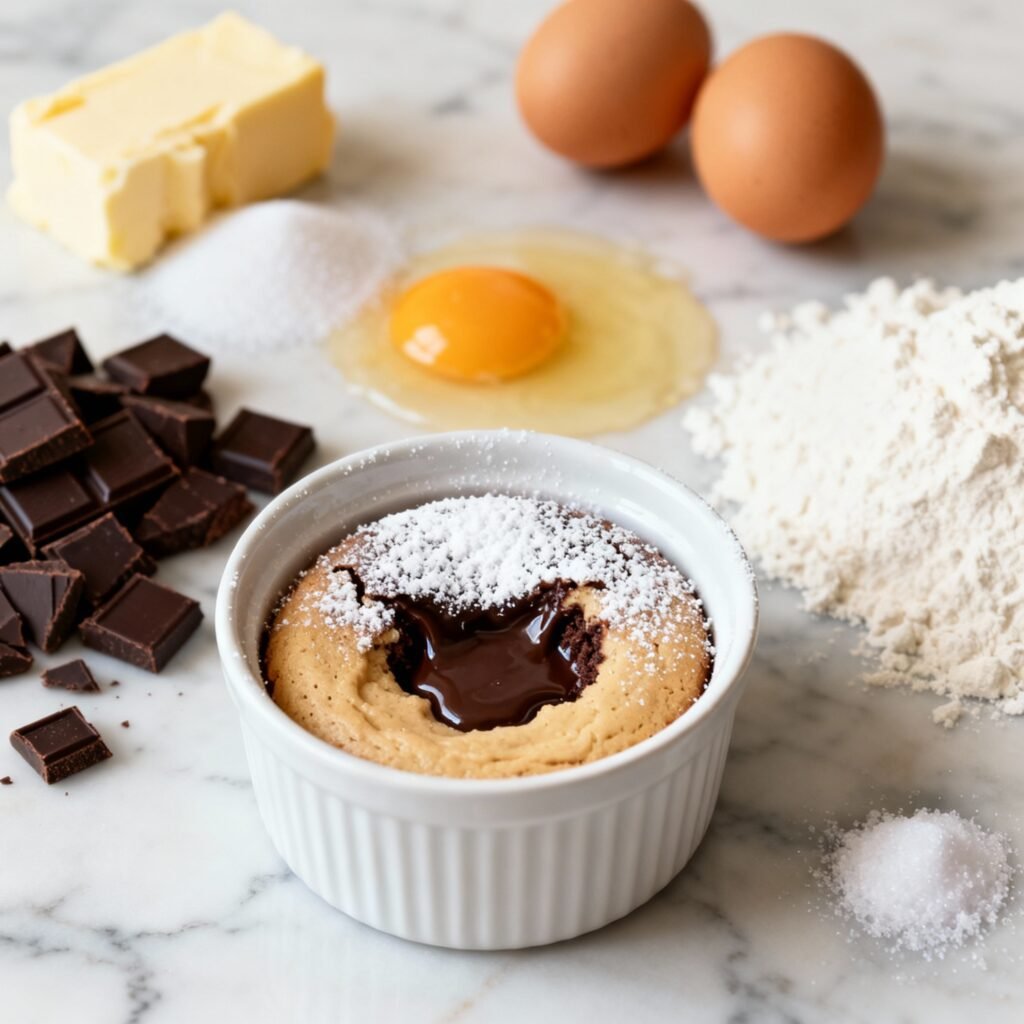
Ingredients
- 6 ounces (170g) Semisweet Chocolate: Use high-quality chocolate (at least 60% cacao) for the best flavor. Chocolate chips can be used in a pinch, but baking chocolate or couverture will yield a superior result.
- 6 tablespoons (85g) Unsalted Butter: Cut into cubes. The butter should be cold for easier melting and a better emulsion.
- 2 Large Eggs: Room temperature eggs incorporate more easily and create a smoother batter.
- 2 Large Egg Yolks: These add richness and contribute to the molten texture.
- 1/4 cup (50g) Granulated Sugar: Adds sweetness and helps create a tender crumb.
- 2 tablespoons (15g) All-Purpose Flour: Provides structure to the cake.
- Pinch of Salt: Enhances the chocolate flavor.
- Optional: Powdered sugar for dusting, fresh raspberries, or vanilla ice cream for serving.
Instructions
- Prepare the Ramekins: Preheat oven to 425°F (220°C). Generously butter and flour two 6-ounce ramekins. Make sure to coat the ramekins thoroughly to prevent sticking. Tap out any excess flour.
- Melt the Chocolate and Butter: In a heatproof bowl set over a simmering pot of water (double boiler), or in the microwave in 30-second intervals, melt the chocolate and butter together, stirring occasionally, until smooth. Be careful not to overheat the chocolate, as it can seize.
- Whisk Eggs and Sugar: In a separate bowl, whisk together the eggs, egg yolks, and sugar until light and slightly thickened. This usually takes about 2-3 minutes.
- Combine Wet Ingredients: Slowly pour the melted chocolate mixture into the egg mixture, whisking constantly until well combined.
- Add Dry Ingredients: Gently whisk in the flour and salt until just combined. Be careful not to overmix, as this can develop the gluten and result in a tougher cake.
- Fill the Ramekins: Divide the batter evenly between the prepared ramekins.
- Bake: Bake for 12-15 minutes, or until the edges of the cakes are set and the center is still slightly soft. The baking time will vary depending on your oven, so start checking at 12 minutes. The tops should look set, but the very center should still jiggle slightly when gently nudged.
- Cool Slightly: Let the cakes cool in the ramekins for 1-2 minutes. This allows them to set slightly, making them easier to unmold.
- Invert and Serve: Carefully run a thin knife or spatula around the edges of each cake to loosen it from the ramekin. Place a plate over the ramekin and invert. Gently tap the bottom of the ramekin until the cake releases. Dust with powdered sugar, if desired, and serve immediately with fresh raspberries or a scoop of vanilla ice cream.
Tips for Success
- Use High-Quality Chocolate: The quality of your chocolate will directly impact the flavor of the cake. Opt for a good quality semisweet or bittersweet chocolate for the best results.
- Don’t Overbake: This is the most crucial tip! Overbaking will result in a solid cake without the molten center. Start checking the cakes at 12 minutes and adjust the baking time accordingly.
- Butter and Flour Ramekins Thoroughly: This will prevent the cakes from sticking to the ramekins and ensure they release cleanly.
- Room Temperature Eggs: Room temperature eggs incorporate more easily and create a smoother batter.
- Be Gentle When Mixing: Overmixing can develop the gluten in the flour, resulting in a tougher cake. Mix until just combined.
- Experiment with Flavors: Feel free to add a teaspoon of vanilla extract, coffee extract, or a pinch of cinnamon to the batter for a different flavor profile.
- Chill the Batter (Optional): For an even more intense molten center, you can chill the batter in the ramekins for 30 minutes before baking. This will create a greater temperature difference between the edges and the center.
Storage Instructions
Molten lava cakes are best enjoyed immediately while the center is still molten. However, you can store the unbaked batter in the ramekins in the refrigerator for up to 24 hours. Add a minute or two to the baking time if baking from chilled.
Baked cakes can be stored in the refrigerator for up to 2 days, but the molten center will solidify. You can reheat them in the microwave for a few seconds to slightly warm them, but they won’t have the same molten effect as freshly baked cakes.
FAQ
- Can I use dark chocolate instead of semisweet chocolate? Yes, you can use dark chocolate, but the cake will be less sweet. You may want to add an extra tablespoon of sugar.
- Can I make these ahead of time? You can prepare the batter ahead of time and store it in the refrigerator for up to 24 hours. Bake just before serving.
- My cakes didn’t have a molten center. What went wrong? You likely overbaked them. Try reducing the baking time by a minute or two next time.
- My cakes stuck to the ramekins. What can I do? Make sure you butter and flour the ramekins thoroughly. You can also use parchment paper rounds in the bottom of the ramekins for extra insurance.
- Can I use muffin tins instead of ramekins? Yes, you can use muffin tins, but the baking time may need to be adjusted. Check for doneness at 10 minutes.
Conclusion
This molten lava cake recipe is your ticket to a truly unforgettable dessert experience. With its rich, decadent chocolate flavor and irresistible molten center, it’s guaranteed to impress your family and friends. Don’t be intimidated by the fancy name; this recipe is surprisingly simple to make and requires only a handful of ingredients. So, gather your ingredients, preheat your oven, and get ready to indulge in a little bit of chocolate heaven. Enjoy!