
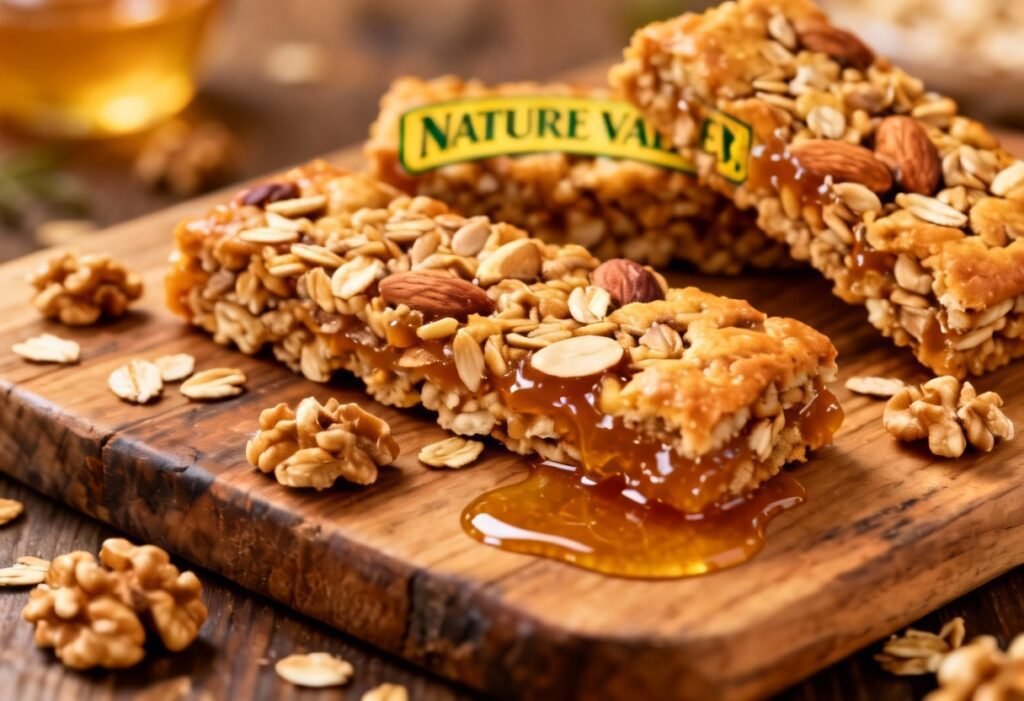
Nature Valley Granola Bars Recipe: Crunchy, Chewy, and Oh-So-Easy!
Craving that satisfying crunch and wholesome goodness of a Nature Valley granola bar, but tired of the store-bought price tag and added ingredients? Look no further! This recipe allows you to recreate that iconic granola bar experience in your own kitchen, with the added benefit of controlling exactly what goes into each bite. Get ready to enjoy homemade granola bars that are just as delicious (if not more so!), customizable to your favorite flavors, and a fraction of the cost. This recipe is perfect for a quick breakfast, an afternoon snack, or a healthy treat on the go.
Why This Recipe Works
This recipe isn’t just about throwing ingredients together and hoping for the best. It’s carefully crafted to mimic the texture and flavor profile of Nature Valley granola bars, while offering room for personalization. Here’s why it works:
- Balanced Ingredients: The ratio of oats to nuts to binding agent (honey and brown sugar) is crucial for achieving the right level of crunch and chewiness.
- Proper Baking: Baking the oat mixture before adding the wet ingredients helps to toast the oats and nuts, enhancing their flavor and creating a crispier base.
- Even Compression: Pressing the mixture firmly into the baking pan is essential for creating bars that hold their shape and don’t crumble easily.
- Controlled Cutting: Allowing the bars to cool completely before cutting ensures clean, even slices.
- Customization: The recipe is a blank canvas! Feel free to swap out nuts, add dried fruits, or experiment with different spices to create your own signature granola bar flavor.
Ingredients
- 3 cups Rolled Oats: Use old-fashioned rolled oats for the best texture. Quick oats will result in a softer bar.
- 1 cup Nuts: Chopped almonds, pecans, walnuts, or a mix of your favorites.
- 1/2 cup Seeds: Sunflower seeds, pumpkin seeds, or chia seeds add extra crunch and nutrients.
- 1/2 cup Shredded Coconut: Optional, but adds a delightful tropical flavor and texture.
- 1/4 teaspoon Salt: Enhances the sweetness and balances the flavors.
- 1/2 cup Honey: Acts as a natural sweetener and binding agent.
- 1/4 cup Brown Sugar: Adds a caramel-like flavor and contributes to the chewiness.
- 1/4 cup Butter (or Coconut Oil): Melted, this helps bind the ingredients and adds richness.
- 1 teaspoon Vanilla Extract: Enhances the overall flavor.
Instructions
- Preheat Oven: Preheat your oven to 325°F (160°C).
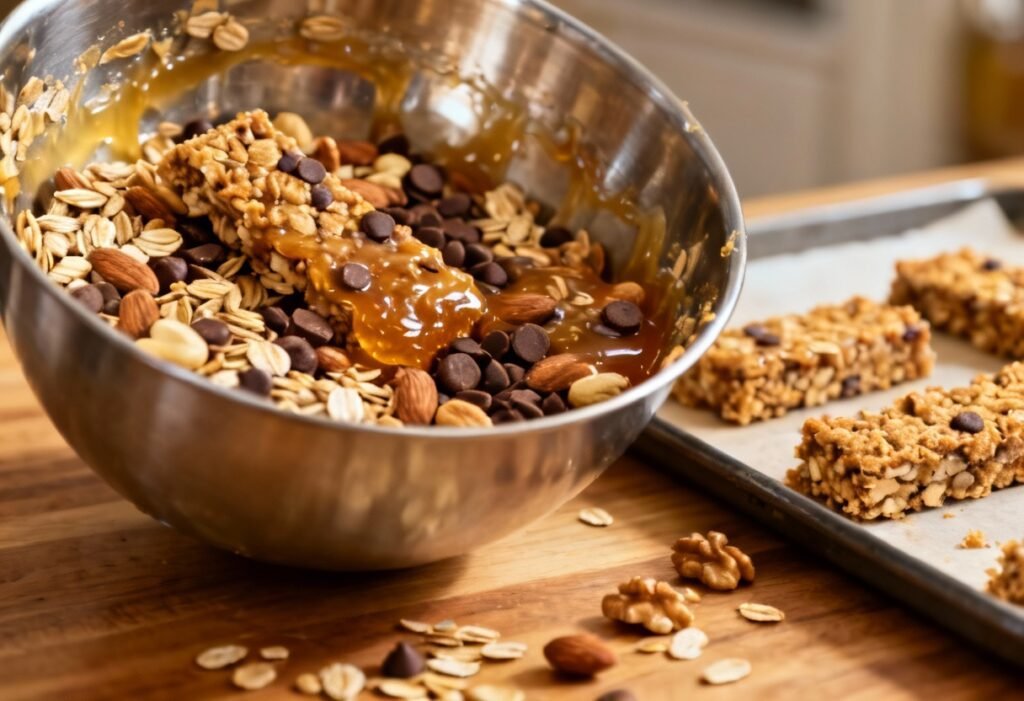
- Prepare Dry Ingredients: In a large bowl, combine the rolled oats, chopped nuts, seeds, shredded coconut (if using), and salt. Mix well.
- Toast Dry Ingredients: Spread the oat mixture evenly onto a baking sheet lined with parchment paper. Bake for 10-15 minutes, or until lightly golden brown, stirring halfway through. This step is crucial for developing the flavor and crispness of the bars. Watch carefully to prevent burning.
- Prepare Wet Ingredients: While the oat mixture is toasting, in a separate saucepan, combine the honey, brown sugar, and butter (or coconut oil). Heat over medium heat, stirring constantly, until the butter is melted and the sugar is dissolved. Bring to a simmer and cook for 1 minute, stirring constantly.
- Combine Wet and Dry Ingredients: Remove the toasted oat mixture from the oven and transfer it back to the large bowl. Pour the honey mixture over the oat mixture and stir well to combine, ensuring that all the dry ingredients are evenly coated. Stir in the vanilla extract.
- Press into Pan: Line an 8×8 inch baking pan with parchment paper, leaving some overhang on the sides for easy removal. Pour the granola mixture into the prepared pan and press it firmly and evenly into the pan. Use the bottom of a measuring cup or a spatula to ensure it’s tightly packed. The tighter you pack it, the less crumbly the bars will be.
- Bake: Bake for 20-25 minutes, or until the bars are golden brown around the edges.
- Cool Completely: Remove the pan from the oven and let the bars cool completely in the pan. This is important for setting the bars and preventing them from crumbling when you cut them. This can take several hours. For faster cooling, you can refrigerate the pan.
- Cut into Bars: Once the bars are completely cool, lift them out of the pan using the parchment paper overhang. Place them on a cutting board and use a sharp knife to cut them into bars of your desired size.
Tips for Success
- Don’t Overbake: Overbaking will result in hard, dry bars. Keep a close eye on them during the last few minutes of baking.
- Pack Tightly: Pressing the granola mixture firmly into the pan is key to preventing the bars from crumbling.
- Cool Completely: Patience is key! Let the bars cool completely before cutting them.
- Customize Your Flavors: Get creative with your ingredients! Try adding dried cranberries, chocolate chips, peanut butter chips, or different spices like cinnamon or nutmeg.
- Use High-Quality Ingredients: The quality of your ingredients will impact the taste and texture of your granola bars. Use good quality oats, nuts, and honey for the best results.
- Adjust Sweetness: If you prefer a less sweet bar, reduce the amount of honey and brown sugar.
- For Chewier Bars: Use slightly less oats.
- For Crispier Bars: Toast the oat mixture for a longer period and bake the finished bars a little longer.
Storage Instructions
Store the granola bars in an airtight container at room temperature for up to a week. For longer storage, you can freeze them for up to 2 months. Wrap each bar individually in plastic wrap or parchment paper before freezing to prevent them from sticking together.
FAQ
Q: Can I use quick oats instead of rolled oats?
A: While you can, the texture will be different. Quick oats will result in a softer, less chewy bar. Rolled oats are recommended for the best texture.
Q: Can I use a different type of sweetener?
A: You can experiment with other sweeteners like maple syrup or agave nectar, but the texture and flavor may be slightly different. Adjust the amount as needed to achieve your desired sweetness.
Q: My bars are too crumbly. What did I do wrong?
A: The most common cause of crumbly bars is not pressing the mixture firmly enough into the pan. Make sure to pack it tightly. Another possibility is that the bars weren’t baked long enough, or that the wet ingredients weren’t heated sufficiently to properly bind the dry ingredients. Also, too many dry ingredients vs wet ingredients can cause this.
Q: Can I add chocolate chips?
A: Absolutely! Add about 1/2 cup of chocolate chips to the oat mixture before pouring it into the pan.
Q: Can I make these vegan?
A: Yes! Substitute the butter with coconut oil and the honey with maple syrup or agave nectar.
Conclusion
Making your own Nature Valley-style granola bars is surprisingly easy and rewarding. Not only will you save money, but you’ll also have complete control over the ingredients and flavors. This recipe is a great starting point for creating your own customized granola bar creations. So, ditch the store-bought bars and get ready to enjoy a batch of homemade goodness that’s both delicious and wholesome. Happy baking!