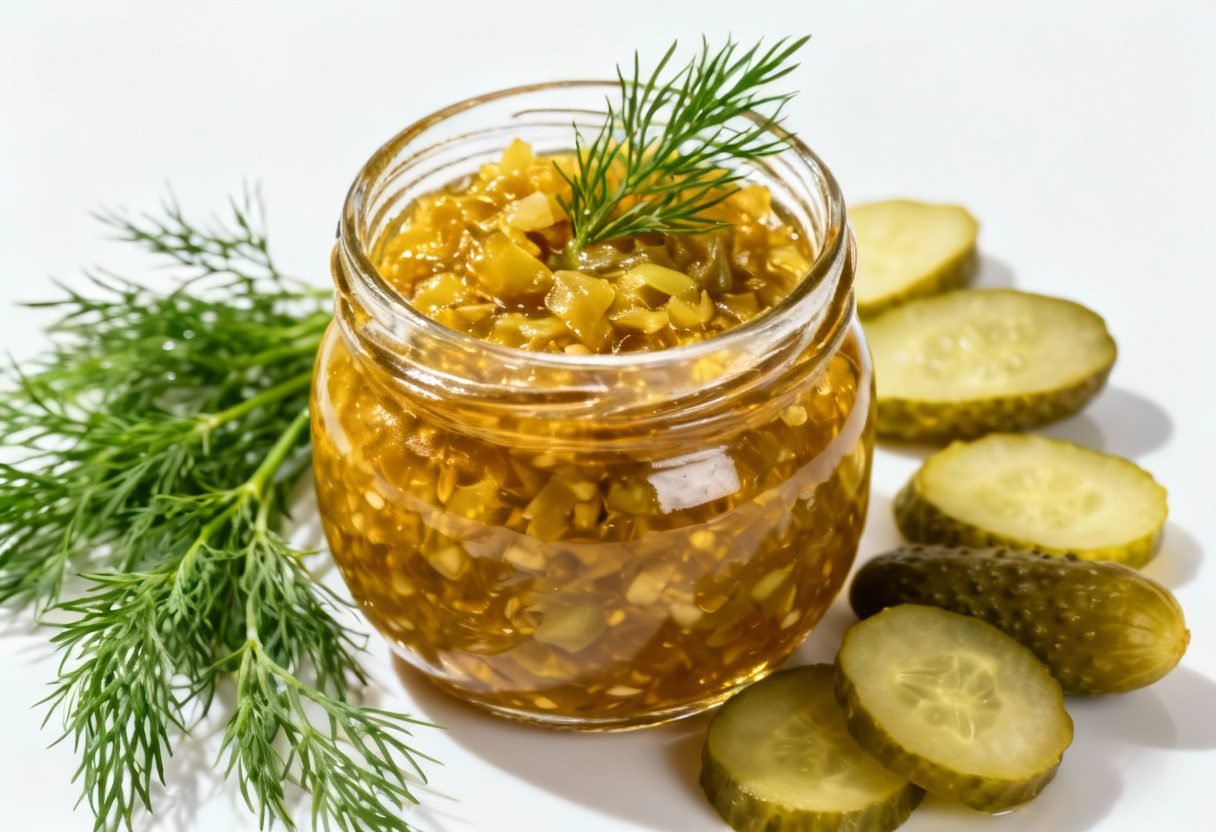
Pickle Relish Canning Recipe: Sweet, Tangy, and Shelf-Stable!
Imagine the vibrant crunch of homemade pickle relish bursting with flavor, nestled perfectly on your next hot dog, burger, or even mixed into your favorite tuna salad. Now, imagine that flavor lasting, not just for a few weeks in the fridge, but for months on your pantry shelf. This isn’t a dream; it’s the reality of canning your own pickle relish! This recipe provides a foolproof method for creating a sweet and tangy pickle relish that’s not only delicious but also safe for long-term storage. Forget store-bought versions loaded with preservatives and bland flavors. With a little effort, you can enjoy the taste of summer all year round!
Why This Recipe Works
This recipe is designed for both flavor and safety, adhering to USDA canning guidelines. Here’s why it works so well:
- Balanced Acidity: The precise ratio of vinegar to vegetables ensures a high enough acidity level to prevent the growth of harmful bacteria like botulism. Vinegar is a crucial component for safe canning.
- Proper Processing Time: The recommended water bath canning time is sufficient to create a vacuum seal in the jars, effectively preserving the relish.
- Flavor Profile: The combination of cucumbers, onions, bell peppers, and spices creates a complex and well-rounded flavor that is both sweet and tangy. The sugar helps to balance the acidity and adds a touch of sweetness.
- Texture: We’ll guide you on achieving the perfect relish consistency – not too mushy, not too chunky, just right!
Ingredients
- 6 cups finely diced cucumbers (about 4-5 medium cucumbers)
- 2 cups finely diced onions (about 2 medium onions)
- 2 cups finely diced green bell peppers (about 2 medium peppers)
- 1 cup finely diced red bell peppers (about 1 medium pepper)
- 1/4 cup pickling salt
- 4 cups granulated sugar
- 3 cups white vinegar (5% acidity)
- 1 tablespoon mustard seeds
- 1 teaspoon celery seeds
- 1/2 teaspoon ground turmeric (optional, for color)
Instructions
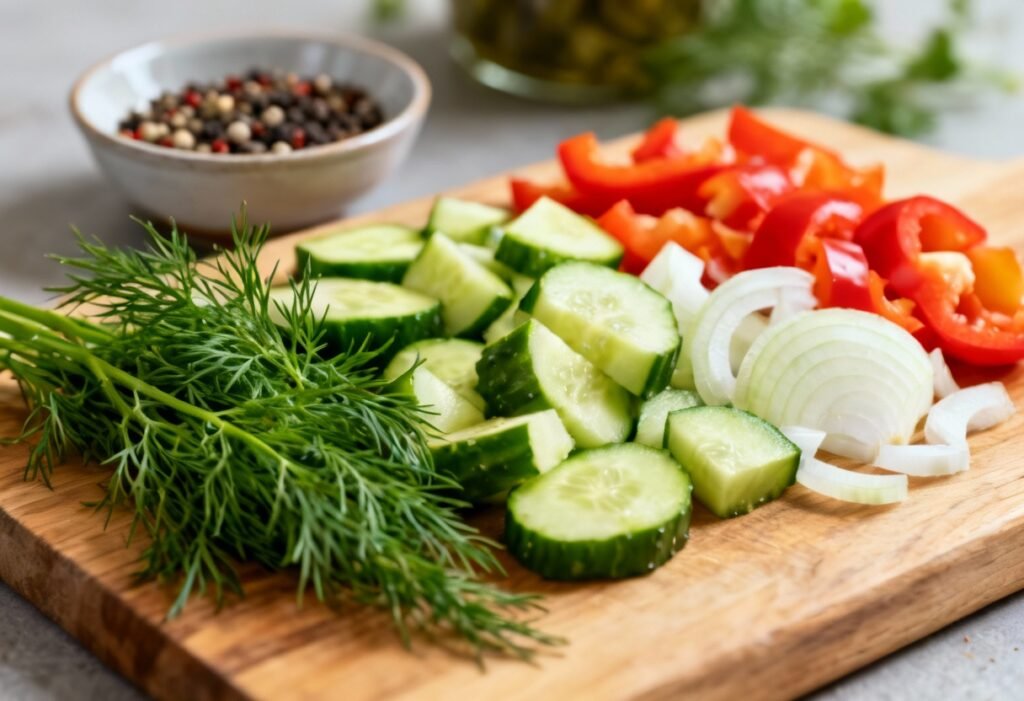
- Prepare the Vegetables: Wash all vegetables thoroughly. Finely dice the cucumbers, onions, and bell peppers. The smaller the dice, the finer your relish will be.
- Salt and Drain: Place the diced vegetables in a large bowl. Sprinkle with pickling salt and toss to combine. Cover the bowl with plastic wrap and let it sit at room temperature for at least 2 hours, or preferably overnight. This step helps to draw out excess moisture from the vegetables, resulting in a crisper relish.
- Rinse and Drain Again: After the soaking period, rinse the salted vegetables thoroughly under cold running water. Drain them well in a colander. Press down on the vegetables to remove as much excess water as possible. This is crucial for preventing a watery relish.
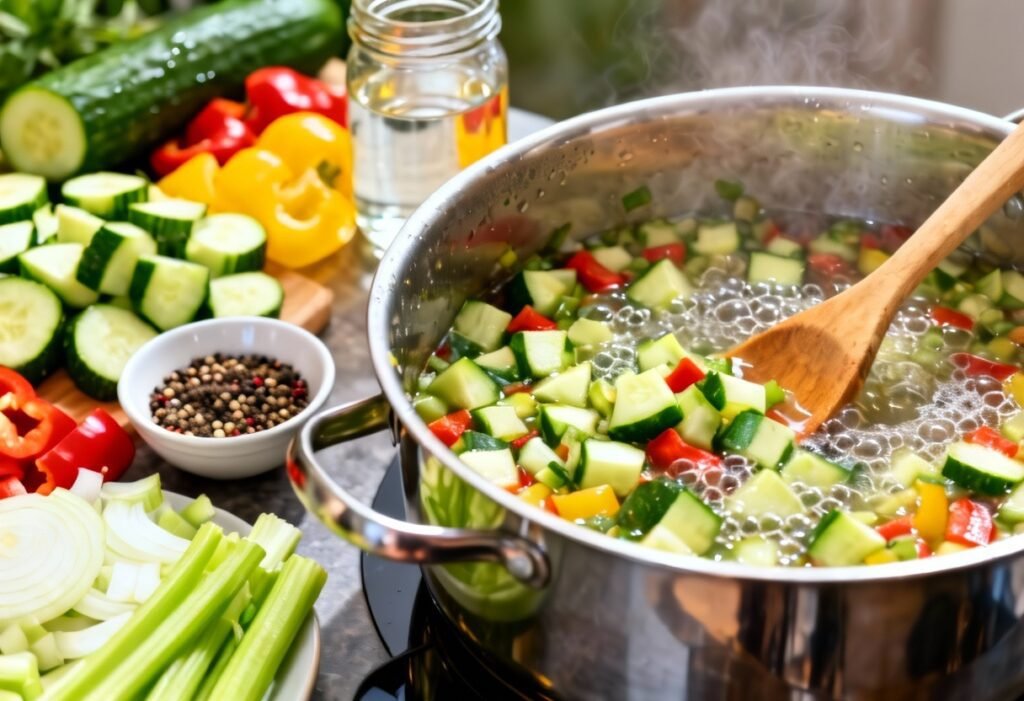
- Combine Ingredients: In a large stainless steel pot, combine the sugar, vinegar, mustard seeds, celery seeds, and turmeric (if using). Bring the mixture to a boil over medium-high heat, stirring constantly until the sugar is dissolved.
- Add Vegetables and Simmer: Add the drained vegetables to the boiling vinegar mixture. Reduce the heat to medium-low and simmer for 10-15 minutes, or until the vegetables are slightly translucent and the relish has thickened slightly. Stir frequently to prevent scorching.
- Prepare Jars and Lids: While the relish is simmering, prepare your canning jars. Wash them thoroughly with hot, soapy water and rinse well. Keep the jars hot until ready to use. You can keep them hot in a simmering pot of water or in a warm oven (200°F). Place new canning lids in a small saucepan and cover with water. Bring to a simmer over low heat. Do not boil.
- Fill Jars: Using a jar lifter, carefully remove a hot jar from the water or oven. Place it on a towel-lined surface. Ladle the hot relish into the jar, leaving 1/2 inch of headspace. Headspace is the space between the top of the relish and the rim of the jar.
- Remove Air Bubbles: Use a non-metallic utensil, such as a plastic spatula or wooden skewer, to gently run around the inside of the jar to release any trapped air bubbles.
- Wipe Jar Rims: Wipe the rim of each jar with a clean, damp cloth to remove any food residue. This ensures a proper seal.
- Place Lids and Rings: Carefully place a hot lid on top of each jar. Screw on a canning ring until it is fingertip tight. This means tightening the ring until you feel resistance, then backing off slightly. Do not overtighten.
- Process in a Water Bath Canner: Place the filled jars into a water bath canner fitted with a rack. Make sure the jars are not touching each other. Add enough hot water to the canner to cover the jars by at least 1 inch. Bring the water to a rolling boil.
- Process Time: Once the water is at a rolling boil, process the jars for 15 minutes for half-pint (8 oz) jars and 20 minutes for pint (16 oz) jars. Adjust processing time for altitude according to USDA guidelines. Consult the National Center for Home Food Preservation website for specific recommendations.
- Cool Jars: Turn off the heat and remove the canner lid. Let the jars sit in the hot water for 5 minutes. This helps to prevent siphoning. Using a jar lifter, carefully remove the jars from the canner and place them on a towel-lined surface, leaving at least 1 inch of space between the jars.
- Check for Seals: Let the jars cool completely for 12-24 hours. As the jars cool, you should hear a popping sound, indicating that a vacuum seal has formed. After 24 hours, check the seals by pressing down on the center of each lid. If the lid does not flex or pop back up, it is properly sealed.
Tips for Success
- Use Fresh, High-Quality Ingredients: The better the quality of your vegetables, the better your relish will taste.
- Don’t Skip the Salting and Draining Step: This is crucial for removing excess moisture and preventing a soggy relish.
- Use Pickling Salt: Pickling salt is pure sodium chloride without any additives that can cloud the brine or darken the relish.
- Maintain Proper Headspace: Leaving the correct amount of headspace is essential for creating a proper vacuum seal.
- Adjust Processing Time for Altitude: Processing times need to be increased at higher altitudes to ensure proper preservation.
- Use New Lids: Always use new canning lids for each batch of canning.
- Don’t Overtighten Rings: Overtightening the rings can prevent air from escaping during processing, which can lead to seal failures.
Storage Instructions
Store sealed jars of pickle relish in a cool, dark, and dry place. Properly canned and stored relish should last for at least one year, and often longer. Once opened, refrigerate the relish and use it within a few weeks.
FAQ
Q: Can I use a different type of vinegar?
A: It’s best to stick with white vinegar (5% acidity) for this recipe. Other types of vinegar may have different acidity levels, which can affect the safety of the canned relish.
Q: Can I reduce the amount of sugar?
A: While you can reduce the sugar slightly, it’s important to remember that sugar helps to balance the acidity and contributes to the overall flavor and texture of the relish. Reducing the sugar too much can affect the quality and safety of the canned product. If you want to reduce the sugar significantly, consult a tested canning recipe specifically designed for low-sugar or sugar-free pickles.
Q: What if a jar doesn’t seal?
A: If a jar doesn’t seal within 24 hours, you have a few options. You can reprocess the relish in a clean jar with a new lid, or you can store the relish in the refrigerator and use it within a few weeks.
Q: Can I use this recipe for other vegetables?
A: This recipe is specifically designed for cucumbers, onions, and bell peppers. Using other vegetables may require adjustments to the processing time and acidity levels to ensure safety.
Conclusion
Canning your own pickle relish is a rewarding experience. Not only will you have a delicious and versatile condiment on hand, but you’ll also have the satisfaction of knowing that you made it yourself! Follow this recipe carefully, and you’ll be enjoying the sweet and tangy taste of homemade pickle relish all year long. So, gather your ingredients, grab your canning supplies, and get ready to create a pantry staple that your family and friends will love!