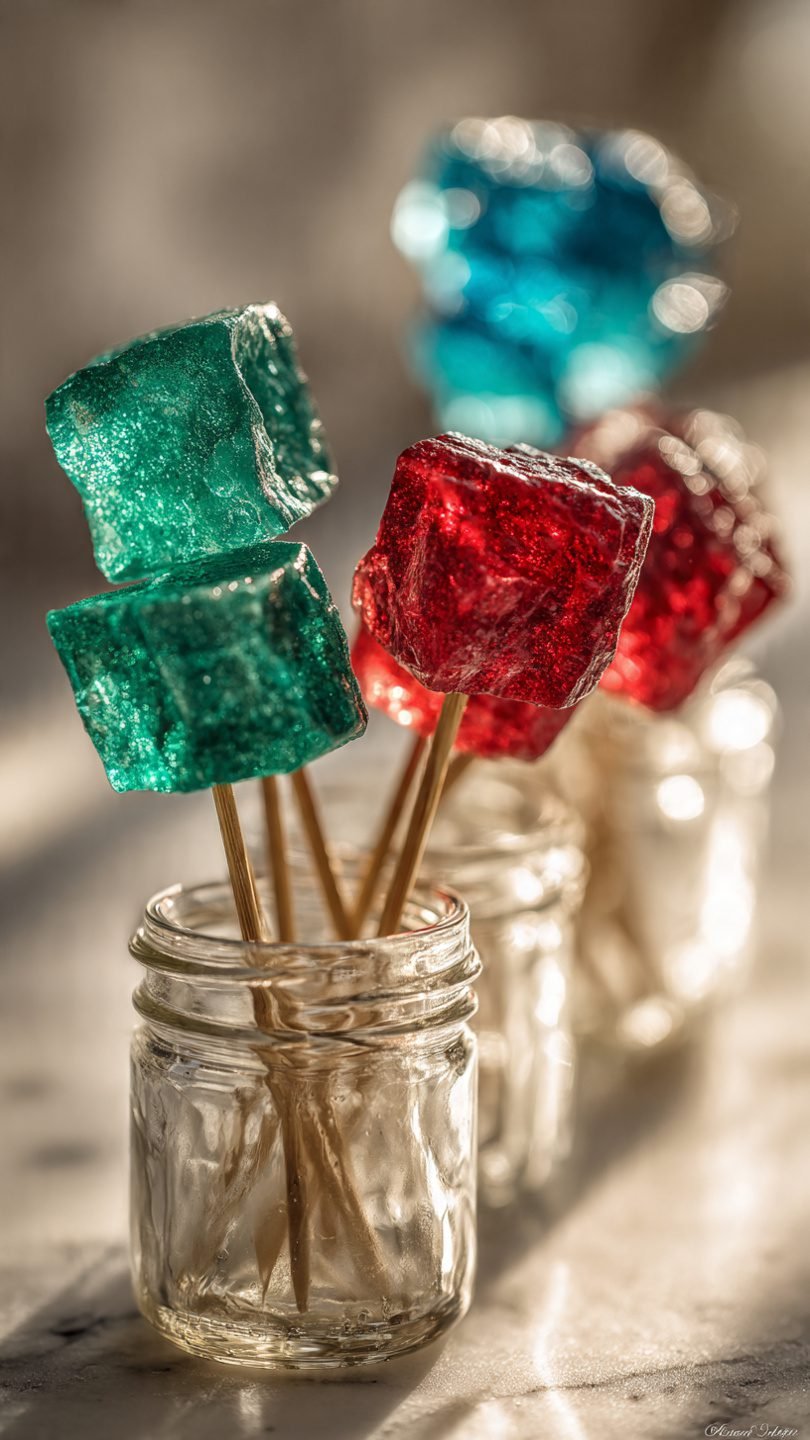
🍭 The Ultimate Rock Candy Recipe Easy & Foolproof DIY (Edible Geodes!)
So you’re craving something sweet, but you’re also feeling a little bit like a mad scientist today? Same. Or maybe you just saw a picture of glistening, jeweled sugar on a stick and thought, “I could pay $5 for that at a boutique candy shop, or I could make it myself for pennies and feel superior.”
Spoiler alert: We are doing the second one.
Welcome to the wonderful world of growing your own sugar crystals. This isn’t just a recipe; it’s a test of patience (which I barely have) and a surprisingly cool chemistry experiment that results in pure, unadulterated sugar on a stick. If you’ve got a bag of white sugar and a few days to spare, you’re about to become a confectionery genius.
Why This Recipe is Awesome
Look, I know what you’re thinking. “Is it worth waiting a week for candy?” The answer is a resounding yes, and here is why.
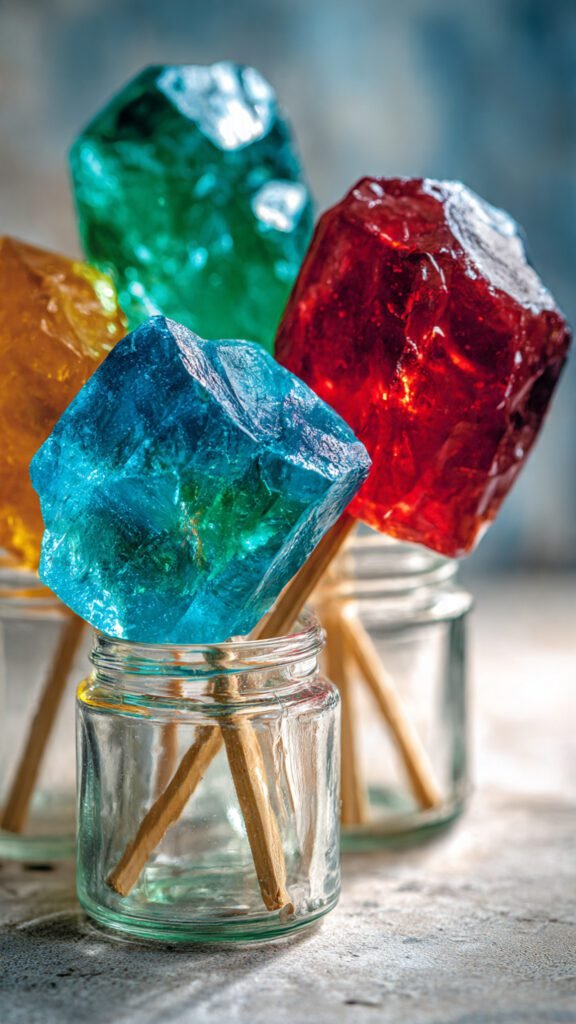
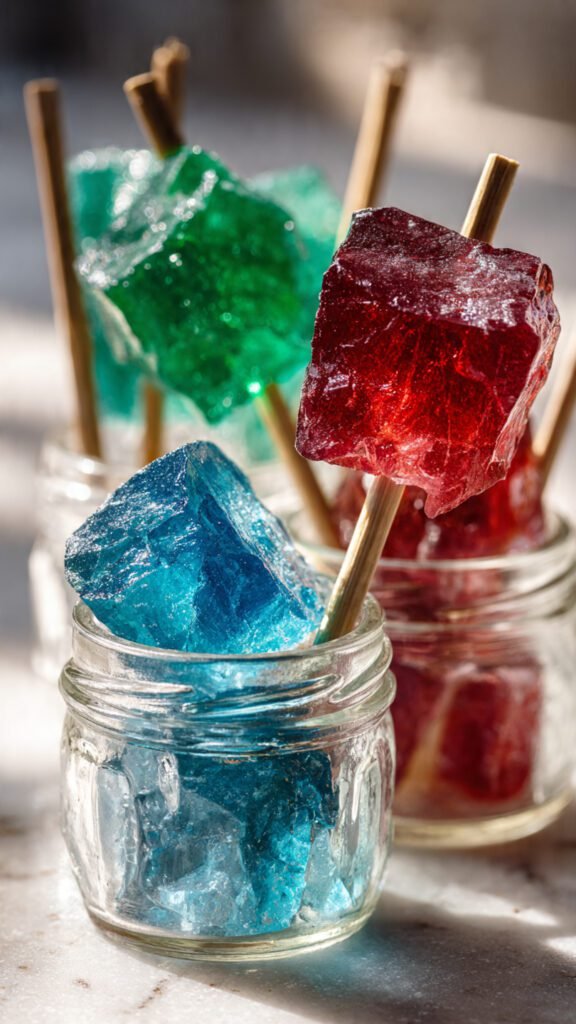
First off, the aesthetic factor is off the charts. We are talking about edible gemstones here. When you pull that stick out of the jar after a week, and it looks like something you’d find in a dragon’s hoard (or a geology museum gift shop), you get a massive hit of dopamine. It’s incredibly satisfying.
Secondly, it is idiot-proof. Seriously. If you can boil water and stir, you are overqualified for this job. Most candy making requires terrifying things like candy thermometers, precise humidity levels, and the fear of molten sugar burns. While the burns are still a risk (please be careful), the precision is much more forgiving here. We are essentially forcing sugar to panic and cling to a stick. It’s nature doing the heavy lifting.
Finally, the science behind it is genuinely cool. We are creating a supersaturated solution. By heating water, we convince it to hold way more sugar than it wants to. As it cools, the water effectively says, “I can’t hold all this!” and dumps the excess sugar onto the nearest rough surface—which, if we do our jobs right, is your stick. It’s the closest you’ll get to Breaking Bad vibes in your kitchen without the legal ramifications.
Ingredients You’ll Need
You don’t need a fancy pantry for this. In fact, you probably have everything right now.
- White Granulated Sugar: You need the standard white stuff. Do not try to be healthy and use coconut sugar or stevia. Chemistry doesn’t care about your diet; crystals need pure sucrose to form properly. You need a lot of it. Like, an alarming amount.
- Water: Good ol’ H2O. Filtered is nice if your tap water tastes like a swimming pool, but not strictly necessary.
- Flavoring Extract: This is where you get creative. Peppermint, lemon, raspberry, cinnamon. Just make sure it’s a liquid extract.
- Food Coloring: Optional, but let’s be real—if it’s not neon blue or electric pink, is it even fun? Gel paste gives vibrant colors, but liquid drops work fine too.
- Wooden Skewers or Cotton String: I prefer wooden skewers or chopsticks. They are sturdy and easier to eat off of later. If you use string, weigh it down with a clean paper clip.
- Clothespins: To hold the stick in place.
- Glass Jars: Tall, narrow jars work best (like Mason jars or recycled olive jars). You want the stick to be submerged but not touching the bottom.
Step-by-Step Instructions
Alright, apron up. Let’s make some magic.
1. Prep Your “Seed” Sticks (Do Not Skip This!)
This is the secret sauce. The sugar needs something to grab onto. Dip your wooden skewers into water, shake off the excess, and then roll them in a plate of dry sugar. You want a nice, crusty coating.
- Crucial Step: Let these dry completely. I mean it. If you put wet sugar sticks into hot syrup, the sugar just washes off, and you get nothing but a wet stick at the end of the week. Let them sit for at least an hour until rock hard.
2. The Ratio Game
Combine your water and sugar in a medium saucepan. The magic ratio is roughly 3 parts sugar to 1 part water. Yes, that looks like way too much sugar. Trust the process.
- Start by boiling 1 cup of water.
- Add the sugar (about 3 cups) in increments, stirring constantly. Let one cup dissolve before adding the next.
3. Reach the Boiling Point
Once all the sugar is in, let the mixture come to a rolling boil. You want the liquid to be completely clear (though thick and syrupy). No cloudy sugar grains allowed! If it’s cloudy, keep heating. This ensures you have a true supersaturated solution.
4. Flavor and Color
Remove the pan from the heat. This is the time to add your personality.
- Stir in your food coloring (go bold, the color lightens as crystals form).
- Add about 1 teaspoon of flavoring. Heads up: Stand back when you add the flavor. The alcohol in the extract will vaporize instantly when hitting the hot syrup, and a face full of hot peppermint steam is an experience you don’t need.
5. The Cool Down
Do not pour boiling lava into your glass jars. You will crack the glass and have a very bad day. Let the syrup cool in the pan for about 20–30 minutes. It should be warm, but not scorching.
- Fun fact: Pouring it while slightly cooler actually helps the suspension process.
6. The Assembly
Pour the sticky syrup into your clean jars. Take your sugar-crusted, bone-dry skewers and lower them into the center of the jar.
- Secure the stick with a clothespin laid flat across the rim of the jar.
- The Golden Rule: The stick must not touch the bottom or the sides of the jar. If it touches the glass, the crystals will fuse the stick to the jar, and you will need a chisel to get it out.
7. The Hardest Part: Waiting
Place the jars in a cool, quiet place where they won’t be bumped. A dark pantry or a high shelf is perfect.
- Cover them loosely with a paper towel to keep dust out, but allow evaporation.
- Timeline: You will see crystals forming within 4–6 hours. For a giant, impressive rock candy, leave it for 5 to 7 days.
8. Harvest Time
When the crystals are big enough for your liking, break the crust of sugar that has likely formed on the top of the liquid. Gently pull the stick out.
- Hang the stick in an empty jar or over a plate for an hour to let the excess syrup drip off and the crystals to dry.
Common Mistakes to Avoid
Even though this is easy, things can go sideways. Here is how to avoid a sugar fail.
- The “Naked Stick” Tragedy: If your stick comes out smooth with no crystals, it’s usually because you didn’t let the seed sugar dry on the stick in Step 1. The hot syrup washed it away, leaving the crystals with nowhere to anchor.
- The Cloudy Mess: If your crystals look mushy or sand-like rather than clear and geometric, you probably didn’t dissolve the sugar fully during the boiling phase. You need that liquid clear.
- The Stuck-to-the-Side Disaster: If your stick touches the glass, the crystals will grow from the jar wall to the stick, creating a solid bridge. You’ll have to melt the whole thing down to save the jar. Center that stick!
- The Impatient Poker: Don’t move the stick. Don’t stir it. Don’t check it every hour. Vibration disrupts crystal formation. Just let it be.
- Undersaturation: If you try to reduce the sugar (using 2 cups instead of 3), the solution isn’t saturated enough. The crystals simply won’t grow because the water isn’t desperate enough to get rid of the sugar.
Alternatives & Substitutions
Feeling spicy? Or maybe you just hate peppermint? Here are some ways to switch it up.
- The “Grown-Up” Rock Candy: Use champagne flavoring or rose water for a sophisticated, floral vibe. These make amazing swizzle sticks for cocktails.
- Ombré Effect: This is for the over-achievers. Start with clear syrup. After two days, add a drop of red dye to the jar. Two days later, add blue. As the crystals grow layers, they will capture the color changes. (IMO, this is a lot of effort, but it looks cool on Instagram).
- The String Method: If you don’t have skewers, cotton string works. Tie it to a pencil and weigh the bottom down with a clean washer or paper clip. The crystals will grow along the string, making a flexible candy “rope.”
- Sour Power: Want sour rock candy? You can’t add citric acid to the hot syrup (it messes up the crystallization structure). Instead, dust the finished, slightly sticky candy with citric acid powder right after you pull it out of the jar.
FAQ (Frequently Asked Questions)
Q: Can I use brown sugar instead of white? Technically, yes. But your crystals won’t be clear; they will be dark and the molasses content can make the growing process slower and the texture softer. Stick to white sugar for that classic “gemstone” look.
Q: Why is there a crust forming on top of my liquid? That’s totally normal. Evaporation happens fastest at the surface, so sugar crystallizes there first. Just gently crack it with a spoon when you are ready to remove your stick.
Q: Can I reuse the leftover syrup? Absolutely! You’ll have a lot of syrup left in the jar. It’s essentially flavored simple syrup now. Use it to sweeten iced coffee, tea, or cocktails. Don’t pour it down the drain unless you hate your plumbing.
Q: My crystals stopped growing after two days. What gives? The solution might have reached a balance where it’s no longer supersaturated. If you want them bigger, remove the stick, re-boil the syrup, add another half-cup of sugar, cool it, and put the stick back in.
Q: Does this stuff expire? It is pure sugar. Bacteria hates pure sugar (osmosis kills them). As long as you keep it dry, rock candy lasts essentially forever. Or until you eat it. Whichever comes first.
Q: Can I make this sugar-free? Nope. Sorry. The chemical structure of Splenda, Stevia, or Monkfruit does not crystallize the same way sucrose does. This is a treat, not a diet food. Embrace the calories.

Final Thoughts
And there you have it! You have successfully manipulated chemistry to create a delicious, crunchy treat. Whether you’re making these as party favors, a science project for the kids, or just because you wanted to eat pure sugar on a stick while watching Netflix (no judgment), you’ve done a great job.
The waiting is the hardest part, but that first crunch of a homemade sugar crystal? Totally worth it.
Now go impress someone—or yourself—with your new culinary skills. You’ve earned it!