The Only Royal Icing Recipe Without Meringue Powder You’ll Ever Need (Smooth, Shiny, and Foolproof)
You don’t need a specialty ingredient to make bakery-level cookie icing. You just need a bowl, a whisk, and a couple of pantry staples your grandma would approve of. This royal icing recipe without meringue powder sets glossy, pipes clean lines, and actually tastes like something you want to eat.
Skip the store run, skip the weird powders—this is simple, scalable, and ready in minutes. Want those crisp edges and perfect floods? You’re in the right place.
What Makes This Special
This recipe uses fresh egg whites (or pasteurized carton whites) instead of meringue powder, which means fewer additives and a more delicate, clean flavor.
The texture is super adjustable—thick for piping details or thinned for flooding—without turning grainy or dull. It dries to that classic royal-icing snap while staying slightly tender underneath, so you won’t shatter your cookies. And the shine?
It’s the kind of glossy finish that makes people ask where you ordered them.
Ingredients
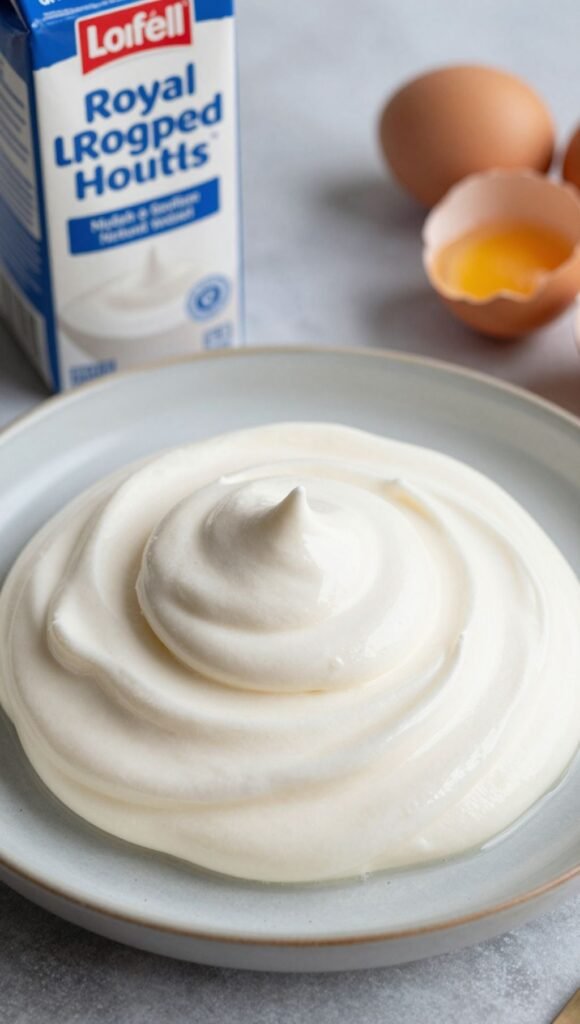
- 2 large egg whites (fresh or pasteurized carton egg whites; see FAQ for safety notes)
- 3–3 1/2 cups powdered sugar (confectioners’ sugar), sifted
- 1 teaspoon lemon juice (or 1/2 teaspoon cream of tartar) for stability and brightness
- 1 teaspoon vanilla extract (use clear vanilla if you want a bright white finish)
- 1–3 tablespoons water (as needed for thinning to flooding consistency)
- Optional: Pinch of fine salt to balance sweetness
- Optional: Gel food coloring (water-based gel or powder; avoid liquid dyes if possible)
Step-by-Step Instructions
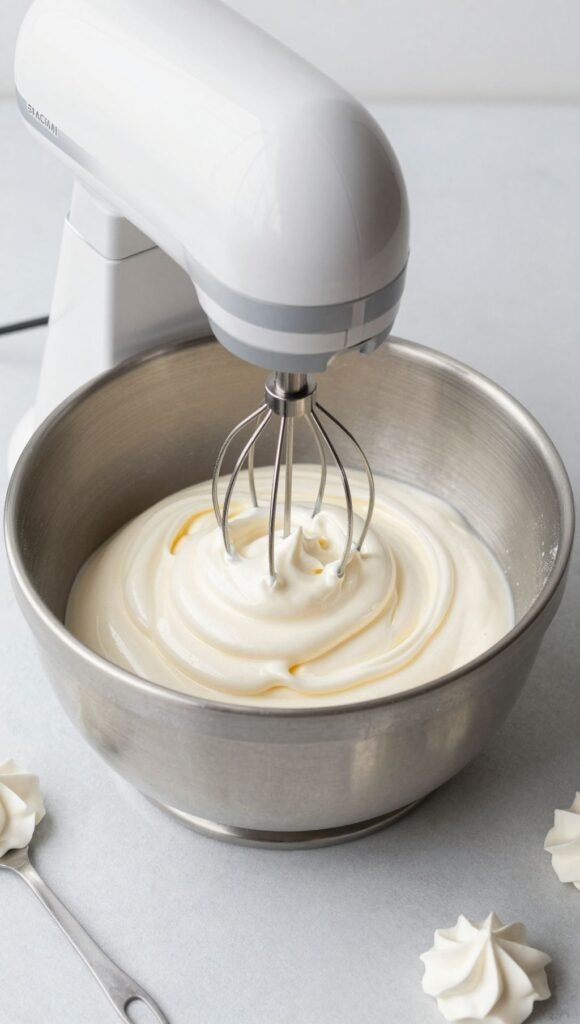
- Prep your tools. Use a clean, grease-free bowl and whisk or the whisk attachment on a stand mixer. Any fat can sabotage your peaks—wipe tools with a bit of vinegar if you’re paranoid (I am).
- Whisk the whites. Add the egg whites and lemon juice (or cream of tartar) to the bowl. Whisk on medium speed until foamy and slightly opaque, about 30–60 seconds.
- Add sugar gradually. With the mixer on low, sift in powdered sugar 1/2 cup at a time.
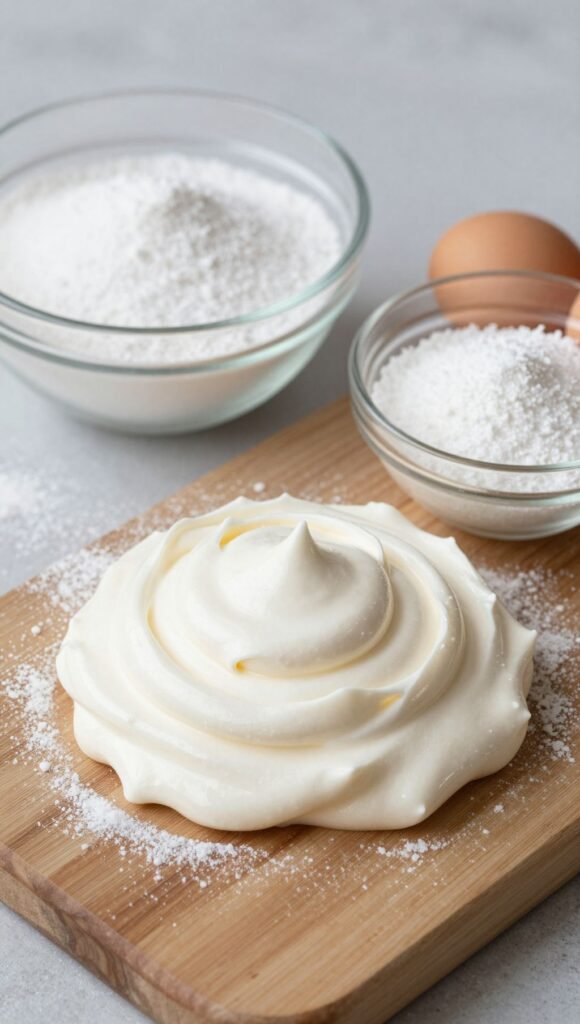
Pause occasionally to scrape the sides. You’re aiming for a thick, glossy paste that forms soft peaks—think toothpaste-level thickness.
- Flavor and finish. Mix in the vanilla and optional pinch of salt. Beat on medium for 1–2 minutes until the icing is smooth and slightly stiff.
Avoid overbeating; you want glossy, not frothy.
- Check base consistency (piping). For borders and details, the icing should hold a peak for 5–7 seconds before softening. If too thick, add water 1/2 teaspoon at a time. If too thin, add more sifted sugar.
- Make flooding icing. Transfer a portion to a separate bowl and thin with water a few drops at a time until it reaches a 10–15 second consistency (a line drawn through the icing disappears in 10–15 seconds).
This flows smooth but won’t run off the cookie.
- Color like a pro. Divide icing into bowls and stir in gel coloring. Go light at first; colors deepen as they sit. Keep bowls covered with plastic wrap touching the surface to prevent crusting.
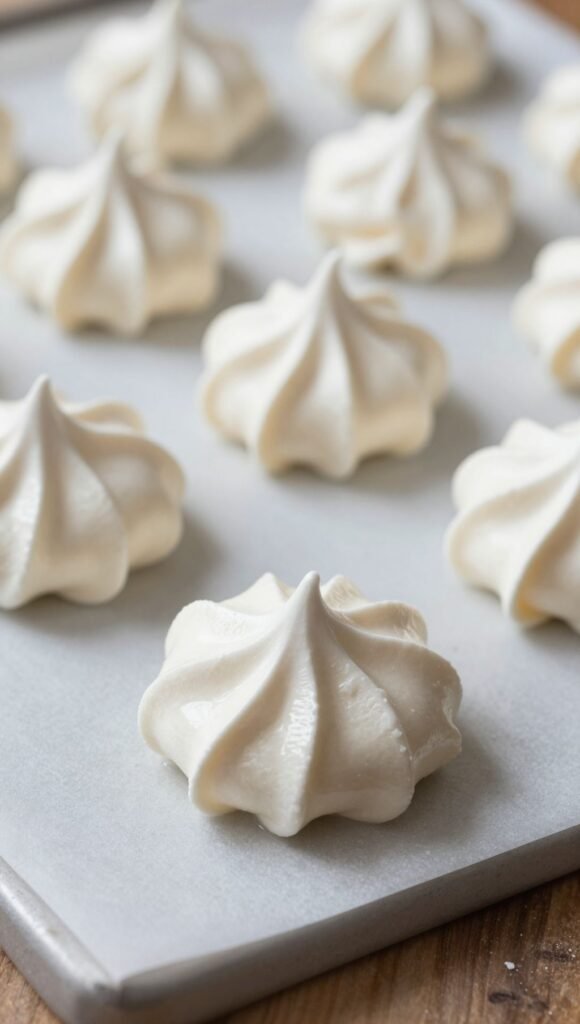
- Bag it up. Spoon icing into piping bags fitted with small round tips (No. 1–3).
For flooding, use a slightly larger tip or a tipless bag with a small snip.
- Decorate. Pipe borders with thick icing, then fill with flooding icing. Use a scribe tool or toothpick to nudge icing into corners and pop bubbles. Add wet-on-wet details immediately or wait 10–15 minutes for layered effects.
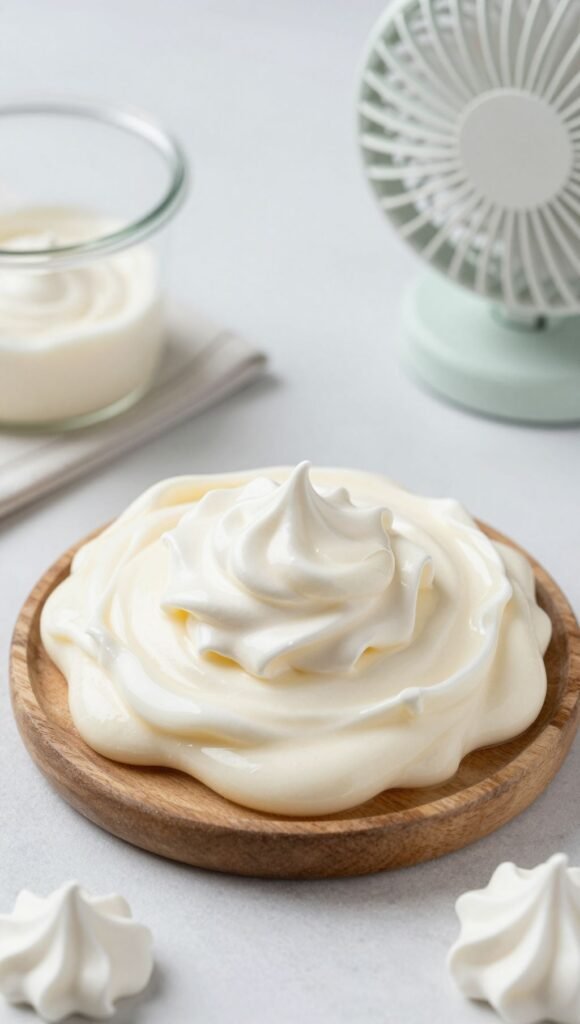
- Dry properly. Let cookies dry uncovered at room temp 6–12 hours until fully set.
For extra shine and fewer craters, run a fan on low nearby. Avoid humid rooms—your icing has commitment issues in humidity.
Storage Tips
- Short-term: Keep icing in an airtight container with plastic wrap touching the surface to prevent crusting. Refrigerate up to 3 days.
- Re-whisk before using: After chilling, let it come to room temperature and whisk briefly to restore gloss.
Add a drop of water if it’s too stiff.
- Freezing: You can freeze royal icing (yes, even with egg whites) up to 2 months. Thaw overnight in the fridge, then bring to room temp and whisk.
- Decorated cookies: Once dried, store in a single layer in airtight containers for 1 week at room temp, or freeze between parchment layers up to 2 months.
Nutritional Perks
Let’s be honest: royal icing isn’t a kale salad. But there are a few wins.
Using egg whites provides a tiny protein bump and less fat than buttercream. Lemon juice adds brightness without extra sugar. And because this icing sets firm, you can apply it thinly for vivid designs with less overall sweetness.
Moderation? Sure. But flavor and finish that pops?
Absolutely.
Pitfalls to Watch Out For
- Grease contamination: Butter, oil, or even egg yolk ruins volume and shine. Keep everything squeaky clean.
- Over-thinning: Water is powerful. Add by drops, not spoonfuls, unless you want cookie slip-n-slides.
- Humidity and heat: High moisture prevents proper drying and dulls shine.
Use a fan or dehumidifier if needed.
- Cratering in small sections: Tiny areas (polka dots, eyes) can collapse. Let a thin crust form before adding micro details, or pipe a tiny base with thicker icing first.
- Overmixing: You’re making icing, not whipped meringue. Stop when it’s glossy and smooth.
- Raw egg safety: If serving kids, pregnant people, or immunocompromised guests, use pasteurized egg whites.
Simple, safe, still delicious.
Different Ways to Make This
- With pasteurized carton egg whites: Replace fresh whites 1:1 by volume (about 1/4 cup for 2 whites). Texture is consistent, flavor is neutral, and it’s safer.
- Swiss method (lightly heated): Whisk egg whites and sugar over a double boiler until the sugar dissolves and the mixture reaches 160°F, then beat to the right consistency. Adds safety and extra gloss.
- Lemon-vanilla twist: Swap lemon juice for 1 tsp fresh lemon zest and 1/2 tsp almond extract for a bakery-style flavor (use clear extracts to keep it white).
- Chocolate royal icing: Replace 1/4 cup powdered sugar with 1/4 cup cocoa powder and add a splash more water.
Deep flavor, beautiful matte finish.
- Dairy-free shine boost: A few drops of corn syrup can add extra gloss and prevent chipping on large flood areas. Don’t overdo it or drying time increases.
FAQ
Is royal icing safe without meringue powder?
Yes—use pasteurized egg whites to minimize risk. Many stores sell carton egg whites labeled pasteurized.
If using fresh eggs, source high-quality eggs and consider the Swiss method where you heat the whites and sugar to 160°F.
How do I know the right consistency?
Use the “seconds” test. For piping borders, a line should hold for 5–7 seconds. For flooding, it should disappear in 10–15 seconds.
Adjust with water or powdered sugar in tiny increments until it behaves.
Why is my icing dull and not shiny?
Overmixing, humidity, and too little drying airflow are common culprits. Try a small fan, avoid high humidity, and don’t whip air into it for ages. A touch of corn syrup can also help gloss, FYI.
Can I flavor royal icing?
Absolutely.
Use oil-free, water-based extracts like vanilla, almond, or lemon. Avoid oils (like citrus oils) because fat deflates the structure. Clear extracts keep your white bright.
How long does it take to dry?
Surface dry in 1–2 hours for thin floods, fully set in 6–12 hours depending on thickness and climate.
For layered designs, wait at least 30–60 minutes between colors to avoid bleeding.
My colors are bleeding—help!
Use gel colors sparingly, let layers crust before adding new colors, keep the drying area cool and low-humidity, and avoid over-thinning. Dark saturated shades are the usual troublemakers, IMO.
Can I pipe flowers or fine details with this?
Yes. Keep a batch at thicker 15–20 second consistency for crisp details.
Practice on parchment, and let pieces dry fully before transferring. A tiny round tip is your MVP here.
What if I don’t have a mixer?
Whisk by hand with a balloon whisk. It’ll take a few minutes and some elbow grease, but it works.
Sift your sugar to make it easier and smoother.
Wrapping Up
This royal icing recipe without meringue powder delivers glossy finishes, clean lines, and flavors you’re proud to serve—no specialty ingredients required. With a few simple technique checks (consistency tests, clean tools, smart drying), your cookies will look professional and taste fantastic. Keep a base batch thick, thin what you need for floods, and color with restraint.
Then step back and watch people ask which bakery made them—your secret’s safe with me.