Sourdough Ciabatta Bread Recipe: Unleash the Airy Delight!
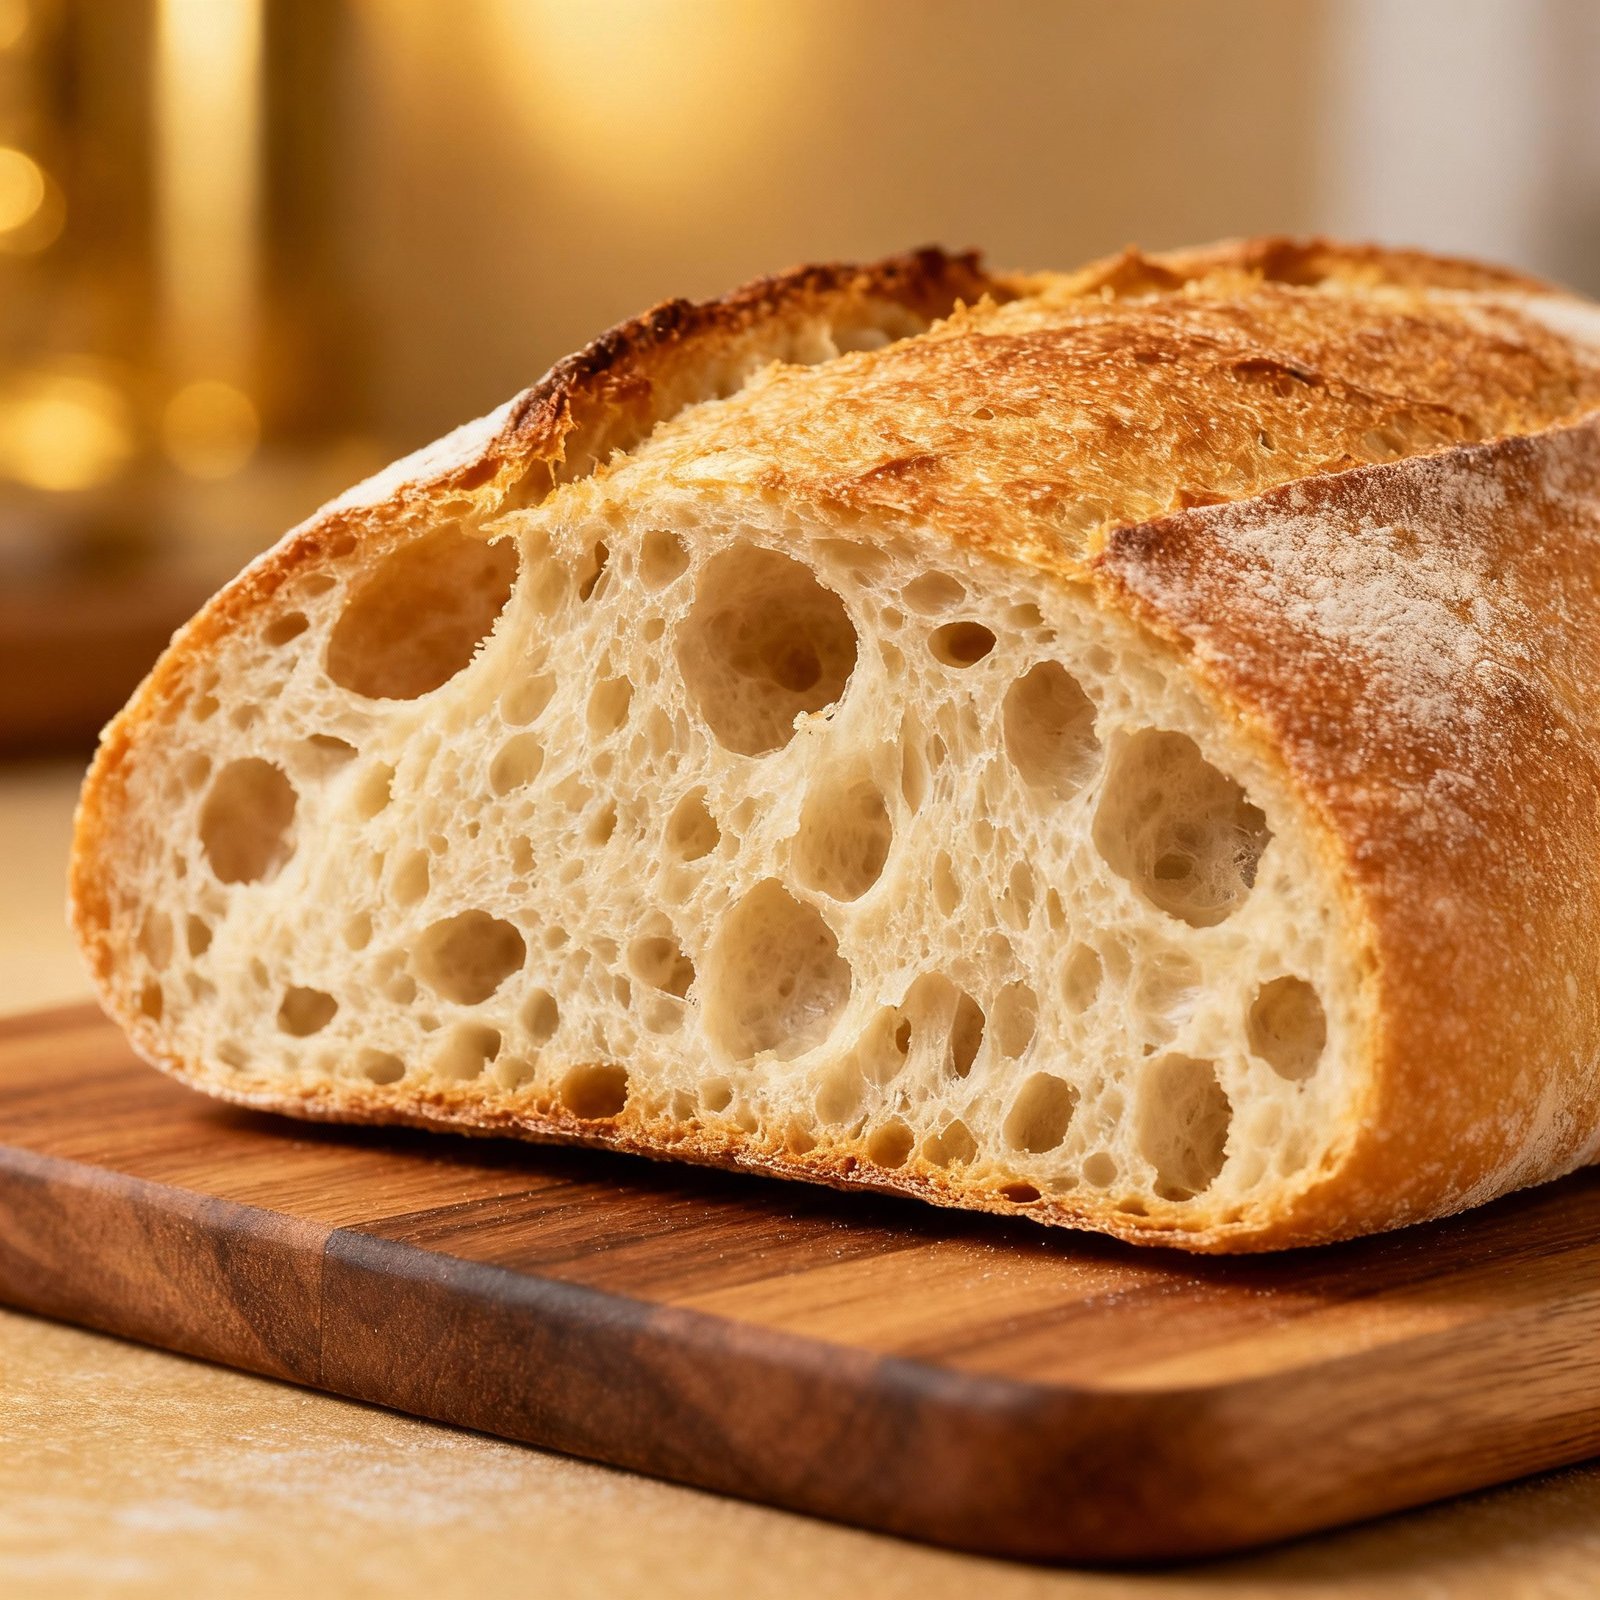
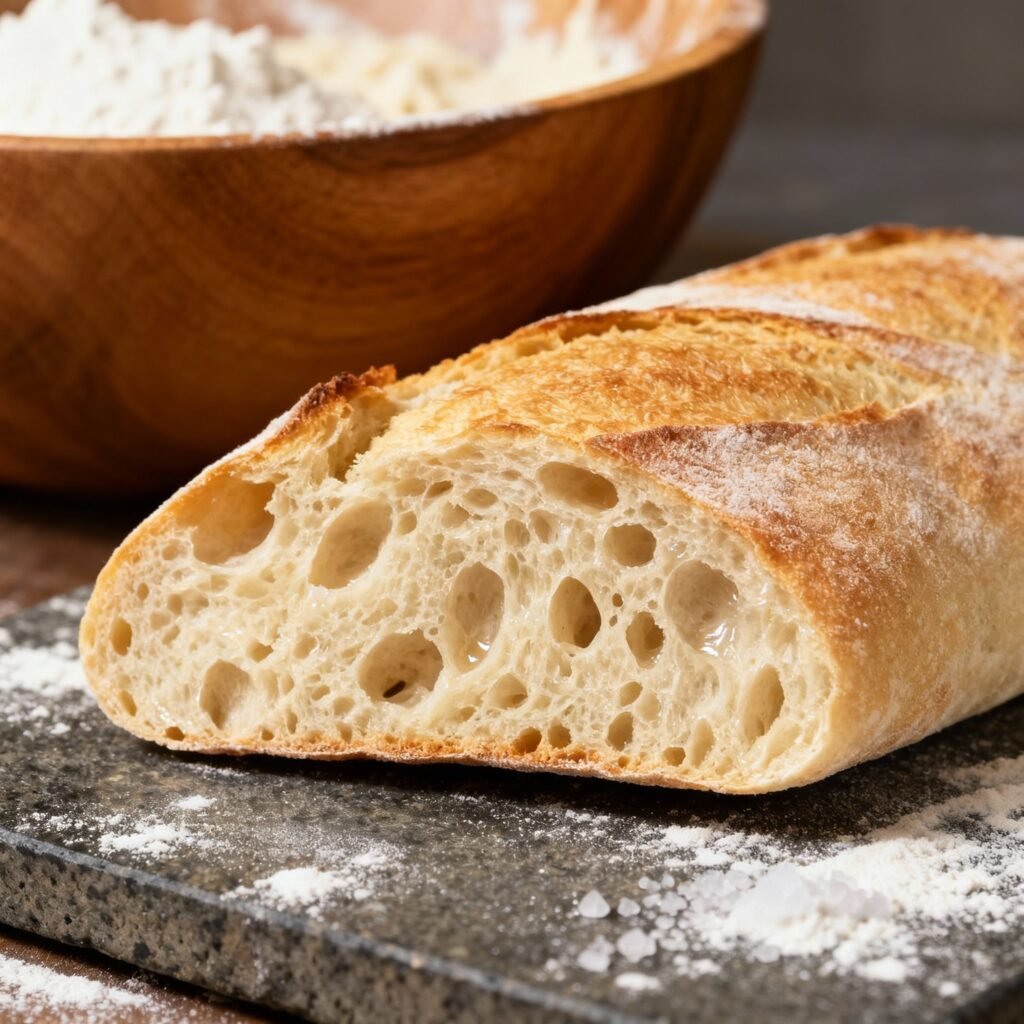
Ciabatta, with its rustic charm, open crumb, and satisfying chew, is a bread lover’s dream. Now, imagine that dream elevated with the complex flavors and tangy depth of sourdough. This recipe brings you just that – a Sourdough Ciabatta that’s surprisingly easy to make at home, delivering bakery-quality results every time. Prepare to impress your friends and family with this airy, flavorful masterpiece!
Why This Recipe Works
This recipe is designed for success, even for those new to sourdough baking. Here’s why it works:
- High Hydration: Ciabatta is known for its high hydration dough, which creates those signature large, irregular air pockets. This recipe uses a carefully calculated hydration level to achieve the perfect balance between airy texture and manageable dough.
- Autolyse: An autolyse, or flour and water rest, allows the flour to fully hydrate, developing gluten strength and flavor. This results in a more extensible dough that’s easier to work with and produces a more open crumb.
- Sourdough Starter: Using a vibrant, active sourdough starter is crucial for leavening and flavor development. We’ll guide you on how to ensure your starter is ready for baking.
- Stretch and Folds: Instead of traditional kneading, we employ a series of stretch and folds. This gentle technique strengthens the gluten, develops structure, and incorporates air into the dough, all without overworking it.
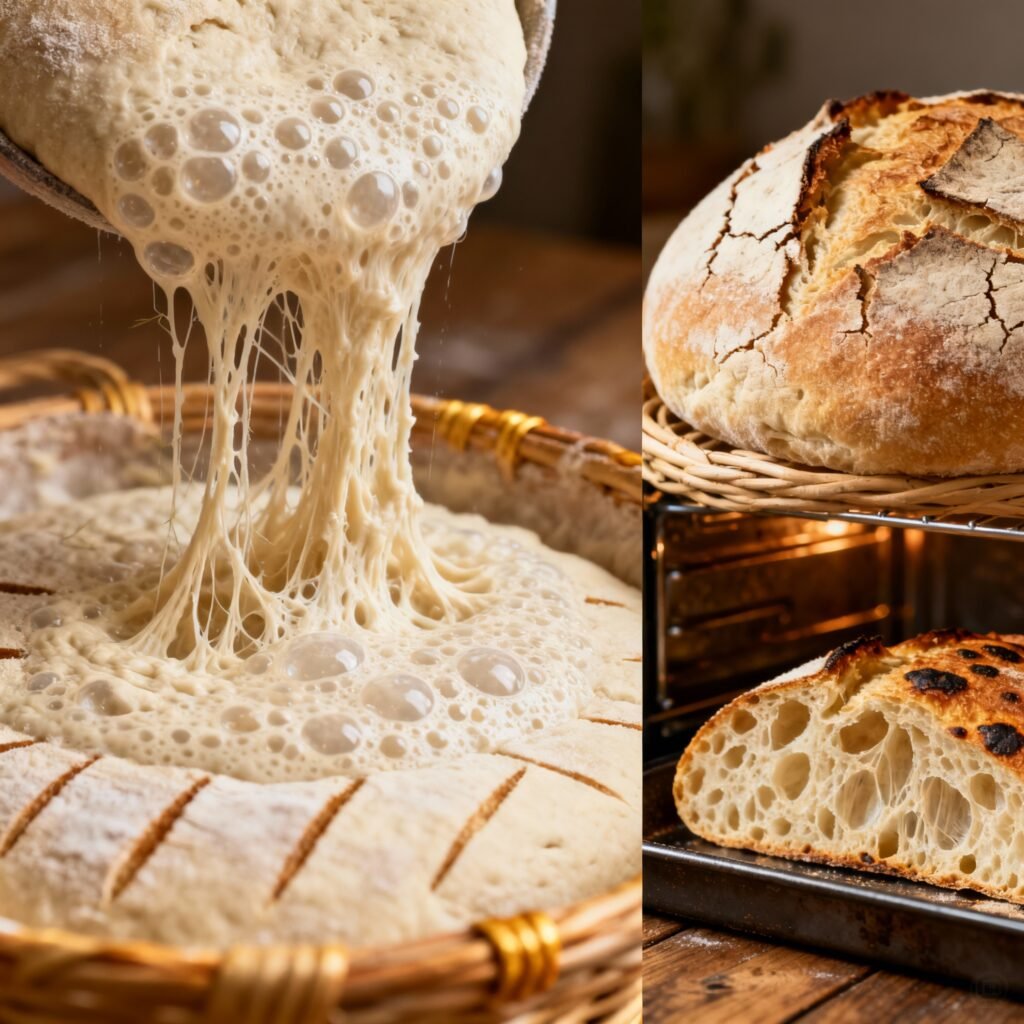
- Generous Proofing: A long, slow proof allows the sourdough starter to work its magic, developing the characteristic tangy flavor and creating a light, airy texture.
Ingredients
- 400g Bread Flour: Provides the necessary gluten for structure.
- 320g Water (80°F / 27°C): Hydrates the flour and activates the starter.
- 100g Active Sourdough Starter (100% hydration): The key to leavening and flavor.
- 10g Salt: Enhances flavor and controls fermentation.
- Olive Oil: For greasing the bowl and shaping the loaves.
- Semolina Flour or Rice Flour: For dusting the baking surface to prevent sticking.
Instructions
- Autolyse: In a large bowl, combine the bread flour and 300g of water. Mix until just combined, ensuring no dry flour remains. Cover and let rest for 30-60 minutes.
- Incorporate Starter: Add the active sourdough starter to the autolysed dough. Gently mix until well combined.
- Add Salt and Remaining Water: Dissolve the salt in the remaining 20g of water. Add this mixture to the dough and mix until fully incorporated. The dough will be shaggy and sticky.
- Bulk Fermentation with Stretch and Folds: Cover the bowl and let the dough rest for 30 minutes. Then, perform the first set of stretch and folds: gently grab one side of the dough, stretch it upwards, and fold it over the center. Rotate the bowl 90 degrees and repeat. Do this a total of four times. Cover and let rest for another 30 minutes. Repeat this process (stretch and folds every 30 minutes) for a total of 3-4 sets.
- Bulk Fermentation: After the final set of stretch and folds, let the dough bulk ferment at room temperature (ideally around 70-75°F / 21-24°C) for 4-6 hours, or until it has nearly doubled in size and shows signs of activity (bubbles on the surface). The exact time will depend on the strength of your starter and the temperature of your environment.
- Divide and Shape: Gently flour a work surface with semolina or rice flour. Turn the dough out onto the floured surface. Gently stretch the dough into a rectangle, about 12×18 inches. Using a bench scraper or knife, divide the dough into 4-6 equal-sized rectangles. Be careful not to deflate the dough too much.
- Final Proof: Gently transfer the ciabatta loaves to a baking sheet lined with parchment paper that has been generously dusted with semolina or rice flour. Cover loosely with plastic wrap or a damp towel and let proof for 30-60 minutes, or until slightly puffed.
- Preheat Oven: Preheat your oven to 450°F (232°C) with a baking stone or baking steel on the middle rack. If you don’t have a stone or steel, you can use a baking sheet. Place an empty oven-safe pan on the bottom rack.
- Bake: Just before baking, gently score the top of each ciabatta loaf with a sharp knife or lame. Carefully transfer the parchment paper with the loaves onto the preheated baking stone or steel. Pour about 1 cup of hot water into the empty pan on the bottom rack to create steam.
- Bake with Steam: Bake for 20 minutes with steam. Then, remove the pan of water and continue baking for another 10-15 minutes, or until the loaves are golden brown and the internal temperature reaches 205-210°F (96-99°C).
- Cool: Transfer the ciabatta loaves to a wire rack and let cool completely before slicing and enjoying. This is crucial for allowing the crumb to set and prevent a gummy texture.
Tips for Success
- Use a Strong Starter: Your sourdough starter should be active and bubbly, doubling in size within 4-8 hours after feeding. If your starter isn’t strong, your bread won’t rise properly.
- Don’t Over-Knead: Ciabatta dough is delicate. The stretch and fold technique is gentle and effective for developing gluten strength without overworking the dough.
- Handle with Care: Be gentle when dividing and shaping the dough to avoid deflating it.
- Steam is Key: The steam in the oven helps create a crispy crust and allows the bread to expand fully.
- Don’t Rush the Cooling Process: Resist the temptation to cut into the bread while it’s still hot. Allowing it to cool completely is essential for the crumb to set properly.
- Adjust Baking Time: Baking times may vary depending on your oven. Keep a close eye on the bread and adjust the baking time as needed.
Storage Instructions
Sourdough ciabatta is best enjoyed fresh, but it can be stored for a few days. Here’s how:
- Room Temperature: Store in a paper bag or loosely wrapped in a clean kitchen towel at room temperature for up to 2 days.
- Freezing: For longer storage, slice the ciabatta and freeze it in an airtight container or freezer bag. Thaw at room temperature or in the oven before serving.
FAQ
Q: Can I use all-purpose flour instead of bread flour?
A: While bread flour is recommended for its higher gluten content, you can use all-purpose flour in a pinch. The texture may be slightly different, and you might need to adjust the hydration slightly.
Q: My dough is too sticky to handle. What should I do?
A: Ciabatta dough is naturally sticky due to its high hydration. Make sure your work surface is generously floured and use a bench scraper to help you handle the dough. Wetting your hands can also help.
Q: My ciabatta didn’t rise very much. What could be the problem?
A: Several factors could contribute to this: your starter might not be active enough, the bulk fermentation time might have been too short, or the temperature in your kitchen might be too cold. Make sure your starter is strong and adjust the fermentation time as needed.
Q: Can I add herbs or other flavorings to the dough?
A: Absolutely! Feel free to experiment with adding herbs like rosemary or thyme, or even olives or sun-dried tomatoes, to the dough during the autolyse or when incorporating the starter.
Conclusion
This Sourdough Ciabatta recipe is your gateway to creating authentic, flavorful bread at home. With its airy crumb, crispy crust, and delightful tang, this bread is perfect for sandwiches, dipping in olive oil, or simply enjoying on its own. So, fire up your oven, nurture your starter, and prepare to experience the joy of baking your own delicious sourdough ciabatta!