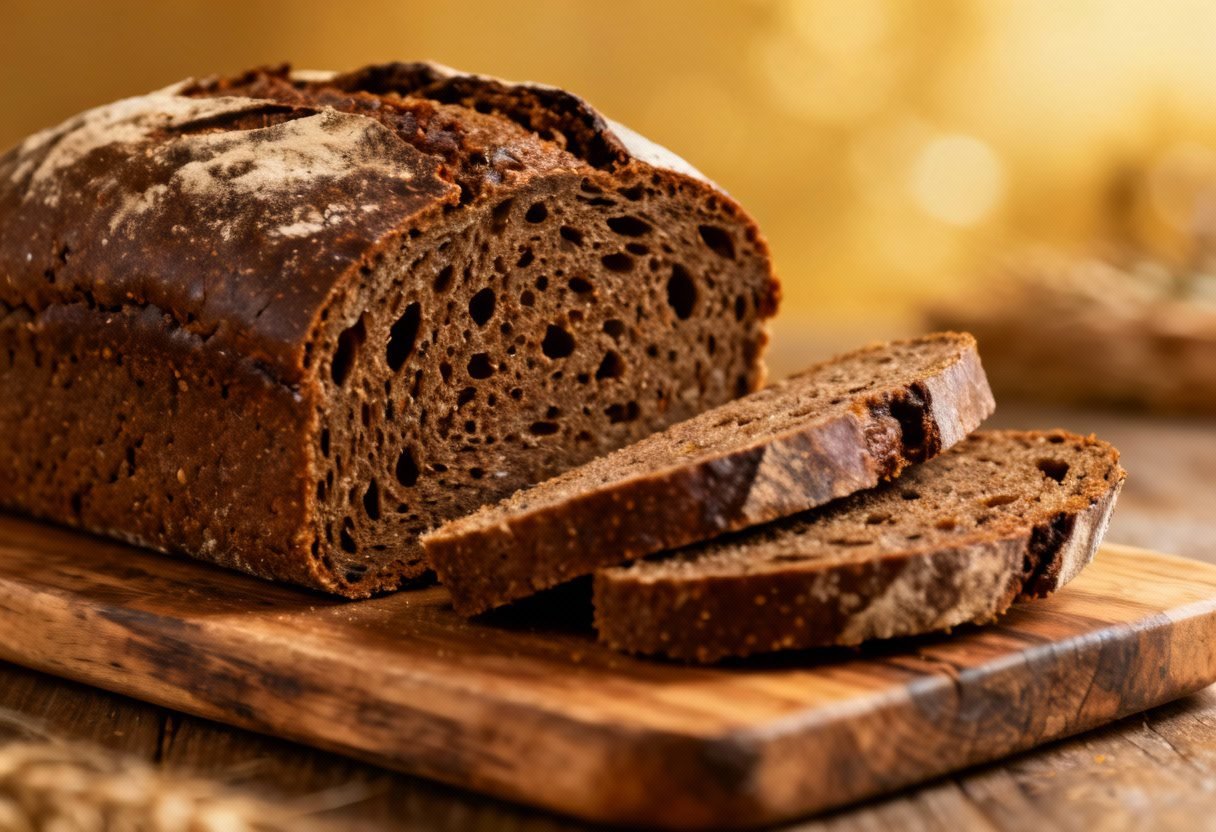
Sourdough Pumpernickel Bread Recipe: The Dark & Delicious Delight
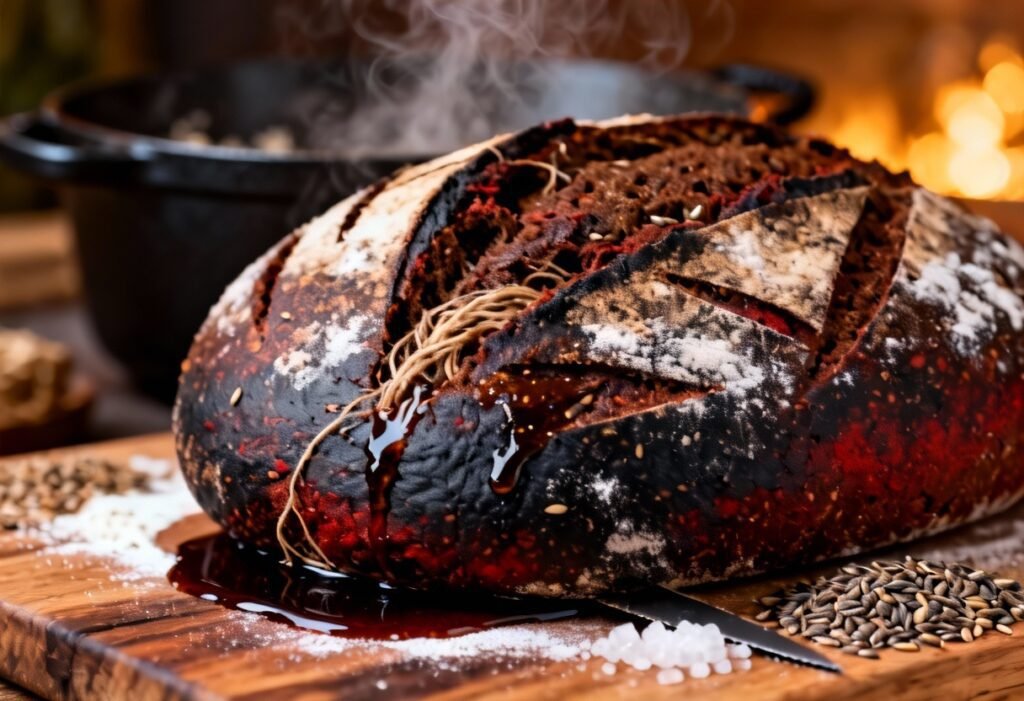
Craving that intensely flavored, deeply colored, and satisfyingly chewy pumpernickel bread you find in the best bakeries? Look no further! This sourdough pumpernickel recipe allows you to recreate that authentic taste and texture in your own kitchen. We’re going beyond the typical rye-forward flavor profile and incorporating the rich, molasses-kissed essence that defines true pumpernickel. Get ready for a baking adventure that will fill your home with an irresistible aroma and reward you with a loaf that’s perfect for sandwiches, toast, or simply enjoying on its own.
Why This Recipe Works
This recipe isn’t just a collection of ingredients; it’s a carefully crafted formula designed to yield a truly exceptional sourdough pumpernickel. Here’s why it works so well:
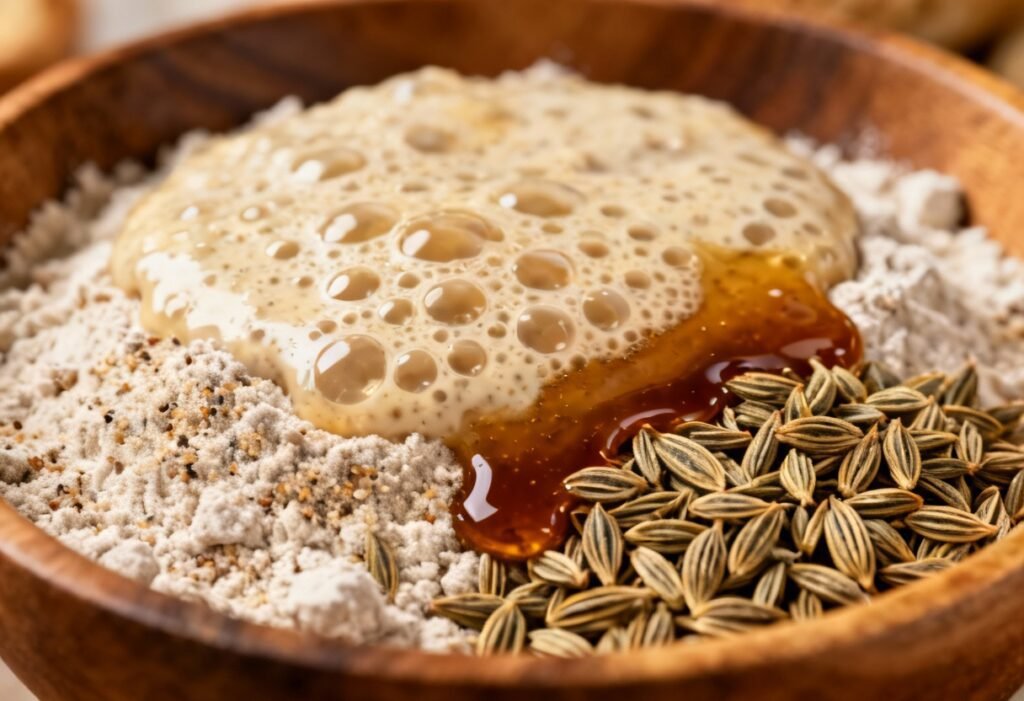
- Sourdough Starter: The foundation of any good sourdough is a healthy and active starter. The natural yeasts and bacteria in the starter contribute complex flavors and a characteristic tang that commercial yeast simply can’t replicate. This recipe relies on a mature starter for optimal rise and flavor development.
- Rye Flour Blend: We use a combination of dark rye flour and pumpernickel rye meal (or coarse rye flour) to achieve the authentic pumpernickel flavor and texture. The dark rye flour provides that signature earthy note, while the pumpernickel rye meal adds a delightful chewiness and rustic character.
- Molasses & Cocoa: These ingredients are key to achieving the deep, dark color and slightly sweet, complex flavor that defines pumpernickel. Molasses adds moisture, sweetness, and a rich caramel note, while cocoa powder enhances the color and contributes a subtle bitterness that balances the sweetness.
- Coffee: A touch of brewed coffee not only deepens the color of the dough but also intensifies the chocolate and molasses flavors, creating a more harmonious and flavorful loaf.
- Long Fermentation: Sourdough thrives on time. This recipe utilizes a long, slow fermentation process to allow the flavors to develop fully and the dough to become more digestible. The bulk fermentation and proofing periods are crucial for achieving the desired texture and flavor.
- Steaming During Baking: Creating steam in the oven during the initial baking period is essential for achieving a beautiful crust with a good oven spring. The steam keeps the surface of the dough moist, allowing it to expand fully before the crust sets.
Ingredients
- Sourdough Starter (100% hydration): 150g active and bubbly
- Water (lukewarm): 300g
- Dark Rye Flour: 200g
- Pumpernickel Rye Meal (or Coarse Rye Flour): 100g
- Bread Flour: 200g
- Molasses: 50g
- Unsweetened Cocoa Powder: 15g
- Brewed Coffee (cooled): 50g
- Salt: 12g
- Optional: 1 tsp caraway seeds, 1 tsp fennel seeds
Instructions
- Prepare the Dough (Autolyse): In a large bowl, combine the rye flours, bread flour, and water. Mix until just combined and no dry flour remains. Cover and let rest for 30-60 minutes. This process, called autolysing, helps to hydrate the flour and develop gluten.
- Incorporate the Starter and Flavorings: Add the active sourdough starter, molasses, cocoa powder, and cooled coffee to the autolysed dough. Mix well until everything is evenly incorporated.
- Add the Salt: Add the salt and mix again until the dough is smooth and elastic. This will take several minutes of kneading, either by hand or with a stand mixer. If adding caraway or fennel seeds, incorporate them now.
- Bulk Fermentation: Place the dough in a lightly oiled bowl, turning to coat. Cover and let rise in a warm place (70-75°F/21-24°C) for 4-6 hours, or until doubled in size. Perform stretch and folds every 30-60 minutes during the first 2-3 hours to strengthen the gluten.
- Shape the Dough: Gently turn the dough out onto a lightly floured surface. Shape the dough into a round or oblong loaf.
- Proofing: Place the shaped dough in a well-floured banneton basket or a bowl lined with a floured cloth. Cover and let proof in the refrigerator for 12-24 hours. This cold proofing allows for further flavor development and makes the dough easier to score.
- Preheat the Oven: Preheat your oven to 450°F (232°C) with a Dutch oven inside. The Dutch oven is crucial for creating steam during baking.
- Score the Dough: Carefully remove the hot Dutch oven from the oven. Gently invert the dough from the banneton basket into the Dutch oven. Score the top of the dough with a sharp knife or lame. A single, deep score or a decorative pattern will work.
- Bake: Cover the Dutch oven and bake for 20 minutes. Then, remove the lid and bake for another 25-35 minutes, or until the crust is deep brown and the internal temperature reaches 205-210°F (96-99°C).
- Cool: Carefully remove the bread from the Dutch oven and let it cool completely on a wire rack before slicing and enjoying. This is crucial for allowing the internal structure to set and preventing a gummy texture.
Tips for Success
- Use a Reliable Starter: A healthy and active sourdough starter is the key to success. Make sure your starter is doubling in size within 4-8 hours after feeding.
- Weigh Your Ingredients: For consistent results, use a kitchen scale to weigh your ingredients. This is especially important for flour and water.
- Control the Temperature: The temperature of your dough and your proofing environment will affect the fermentation process. Use a thermometer to monitor the dough temperature and adjust the proofing time accordingly.
- Don’t Overproof: Overproofed dough will collapse during baking. Look for signs of readiness, such as a slightly puffed-up appearance and a jiggly texture.
- Experiment with Add-ins: Feel free to experiment with other add-ins, such as chopped nuts, dried fruits, or spices.
- Be Patient: Sourdough baking takes time and patience. Don’t rush the process. The longer fermentation and proofing times are essential for developing the complex flavors and textures that make sourdough so special.
Storage Instructions
To keep your sourdough pumpernickel bread fresh, store it in a bread bag or airtight container at room temperature. It will stay fresh for 3-4 days. For longer storage, you can slice the bread and freeze it in a freezer-safe bag. Thaw the slices at room temperature or in the toaster before serving.
FAQ
Q: Can I use all-purpose flour instead of bread flour?
A: While you can substitute all-purpose flour, the bread flour will provide a chewier texture due to its higher gluten content. If using all-purpose flour, you may need to adjust the amount of water slightly.
Q: Can I use instant yeast instead of sourdough starter?
A: This recipe is specifically designed for sourdough. Using instant yeast will significantly alter the flavor and texture of the bread. If you want to use yeast, you will need to find a different pumpernickel bread recipe specifically designed for commercial yeast.
Q: My dough is too sticky. What should I do?
A: Rye flour is naturally sticky. Resist the urge to add more flour during the kneading process. The dough will become less sticky as the gluten develops. If the dough is excessively sticky, try performing more stretch and folds during bulk fermentation.
Q: My bread is too dense. What could be the reason?
A: Several factors can contribute to a dense loaf, including an inactive starter, underproofing, or overproofing. Make sure your starter is active and bubbly, and carefully monitor the proofing process. Also, ensure your oven temperature is accurate.
Conclusion
This sourdough pumpernickel bread recipe is a journey into the world of complex flavors and satisfying textures. While it requires a bit of patience and attention to detail, the reward is a truly exceptional loaf that will impress your friends and family. So, gather your ingredients, fire up your starter, and get ready to bake a dark and delicious delight that will become a staple in your kitchen.