Sprouted Grain Bread Recipe: The Nutty, Delicious Loaf You’ll Crave
Imagine biting into a slice of bread that’s not only incredibly delicious but also packed with nutrients. A bread that’s naturally sweeter, boasting a nutty flavor and a satisfyingly chewy texture. That’s the magic of sprouted grain bread! This recipe guides you through creating a homemade loaf that’s far superior to anything you’ll find on store shelves. Forget bland, processed bread – we’re talking about a wholesome, vibrant loaf that will elevate your sandwiches, toast, and everything in between. Get ready to transform your bread-making game and experience the goodness of sprouted grains!
Why This Recipe Works
This recipe is carefully crafted to ensure a successful and delicious sprouted grain bread loaf. Here’s why it works:
- Hydration is Key: Sprouted grains need a higher hydration level than regular flour. This recipe accounts for that, resulting in a moist and tender crumb.
- Gentle Handling: We emphasize gentle kneading to avoid overworking the dough, which can lead to a tough loaf. A light touch preserves the delicate sprouted grains.
- Patience is Rewarded: The extended fermentation time allows the flavors to develop fully and the dough to rise properly, resulting in a lighter, more digestible bread.
- Oven Temperature Optimization: The combination of a high initial oven temperature followed by a reduction ensures a beautiful crust and even baking.
- Sprouted Grain Specifics: This recipe understands that sprouted grains behave differently than regular flour. It’s designed to address these differences, leading to consistent results.
Ingredients
- 3 cups (400g) Sprouted Whole Wheat Flour (or a blend of sprouted grains like spelt, barley, and rye)
- 1 ½ cups (360ml) Warm Water (around 105-115°F or 40-46°C)
- 2 tablespoons (30ml) Honey or Maple Syrup (optional, for sweetness and yeast activation)
- 2 teaspoons (10g) Salt
- 2 teaspoons (7g) Instant Dry Yeast
- 2 tablespoons (30ml) Olive Oil (or melted coconut oil)
- Optional: 1/4 cup Seeds (sunflower, pumpkin, flax) for added texture and nutrients

Instructions
- Combine Wet Ingredients: In a large mixing bowl, combine the warm water, honey (if using), and yeast. Let it sit for 5-10 minutes until foamy, indicating the yeast is active.
- Add Dry Ingredients: Add the sprouted flour, salt, and olive oil to the wet ingredients. If using seeds, add them now as well.
- Mix the Dough: Using a wooden spoon or a stand mixer with a dough hook, mix the ingredients until a shaggy dough forms. It will be quite sticky.
- Knead Gently: Turn the dough out onto a lightly floured surface. Knead gently for 5-7 minutes. Sprouted grain dough doesn’t need as much kneading as regular dough. Aim for a smooth, slightly elastic dough. Alternatively, knead in a stand mixer on low speed for 5-7 minutes.
- First Rise (Bulk Fermentation): Place the dough in a lightly oiled bowl, turning to coat. Cover with plastic wrap or a damp towel and let it rise in a warm place for 1-1.5 hours, or until doubled in size. Sprouted grain dough may not double as dramatically as regular dough. Look for a noticeable increase in volume.
- Shape the Loaf: Gently punch down the dough to release the air. Turn it out onto a lightly floured surface. Shape it into a loaf shape that will fit your loaf pan.
- Second Rise (Proofing): Place the shaped loaf in a greased 9×5 inch loaf pan. Cover with plastic wrap or a damp towel and let it rise for 45-60 minutes, or until it has risen about an inch above the rim of the pan.
- Preheat Oven: Preheat your oven to 425°F (220°C).
- Bake: Place the loaf pan in the preheated oven. Bake for 20 minutes at 425°F (220°C). Then, reduce the oven temperature to 375°F (190°C) and bake for another 25-30 minutes, or until the internal temperature reaches 200-210°F (93-99°C).
- Cool: Remove the loaf from the oven and let it cool in the pan for 10 minutes. Then, transfer it to a wire rack to cool completely before slicing.
Tips for Success
- Use Fresh Sprouted Flour: Sprouted flour can go rancid quickly due to the oils in the sprouted grains. Make sure your flour is fresh for the best flavor and results.
- Don’t Overknead: Overkneading sprouted grain dough can result in a tough loaf. Be gentle and avoid excessive kneading.
- Adjust Hydration: Sprouted flours can vary in their water absorption. If your dough seems too dry, add a tablespoon of water at a time until it reaches the desired consistency. If it’s too wet, add a tablespoon of flour.
- Use a Thermometer: Using a digital thermometer is the best way to ensure your bread is fully baked.
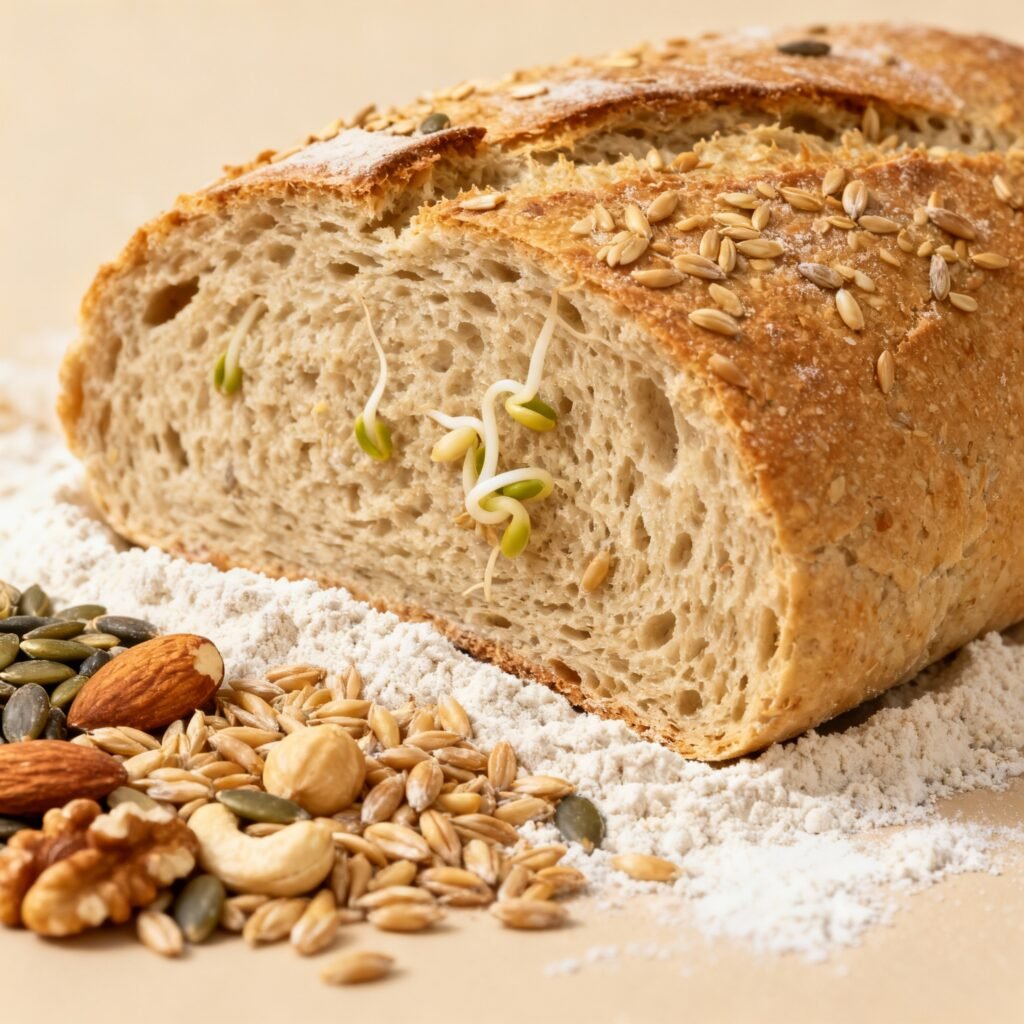
- Experiment with Sprouted Grains: Try using different types of sprouted grains, such as spelt, barley, or rye, to create unique flavor profiles.
- Add Seeds and Nuts: Incorporate seeds and nuts for added texture, flavor, and nutritional value.
Storage Instructions
To keep your sprouted grain bread fresh:
- Room Temperature: Store the bread in a bread box or airtight container at room temperature for up to 3 days.
- Freezer: For longer storage, slice the bread and freeze it in a freezer-safe bag for up to 2 months. Thaw at room temperature or toast directly from frozen.
FAQ
Q: What are sprouted grains?
A: Sprouted grains are whole grains that have been allowed to germinate, which unlocks their nutrients and makes them more digestible.
Q: Can I use regular whole wheat flour instead of sprouted flour?
A: While you can, the recipe is specifically designed for sprouted flour. Regular whole wheat flour will require adjustments to the hydration and baking time.
Q: My dough is very sticky. Is that normal?
A: Yes, sprouted grain dough tends to be stickier than regular dough. Resist the urge to add too much flour, as this can result in a dry loaf. Just work with it gently.
Q: My bread didn’t rise as much as I expected. What happened?
A: Several factors can affect the rise, including the freshness of the yeast, the temperature of the water, and the temperature of your environment. Make sure your yeast is active and provide a warm place for the dough to rise.
Q: Can I make this recipe gluten-free?
A: This recipe uses sprouted wheat, which contains gluten. To make a gluten-free version, you will need to use a gluten-free sprouted grain blend and a gluten-free bread recipe.
Conclusion
Congratulations! You’ve now mastered the art of making delicious and nutritious sprouted grain bread. This recipe is a gateway to a world of flavor and health benefits. Enjoy the nutty aroma, the satisfying chew, and the knowledge that you’ve created something truly special. So, ditch the store-bought stuff and embrace the goodness of homemade sprouted grain bread. Happy baking!