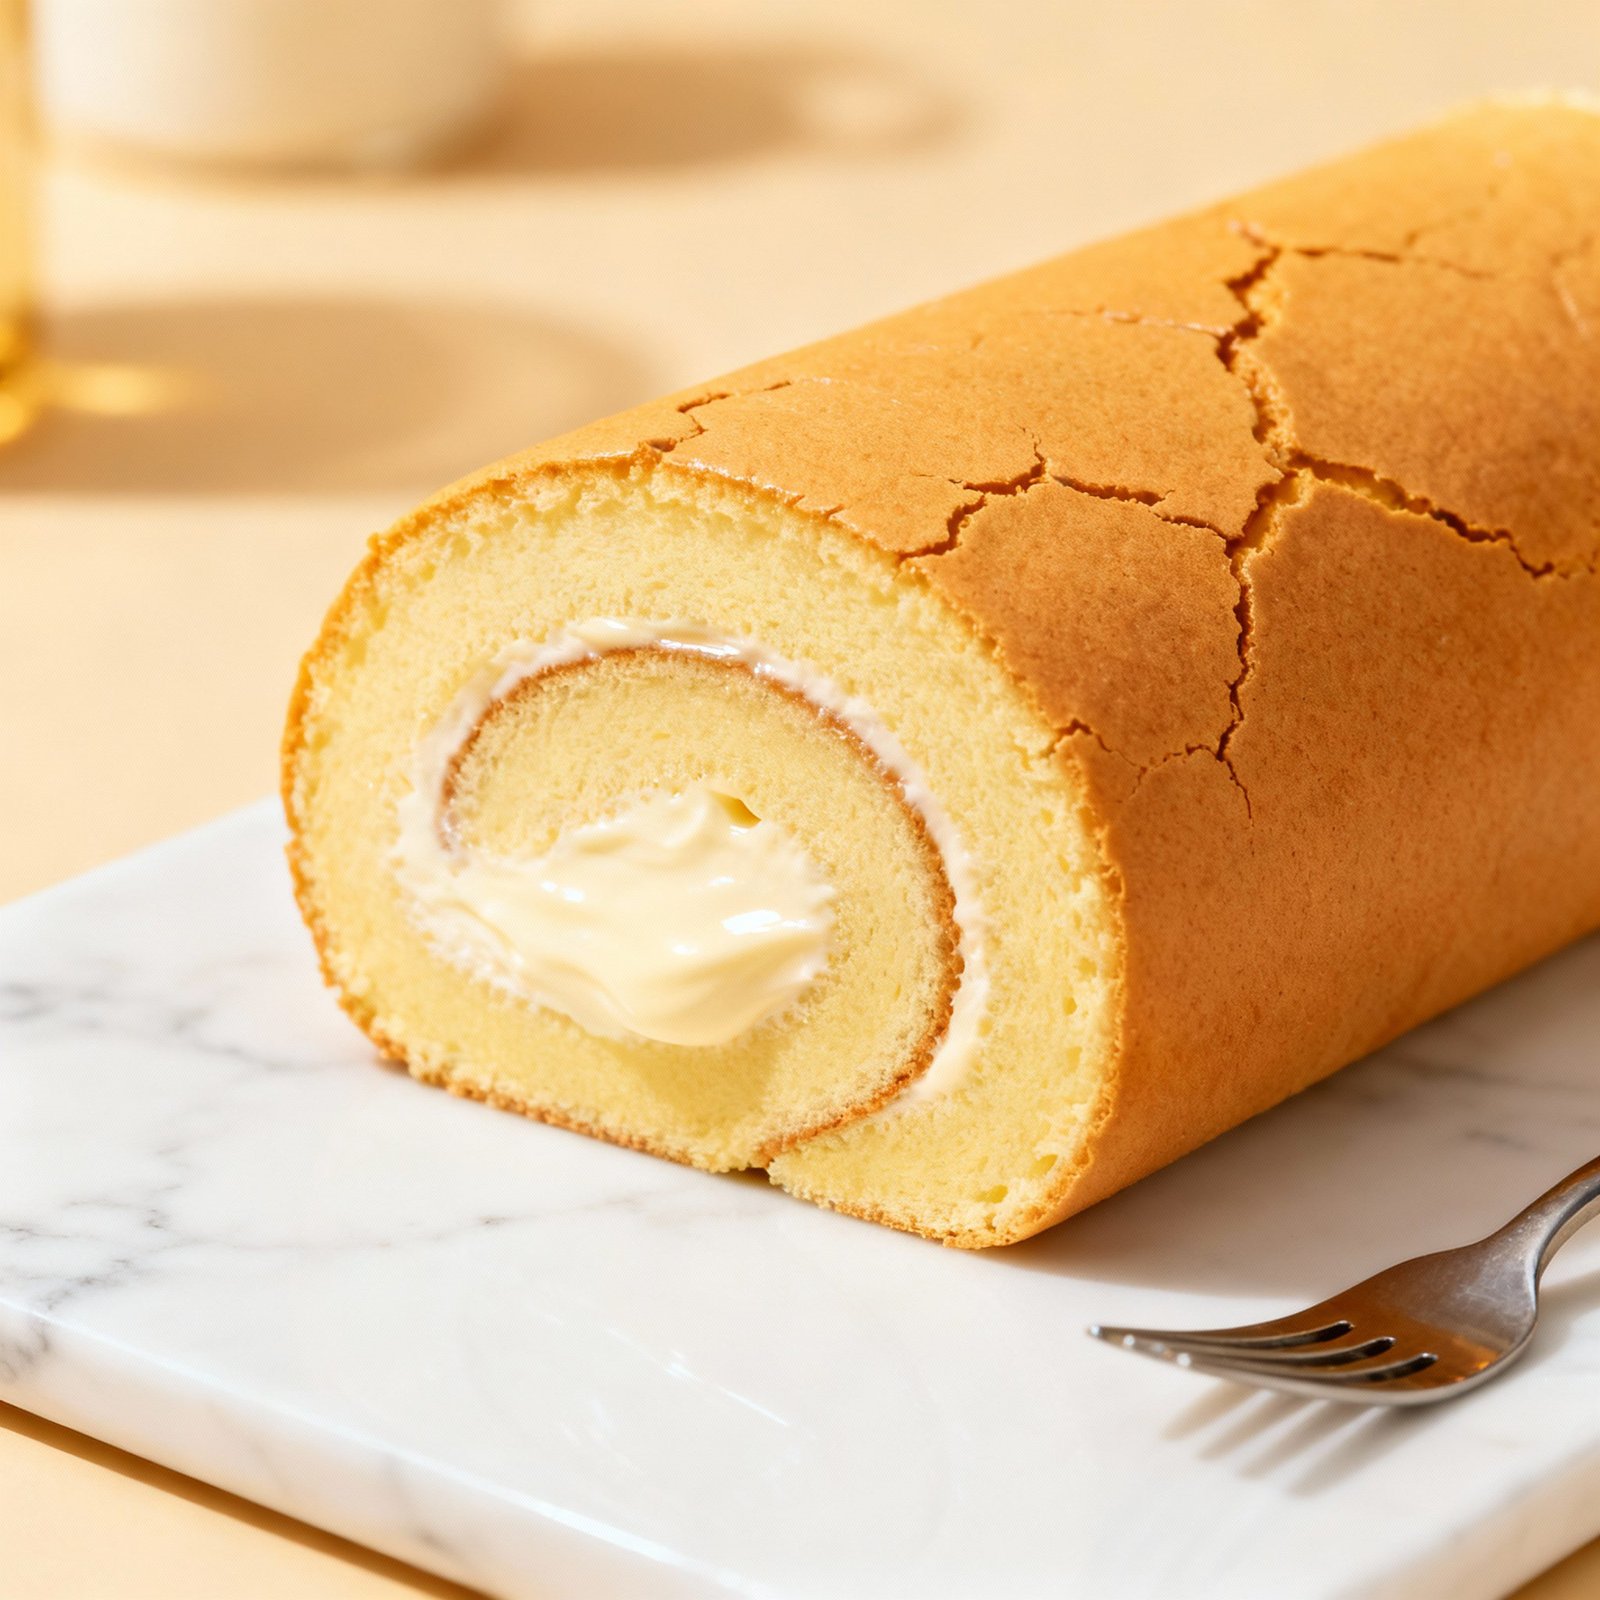
Swiss Roll Cake Recipe: Effortless Elegance in Every Slice!
The Swiss Roll, also known as a jelly roll, roulade, or cream roll, is a classic dessert that always impresses. Don’t let its elegant appearance fool you; it’s surprisingly easy to make at home! This recipe provides a foolproof method for creating a light, airy sponge cake that rolls beautifully and holds its shape, filled with a luscious cream that melts in your mouth. Whether you’re a seasoned baker or just starting out, this Swiss Roll recipe will become a go-to for birthdays, holidays, or simply a delightful afternoon treat. Get ready to wow your friends and family with this delightful confection!
Why This Recipe Works
This Swiss Roll recipe is designed for success by focusing on a few key principles:
- The Right Sponge: We use a genoise-style sponge, which relies on whipped eggs for its light and airy texture. This creates a cake that’s flexible and won’t crack when rolled.
- Proper Egg Whipping: Beating the eggs and sugar until they triple in volume is crucial. This incorporates air, resulting in a light and tender cake.
- Gentle Folding: Folding in the dry ingredients gently prevents deflating the batter, ensuring a light and airy crumb.
- Baking Time: A short baking time prevents the cake from drying out, making it pliable enough to roll without cracking.
- The “Hot Roll” Technique: Rolling the cake while it’s still warm helps it to set in the rolled shape, preventing cracks later on.
Ingredients
For the Sponge Cake:
- 4 large eggs, room temperature
- ¾ cup granulated sugar
- 1 teaspoon vanilla extract
- ¾ cup all-purpose flour
- ¼ teaspoon salt
- 2 tablespoons unsalted butter, melted
For the Cream Filling:
- 1 ½ cups heavy cream, cold
- ¼ cup powdered sugar
- 1 teaspoon vanilla extract
For Dusting:
- Powdered sugar, for dusting

Instructions
Step 1: Prepare the Pan
- Preheat oven to 350°F (175°C).
- Grease a 10×15 inch jelly roll pan with butter or cooking spray.
- Line the pan with parchment paper, leaving an overhang on the long sides for easy removal. Grease the parchment paper as well. This is crucial for preventing sticking.
Step 2: Whip the Eggs and Sugar
- In a large bowl, or the bowl of a stand mixer, combine the eggs and granulated sugar.
- Beat on medium-high speed for 5-7 minutes, or until the mixture is pale yellow and has tripled in volume. This is a critical step; the mixture should be thick and ribbon-like when the whisk is lifted.
- Add the vanilla extract and beat for a few seconds to combine.
Step 3: Add the Dry Ingredients
- In a separate bowl, whisk together the flour and salt.
- Gently sift the dry ingredients over the egg mixture.
- Using a rubber spatula, gently fold the dry ingredients into the egg mixture until just combined. Be careful not to overmix, as this will deflate the batter.
Step 4: Add the Melted Butter
- Take a spoonful of the batter and mix it with the melted butter. This will temper the butter and prevent it from sinking to the bottom of the batter.
- Gently fold the butter mixture into the remaining batter until just combined.
Step 5: Bake the Cake
- Pour the batter into the prepared pan and spread it evenly.
- Bake for 12-15 minutes, or until the cake is golden brown and springs back lightly when touched. Do not overbake!
Step 6: Roll the Cake
- While the cake is baking, prepare a clean kitchen towel and dust it generously with powdered sugar.
- As soon as the cake comes out of the oven, immediately invert it onto the prepared towel.
- Carefully peel off the parchment paper.
- Starting from one of the short ends, roll the cake up tightly in the towel.
- Let the cake cool completely in the towel (about 30 minutes to 1 hour). This will help it retain its rolled shape.
Step 7: Prepare the Cream Filling
- In a large bowl, or the bowl of a stand mixer, combine the heavy cream, powdered sugar, and vanilla extract.
- Beat on medium-high speed until stiff peaks form. Be careful not to overwhip.
Step 8: Assemble the Swiss Roll
- Gently unroll the cooled cake.
- Spread the whipped cream evenly over the cake, leaving a small border at the edge farthest from you.
- Starting from the same end you rolled it up before, carefully re-roll the cake tightly.
- Wrap the Swiss Roll in plastic wrap and refrigerate for at least 30 minutes to allow the filling to set.
Step 9: Serve
- Before serving, dust the Swiss Roll with powdered sugar.
- Slice the Swiss Roll into ½-inch to 1-inch thick slices.
- Enjoy!
Tips for Success
- Room Temperature Eggs: Room temperature eggs whip up better and create a lighter batter.
- Don’t Overmix: Overmixing the batter will develop the gluten in the flour, resulting in a tough cake.
- Baking Time is Crucial: Overbaking will make the cake dry and prone to cracking.
- Hot Roll is Key: Rolling the cake while it’s still warm helps it to set in the rolled shape.
- Patience is a Virtue: Allow the cake to cool completely before filling and rolling.
- Even Filling Distribution: Spread the filling evenly to ensure a consistent flavor and texture in every slice.
Storage Instructions
Store the Swiss Roll in an airtight container in the refrigerator for up to 3 days. The cake may become slightly softer over time, but it will still be delicious. You can also freeze the Swiss Roll for up to 2 months. Wrap it tightly in plastic wrap and then in aluminum foil before freezing. Thaw in the refrigerator overnight before serving.
FAQ
Q: My cake cracked when I rolled it. What did I do wrong?
A: Cracking can be caused by several factors: overbaking, not rolling the cake while it’s still warm, or not using enough powdered sugar on the towel. Make sure to bake the cake for the recommended time, roll it immediately after removing it from the oven, and use a generous amount of powdered sugar on the towel.
Q: Can I use a different filling?
A: Absolutely! You can use any filling you like, such as jam, fruit preserves, chocolate ganache, or even flavored cream cheese frosting. Just make sure the filling isn’t too wet, as it could make the cake soggy.
Q: Can I add cocoa powder to the batter to make a chocolate Swiss Roll?
A: Yes, you can! Reduce the amount of flour by 1/4 cup and add 1/4 cup of unsweetened cocoa powder to the dry ingredients. Sift the cocoa powder and flour together before adding them to the wet ingredients.
Q: My whipped cream is not stiff enough. What can I do?
A: Make sure your heavy cream is very cold. You can also chill your mixing bowl and whisk in the freezer for 15-20 minutes before whipping the cream. If the cream is still not stiff enough, you can add a tablespoon of cornstarch or powdered milk to help stabilize it.
Conclusion
Congratulations! You’ve successfully made a beautiful and delicious Swiss Roll cake. This recipe is a testament to the fact that elegant desserts don’t have to be complicated. With a little practice and attention to detail, you can create a stunning Swiss Roll that will impress your friends and family. So go ahead, give it a try, and enjoy the sweet satisfaction of homemade goodness!