Whole Grain Sourdough Bread Recipe: Unleash Your Inner Baker!
Sourdough bread, with its tangy flavor and chewy texture, has captured the hearts (and stomachs!) of bakers everywhere. But what if you could elevate this already fantastic bread by incorporating the wholesome goodness of whole grains? This recipe does just that! We’ll guide you through creating a delicious and nutritious whole grain sourdough loaf that’s packed with flavor, fiber, and everything you love about homemade bread. Get ready to experience the satisfaction of baking a truly exceptional loaf from scratch.
Why This Recipe Works
This recipe isn’t just another sourdough bread recipe; it’s carefully crafted to ensure consistent results and a beautiful loaf every time. Here’s why it stands out:
- Balanced Hydration: The hydration level (the ratio of water to flour) is carefully calibrated to accommodate the absorbency of whole grains. This ensures a dough that’s manageable yet still yields a moist and open crumb.
- Strategic Whole Grain Blend: We use a blend of whole wheat and other flavorful whole grains like rye or spelt (optional) to create a complex flavor profile and a more nutritious loaf.
- Autolyse for Deeper Flavor: The autolyse step allows the flour to fully hydrate before the levain is added, resulting in improved gluten development and a richer flavor.
- Gentle Handling: We emphasize gentle handling throughout the process to preserve the delicate gluten structure and prevent over-mixing, leading to a lighter and airier loaf.
- Clear and Concise Instructions: Each step is clearly explained with helpful tips and visual cues to guide you from start to finish.
Ingredients
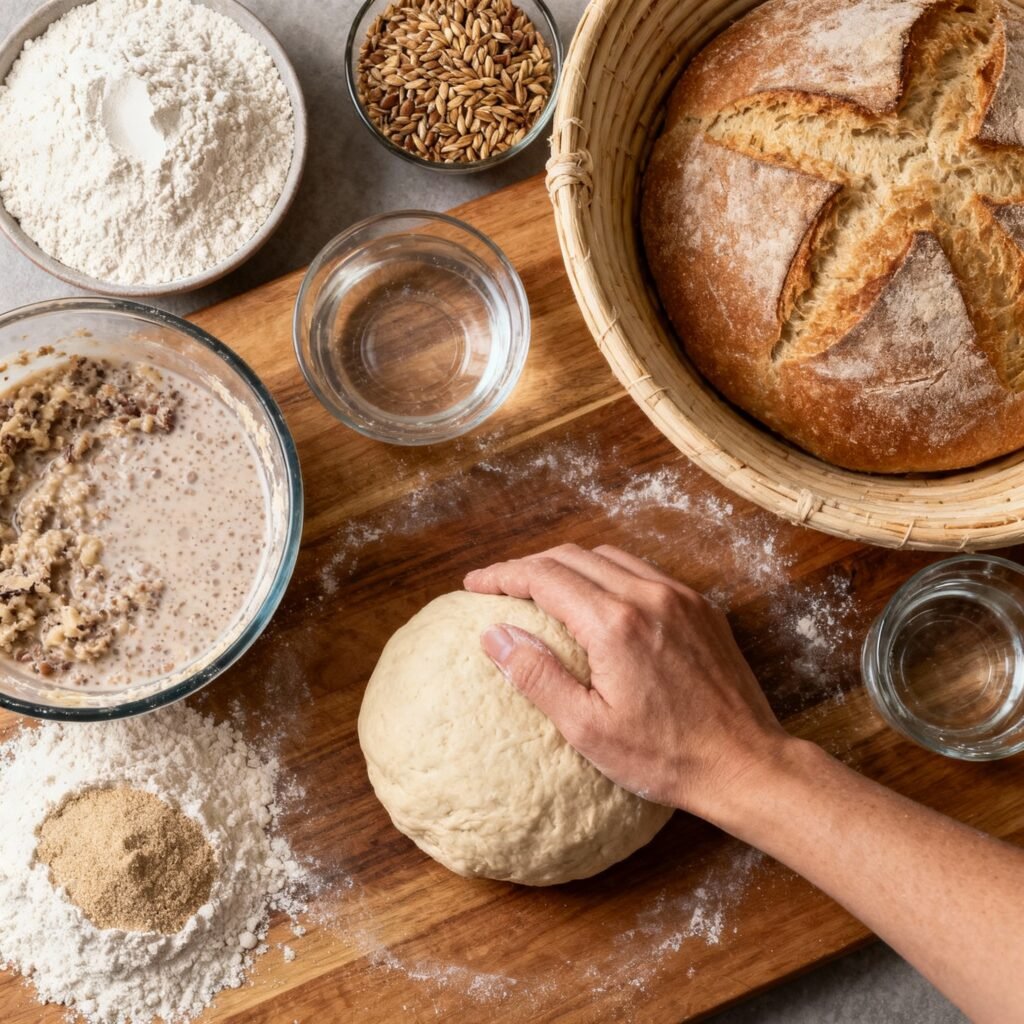
- Sourdough Starter (Levain): 100g, active and bubbly (100% hydration – meaning equal parts flour and water)
- Whole Wheat Flour: 350g
- Bread Flour: 150g (for structure and rise)
- Rye or Spelt Flour (Optional): 50g (adds complexity and flavor)
- Water (for Autolyse): 350g, lukewarm
- Water (for Mixing): 50g, lukewarm (adjust as needed)
- Salt: 10g, fine sea salt
Instructions
- Prepare the Levain: Ensure your sourdough starter is active and bubbly. It should have doubled in size after feeding and have a pleasant, slightly tangy aroma.
- Autolyse: In a large bowl, combine the whole wheat flour, bread flour, and rye/spelt flour (if using) with the 350g of lukewarm water. Mix until just combined and no dry flour remains. Cover and let rest for 30-60 minutes. This allows the flour to fully hydrate and develop gluten.
- Mix the Dough: Add the active levain to the autolysed dough. Mix with your hands or a dough scraper until well combined. Add the remaining 50g of lukewarm water gradually, mixing until the dough is smooth and elastic. Be careful not to overmix.
- Add Salt: Add the salt and mix thoroughly until it is evenly distributed throughout the dough.
- Bulk Fermentation (First Rise): Place the dough in a lightly oiled bowl, cover, and let it ferment at room temperature (ideally 72-75°F) for 4-6 hours. Perform stretch and folds every 30-60 minutes for the first 2-3 hours to build strength and structure. To perform a stretch and fold, gently grab a section of the dough, stretch it upwards, and fold it over onto itself. Rotate the bowl and repeat until you’ve stretched and folded all sides.
- Pre-Shape: After the bulk fermentation, gently turn the dough out onto a lightly floured surface. Shape it into a round or oval. Cover with a kitchen towel and let it rest for 20-30 minutes.
- Final Shape: Gently shape the dough into its final form. You can make a round (boule) or an oval (batard). Be careful not to degas the dough too much.
- Proof: Place the shaped dough in a well-floured banneton basket (or a bowl lined with a floured kitchen towel). Cover tightly with plastic wrap or a reusable container. Proof in the refrigerator for 12-24 hours. This slow fermentation develops flavor and allows for better scoring.
- Preheat Oven: Preheat your oven to 450°F (232°C) with a Dutch oven inside for at least 30 minutes. The Dutch oven is crucial for creating steam, which helps the bread rise beautifully.
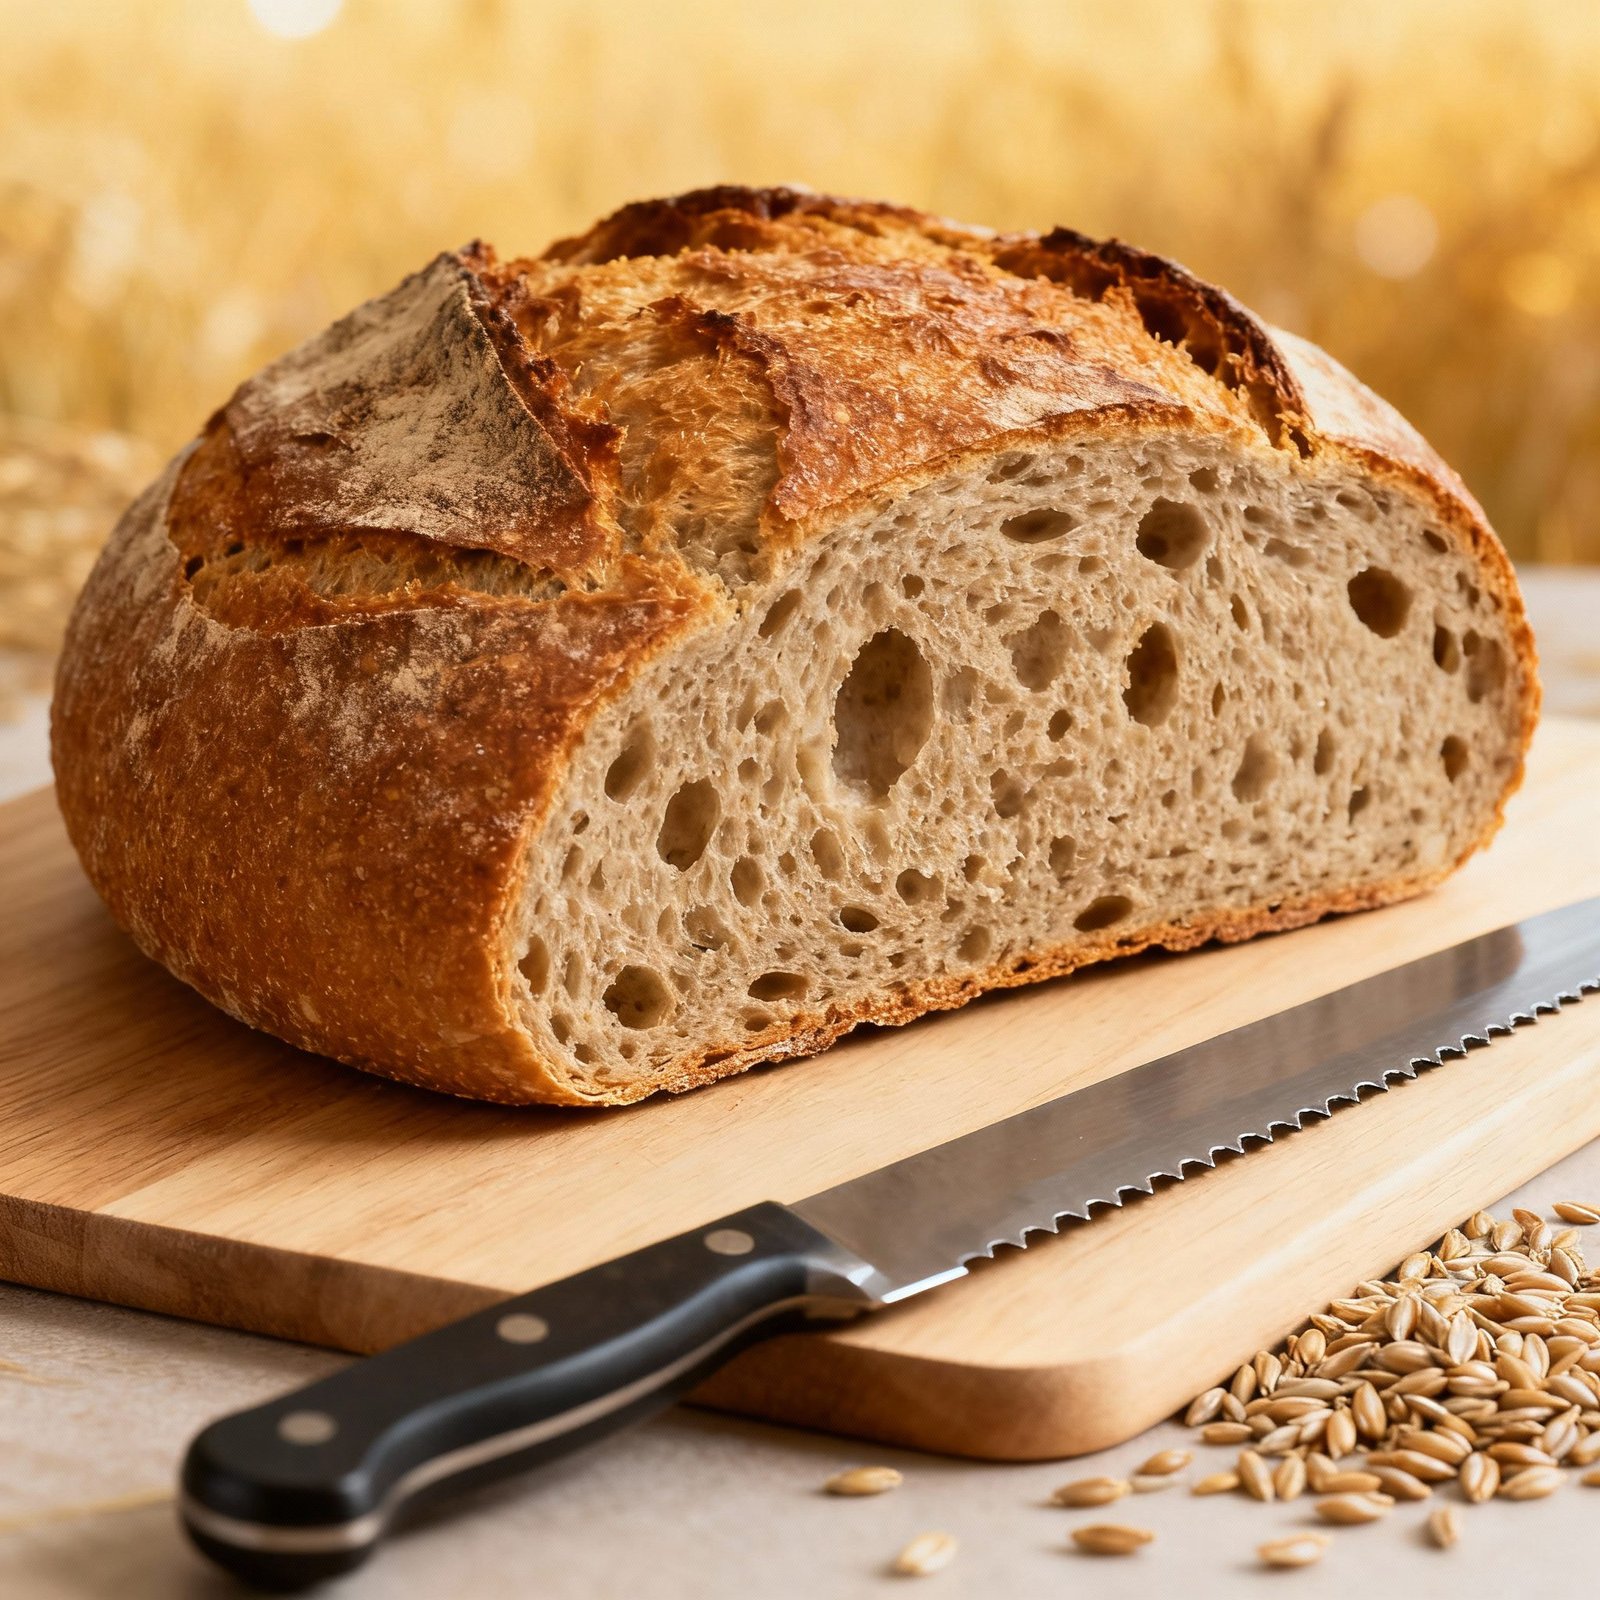
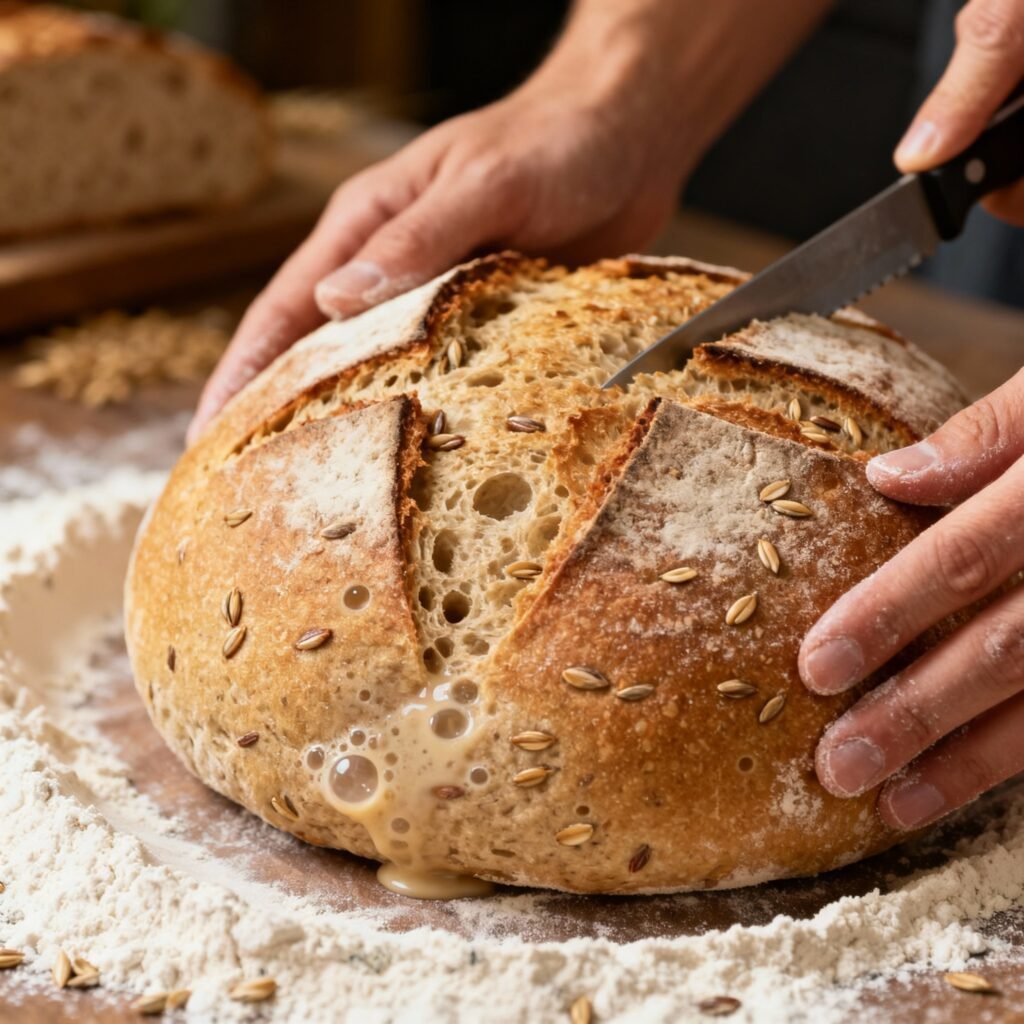
- Score the Dough: Carefully remove the dough from the refrigerator. Gently turn it out onto a piece of parchment paper. Score the top of the loaf with a sharp knife or lame. Scoring allows the bread to expand properly in the oven. A simple slash down the center works well.
- Bake: Carefully transfer the parchment paper with the dough into the preheated Dutch oven. Cover with the lid and bake for 20 minutes.
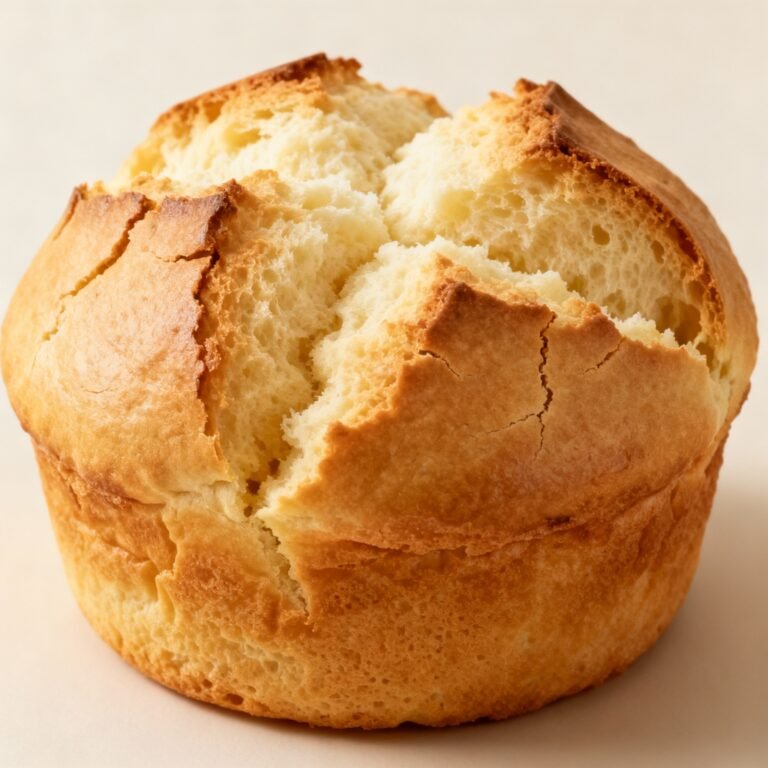
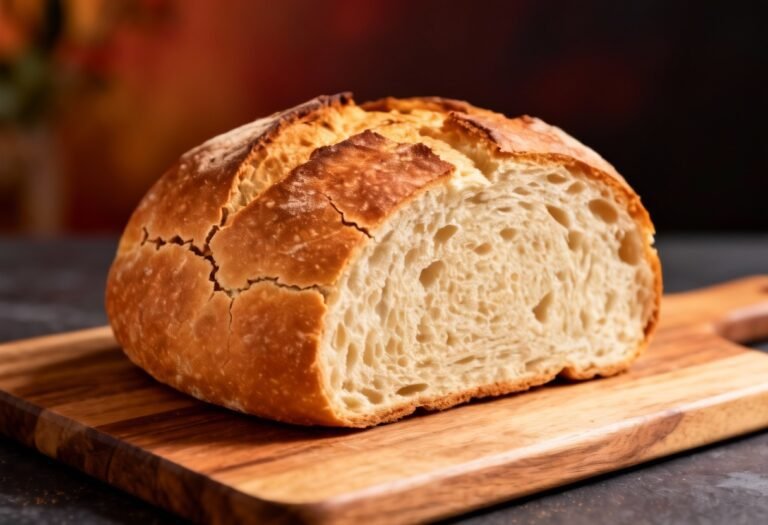
- Remove Lid and Bake Further: Remove the lid and bake for another 25-35 minutes, or until the crust is deeply golden brown and the internal temperature reaches 205-210°F (96-99°C).
- Cool: Carefully remove the bread from the Dutch oven and place it on a wire rack to cool completely before slicing. This is crucial for allowing the crumb to set properly. Resist the urge to cut into it while it’s still warm!
Tips for Success
- Use a Kitchen Scale: Weighing your ingredients is essential for consistent results in baking.
- Active Starter is Key: Make sure your sourdough starter is active and bubbly before using it. A weak starter will result in a dense loaf.
- Adjust Water as Needed: The amount of water needed may vary depending on the humidity and the type of flour you use. Adjust accordingly to achieve a smooth, elastic dough.
- Don’t Overproof: Overproofed dough will collapse during baking. Watch the dough carefully during the bulk fermentation and proofing stages.
- Listen to Your Dough: Pay attention to how the dough feels and behaves. With practice, you’ll learn to recognize the signs of a well-fermented dough.
- Experiment with Different Flours: Try different combinations of whole grains to find your favorite flavor profile.
Storage Instructions
Once completely cooled, store your whole grain sourdough bread in a breathable bread bag or a loosely wrapped linen cloth at room temperature. This will help maintain the crust’s crispness. For longer storage, you can slice the bread and freeze it in an airtight container. To thaw, simply remove the slices from the freezer and let them come to room temperature, or toast them directly from frozen.
FAQ
Q: Can I use all whole wheat flour in this recipe?
A: While you can, the bread will be denser and may not rise as high. Using a blend of whole wheat and bread flour provides a better balance of flavor and structure.
Q: My dough is too sticky. What should I do?
A: Sticky dough can be caused by overhydration or weak gluten development. Try adding a tablespoon of flour at a time until the dough is more manageable. Also, ensure you’re using strong bread flour.
Q: My bread is dense and gummy. What went wrong?
A: This could be due to several factors, including a weak starter, under-fermentation, or cutting into the bread before it has cooled completely. Ensure your starter is active, allow sufficient time for fermentation, and let the bread cool completely before slicing.
Q: Can I bake this bread without a Dutch oven?
A: Yes, but the crust won’t be as crisp. You can create steam in your oven by placing a pan of hot water on the bottom rack during baking. Reduce the oven temperature by 25°F (14°C) and bake for a longer period.
Conclusion
Congratulations! You’ve embarked on a rewarding journey to bake your own delicious and nutritious whole grain sourdough bread. This recipe provides a solid foundation, but don’t be afraid to experiment and make it your own. With practice and patience, you’ll be enjoying freshly baked sourdough bread that’s not only good for you but also a testament to your baking skills. Happy baking!