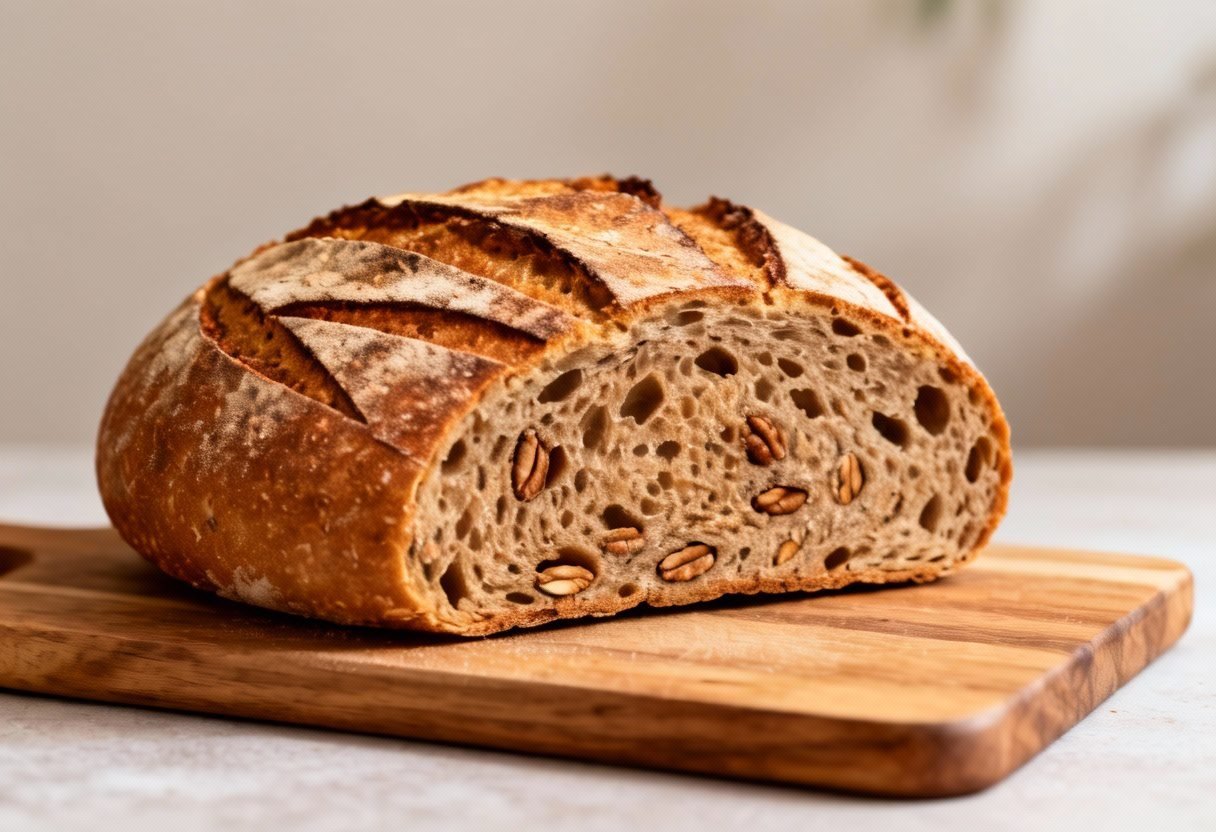
Whole Wheat Sourdough Bread Recipe: The Ultimate Guide to a Nutty, Flavorful Loaf
Sourdough bread, with its tangy flavor and chewy texture, has captivated bakers for centuries. While traditional sourdough often relies on white flour, this recipe elevates the experience by incorporating whole wheat flour, resulting in a loaf that’s not only delicious but also packed with nutrients and complex flavors. This Whole Wheat Sourdough Bread recipe is your comprehensive guide to achieving bakery-worthy results in your own kitchen, even if you’re a sourdough novice. Get ready to embark on a rewarding journey of creating a wholesome and satisfying loaf that will impress your family and friends!
Why This Recipe Works
This recipe is meticulously crafted to ensure success, even for those new to sourdough baking. Here’s why it stands out:
- Balanced Hydration: The carefully calculated water ratio (hydration) allows the whole wheat flour to fully absorb the moisture, leading to a tender crumb and a beautiful rise.
- Autolyse Stage: An extended autolyse, where the flour and water are mixed and allowed to rest, promotes gluten development and enhances the overall texture of the bread.
- Gentle Handling: We emphasize gentle handling throughout the process to preserve the delicate gluten structure, resulting in a light and airy loaf.
- Proper Fermentation: The recipe provides clear guidelines for fermentation times and visual cues, ensuring your dough is properly proofed for optimal flavor and rise.
- High Baking Temperature: Baking in a Dutch oven at a high temperature creates a steamy environment, which allows the bread to expand fully and develop a beautiful crust.
Ingredients
- Sourdough Starter: 100g active and bubbly (100% hydration, fed 4-6 hours before mixing)
- Whole Wheat Flour: 400g (high-quality whole wheat flour is recommended)
- Bread Flour: 100g (for improved rise and structure)
- Water: 375g (lukewarm, around 85°F/29°C)
- Salt: 10g (sea salt or kosher salt)
Instructions
- Autolyse (30-60 minutes): In a large bowl, combine the whole wheat flour, bread flour, and water. Mix until just combined, ensuring no dry flour remains. Cover the bowl and let it rest for 30-60 minutes. This process allows the flour to fully hydrate, which is crucial for gluten development and a tender crumb.
- Incorporate the Starter (5 minutes): Add the active sourdough starter to the autolysed dough. Using your hands or a dough scraper, gently mix until the starter is evenly distributed.
- Add the Salt (2 minutes): Sprinkle the salt over the dough. Using your hands, gently squeeze and fold the dough to incorporate the salt. The salt helps to control the fermentation process and enhances the flavor of the bread.
- Bulk Fermentation (4-6 hours): Cover the bowl and let the dough bulk ferment at room temperature (around 70-75°F/21-24°C). During the bulk fermentation, perform stretch and folds every 30-45 minutes for the first 2-3 hours. To perform a stretch and fold, gently grab one side of the dough, stretch it upwards, and fold it over the center. Rotate the bowl and repeat this process 3-4 times. This helps to develop strength and structure in the dough. The bulk fermentation is complete when the dough has increased in volume by about 50-75% and shows signs of activity (bubbles).
- Pre-Shape (5 minutes): Gently turn the dough out onto a lightly floured surface. Shape the dough into a round or oblong. Cover with a damp cloth and let it rest for 20-30 minutes. This allows the dough to relax before the final shaping.
- Final Shape (5 minutes): Gently shape the dough into a final round or oblong. Be careful not to degas the dough too much.
- Cold Proof (12-24 hours): Place the shaped dough in a well-floured banneton basket or a bowl lined with a floured kitchen towel. Cover the dough tightly with plastic wrap or a reusable container and refrigerate for 12-24 hours. The cold proof slows down the fermentation process and allows the flavors to develop further.
- Preheat the Oven (1 hour): Preheat your oven to 500°F (260°C) with a Dutch oven inside. It’s crucial to preheat the Dutch oven for at least one hour to ensure it’s thoroughly heated.
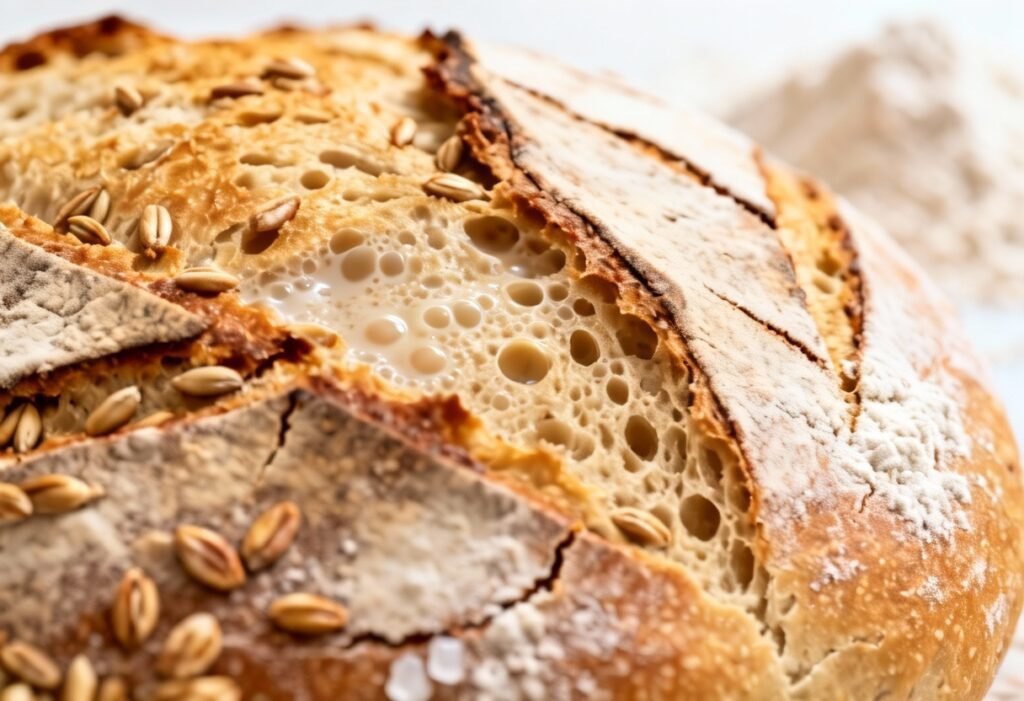
- Score and Bake (45-50 minutes): Carefully remove the hot Dutch oven from the oven. Remove the lid. Gently invert the dough from the banneton basket into the Dutch oven. Score the top of the dough with a sharp knife or lame. Scoring allows the bread to expand properly during baking and creates a beautiful crust.
- Bake Covered (20 minutes): Cover the Dutch oven and bake for 20 minutes. The lid traps steam, creating a humid environment that promotes a good rise and a crispy crust.
- Bake Uncovered (25-30 minutes): Remove the lid and continue baking for another 25-30 minutes, or until the crust is deeply golden brown and the internal temperature of the bread reaches 205-210°F (96-99°C).
- Cool Completely (2-3 hours): Carefully remove the bread from the Dutch oven and place it on a wire rack to cool completely before slicing. Allowing the bread to cool completely is essential for preventing a gummy texture.
Tips for Success
- Use a Kitchen Scale: Accurate measurements are crucial for sourdough baking. Using a kitchen scale to weigh your ingredients is highly recommended.
- Active Starter is Key: Make sure your sourdough starter is active and bubbly before using it in the recipe. A weak starter will result in a flat and dense loaf.
- Adjust Fermentation Time: The fermentation time will vary depending on the temperature of your kitchen. Keep an eye on the dough and adjust the fermentation time accordingly.
- Don’t Overproof: Overproofed dough will collapse during baking. Look for signs of activity (bubbles) and a slight increase in volume during bulk fermentation.
- Score Deeply: Scoring the dough deeply allows it to expand properly during baking.
- Be Patient: Sourdough baking takes time and patience. Don’t be discouraged if your first loaf isn’t perfect. Keep practicing, and you’ll eventually master the art of sourdough bread making.
Storage Instructions
To keep your Whole Wheat Sourdough Bread fresh, store it in a bread bag or wrapped in a clean kitchen towel at room temperature. It will stay fresh for 2-3 days. For longer storage, you can freeze the bread. Slice the bread before freezing for easier thawing. Wrap the slices tightly in plastic wrap and then place them in a freezer bag. Frozen bread will last for up to 2-3 months.
FAQ
Q: Can I use all whole wheat flour in this recipe?
A: While you can use all whole wheat flour, the bread will be denser and may not rise as high. The addition of bread flour helps to improve the texture and rise.
Q: My dough is too sticky. What should I do?
A: Whole wheat flour can be more absorbent than white flour. If your dough is too sticky, try adding a tablespoon of flour at a time until it reaches the desired consistency. Be careful not to add too much flour, as this can make the bread dry.
Q: My bread is flat. What went wrong?
A: A flat loaf can be caused by several factors, including a weak starter, under- or over-proofing, or not enough gluten development. Make sure your starter is active and bubbly, adjust the fermentation time based on your kitchen temperature, and perform stretch and folds during bulk fermentation to develop gluten strength.
Q: Can I bake this bread without a Dutch oven?
A: While a Dutch oven is highly recommended for achieving a crispy crust and a good rise, you can bake the bread on a baking stone or baking sheet. To create a steamy environment, place a pan of hot water on the bottom rack of the oven during the first 20 minutes of baking.
Conclusion
This Whole Wheat Sourdough Bread recipe provides a detailed guide to creating a delicious and nutritious loaf at home. With its nutty flavor, chewy texture, and beautiful crust, this bread is sure to become a staple in your kitchen. Embrace the process, experiment with different variations, and enjoy the satisfaction of baking your own wholesome sourdough bread. Happy baking!