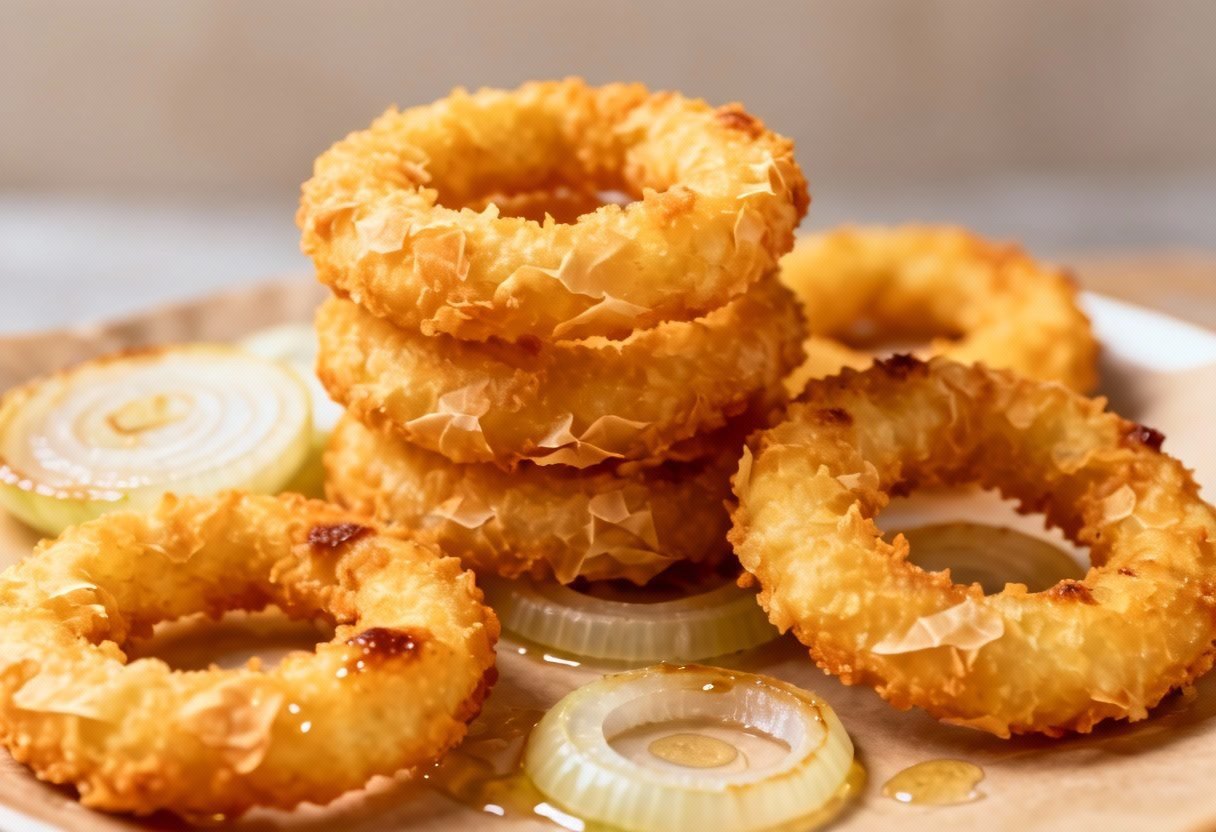
Crispy Onion Rings Recipe: The Secret to Restaurant-Quality Crunch
Craving that satisfying crunch and sweet, savory flavor of perfectly made onion rings? Forget the soggy, greasy imitations! This recipe delivers restaurant-quality crispy onion rings right in your own kitchen. We’re talking golden-brown perfection, a shatteringly crisp exterior, and tender, sweet onion inside. Get ready to impress your family and friends with this surprisingly simple yet incredibly delicious recipe. We’re sharing all the secrets to achieving that irresistible crunch, from the perfect onion selection to the ideal frying temperature. Prepare to be amazed!
Why This Recipe Works
What sets this onion ring recipe apart? It’s all about the details! We’ve meticulously crafted this method to ensure maximum crispness and flavor. Here’s why it works:
- Double Dredging: The key to a thick, crispy coating is a double dredge. This means dipping the onion rings in the flour mixture, then the wet batter, and then back into the flour. This creates a substantial, crunchy shell that holds up beautifully during frying.
- Cold Ingredients: Using cold ingredients, especially the beer or sparkling water in the batter, helps to inhibit gluten development. Less gluten means a lighter, crispier coating.
- Proper Frying Temperature: Maintaining the correct oil temperature is crucial. Too low, and the onion rings will absorb too much oil and become greasy. Too high, and they’ll burn before the onion is cooked through. We’ll guide you through achieving the perfect golden-brown hue.
- Seasoned Flour: Don’t underestimate the power of well-seasoned flour! Our blend of spices adds a depth of flavor that complements the sweetness of the onions.
- Panko Breadcrumbs (Optional, but Recommended!): Adding Panko breadcrumbs to the final dredge adds extra crunch and texture. They create a light, airy, and incredibly satisfying bite.
Ingredients
- 2 large yellow onions, cut into 1/2-inch thick rings
- 2 cups all-purpose flour
- 2 teaspoons paprika
- 1 teaspoon garlic powder
- 1 teaspoon onion powder
- 1/2 teaspoon cayenne pepper (optional, for a little kick)
- 1 teaspoon salt
- 1/2 teaspoon black pepper
- 1 cup cornstarch
- 1 large egg
- 1 cup cold beer (or cold sparkling water)
- 1 cup Panko breadcrumbs (optional, for extra crunch)
- Vegetable oil, for frying (about 4-6 cups)
Instructions
- Prepare the Onions: Gently separate the onion rings, discarding the very small center pieces. Place the rings in a bowl and cover with cold water for about 15-20 minutes. This helps to remove some of the harshness and makes them sweeter. Drain well and pat dry with paper towels.
- Prepare the Flour Mixture: In a shallow dish or bowl, whisk together the flour, paprika, garlic powder, onion powder, cayenne pepper (if using), salt, pepper, and cornstarch.
- Prepare the Wet Batter: In a separate bowl, whisk together the egg and cold beer (or sparkling water) until well combined.
- Prepare the Panko Mixture (Optional): If using Panko breadcrumbs, place them in a separate shallow dish.
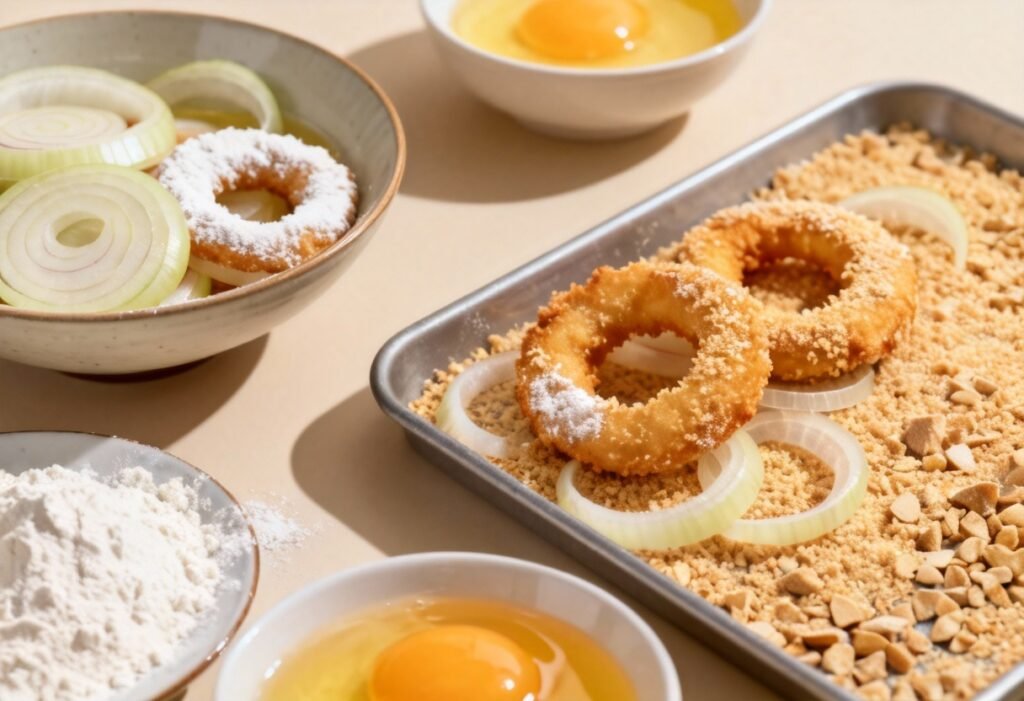
- Set Up the Dredging Station: Arrange the flour mixture, wet batter, and Panko breadcrumbs (if using) in a line. This will make the dredging process more efficient.
- Dredge the Onion Rings: Working in batches, dredge each onion ring in the flour mixture, ensuring it’s fully coated. Shake off any excess flour.
- Dip in the Batter: Dip the floured onion ring into the wet batter, making sure it’s completely submerged. Let any excess batter drip off.
- Double Dredge (the Secret!): Return the battered onion ring to the flour mixture and coat thoroughly, pressing the flour onto the batter. If using Panko, now dredge the floured onion ring in the panko breadcrumbs, ensuring they adhere well.
- Heat the Oil: Pour vegetable oil into a large, heavy-bottomed pot or Dutch oven. Heat the oil over medium-high heat to 350°F (175°C). Use a thermometer to monitor the temperature.
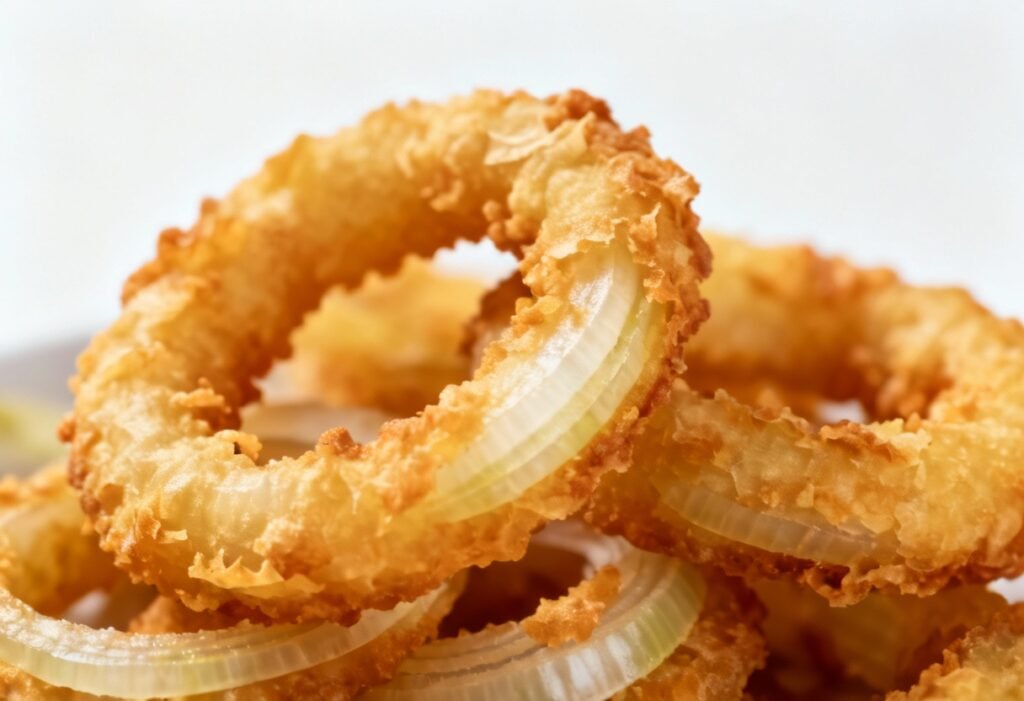
- Fry the Onion Rings: Carefully add the onion rings to the hot oil in batches, being careful not to overcrowd the pot. Fry for 2-3 minutes per side, or until golden brown and crispy.
- Drain and Serve: Remove the onion rings from the oil with a slotted spoon and place them on a wire rack lined with paper towels to drain excess oil. Sprinkle with a little extra salt, if desired.
- Serve Immediately: Serve the crispy onion rings immediately while they are hot and at their crispiest. Enjoy with your favorite dipping sauces!
Tips for Success
Follow these tips to ensure onion ring perfection every time:
- Don’t Overcrowd the Pot: Frying too many onion rings at once will lower the oil temperature, resulting in greasy onion rings. Work in batches to maintain a consistent temperature.
- Monitor the Oil Temperature: Use a thermometer to ensure the oil stays at 350°F (175°C). Adjust the heat as needed.
- Use Fresh Oil: Old or used oil can impart unpleasant flavors to the onion rings. Use fresh, clean vegetable oil for the best results.
- Pat the Onions Dry: Thoroughly drying the onion rings after soaking is crucial for the flour to adhere properly.
- Don’t Skip the Double Dredge: This is the key to a thick, crispy coating.
- Experiment with Seasonings: Feel free to adjust the spices in the flour mixture to your liking. Smoked paprika, chili powder, or even a pinch of sugar can add interesting flavor dimensions.
- Keep the Fried Onion Rings Warm: If you’re making a large batch, keep the fried onion rings warm in a preheated oven (200°F or 95°C) until ready to serve.
Storage Instructions
While crispy onion rings are best enjoyed fresh, leftovers can be stored in an airtight container in the refrigerator for up to 2 days. However, they will lose some of their crispness. To reheat, spread the onion rings in a single layer on a baking sheet and bake in a preheated oven at 350°F (175°C) for about 5-10 minutes, or until heated through. You can also reheat them in an air fryer for a few minutes to help restore some of the crispness.
FAQ
Q: Can I use a different type of onion?
A: Yes, you can use white or sweet onions. However, yellow onions are generally preferred for their balance of sweetness and flavor.
Q: Can I use milk instead of beer or sparkling water?
A: Yes, you can use milk, but the beer or sparkling water adds a lightness to the batter that helps create a crispier coating. If using milk, you might want to add a teaspoon of baking powder to the batter for extra lift.
Q: Can I make these onion rings gluten-free?
A: Yes! Simply substitute the all-purpose flour with a gluten-free all-purpose flour blend. Make sure the beer you use is also gluten-free, or substitute with sparkling water.
Q: What dipping sauces go well with onion rings?
A: The possibilities are endless! Some popular choices include ketchup, mayonnaise, ranch dressing, barbecue sauce, honey mustard, and spicy aioli.
Q: Can I freeze these onion rings?
A: While you can freeze them, the texture will be significantly altered. The onion rings will likely become soggy after thawing. It’s best to enjoy them fresh.
Conclusion
There you have it – the ultimate crispy onion rings recipe! With a little patience and attention to detail, you can create restaurant-quality onion rings that are guaranteed to impress. So, gather your ingredients, fire up the fryer, and get ready to enjoy a truly irresistible treat. Happy frying!