Easy Sponge Cake Recipe: The 20-Minute Batter That Makes You Look Like a Pastry Genius
👩🍳 The Home Chef's Essential Kitchen
Consistently cooking incredible, healthy meals at home is so much easier when you aren't fighting with cheap tools. These are the 5 absolute powerhouse kitchen essentials that professional chefs and serious home cooks rely on every single day to get perfect results.
🍳 Lodge 10.25" Cast Iron Skillet
The single greatest value in all of cookware. It retains heat infinitely better than cheap non-stick pans, allowing you to get a restaurant-quality crust on steaks or perfect crispy edges on cornbread. With proper care, this $20 pan will literally outlive you.
🔪 Victorinox Fibrox Pro 8" Chef's Knife
A dull knife makes cooking a frustrating chore. This specific blade is the undisputed champion of the culinary world—it holds a terrifyingly sharp edge, features a comfortable non-slip grip, and performs identical to German knives that cost quadruple the price.
🌡️ ThermoPro Instant Read Thermometer
Never serve dry chicken or undercooked pork again. An instant-read thermometer is the secret difference between amateur cooks who 'guess' when protein is done, and professionals who know exactly when to pull meat off the heat for maximum juiciness.
🍲 Lodge Enameled Cast Iron Dutch Oven
The ultimate workhorse for soups, stews, braised short ribs, and baking crusty artisanal bread. The enameled interior provides incredible heat distribution for slow-cooking while eliminating the intense seasoning maintenance required by bare cast iron.
🥄 Bpa-Free Silicone Utensil Set
Throw away those melting plastic spatulas and bacteria-harboring wooden spoons. This pure silicone set is heat-resistant up to 600°F, won't scratch your expensive pans, and features seamless designs that make cleaning out thick sauces and batters effortless.
You don’t need a culinary degree or a stand mixer that costs more than your rent to bake a show-off sponge. You need five basic ingredients, a whisk, and a game plan. This easy sponge cake recipe is the dessert version of a cheat code: light, tall, and stupidly satisfying.
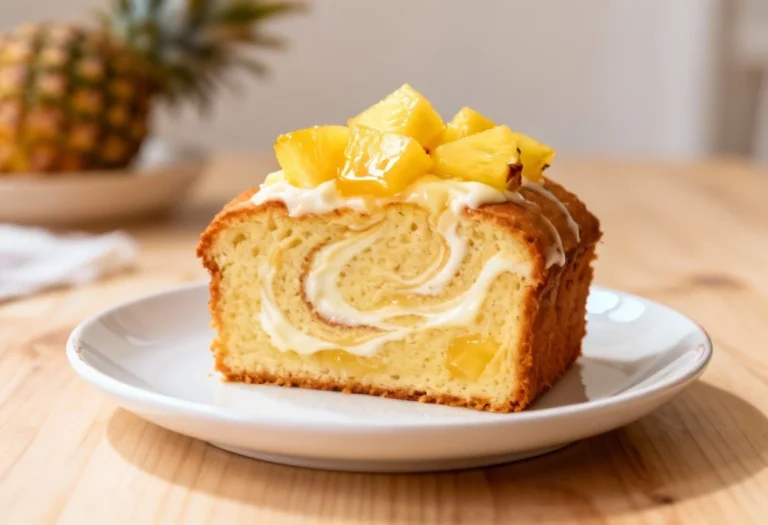
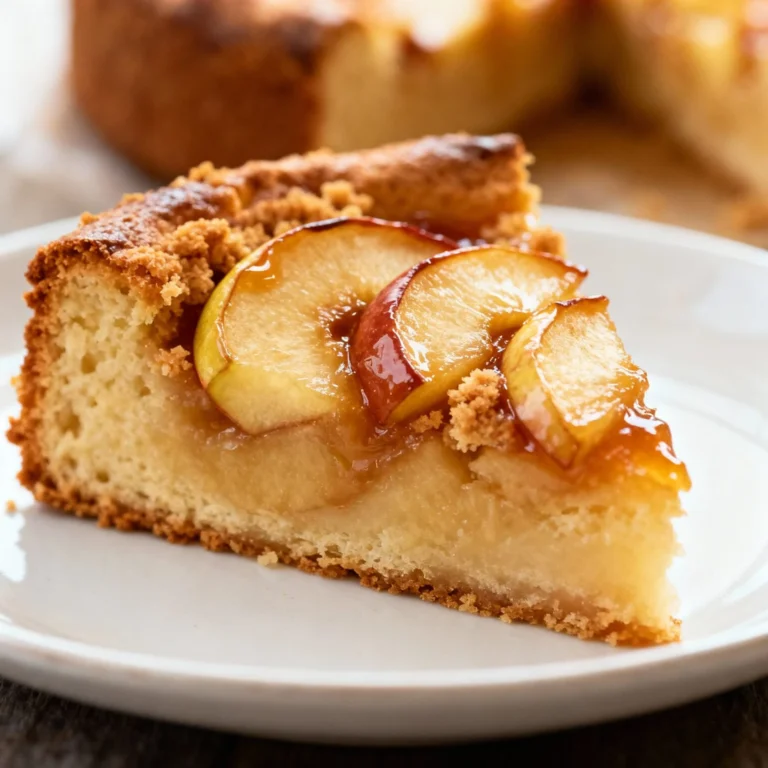
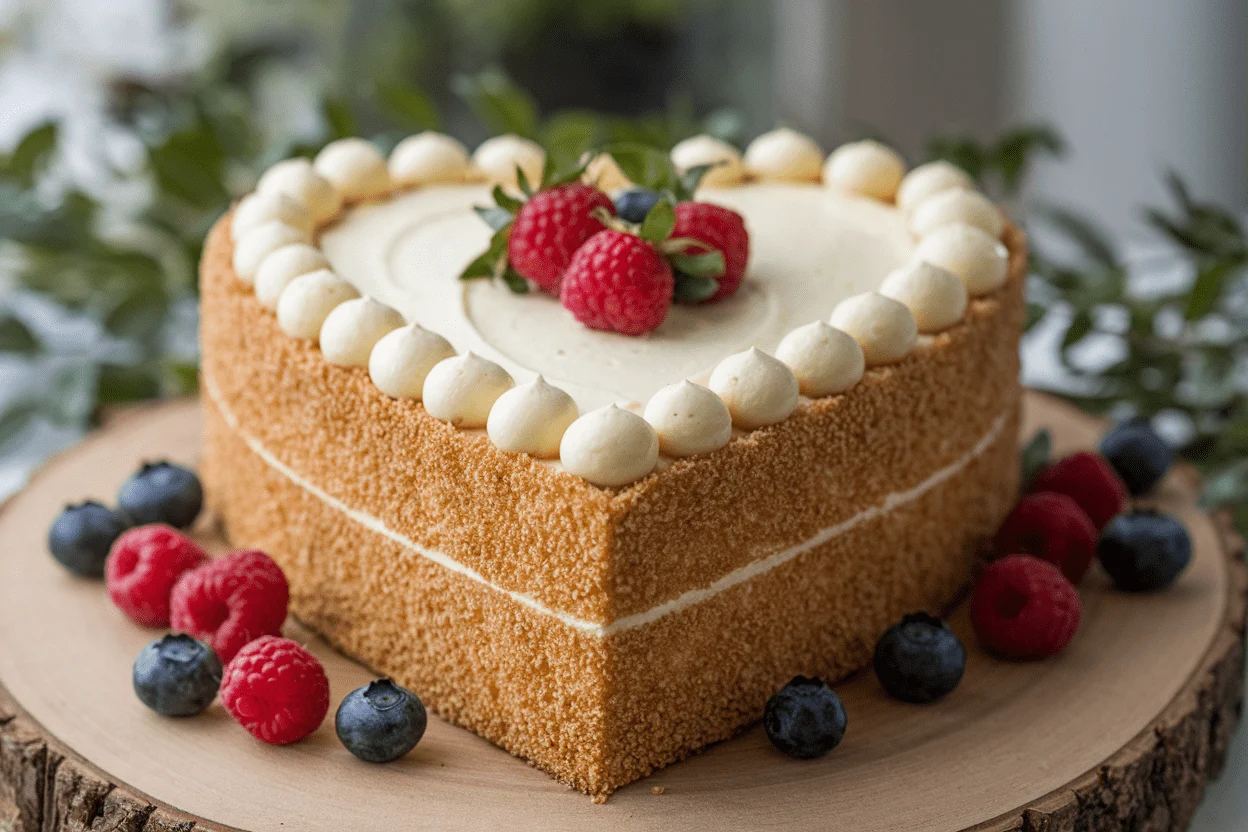
Slice it naked with tea, dress it up with berries and cream, or stack it into a layer cake that flexes on Instagram. Ready to bake like you meant to? Let’s go.
What Makes This Special
This sponge hits that sweet spot: feather-light crumb with a delicate, springy bite.
It’s built on whipped eggs and sugar—no oil, no fuss—so the texture stays cloud-like without being dry. The method is simple but strategic, using air as your main leavening (yeah, science). It’s also wildly versatile: serve it plain, soak it with syrup, or layer it with cream.
One base, infinite glow-ups.
Ingredients Breakdown
- 4 large eggs, room temperature — The engine. Warmer eggs whip higher and more stable.
- 150 g (3/4 cup) granulated sugar — Sweetness plus structure when whipped with eggs.
- 150 g (1 1/4 cups) cake flour, sifted — Low protein keeps the crumb tender. All-purpose works in a pinch; see Alternatives.
- 1 tsp baking powder — Optional but helpful for consistent lift.
- 1/4 tsp fine salt — Balances sweetness and boosts flavor.
- 45 g (3 tbsp) unsalted butter, melted and cooled — Adds subtle richness without heaviness.
- 2 tbsp milk, warm — Loosens the batter when folding in butter so it doesn’t deflate.
- 1 tsp vanilla extract — Classic aroma.
Swap for citrus zest if you’re feeling fancy.
The Method – Instructions
- Prep the battlefield. Heat oven to 350°F (175°C). Line the bottom of an 8-inch (20 cm) round cake pan with parchment. Do not grease the sides; the batter needs to climb.
- Warm your eggs (hack). If they’re cold, place whole eggs (in shells) in warm water for 5 minutes.
Warmer eggs whip bigger—free volume, who doesn’t want that?
- Whisk dry ingredients. In a bowl, sift cake flour, baking powder, and salt. Sifting = fewer lumps and less mixing later.
- Whip eggs + sugar. In a large bowl, beat eggs and sugar on high for 7–9 minutes until tripled in volume, pale, and thick. When you lift the whisk, ribbons should sit on the surface for 5–7 seconds before disappearing.
- Flavor boost. Beat in vanilla for 10 seconds.
Don’t overmix; just get it in there.
- Set up the butter mix. In a small bowl, combine melted butter and warm milk. Stir. Add 2 tablespoons of the whipped egg mixture and whisk to lighten.
This prevents the butter from sinking and killing the foam—RIP to many cakes that skipped this step.
- Fold in the dry ingredients. Sprinkle one-third of the flour mixture over the eggs. Fold gently with a spatula, scooping from bottom to top. Repeat twice more.
Keep it slow and deliberate; your job is to protect the air.
- Incorporate the butter mixture. Drizzle the butter-milk mixture around the edges of the bowl (not in the center) and fold just until combined. Stop the moment you don’t see streaks.
- Pan and smooth. Pour batter into the prepared pan. Spin the pan or tap it lightly once to level.
No dramatic banging—let the air stay put.
- Bake. Bake 22–28 minutes until the top is golden, springy, and a skewer comes out with a few moist crumbs. If it smells done, it probably is.
- Cool smart. Run a thin knife around the edge to prevent tearing. Let rest 5 minutes, then invert onto a rack, peel parchment, and flip upright.
Cooling on a rack prevents soggy bottoms (Paul Hollywood would approve).
- Optional upgrade. Once cool, brush with simple syrup and layer with whipped cream and berries. Or dust with powdered sugar and call it a day.
Storage Tips
- Room temp: Wrap tightly and store up to 2 days. It actually tastes better the next day—shocking, but true.
- Fridge: If filled with cream or fruit, refrigerate up to 3 days.
Bring to room temp before serving for best texture.
- Freeze: Wrap whole or sliced layers in plastic + foil. Freeze up to 2 months. Thaw wrapped at room temp to avoid condensation sogginess.
- Revive: A quick 10-second microwave zap for a slice can soften it right up, FYI.
Health Benefits
- Simple ingredient list: No oils or heavy fats in the base batter, so it’s lighter than butter cakes.
- Portion control friendly: The clean flavor and airy crumb satisfy at smaller slices.
Your willpower might still disagree.
- Customizable sweetness: You can reduce sugar slightly (by ~10%) without wrecking structure, though texture may be less luxurious.
- Add-on nutrition: Top with fresh berries for fiber and antioxidants instead of heavy frostings. Your future self says thanks.
Common Mistakes to Avoid
- Overmixing the batter: If you stir aggressively after adding flour or butter, you’ll deflate the foam. Translation: flat cake.
- Cold eggs: They won’t whip as high, so you lose volume from the start.
- Skipping the butter-lightening step: Pouring straight butter into the foam makes it sink.
Lighten it first, always.
- Opening the oven early: Before 20 minutes, the structure isn’t set. Door peeking = center collapse. Resist.
- Greasing the sides: The batter needs to grip the pan walls to climb.
Grease only the bottom with parchment.
- Wrong pan size: Too big and it bakes thin and dry; too small and it overflows. Aim for 8-inch round or similar volume.
Alternatives
- Flour swap: No cake flour? Use all-purpose and remove 2 tablespoons per cup, then replace with cornstarch.
Sift twice for tenderness.
- Flavor twists: Add 1 tsp lemon zest or 1/2 tsp almond extract. For coffee lovers, dissolve 1 tsp instant espresso in the warm milk.
- Dairy-free: Use plant milk and swap butter for neutral oil (40 g). The crumb will be slightly less fluffy but still lovely.
- Gluten-free: Use a 1:1 gluten-free baking blend with xanthan gum.
Sift well and be gentle when folding.
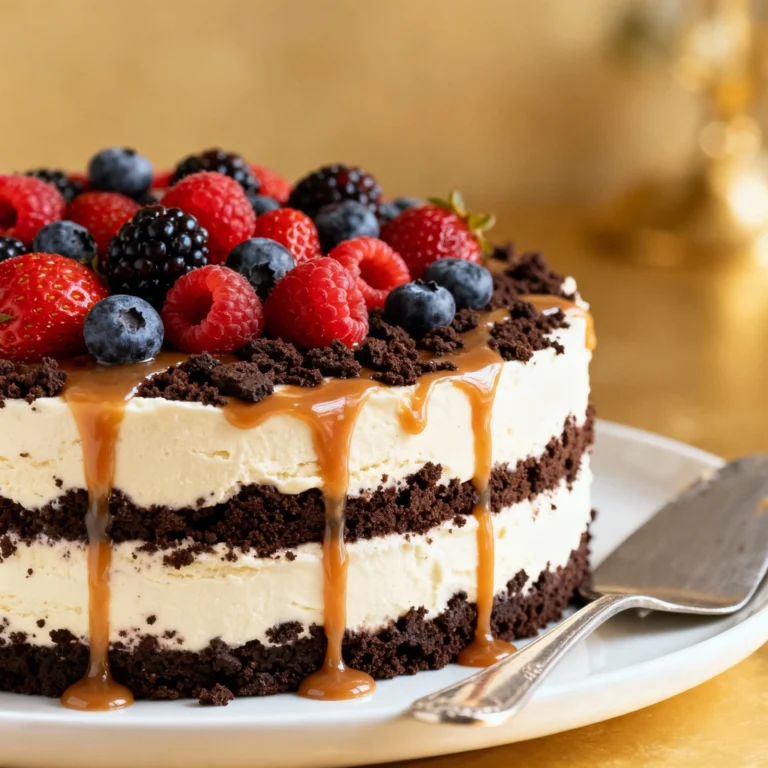
- Layer cake mode: Double the recipe for two 8-inch layers. Bake 18–22 minutes. Stack with jam and whipped cream for a Victoria sponge vibe.
- Syrup soak: Mix equal parts sugar and water, bring to a simmer, cool, and brush on layers.
Add rum, vanilla, or lemon for a patisserie-level finish.
FAQ
Why did my sponge cake deflate after baking?
Likely causes: underbaked center, overmixed batter, or opening the oven too early. Also check that your eggs were whipped to a thick ribbon and that you didn’t grease the pan sides. Tiny details, big consequences.
Can I reduce the sugar without ruining it?
Yes—by about 10% without major impact.
Sugar supports structure in egg foams, so going too low makes the cake dense and sad. If you cut more, be ready for texture trade-offs.
Do I need baking powder for a sponge cake?
Classic genoise relies solely on whipped eggs. Baking powder is optional here and adds a safety net for lift.
If your whipping technique is strong, you can skip it.
How do I know when it’s done?
The top will be golden and spring back when tapped. A skewer should come out mostly clean with a few moist crumbs. If it smells toasty and the edges pull slightly from the pan, you’re there.
Can I make it without a stand mixer?
Absolutely.
A hand mixer works great. If you’re going entirely manual, prepare for a workout—5–8 minutes of vigorous whisking. Consider it cardio with cake rewards.
What’s the best filling?
Whipped cream and berries are the classic.
Jam plus lightly sweetened cream is elite. Chocolate ganache, lemon curd, or pastry cream also play nicely—choose your adventure.
Why didn’t mine rise much?
Common culprits: eggs not whipped long enough, flour not sifted, rough folding that knocked out air, or a too-large pan. Also make sure your oven is fully preheated.
Can I bake this in a loaf pan?
Yes, but watch the time.
A standard loaf pan will need 35–45 minutes. Tent with foil if the top browns too fast. The texture will be slightly denser but still good.
How do I get a super fine crumb?
Use cake flour, triple-sift the dry ingredients, and fold slowly with a wide spatula.
Adding the butter mixture around the edges (not the center) also keeps the foam intact.
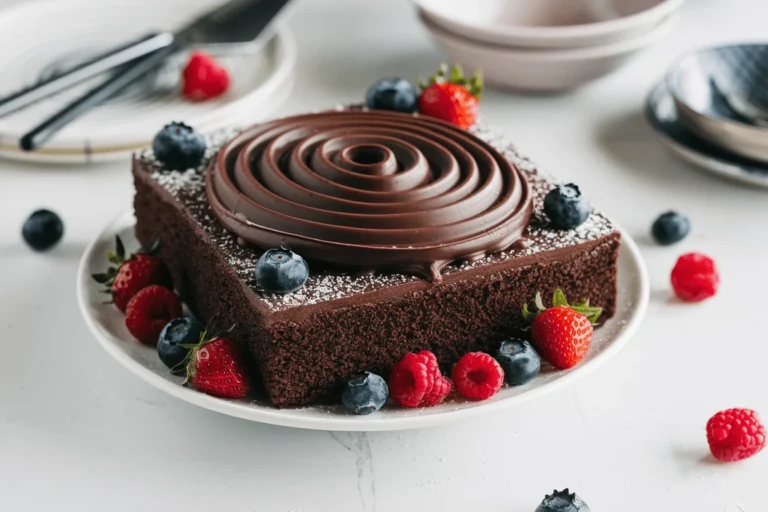
Can I add cocoa for a chocolate sponge?
Swap 20 g of the flour for 20 g cocoa powder and sift well. Increase sugar by 1 tablespoon to balance bitterness. You’ll get a light chocolate version without heaviness.
My Take
This easy sponge cake recipe is the kind of bake that makes you look skilled with minimal chaos—IMO, the best kind of flex.
The key is respecting the foam: whip it fully, fold like you care, and don’t mess with the oven door. From there, it’s pure versatility: syrup-soaked layers for a celebration or a humble sugar-dusted slice for tea. If you want one cake that does it all—and does it reliably—this is your new go-to.
Now go make your kitchen smell like victory.