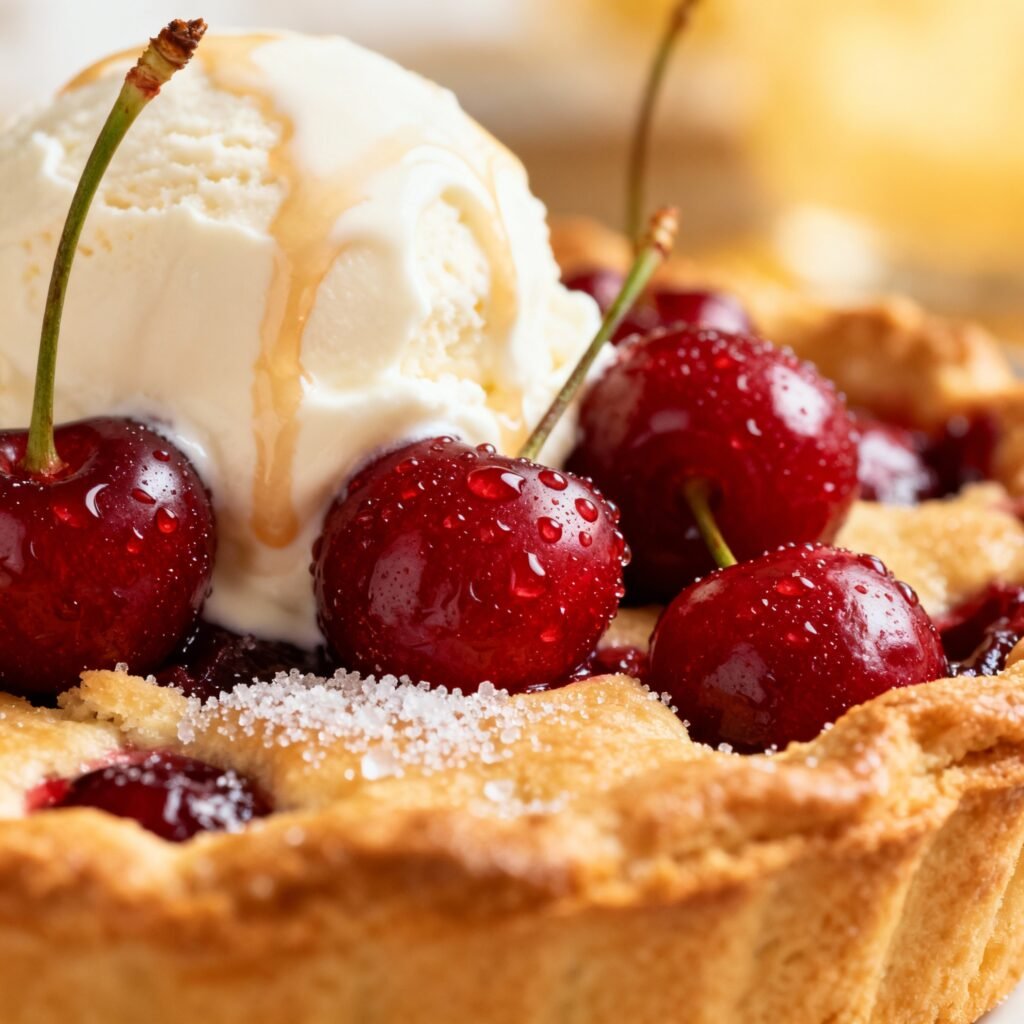
Fresh Cherry Pie Recipe: Bursting with Summer Flavor!
Is there anything that screams summer quite like a slice of homemade cherry pie? The vibrant red filling, the flaky, buttery crust – it’s a timeless classic that brings joy with every bite. This recipe isn’t just about making a pie; it’s about capturing the essence of summer in a dessert. We’re using fresh cherries, perfectly balanced sweetness, and a few simple tricks to ensure a pie that’s both beautiful and unbelievably delicious. Get ready to impress your friends and family with this show-stopping fresh cherry pie!
Why This Recipe Works
This recipe is designed to be straightforward and reliable, even for beginner bakers. Here’s why it works:
- Fresh Cherry Focus: We prioritize the natural flavor of fresh cherries. The recipe uses just enough sugar to enhance their sweetness without overpowering them.
- Pre-Cooking the Filling: Lightly cooking the cherry filling on the stovetop before baking helps to thicken it and prevent a soggy bottom crust. This also allows the flavors to meld together beautifully.
- Blind Baking the Crust: Blind baking the bottom crust ensures it’s perfectly golden brown and crisp before adding the filling. No more pale, undercooked pastry!
- Cornstarch as Thickener: Cornstarch provides a clean, glossy sheen to the filling and thickens it effectively without adding any unwanted flavors.
- Lemon Juice for Brightness: A touch of lemon juice brightens the cherry flavor and balances the sweetness, adding a delicious zing.
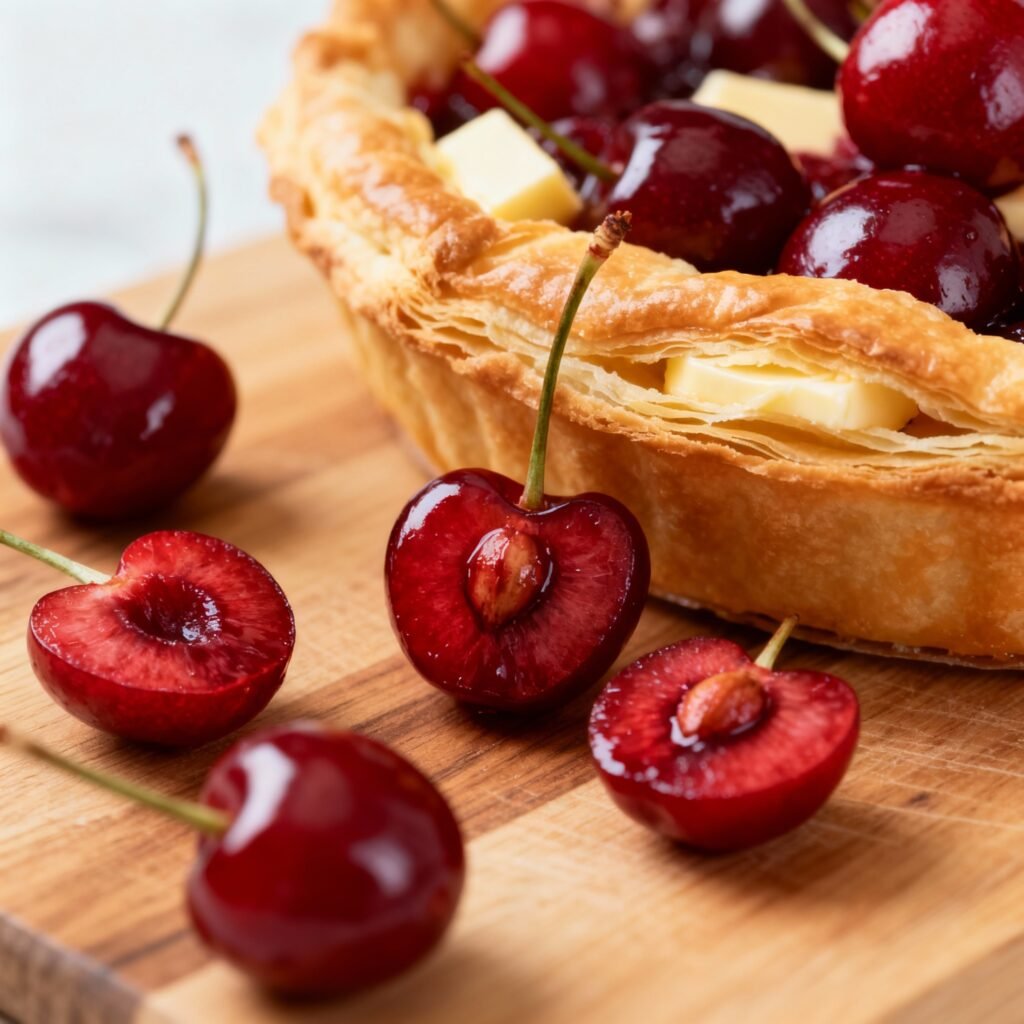
- Butter for Flavor: A little butter dotted over the filling before baking adds richness and a beautiful shine.
Ingredients
- For the Pie Crust:
- 2 1/2 cups all-purpose flour
- 1 teaspoon salt
- 1 cup (2 sticks) unsalted butter, very cold and cut into cubes
- 1/2 cup ice water
- For the Cherry Filling:
- 6 cups fresh cherries, pitted (about 2.5-3 lbs)
- 3/4 cup granulated sugar (adjust to taste depending on cherry sweetness)
- 1/4 cup cornstarch
- 1 tablespoon lemon juice
- 1/4 teaspoon almond extract (optional, but adds a lovely flavor)
- 2 tablespoons unsalted butter, cut into small pieces
- 1 egg, beaten (for egg wash)
- 1 tablespoon granulated sugar (for sprinkling on top)
Instructions
- Make the Pie Crust: In a large bowl, whisk together the flour and salt. Cut in the cold butter using a pastry blender or your fingertips until the mixture resembles coarse crumbs.
- Gradually add the ice water, one tablespoon at a time, mixing gently until the dough just comes together. Be careful not to overmix.
- Divide the dough in half, flatten each half into a disc, wrap in plastic wrap, and refrigerate for at least 30 minutes (or up to 2 days).
- Prepare the Cherry Filling: In a large saucepan, combine the pitted cherries, granulated sugar, cornstarch, lemon juice, and almond extract (if using).
- Cook over medium heat, stirring constantly, until the mixture thickens and the cherries release their juices. This should take about 5-7 minutes. Remove from heat and let cool slightly.
- Preheat and Blind Bake: Preheat oven to 400°F (200°C). On a lightly floured surface, roll out one disc of dough into a 12-inch circle. Carefully transfer it to a 9-inch pie plate. Trim and crimp the edges.
- Line the pie crust with parchment paper and fill with pie weights (or dried beans).
- Bake for 15 minutes. Remove the parchment paper and pie weights and bake for another 5-7 minutes, or until the crust is lightly golden brown. Let cool slightly.
- Assemble the Pie: Pour the cherry filling into the pre-baked pie crust. Dot the top with the 2 tablespoons of butter.
- Roll out the second disc of dough and either create a lattice top or a solid top crust with vents cut in it. If using a solid top crust, make sure to crimp the edges to seal it to the bottom crust.
- Brush the top crust with the beaten egg and sprinkle with the tablespoon of granulated sugar.
- Bake the Pie: Bake for 35-45 minutes, or until the crust is golden brown and the filling is bubbling. If the crust starts to brown too quickly, cover the edges with foil.
- Let the pie cool completely on a wire rack before slicing and serving. This is crucial for the filling to set properly.
Tips for Success
- Keep Everything Cold: Cold butter and ice water are essential for a flaky pie crust. Don’t skip the chilling time!
- Don’t Overmix the Dough: Overmixing develops the gluten in the flour, resulting in a tough crust. Mix until just combined.
- Pit Cherries Efficiently: A cherry pitter is a worthwhile investment if you make cherry pie often. Otherwise, a paperclip or a piping tip can be used.
- Adjust Sugar to Taste: The sweetness of cherries can vary. Taste the filling before baking and adjust the sugar accordingly.
- Prevent a Soggy Bottom: Blind baking the crust and pre-cooking the filling are key to preventing a soggy bottom crust.
- Cool Completely: Resist the urge to cut into the pie while it’s still warm. Cooling allows the filling to set properly.
Storage Instructions
Store leftover cherry pie at room temperature for up to 2 days, or in the refrigerator for up to 4 days. Cover loosely with plastic wrap or foil. To reheat, warm individual slices in the microwave or oven.
FAQ
- Can I use frozen cherries? While fresh cherries are best, you can use frozen cherries in a pinch. Thaw them completely and drain off any excess liquid before using. You may need to adjust the amount of cornstarch to compensate for the extra moisture.
- Can I make the pie crust ahead of time? Yes! The pie crust can be made up to 2 days in advance and stored in the refrigerator, or up to 2 months in the freezer. Thaw completely before rolling out.
- My filling is too runny. What did I do wrong? Make sure you pre-cook the filling and allow the pie to cool completely before slicing. Using too much liquid or not enough cornstarch can also contribute to a runny filling.
- My crust is browning too quickly. What should I do? Cover the edges of the crust with foil or a pie shield to prevent them from burning.
- Can I freeze the baked pie? Yes, you can freeze the baked pie. Let it cool completely, then wrap it tightly in plastic wrap and foil. Freeze for up to 2 months. Thaw overnight in the refrigerator before serving.
Conclusion
This fresh cherry pie recipe is a celebration of summer’s bounty. With its sweet and tart filling and flaky, buttery crust, it’s a dessert that’s sure to impress. Follow these tips and instructions, and you’ll be enjoying a slice of homemade cherry pie in no time. So, gather your ingredients, preheat your oven, and get ready to create a delicious masterpiece! Enjoy!